You need this DIY chandelier at your summer wedding.
How to Make a Floral Chandelier for Your Spring or Summer Wedding
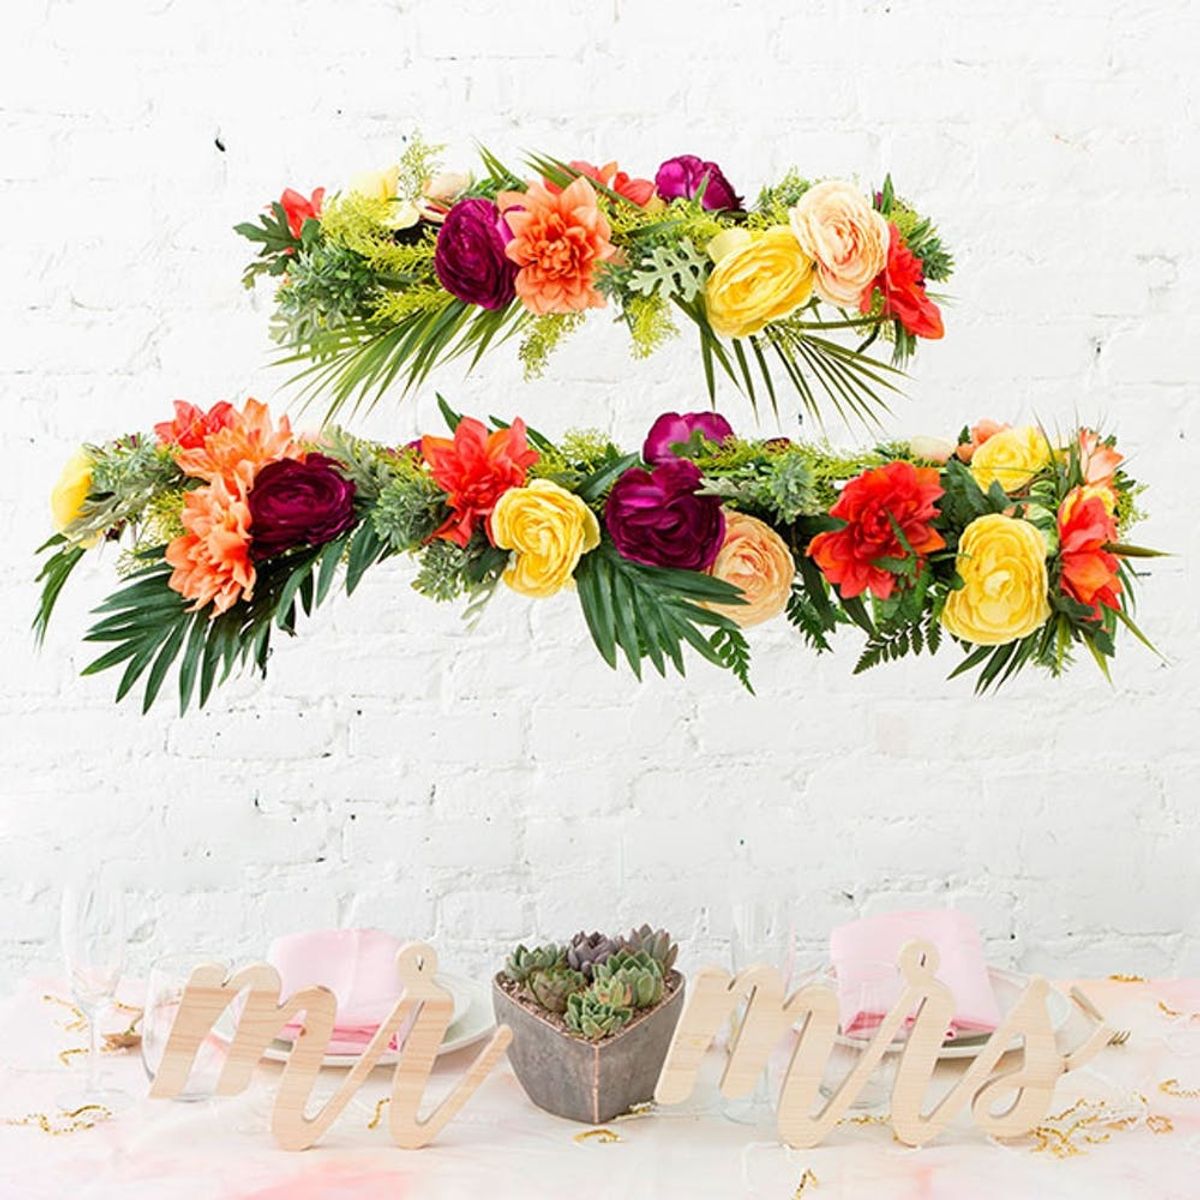
I’ve never been married, but the thought of planning the most magical day sounds a little stressful and intimidating! Luckily you have us at Brit + Co to give you the lowdown on how to DIY your way through one of the most memorable moments of your life. I’m not going to lie — I have a Pin board filled with DIY wedding ideas for my future day already started, and this hanging flower chandelier is one of my favorite pins.
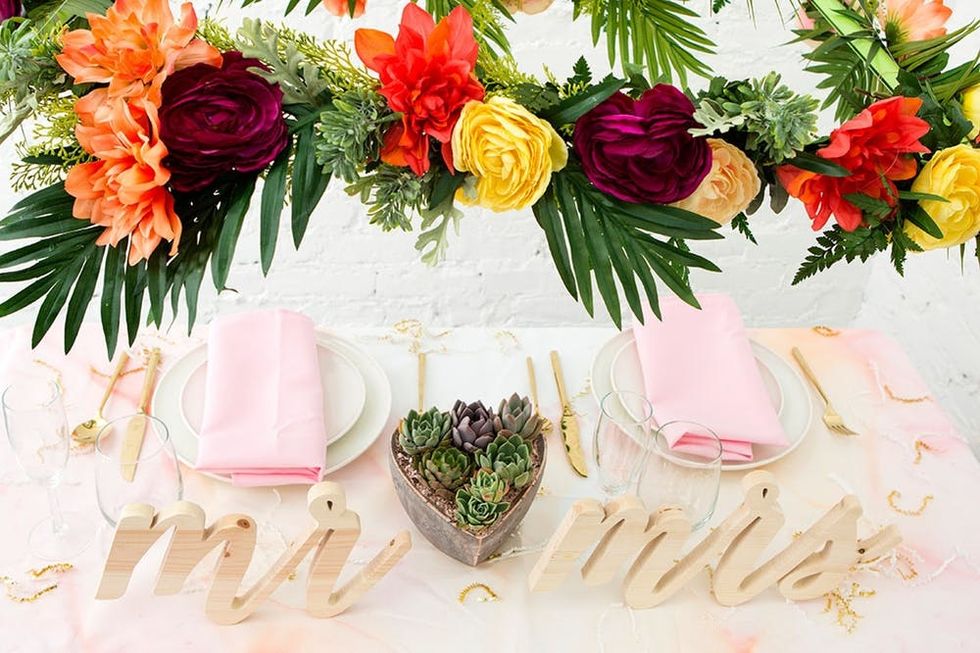
The tricky part about this DIY is using real flowers. With fresh buds, you need to prep the piece the night before or morning of the wedding, and let’s be real — you aren’t going to have time to make a floral chandelier the night before your wedding. So, we turned to a site called Afloral to help us with our fake flower needs. I spent $145 on fake flowers and probably had enough to make a three-tiered flower chandelier, but decided to stop at two. I used the basic principles from Roxy’s post on how to arrange flowers to complete my flower chandelier. This is the perfect piece to hang over the bride and groom’s seat at the dinner table, the dessert table or even the welcome table. If you aren’t getting married soon, don’t worry. This chandelier works well for all occasions or as a statement chandelier in any room.
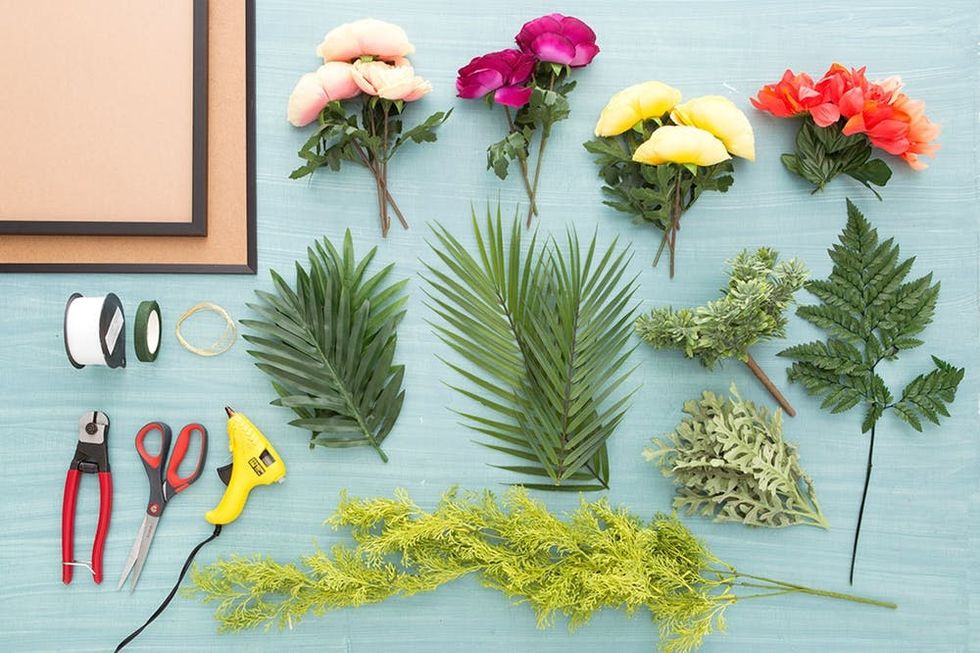
Materials:
- 20 x 30-inch frame
- 16 x 20-inch frame
- blush ranunculus
- plum ranunculus
- yellow ranunculus (buy two)
- coral dahlia (buy two)
- – dusty miller
- green leaves
- succulent bush (buy two)
- palm leaves and/or palm bush
- coral fern
- fishing line
- jewelry wire
- floral tape
Tools:
- wire cutters
- hot glue gun
- scissors
Instructions:
1. Hot glue the coral fern and green leaves to the sides of the frame.
2. Wrap the wire around the frame and palm leaves to hold the leaves in place.
3. Hot glue the flowers around the frames to cover up empty spots and wire wrapping.
4. Create little bundles of succulents and dusty miller leaves and secure the stems with wire. Attach to frame with hot glue or wire.
5. Tie the fishing line to the frame, hang it up and step back to enjoy its beauty.
- Grab your frames and remove the backing and glass. You will only be using the frame. Feel free to spray paint the frame green to better blend in with the plants, but this step isn’t necessary. Grab your green leafy plants and begin to plan out how they will be arranged on the frame.
- Start gluing the coral fern and green leaves to the edge of the frame. Don’t feel as if you need to cover the whole frame. You will be adding three more layers of depth in the steps to come!
- Decide the placement of your palm leaves and then wrap with wire to hold in place. You want the palm leaves to hang down from the frame to create a cascading effect.
- Time to add the stars of the show — the flowers! Use hot glue to attach the flowers to the frame. Place them in areas where the frame is bare or there is wire wrapping that needs to be covered. Mix and match the placement of flower colors throughout the four sides of the frame.
- Looking good. Let’s add the last touch: the succulent fillers.
- Cut off sections of the succulent bundle and dusty miller leaves to create new bundles. Wrap the stems in wire to hold it together, then attach to the frame using hot glue, wire and/or floral tape.
- Tie fishing line to the corners of the frame and then have all pieces meet in the middle to create one loop for easy hanging.
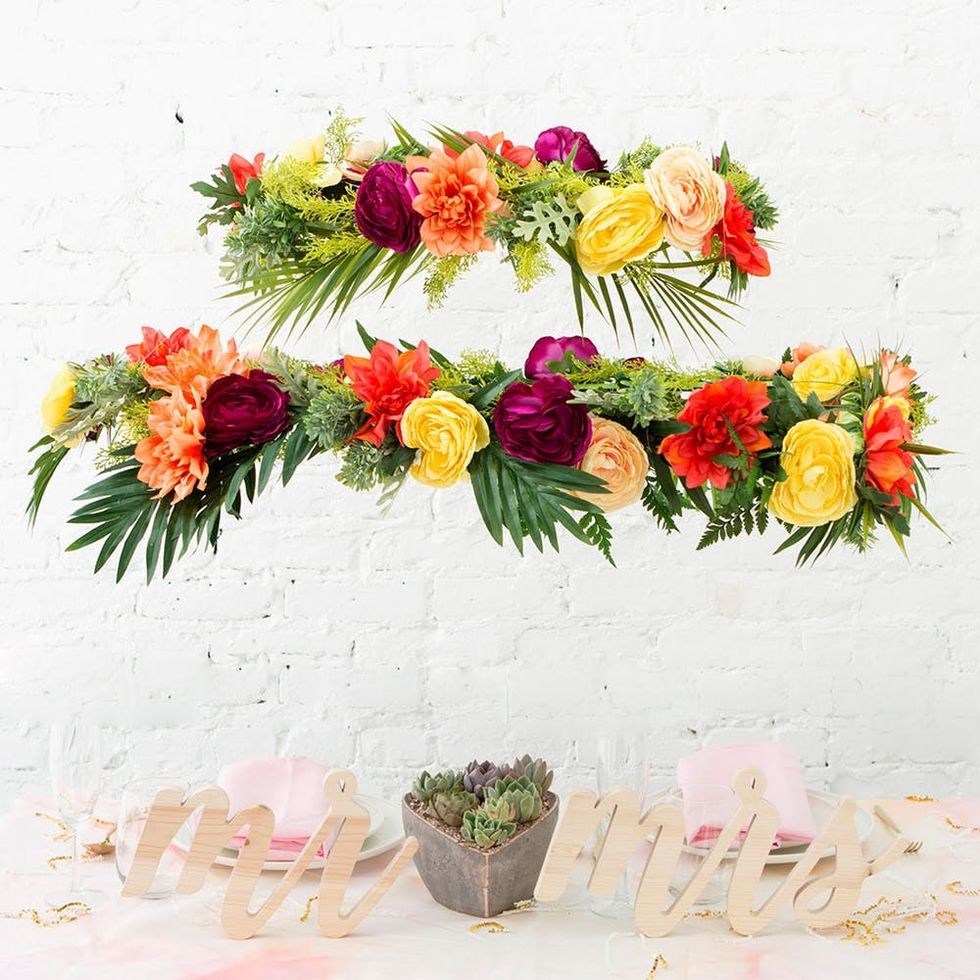
- Place the smaller frame inside the larger frame to create a two-tiered floral chandelier.
- Insert heart-eyed emoji here.
Show us your project by tagging us on Instagram + using hashtag #iamcreative!
DIY Production and Styling: Kelly Bryden
Photography: Kurt Andre
