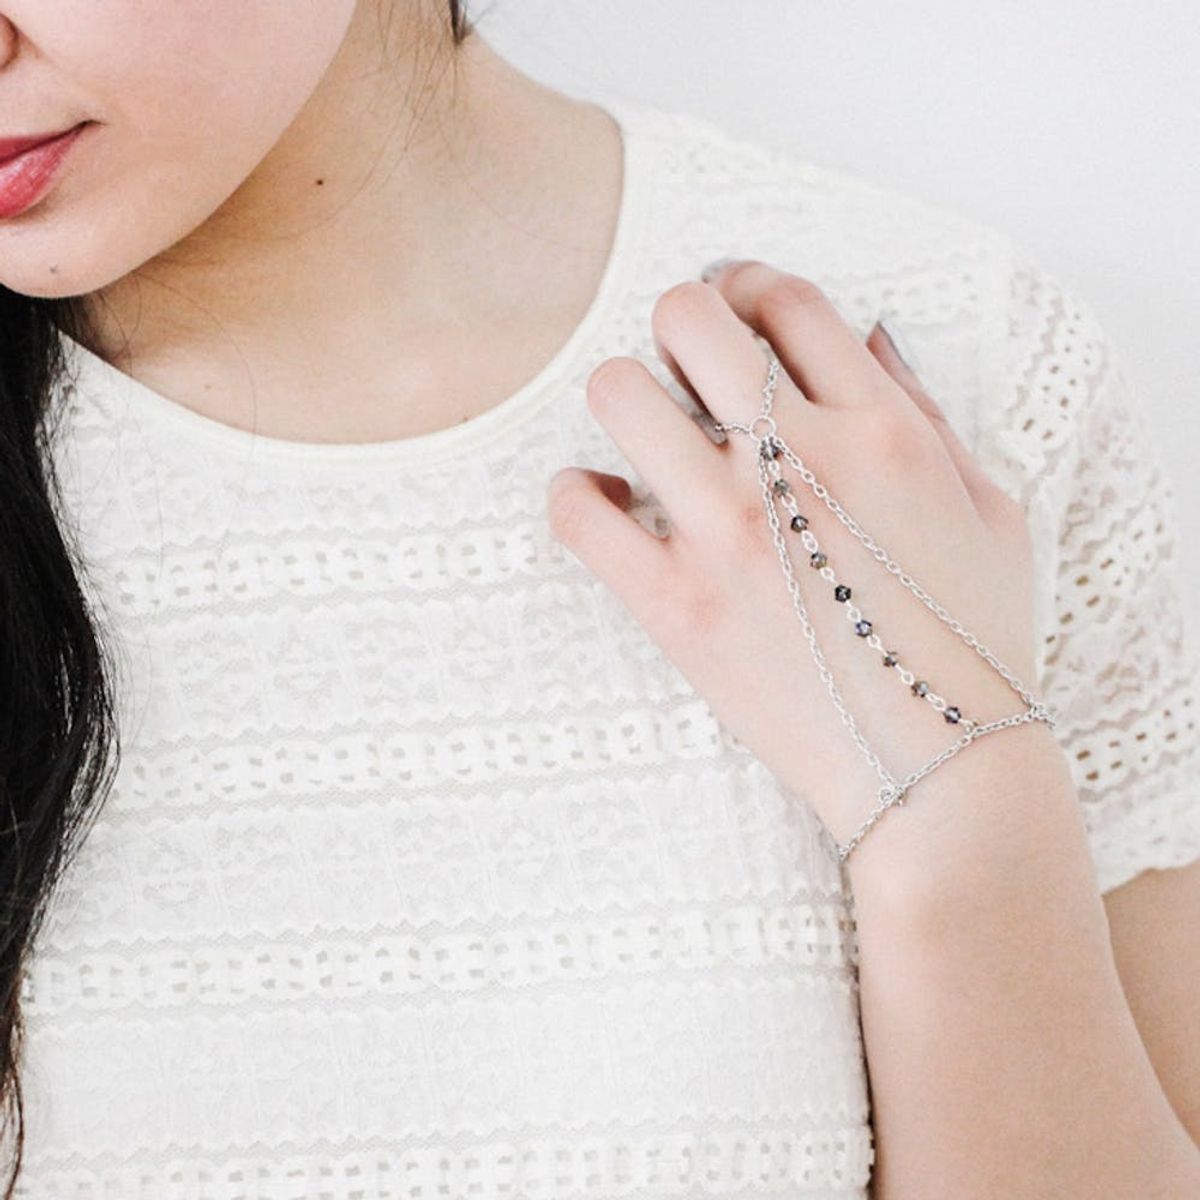
Get ready to dress up that wrist in an unconventional way.
How to Make This $228 Anthropologie Accessory for Only $15

When it comes to DIY jewelry, we’ve got you covered in the bracelet and ring departments. And now? We’ve got your back for the in-between. This tutorial shows you how to make the latest celebrity style trend — a hand chain, perfect for dressing up your wrist in an unconventional way. It’s especially useful for those days when traditional jewelry just isn’t doing it for you. A few months ago, Anthro was selling one swoon-worthy hand chain for $228. (Like, what?!?!?) Rather than spending all of our extra cash on the little treasure, we thought, “Let’s hack that.” To make one for yourself, you’ll need basic jewelry making skills and just a few supplies. Plus, you’ll be able to use leftover beads from any previous projects, meaning this project is going to set you back less than $15.
Materials:
— chain
— beads
— eye pins
— 7mm jump rings
— 4mm jump rings
— jewelry clasp
Tools:
— jewelry pliers
Instructions:
1. Add one bead to an eye pin. Trim the pin, leaving about 1/4 inch.
2. Using the round-nosed ends of the pliers, bend it into a loop.
3. Attach another eye pin to the first one. Add a bead and trim.
4. Bend into a loop once again. This is great practice for creating connectors!
5. Repeat until you create 3 inches’ worth of beaded chain.
6. Take a 2-inch strand of chain and connect the ends together with a 7mm jump ring.
7. Attach two 3-inch chains and the beaded chain to the same jump ring.
8. Connect all three to a chain that’s long enough to fit around your wrist. Add the jewelry clasps, and you’re good to go.
The size and type of your beads will determine how many you use. For this hand chain, we used 4mm bicone Swarovski crystal beads for some added sparkle. Try beads in different shapes, like triangles or tubes. You can even use beads made of various materials, such as wood or metal. Dig through your stash and see what you have!
It helps to lay out your project on a flat surface after each step. This way, you can make sure the chains don’t get tangled together.
Once you’re ready to rock your chain, take note of this tip: Put the ring portion on first, then clasp the bracelet part around your wrist. This is the easiest way to put a hand chain on — we promise!
What kind of beads would you use for your hand chain? Share your thoughts below!
(Styled photos by Haruka Sakaguchi of The Denizen Co.)


