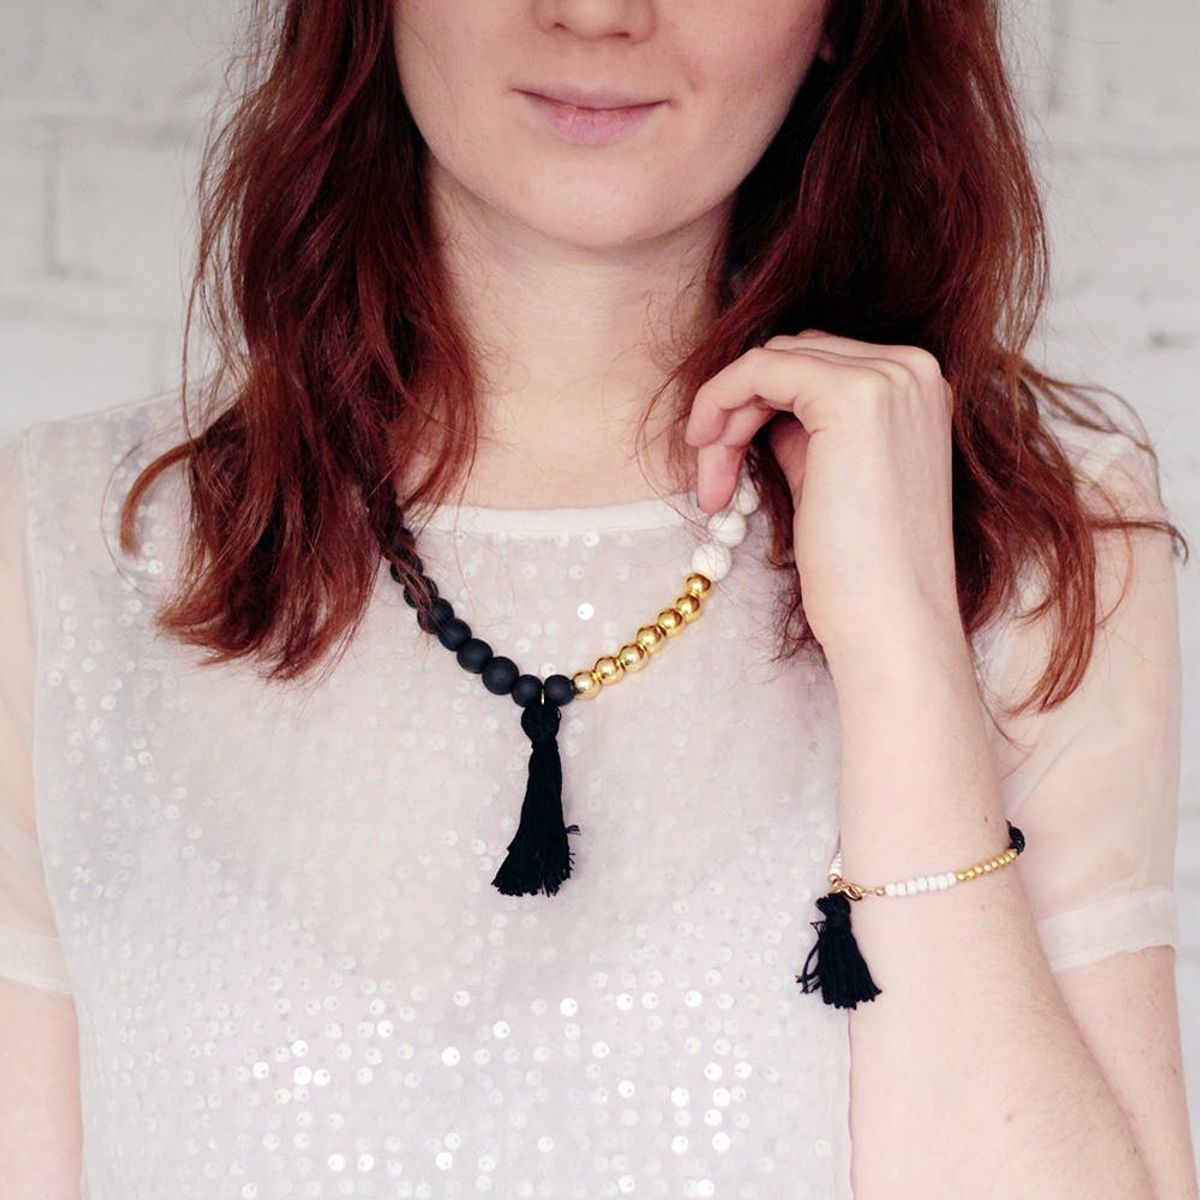
We’re upgrading that macaroni necklace right about now.
This Is the DIY Necklace Your Mom ACTUALLY Wants for Mother’s Day

If you’re anything like us, you’re at a loss when it comes to finding a gift that honors the woman who drove you to dance class, remained patient through your angsty teenage years and helped you transition to adulthood. One thing we do know is that store-bought items won’t cut it. You need a made-with-love gift. And when we think back, the one thing that we made mom that she wore with such pride was that macaroni necklace. But we’re grown-ass adults now, and it’s time to give that noodle necklace an upgrade and exchange it for this beaded necklace andbracelet. Yup, she gets two pieces of jewelry, because we love you that much, mom.
Materials:
— clay beads (learn how to make your own here)
— large gold beads
— small gold beads
— seed beads
— nylon wire
— crimp beads
— crimp covers
— embroidery floss
— jump rings
— lobster clasp
Tools:
— flat nose pliers
— cutters
Instructions:
1. Lay out the beads to plan your necklace/bracelet before you begin threading.
2. Cut a piece of nylon wire longer than you need for the finished item. Thread on the beads as you planned in step one. When all the beads are in place, thread a crimp bead onto one end of the wire and then thread the end back through the crimp to make a loop.
3. Squeeze the crimping bead in place and cover with a crimp cover. Thread the beads down over the end of the wire to conceal it and move all the beads down to the end. Cut off the excess wire, leaving about 1 inch, and crimp as you did with the other end.
4. Attach jump rings to both ends, adding a lobster clasp to one of them.
5. Wrap the embroidery floss around your fingers a number of times until you have the desired thickness of your tassel. Remove from your hand and wrap the end around the top of the tassel. Tie off and trim the loops at the other end.
6. Attach the tassel to the necklace using a jump ring.
The necklace and the bracelet are made the same way, so just repeat the steps above to make the bracelet.
Once you’ve laid out your beads in the order you want them, start stringing them on to the nylon wire — just like you strung those noodles on to that piece of yarn back in the day.
If your mom likes long necklaces, by all means, tailor it to her preferences.
Once you necklace is all strung together, attach the lobster claw clasp.
Now on to our favorite part — the tassel.
Tassels are simple to make, and you can load your necklace and bracelet up with as many or as few as you’d like.
One of the best parts of making a gift for your mom (besides it being made with love) is that you can customize it to her likes — no matter if you make a long colorful necklace with tons of tassels for your boho mom or a shorter, understated one (like we made) for your chic and classic mom.
We’d love to know if you’ve been making any jewelry for your mom. Let us know in the comments!


