No one will believe you DIYed these.
3 Easy Ways to Make a Stunner Necklace With Rope

Jewelry collection feeling a little blah these days? Need an inexpensive DIY to ramp up the wow factor in your wardrobe? We’ve got the solution for you. These rope necklaces will turn heads and add a load of color to your outfit. You won’t want to take them off! Get our Wrapped Necklaces Kit and check out the tutorial below to see how we made them.
Wrapped Necklace Kits
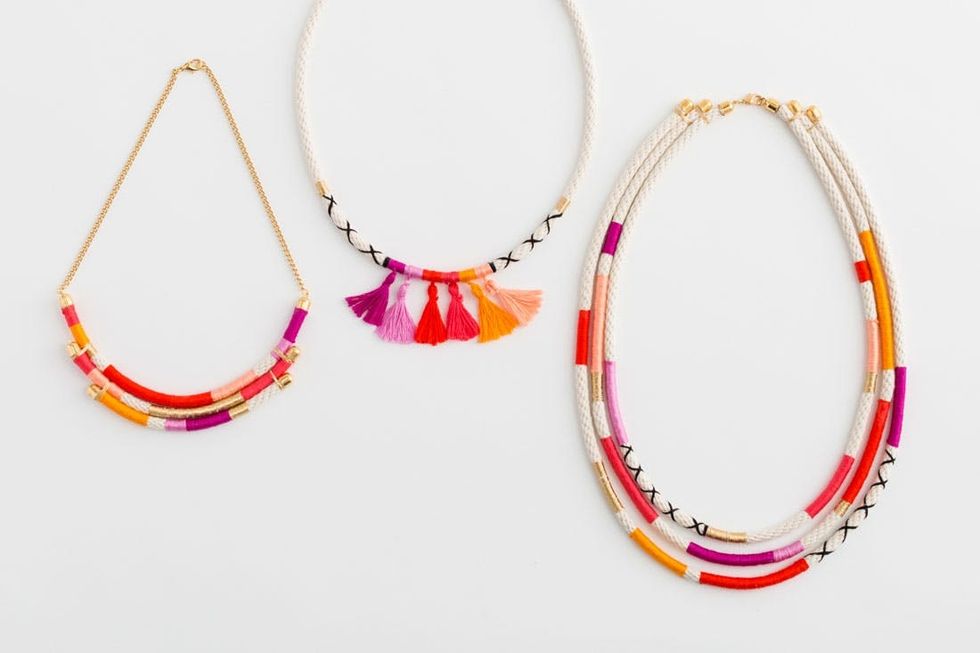 Warm Tones and Cool Tones, each with enough cotton cord to make one statement necklace with up to three layers of wrapped cord (just like that beaut to the right).
Materials:
warm
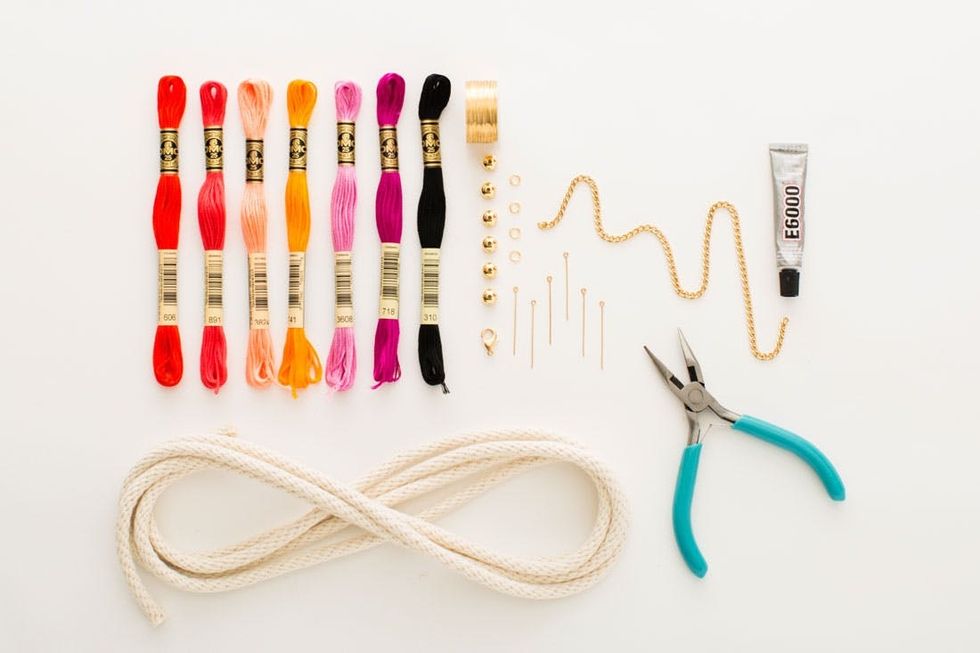 cool-toned kits!) and a pair of scissors and let’s get wrapped up!
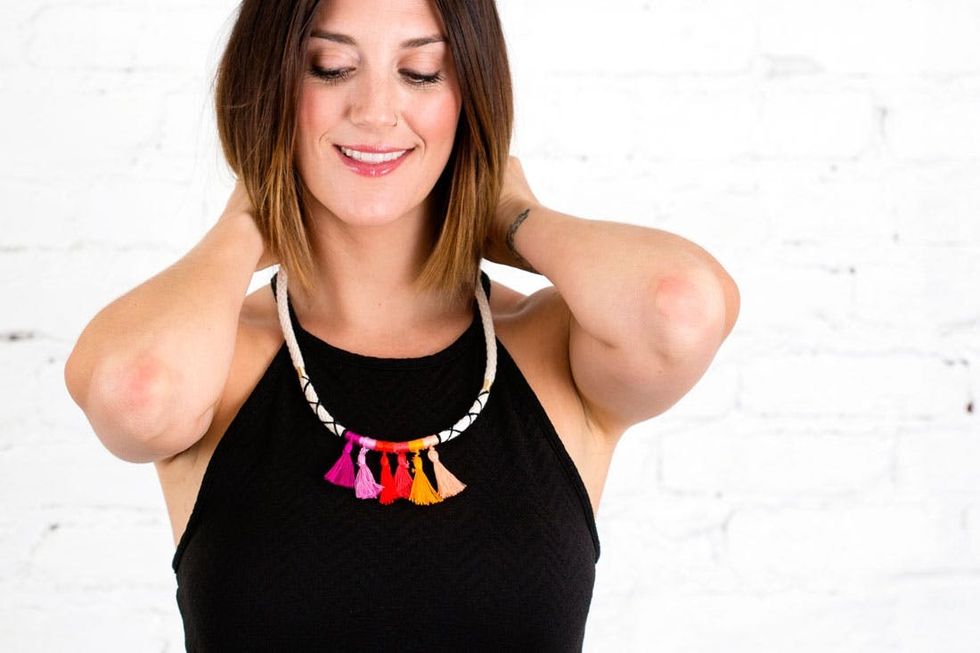
This first how-to takes you through all the basic steps that can be applied to all three designs. Keep on scrolling to see how it’s done!
Tassel Necklace
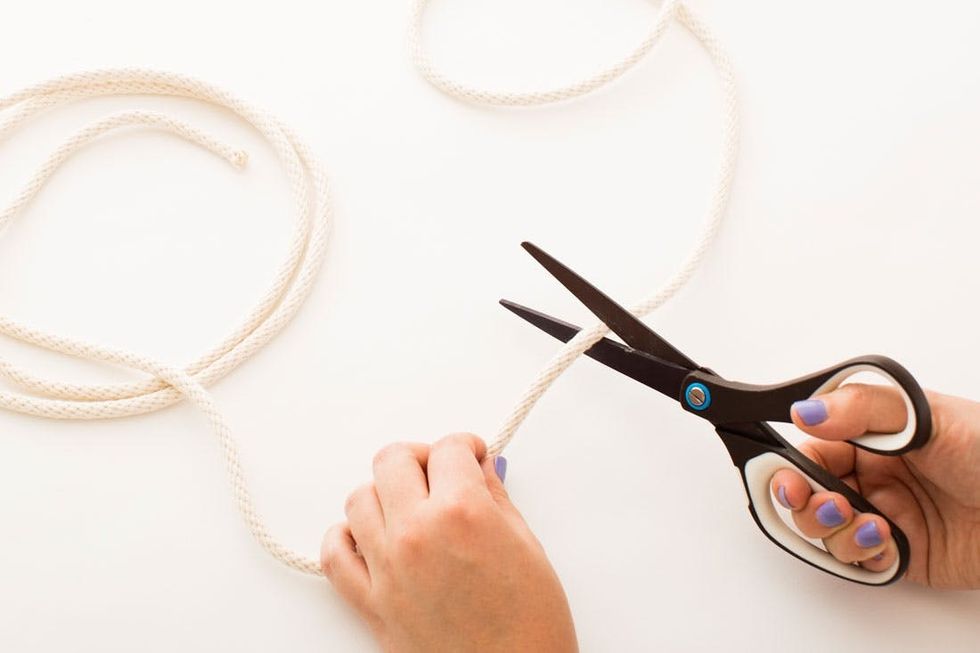
Cut a piece of cord to your desired necklace length. We recommend giving yourself a couple extra inches to trim off later.
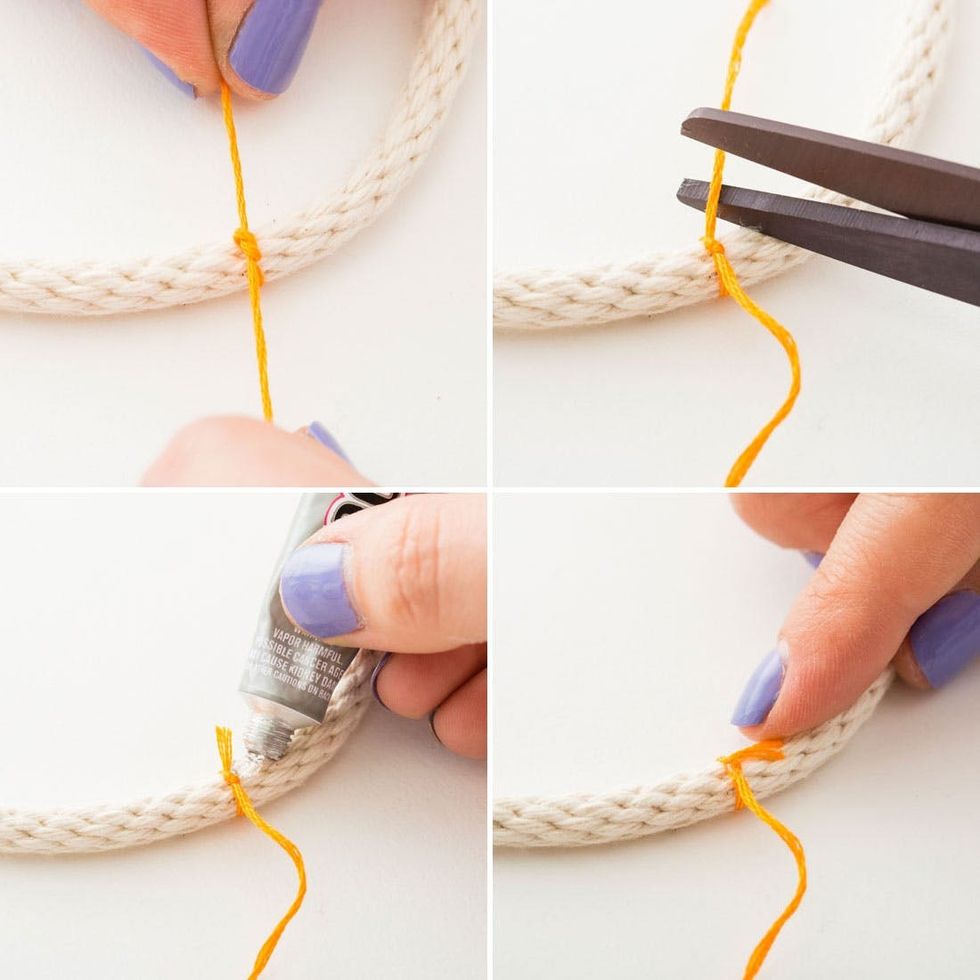
To start your first section, tie embroidery thread around your cord with a double knot and trim the end. Then squeeze a small dot of glue beneath your knot (in the direction you plan to wrap) and smooth down the end with your finger to secure.

Start wrapping the embroidery thread tightly around your cord, overlapping the glue.
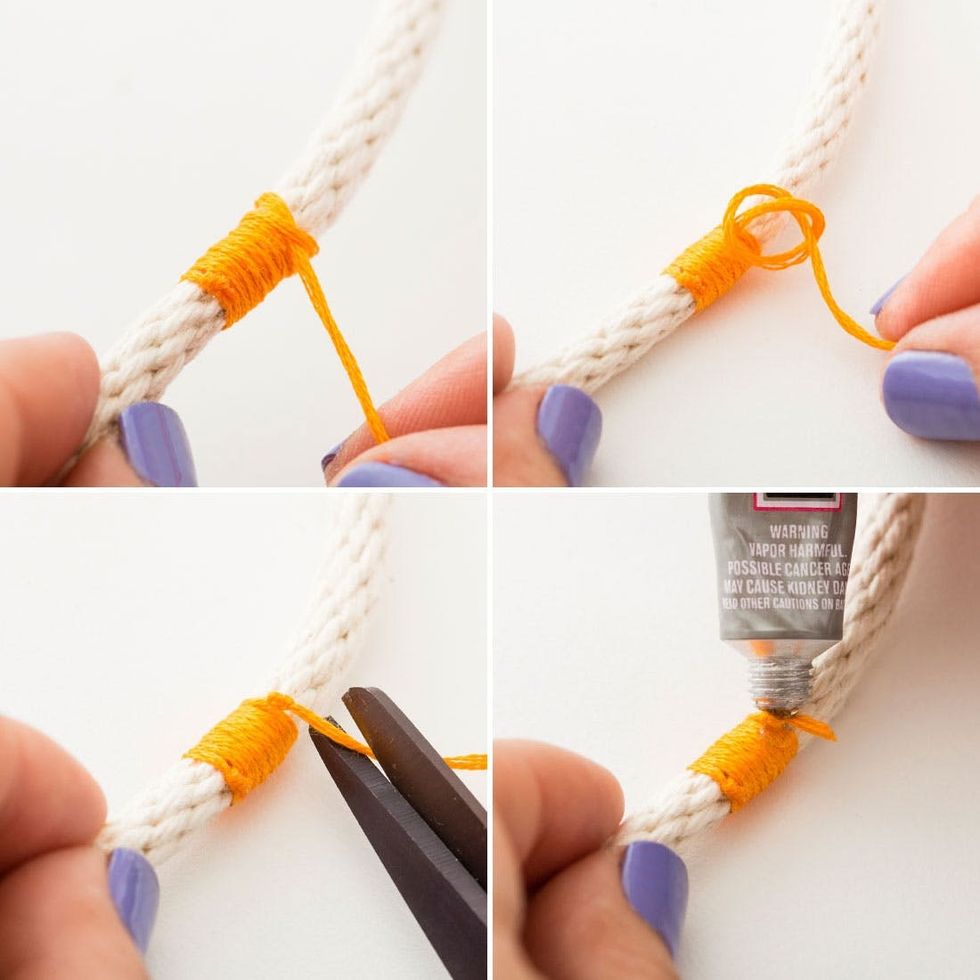
When you’ve finished wrapping this section, tie a tight double knot, trim off the loose ends and secure with a small dot of glue, just as you did to start the section.
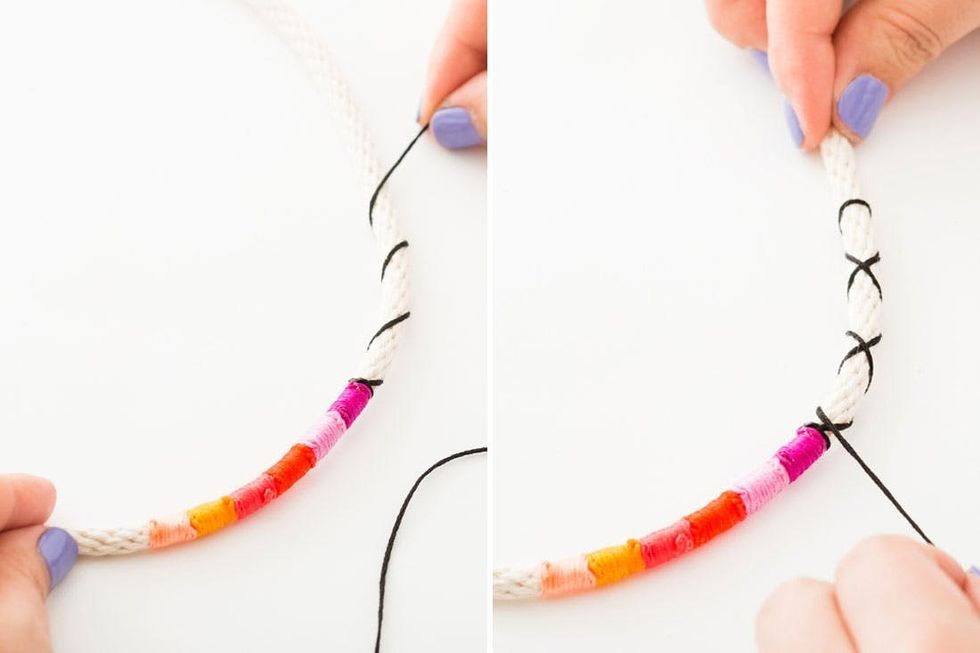
Repeat this process with as many sections as you like. To make a criss-cross pattern, wrap the thread up at a diagonal and then wrap back down the opposite way.
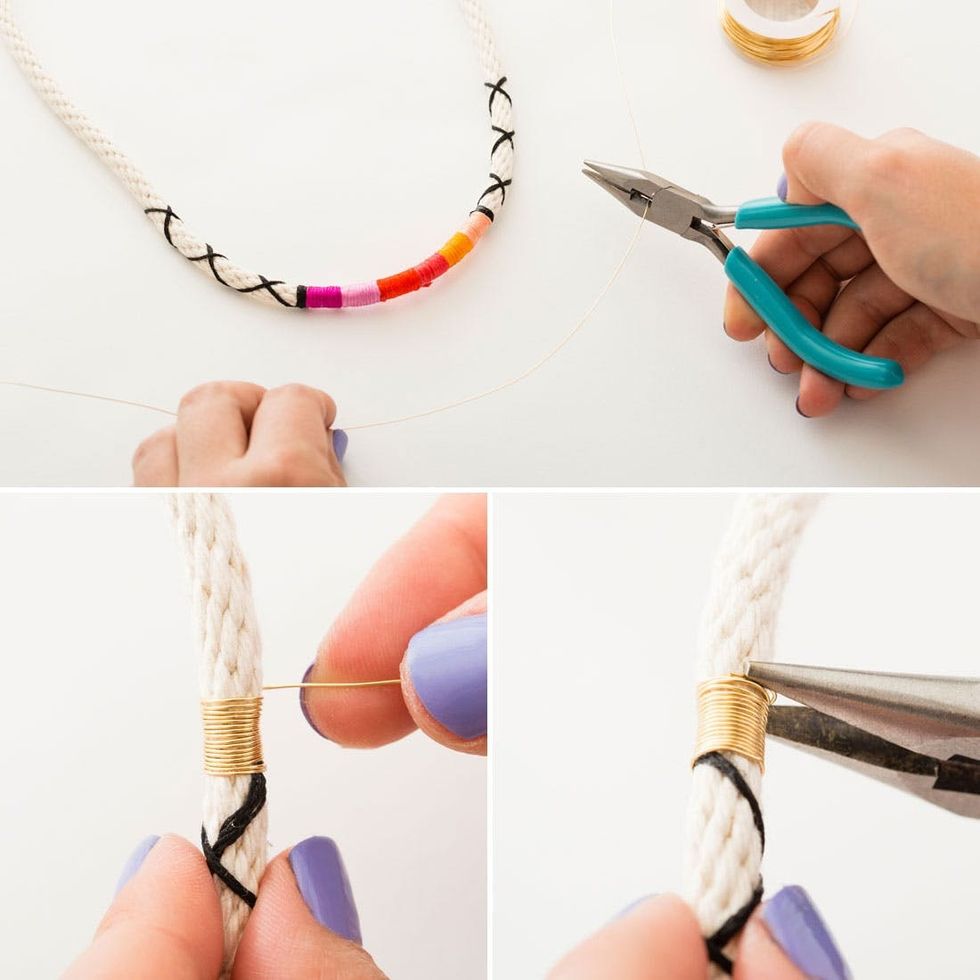
Add metallic sections by cutting a piece of wire with your 2-in-1 pliers and tightly wrapping it around your cord. No need to tie any knots or secure with glue — just bend the end of the wire inward with pliers.
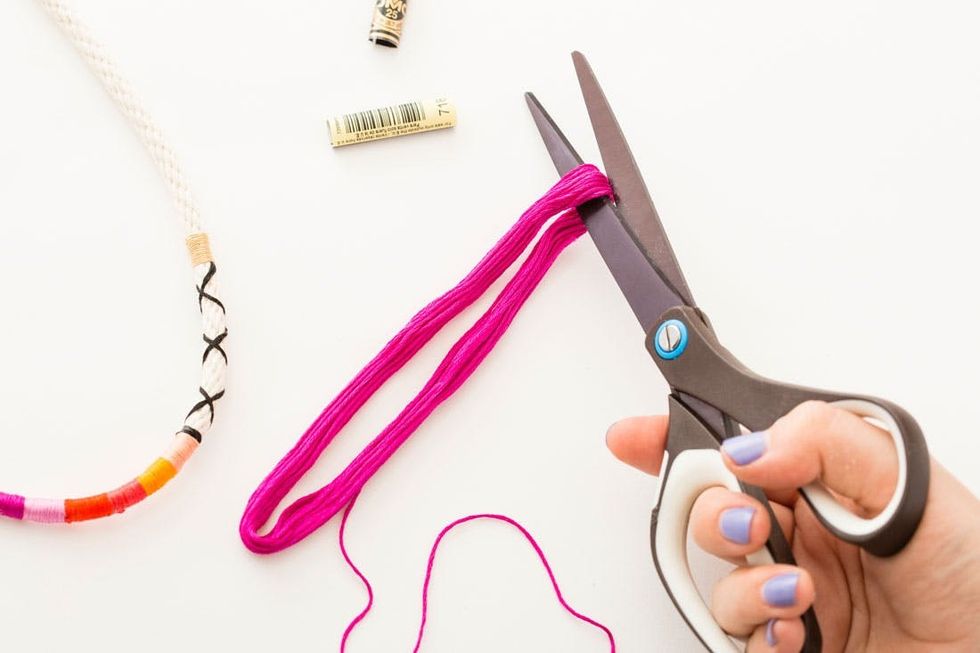
Now it’s time to make small tassels from your leftover embroidery thread by removing the labels and cutting the embroidery skein into two bundles.
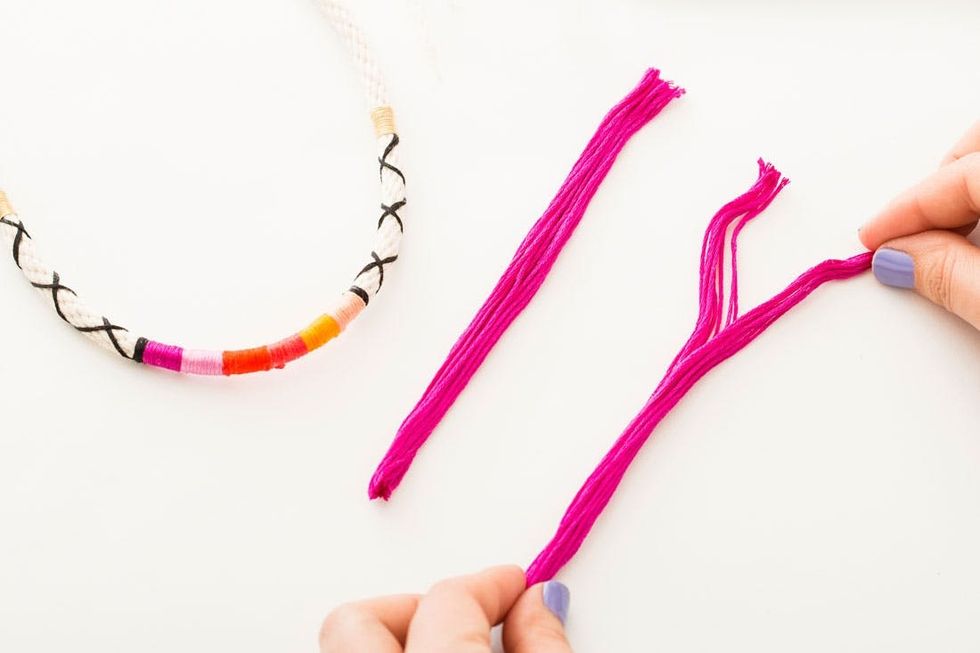
Divide those two bundles in half again for itsy bitsy tassels, or leave them full size for larger ones.
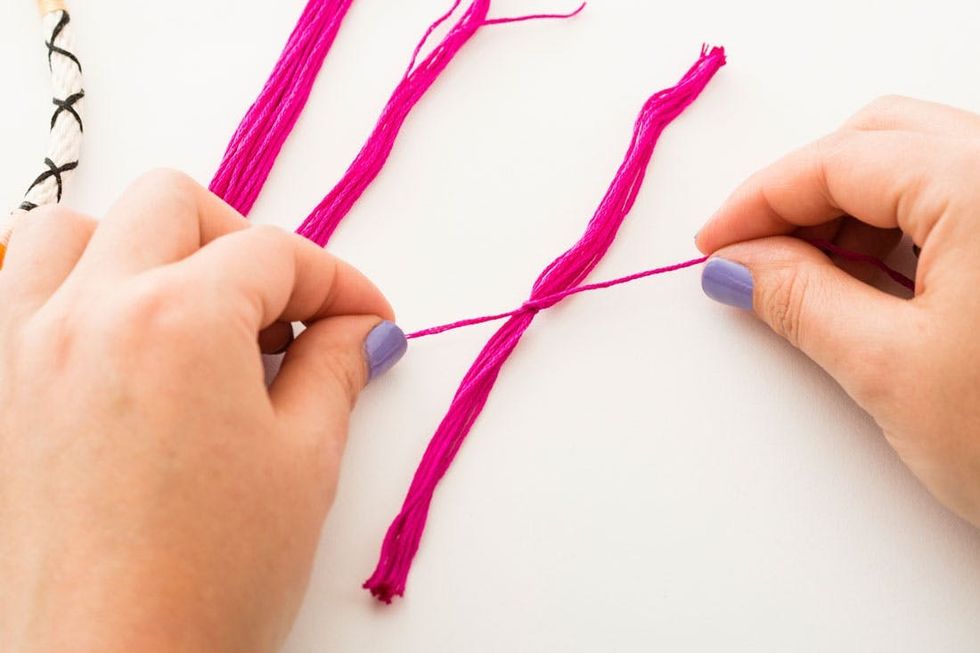
Grab an extra thread from one of the bundles, and tie a double knot in the middle.

Fold your tied bundle in half and then tie another string around the whole thing to make your tassel.
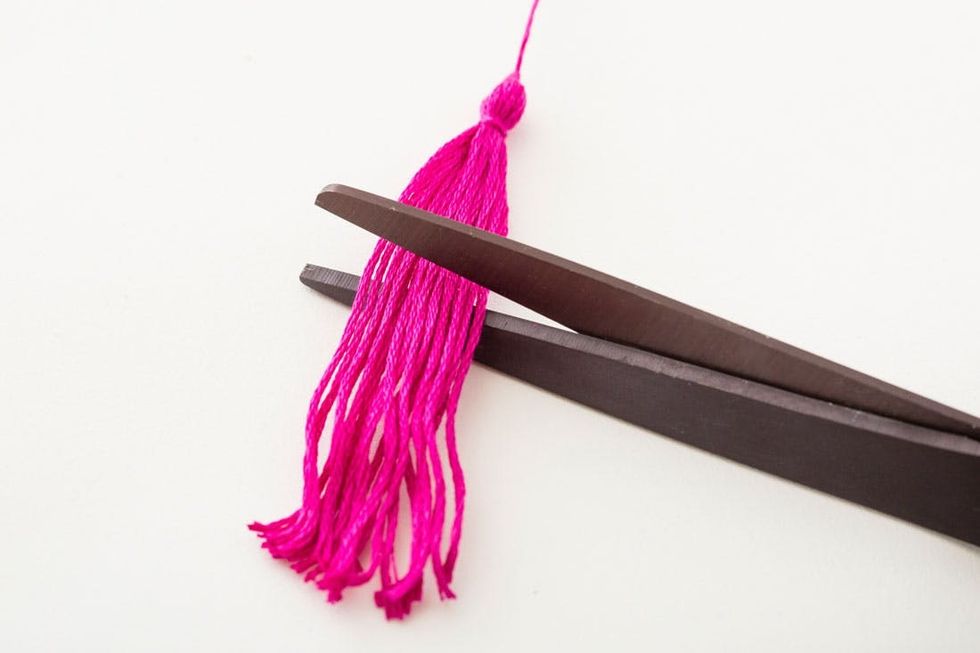
Trim off any loose threads, as well as the bottom of the tassel so that the ends are straight.
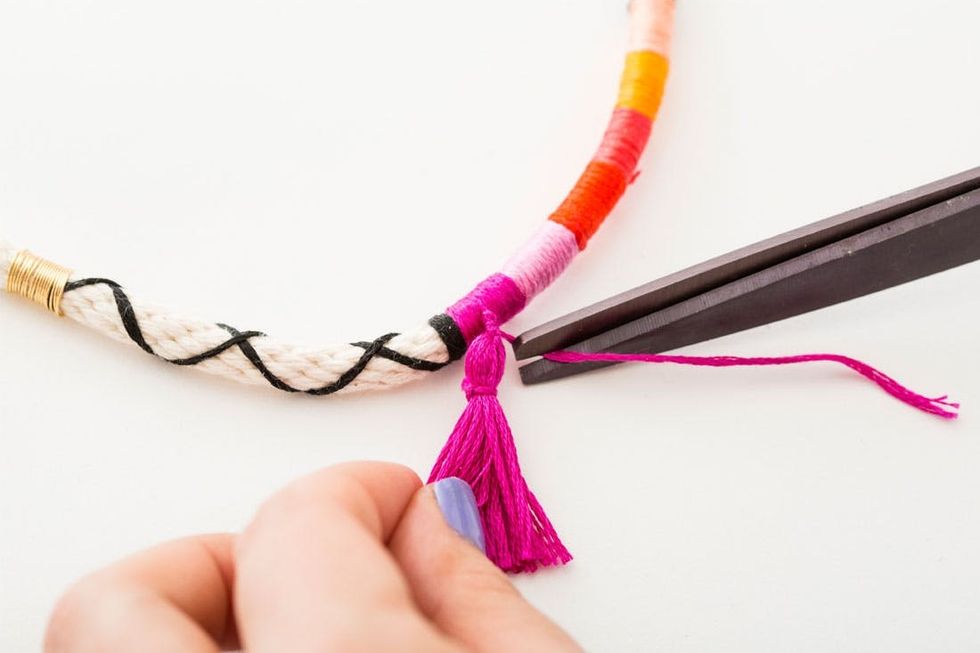
Tie the tassel onto your wrapped cord with a double knot and trim off the end.
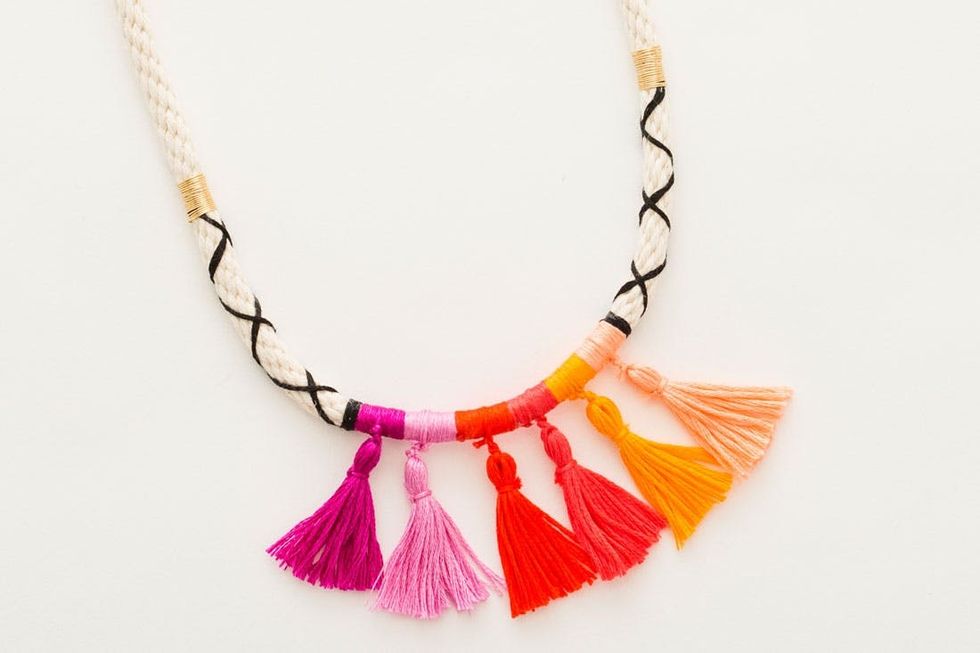
Repeat this process for more colored tassels and tie them all onto your necklace.
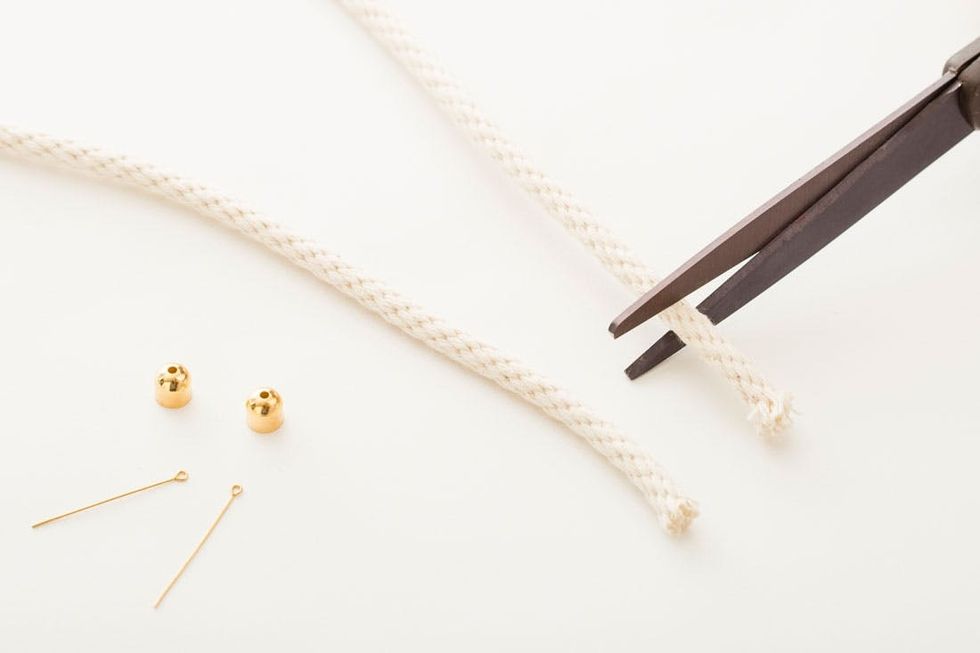
Once you are finished wrapping, trim off the frayed ends of your cord with scissors and then cover these ends with a generous amount of jewelry glue.
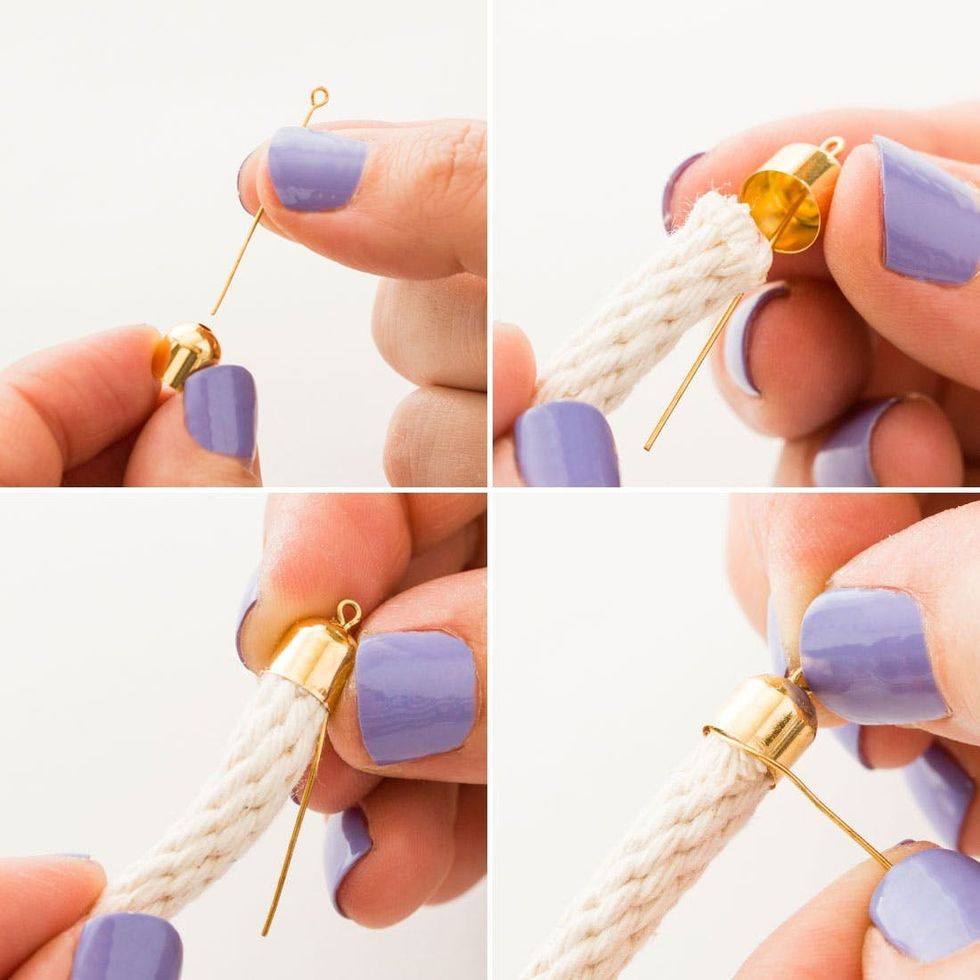
Insert an eyepin into the top of one cord end and slide it onto your glued cord. See that the pin is positioned off to the side. You’ll need to firmly twist the cord end onto the cord so that it fits snugly. Then bend the eyepin to the side at a right angle and wrap it around the cord to secure.
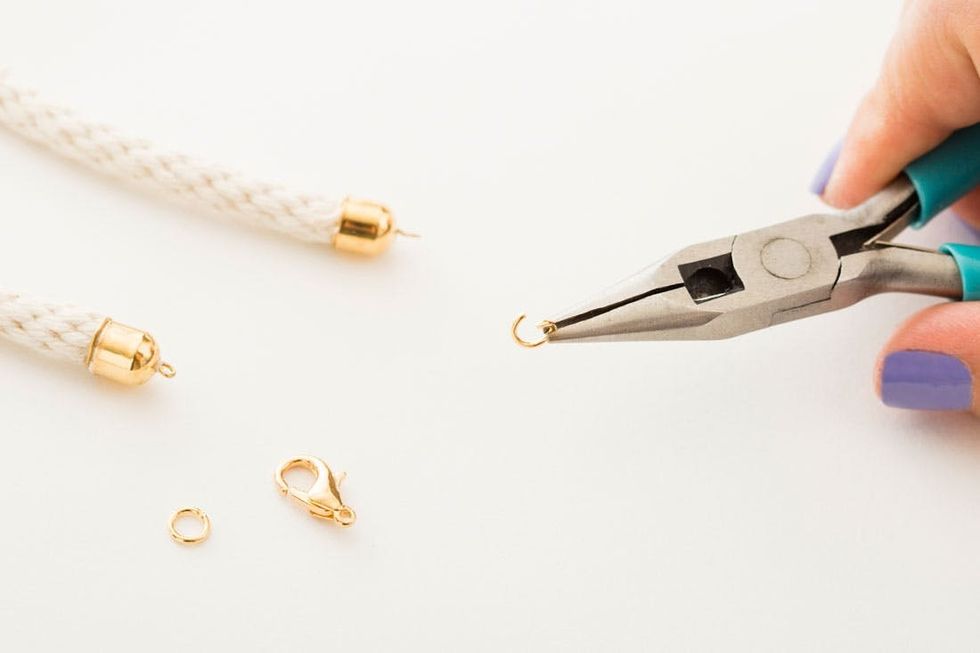
Let the glue dry for 15 minutes or so and then open up a jump ring with your pliers by twisting it open to the side.
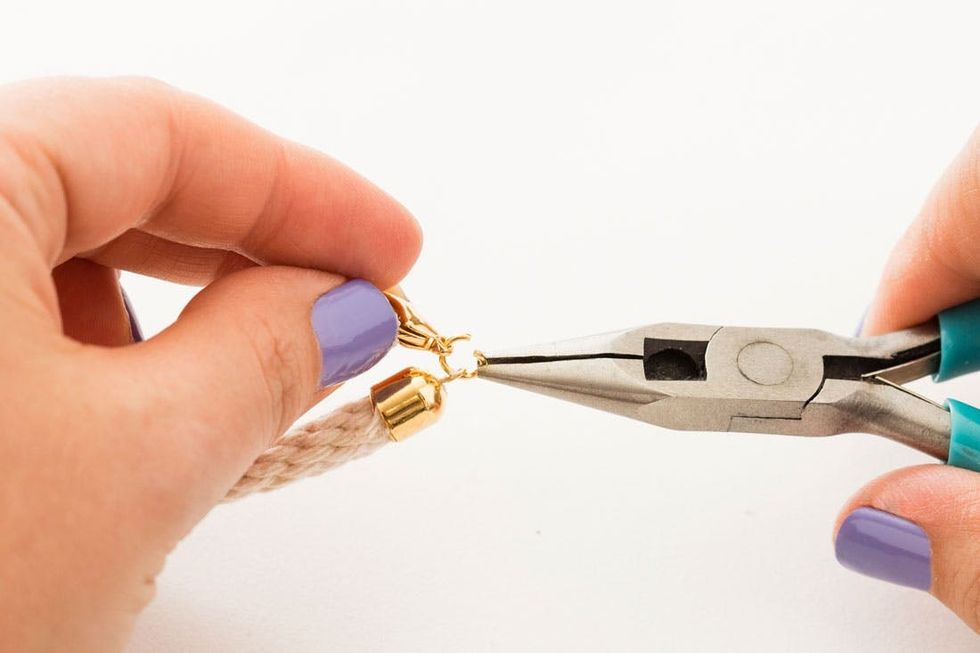
Thread the open jump ring through the loop in the eyepin and through the lobster clasp before twisting it back to its original position. No pulling the jump ring apart, ya hear?

Repeat on the other end with just one jump ring and close ‘er up.
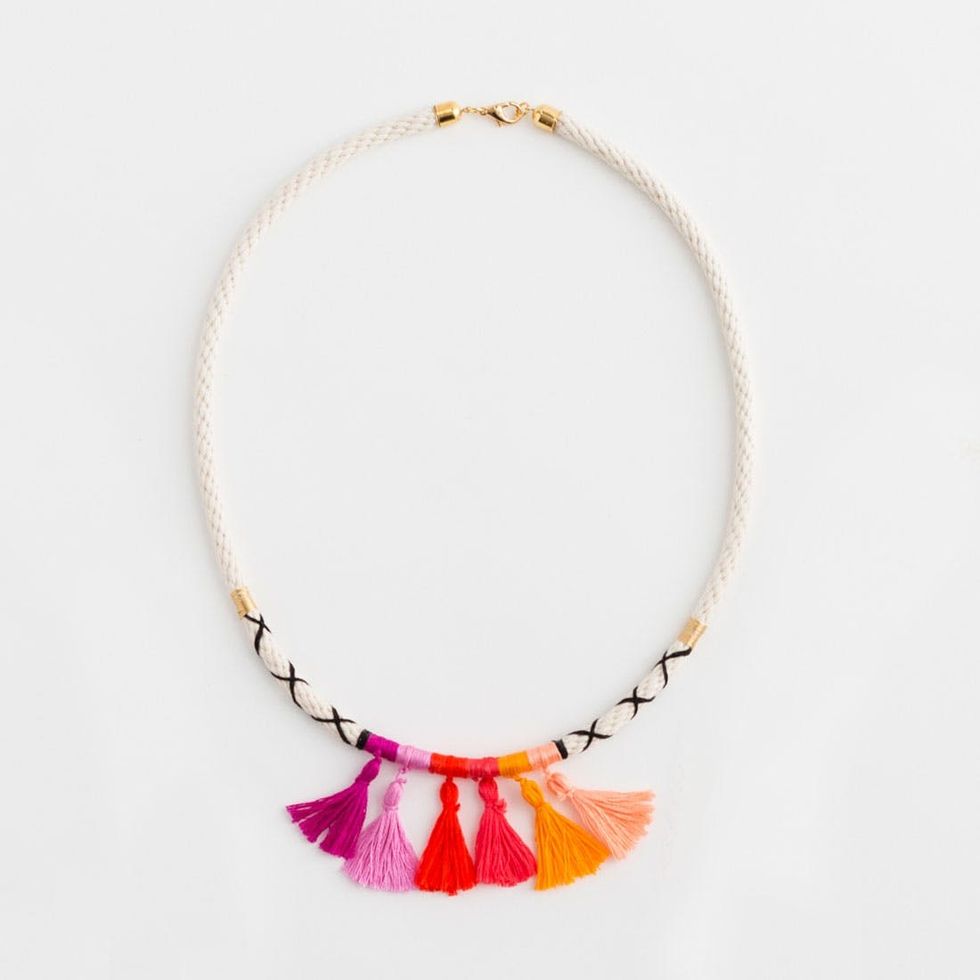
Voila! This is what it looks like when it’s all complete!

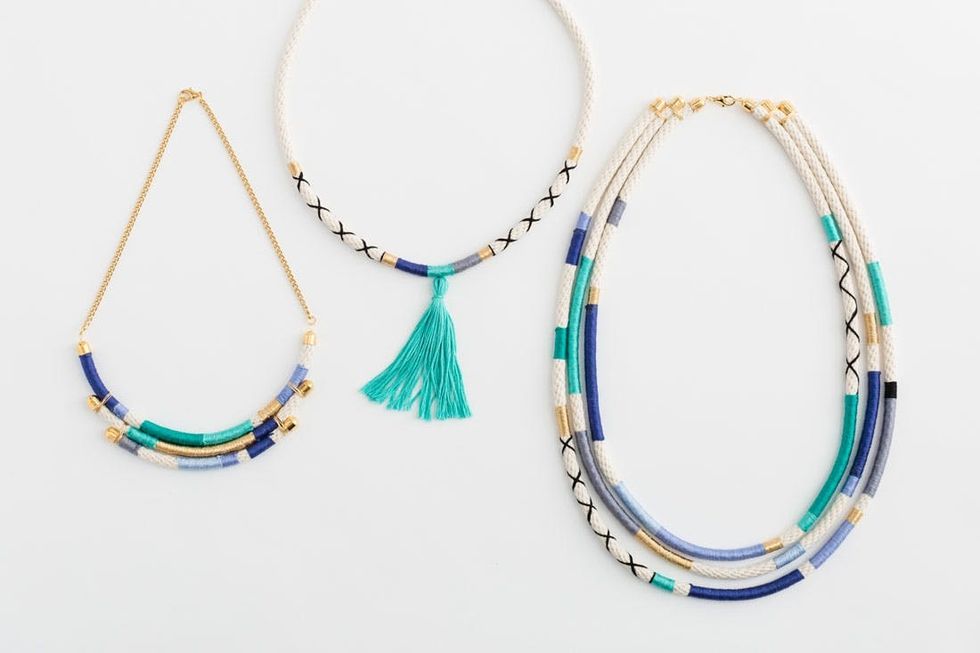
We couldn’t resist putting together a slightly different version with our Cool Tones Kit, for all our bluesy babes out there.
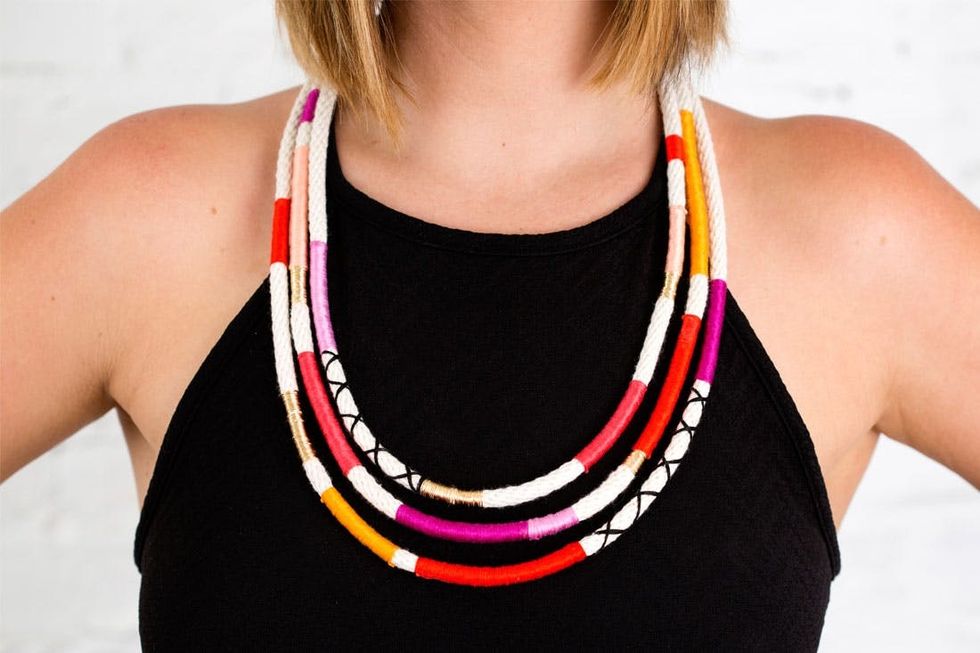
This second design is a serious statement piece that uses all the same techniques from the first one.
Long Layered Necklace
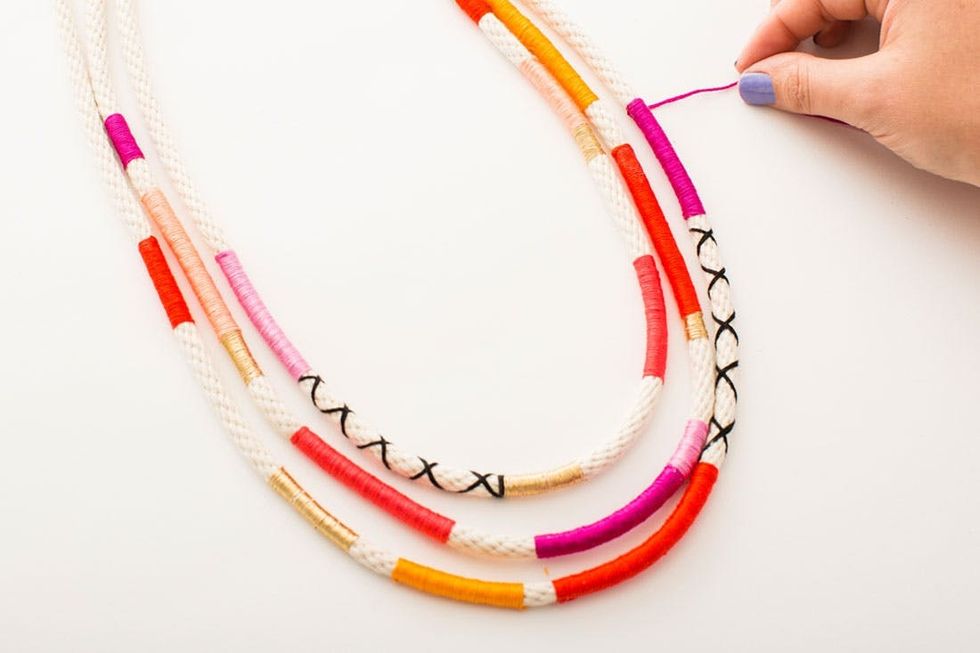
Grab a few friends and have a wrapping party! This one takes a bit more time but is seriously worth it.
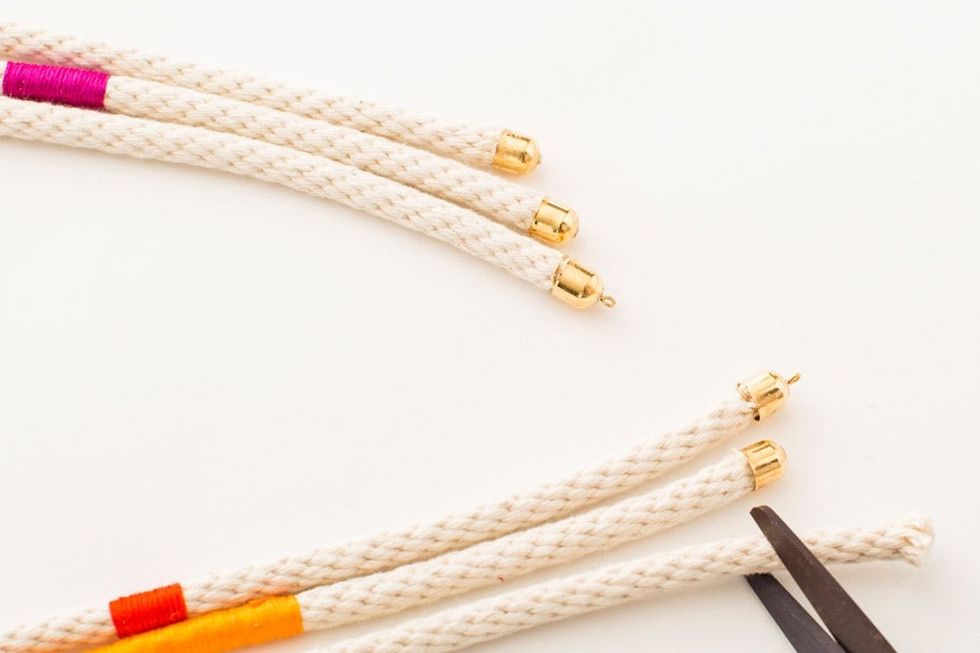
Remember how we finished off the last necklace with eyepins and cord ends? Repeat that same process for the inner-most layer of your necklace, and then secure the other four ends with a cord end and glue (no eyepins required).
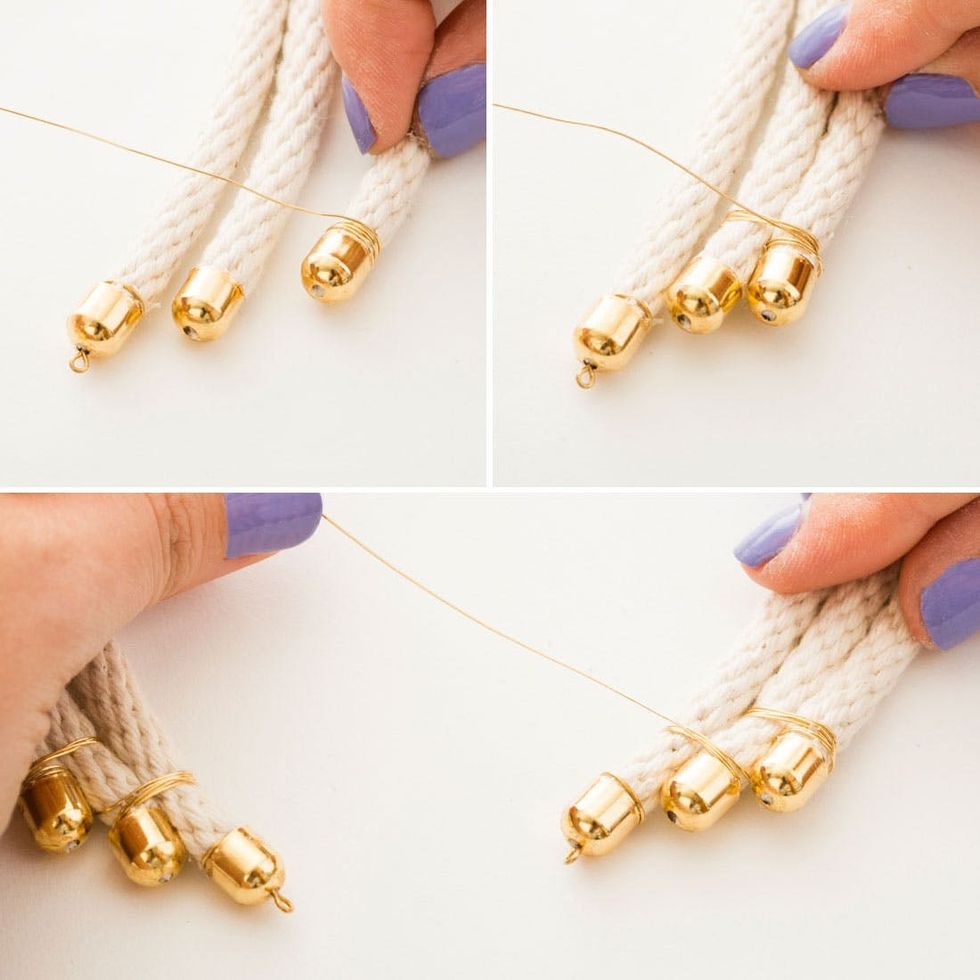
Line up all three layers and attach them to each other with wire, first wrapping the outer two together and then the inner two.
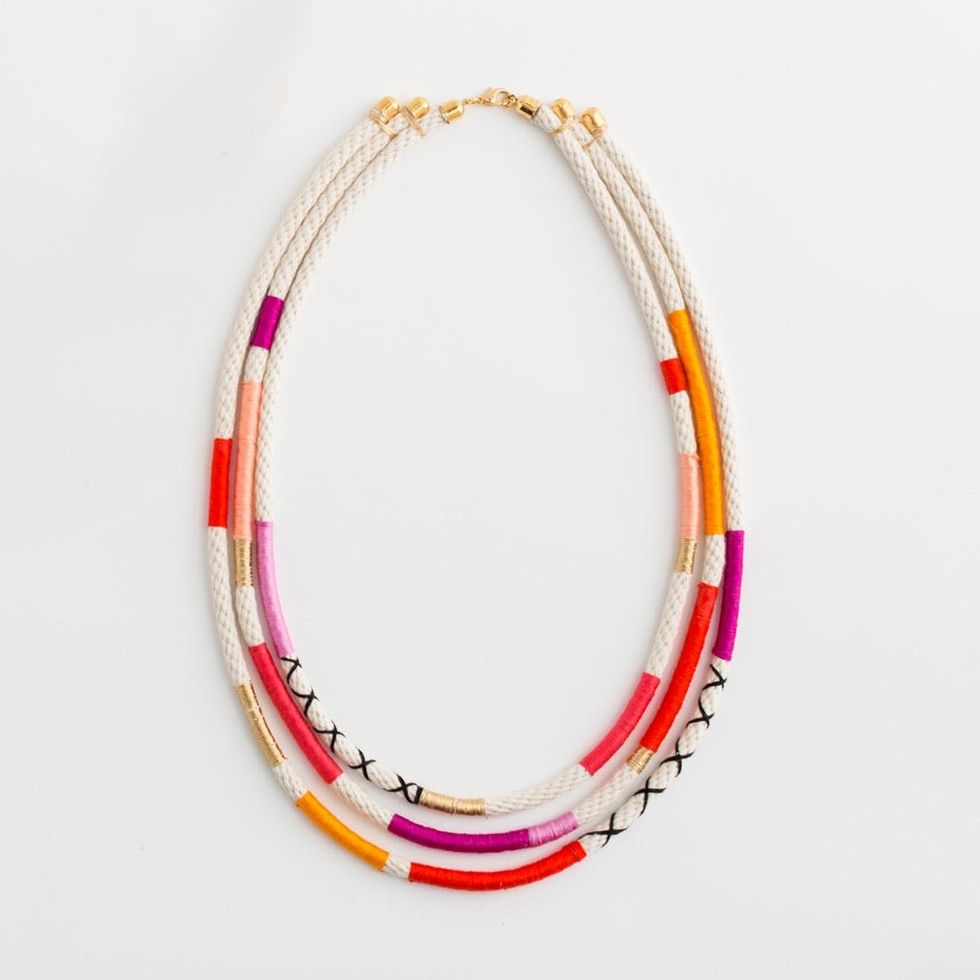
Here’s our stunning masterpiece! Note how staggering the cord ends at the top creates a little space between the layers at the bottom of your necklace.

You guessed it — there’s a blue version too! Misty’s feelin’ fine and ready to hit the town in this one.
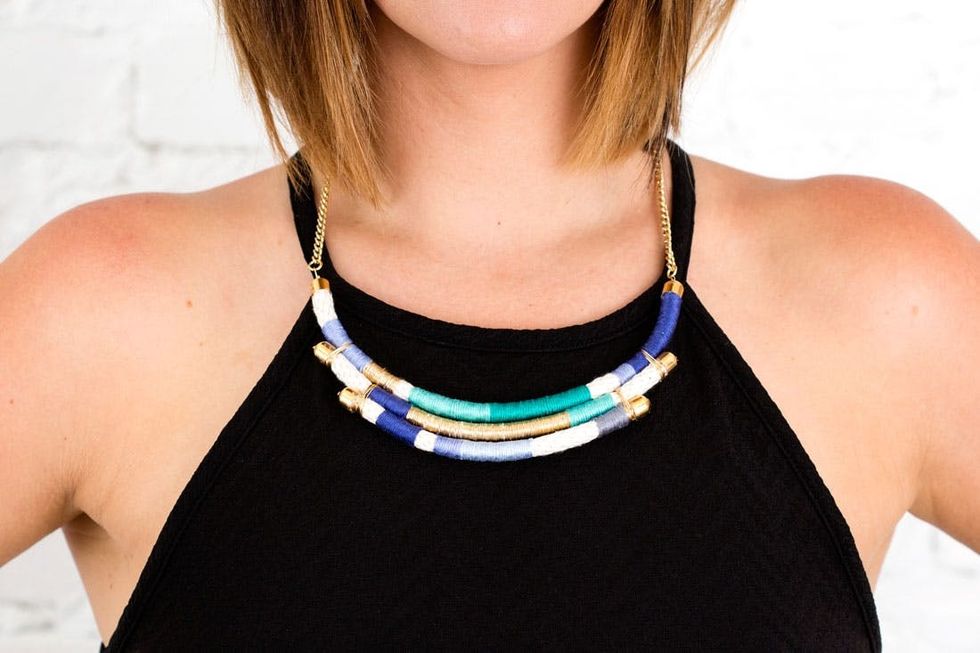
This last addition replaces some of the rope with sleek gold chain for a seriously classy statement piece. Hot new gallery opening, here we come!
Short Layered Necklace
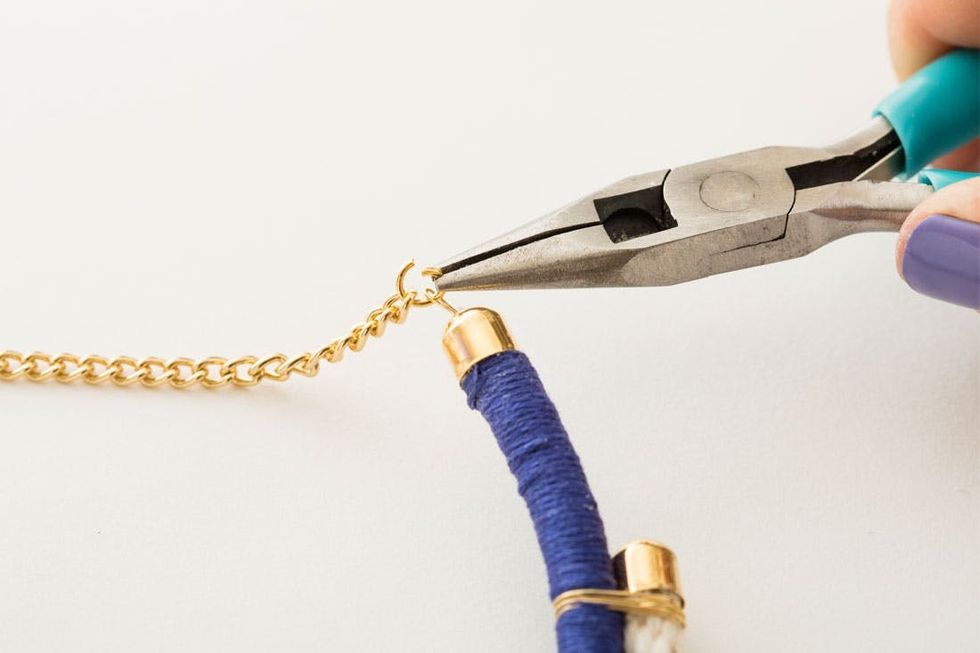
If you’ve read the rest of this tutorial, then you’ve totally got this! Open up a jump ring and attach a 12-inch chain.
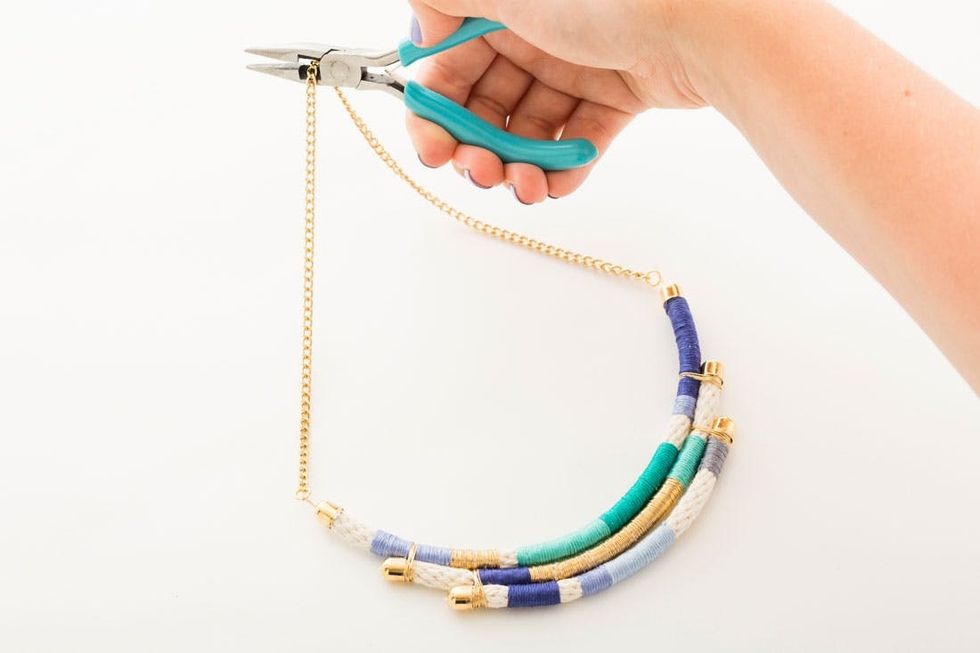
Close up the jump ring and repeat on the opposite side. Once the chain is attached, snip it in half at the top with your 2-in-1 pliers.
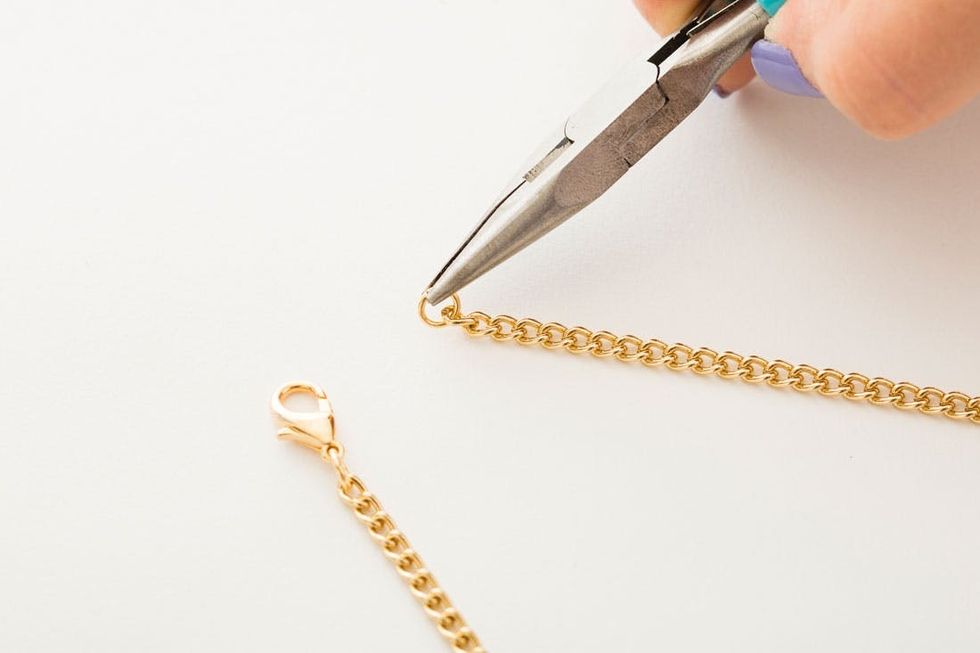
Attach a jump ring to one side and a jump ring and lobster clasp to the other, and close everything up with your pliers.
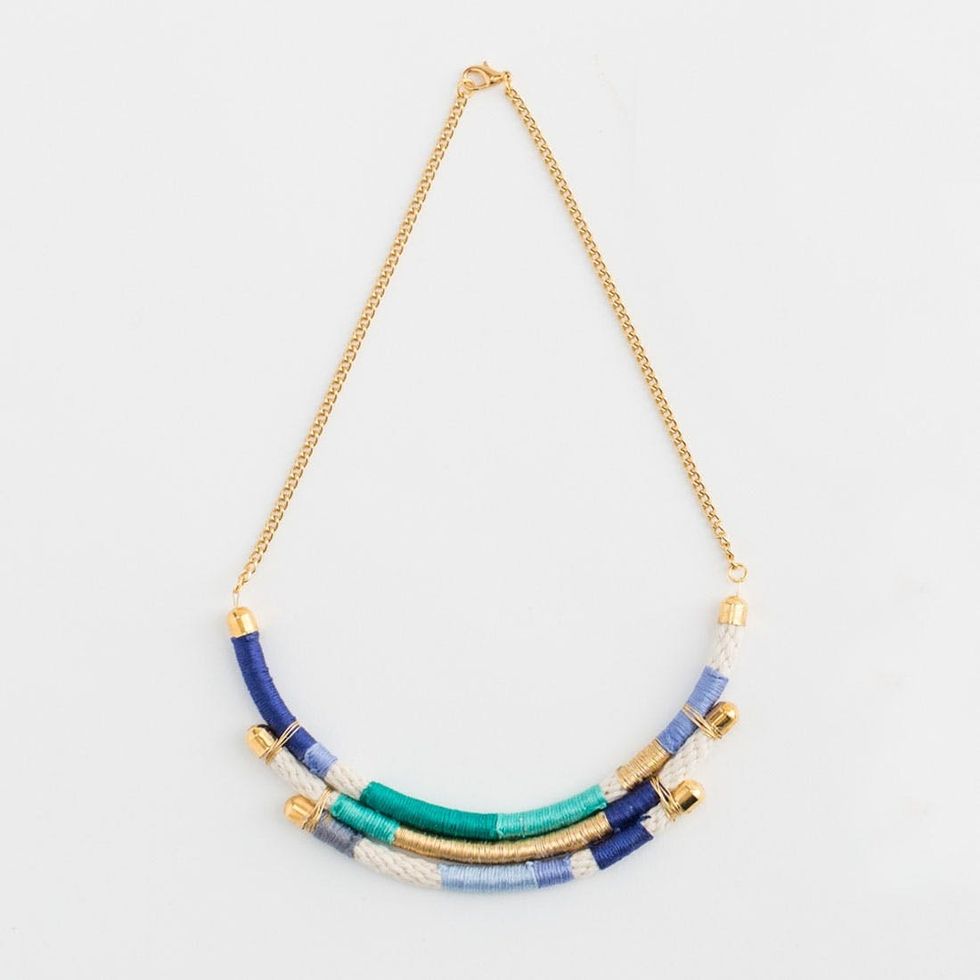
Check out that magnificent piece of wearable art! We can’t believe how easy these things are to make.

Good ol’ red makes an appearance in this style as well.
Blues
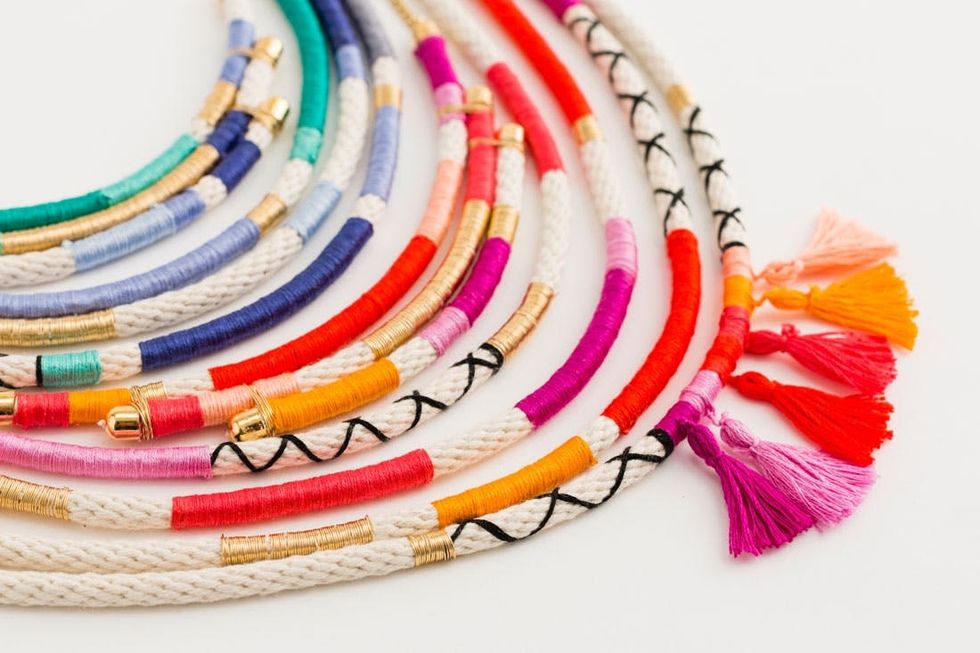 reds — which will you choose?

Show us what you’ve made (mid-air pics highly encouraged) by socialing your finished project using #iamcreative. We love, love, love seeing what our readers come up with!


