Make these 3D paper cards for Mom!
Surprise Mom With a Pop-Up Card This Mother’s Day

There’s a moment of anticipation when you receive a card. You pull it out of the envelope wondering what the cover will look like. Is it a funny card? Is it sentimental? And then there’s the second surprise — the inside. You expect a note and possibly the other half of a joke, but you don’t usually count on a 3D image that pops out at you. We’ve concluded this is the best way to wow mom for Mother’s Day. Right? Right. We’ve got three different ways to make pop-up cards to share with you today. Get your scissors, tape and paper and get to it!

Materials:

– paper
– string
Tools:
– scissors
– Scotch® Double-Sided Tape
– X-Acto knife
– cutting mat
– pen
– spray adhesive
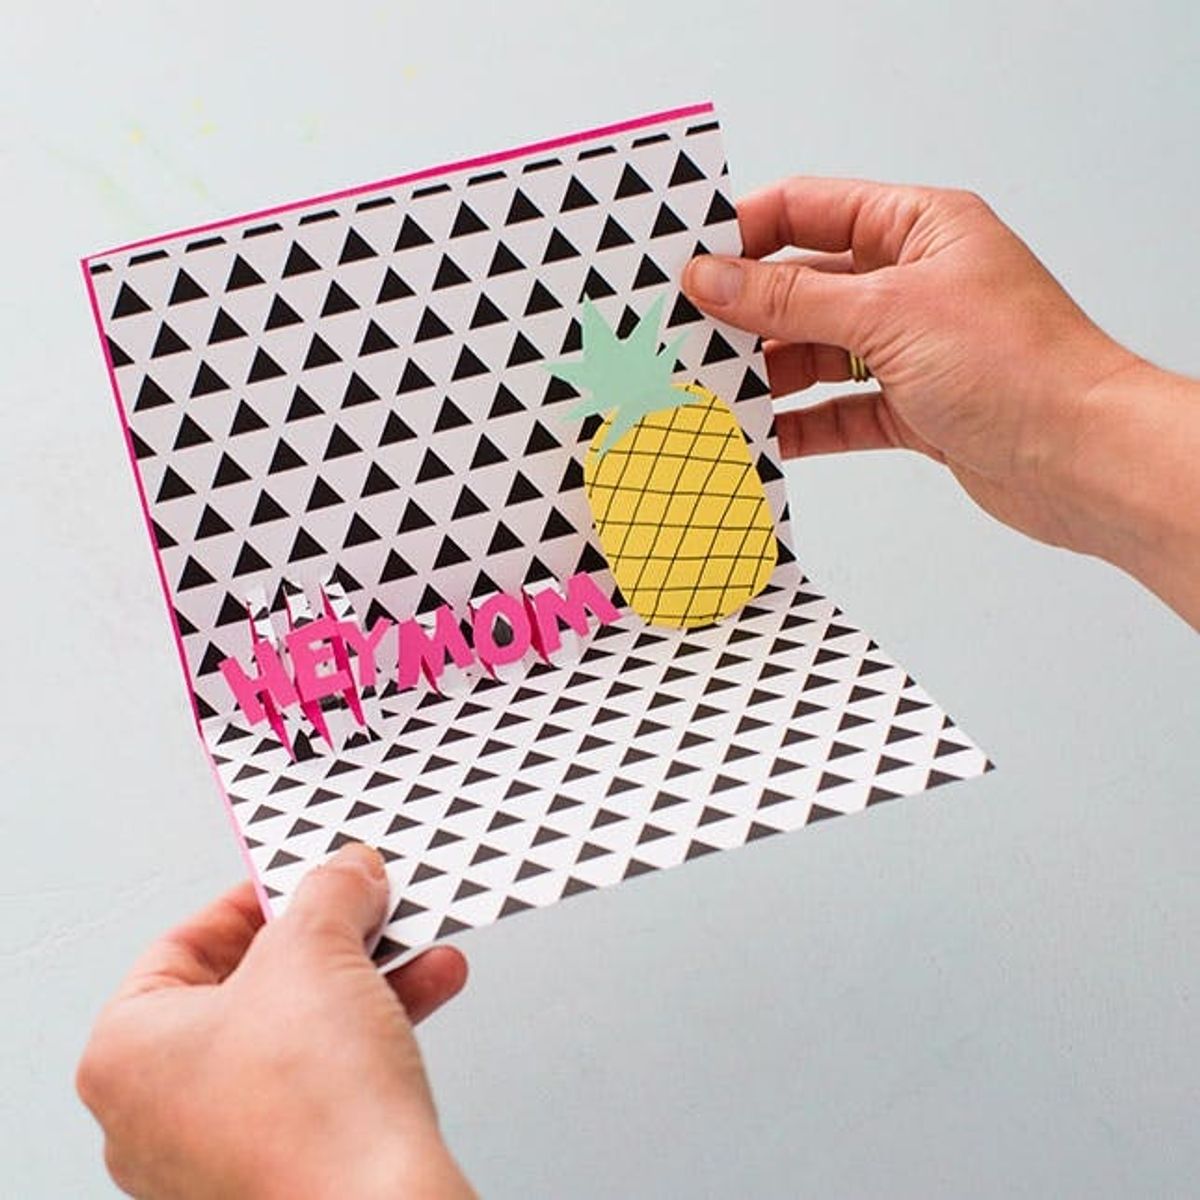
Popping Pineapple

With pineapples on trend, we had to add some sweet fruit to a card for mummy. This method is super easy and you can add anything to the pieces that pop. Mom not a pineapple lover? Add some watermelon or a heart.

Fold a piece of paper in half or use a blank card. Spray the inside with spray adhesive and add a piece of patterned paper.

Decide what you want to add as a popping element and count the number of pop-out pieces you’ll need. Determine spacing as well. Fold your card and then cut slits in the folded edge using your X-acto knife. Don’t cut them all the way out. Leave the top edge on so they stay attached to the card. Open your card and push the cut pieces through, reversing the direction of their central fold.

Cut out a yellow oval and a spiky green top for your pineapple. Draw a diagonal grid on the oval and tape the top to the pineapple.

Cut out letters and then tape your elements to the inside of the card. Fold it to make sure it closes properly.

Then spray the outside of the card with spray adhesive and add a piece of colorful paper to the outside to cover up the slits.

This card rules!

If you can’t literally take mom on a hot air balloon ride for her special day (which would be AWESOME), then give her a chance to hang up in the clouds with this adorable card. Inspired by Lia Griffith’s pop-up card, we’ve customized ours for Mom’s Day.
Hot Air Balloon Ride

Fold and cut a colorful piece of cardstock to create the base of your card.

Take two pieces of paper (we suggest different colors) and stack them. Cut out a hot air balloon shape and then fold it in half. Cut a slit in the top of one piece and a slit in the bottom of the other piece. Slide the pieces together to create a three-dimensional balloon.

Make a second balloon and then tape one to each side of your card. Cut out clouds and baskets and add them to your scene. Make a little heart that says “mom” and snip a short piece of string. Tape the string to the heart and then slip each end under the baskets. Add any other elements you want to personalize your card.

Adorbs.

Give mom a bouquet of flowers along with this matching floral card and she’ll so impressed.
Hello Flowers

First add spray adhesive to a blank card and press patterned paper firmly to the inside and outside of the card. Trim any excess paper.

Take a piece of paper and fold it in half. Next, cut out perfect squares by making diagonal folds. Then fold your square in half and in half again to make a smaller square. Fold that square along the diagonal to create a triangle.

Round one of the edges and unfold your new flower. Cut out one petal and then overlap two of the petals to give the flower dimension. Secure it with tape.

Using the same method as above, cut a smaller flower shape. Then cut two petals out of it. The dimensional flower will look like a little heart. Tape three hearts together to create a flower.

Tape three of your larger flowers together, checking to make sure that when pressed together they flatten easily. Add smaller flower bunches to the middle of each large flower. Again, check that they fold flat. Adhere your flowers to the center of the card, making sure the card closes. You might have to adjust the placement of the flower and tape.

Cut out a few leaves and add them to your card.

Pretty cool, eh?


