Calling all brides to be…
How to Make a Gorgeous Wedding Hair Accessory in Less Than 5 Minutes

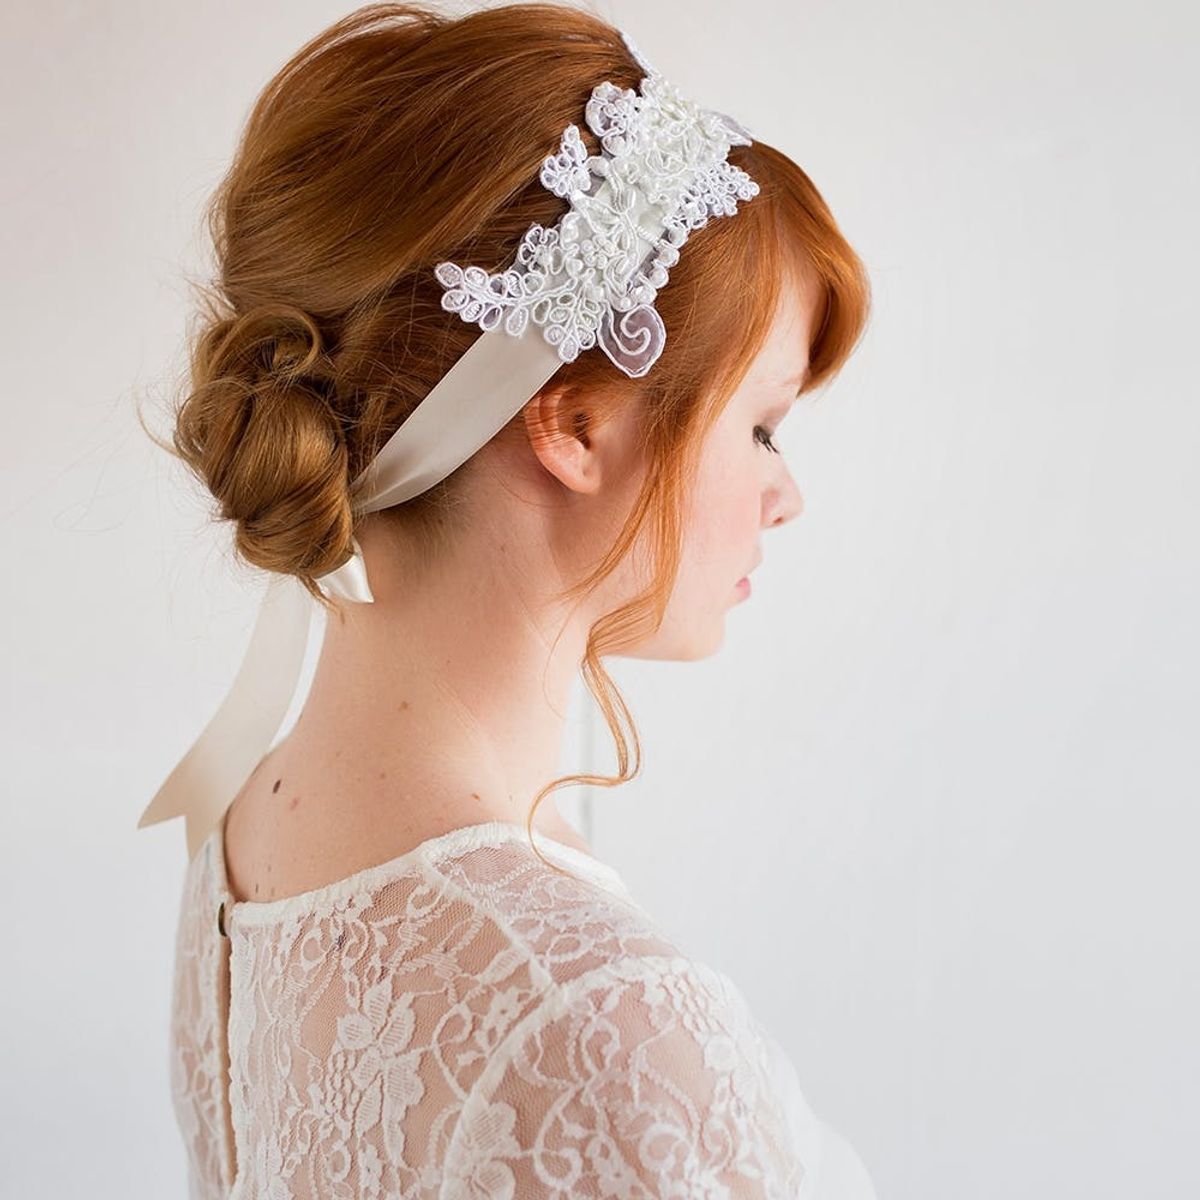
If you already chose your dream wedding dress and the most beautiful location ever, your wedding budget might be looking a little trimmed down at this point. And that $500 hairpiece you wanted? Oh, you must be kidding. But your wedding-day ensemble will not go unfinished. You can make not one, but two headpieces with less than $10. Can’t believe it? Follow the tutorial below and get ready to surprise yourself.
Wedding Headband
Materials:
— lace applique
— ivory ribbon
Tools:
— super glue (or fabric glue)
— scissors
Instructions:
1. Decide where you want your applique to lay by holding it and the ribbon against your head.
2. Use super glue or fabric glue and attach the applique to the ribbon in the desired location. Let it dry for at least 10 minutes.
3. Use your scissors to cut your ribbon with a v-shaped edge.
4. Wear your headband. Be a beautiful bride.
Lace appliques can be purchased online or from a local fabric store. For your ribbon, find something that is 1 inch wide and 39 inches long. First, take your ribbon and applique and hold them against your head to determine where you want them to lay. Then glue the applique in place.
Once the glue is completely dry, you’re ready to wear your headpiece and rock it with a glam ‘do.
Wedding Hairclip
Materials:
— lace applique
— white felt
— 2 hair pins
Tools:
— super glue (or fabric glue)
— scissors
Instructions:
1. Glue your lace applique onto the piece of white felt.
2. Use your scissors to cut the outline of the lace appliques. Be patient and proceed slowly.
3. Superglue the two pins as shown in the picture and let everything completely dry. Voilà, you’re done.
Make sure you use a transparent superglue to glue the lace trim in place.
Headpieces are so easy to DIY and worth every second of work… especially when you can use that money for a fab honeymoon.
Did you make your own wedding head piece? Share your pics with us in the comments below!


