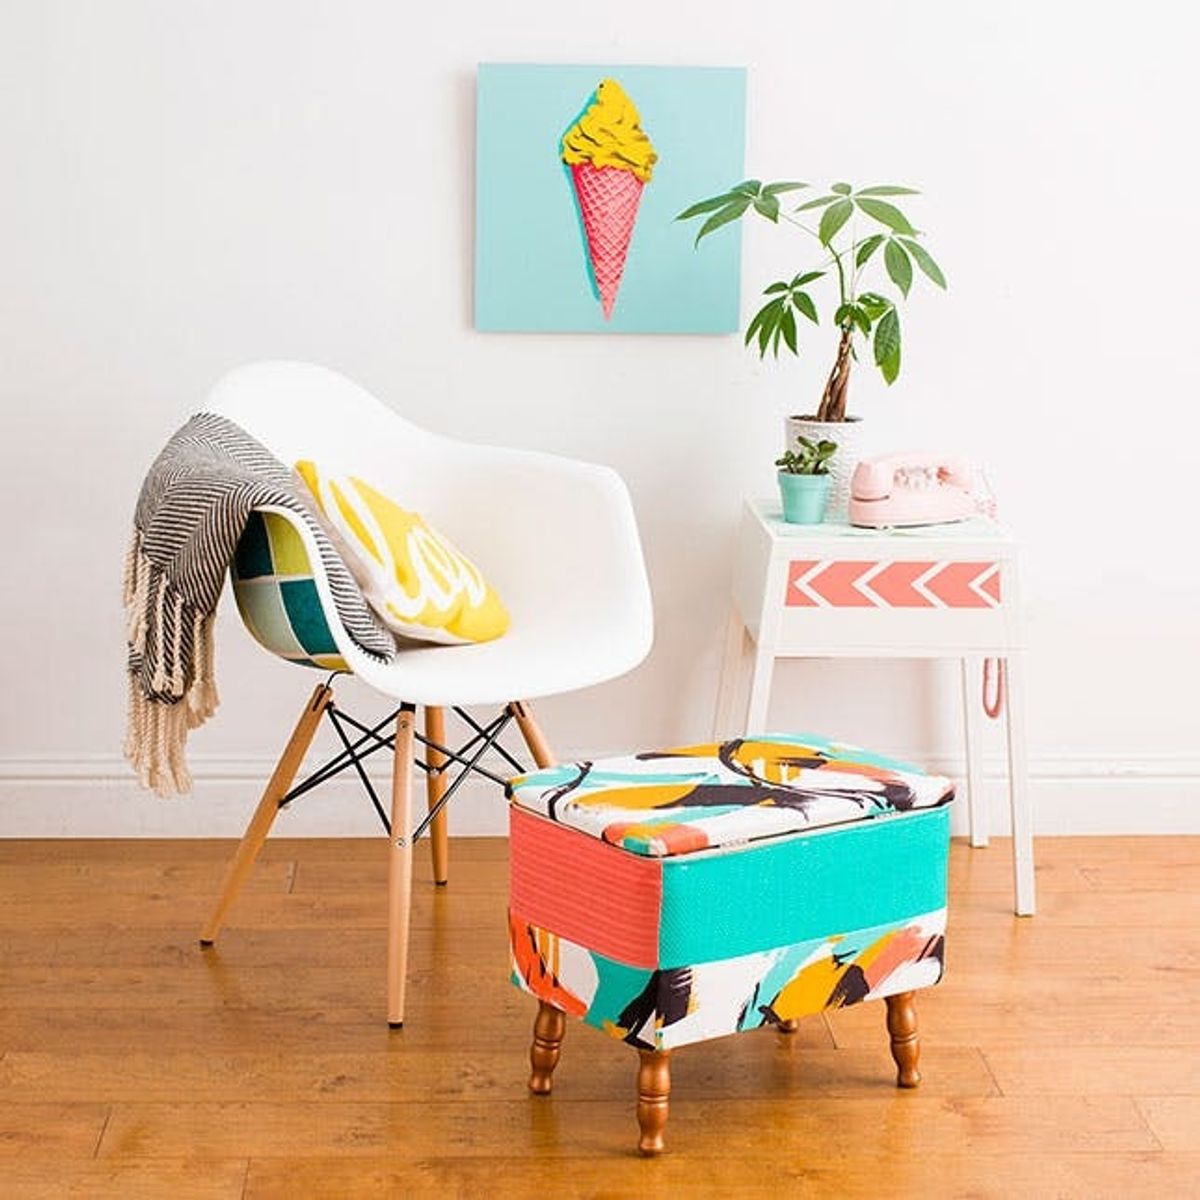
Learn how to turn an UAF ottoman into a chic statement piece.
How to Turn an Ugly Thrift Store Ottoman into a Statement Piece

As you might know, thrift stores are wonderful emporiums for DIY projects. A couple weeks ago we brought you a four-step thrift store hack on how to reupholster a chair and a simple tutorial on how to turn a drab dress into a fab two-piece set. Now we’re back with a $12.99 ottoman that was a disgusting green/brown color. Let’s just say I was embarrassed to carry it to the check out counter and then into the colorful world of Brit HQ. However, as with many thrift store finds, I just needed to squint my eyes and imagine what it could be! Follow below to learn how to create a perfectly fitted slip cover for a not-so-pretty ottoman.

Materials:

Tools:
– staple gun
– screwdriver
– pins
– sewing machine
– scissors
– measuring tape
– pen
Materials:
- fabric
- spray paint
- old ottoman
Instructions

- We found this ottoman at a thrift store for $12.99! We were obsessed with the shape but had to shield our eyes from the hideous fabric. Fortunately, all we had to do was reupholster this baby! Step one is to dissemble your ottoman as much as you can. Unscrew the legs and the lid, and rip off all that ugly fabric.
- Now that you’ve got your base, take measurements. Get the height and width of each side.
- Our ottoman measured 8 x 15 inches. We wanted to create a “dip dye” effect, so we cut the height measurement in half and cut out twice as many panels. When cutting, add about 3-5 extra inches on your panels for room to pin and sew.
- In total we had two watercolor panels and two turquoise panels that measured 7 x 20 inches and two watercolor and two coral panels that measured 7 x 15 inches.
- Sew each watercolored panel to its corresponding solid color to make larger panels.
- Pin theses panels to each other around the ottoman. Pull tightly when pinning. The cover needs to be skin tight.
- Slide the pinned cover off and sew the sides. Trim away the excess fabric — this helps prevent lumps when you slide the cover back onto the ottoman.
- Fold the top side over to create a hem. The bottom section will be stapled underneath the ottoman, so it does not need a finished seam.
- Slide your sewn cover onto the ottoman and attach it with the staple gun. The top seam will show, so remember to place your staples thoughtfully and treat them more like studs.
- On to the lid! Cut out a piece of fabric that will wrap around the outside of the lid. Pull the fabric tightly and staple in place. Remember to fold in the corners to get a clean cover.
- Trace your lid on another piece of fabric. Cut out your shape and then trim it so the fabric is a bit smaller than the lid. When you lay it on the inside of the lid there should be a border of the watercolor fabric. Attach this piece with staples.
- We are almost there! Spray paint the legs and let them dry. Then reattach them to your ottoman. Pro tip: We used an awl to poke holes in our fabric before adding the screws.
- Hard to believe this piece was once UAF, right?!

This piece is the perfect foot rest for any chair.

Have you created any masterpieces from thrift store finds? Share them and tag @Britandco!


