Grab your (staple) gun, ladies — this project is crazy easy.
How to Reupholster a Thrift Store Chair in 4 Easy Steps
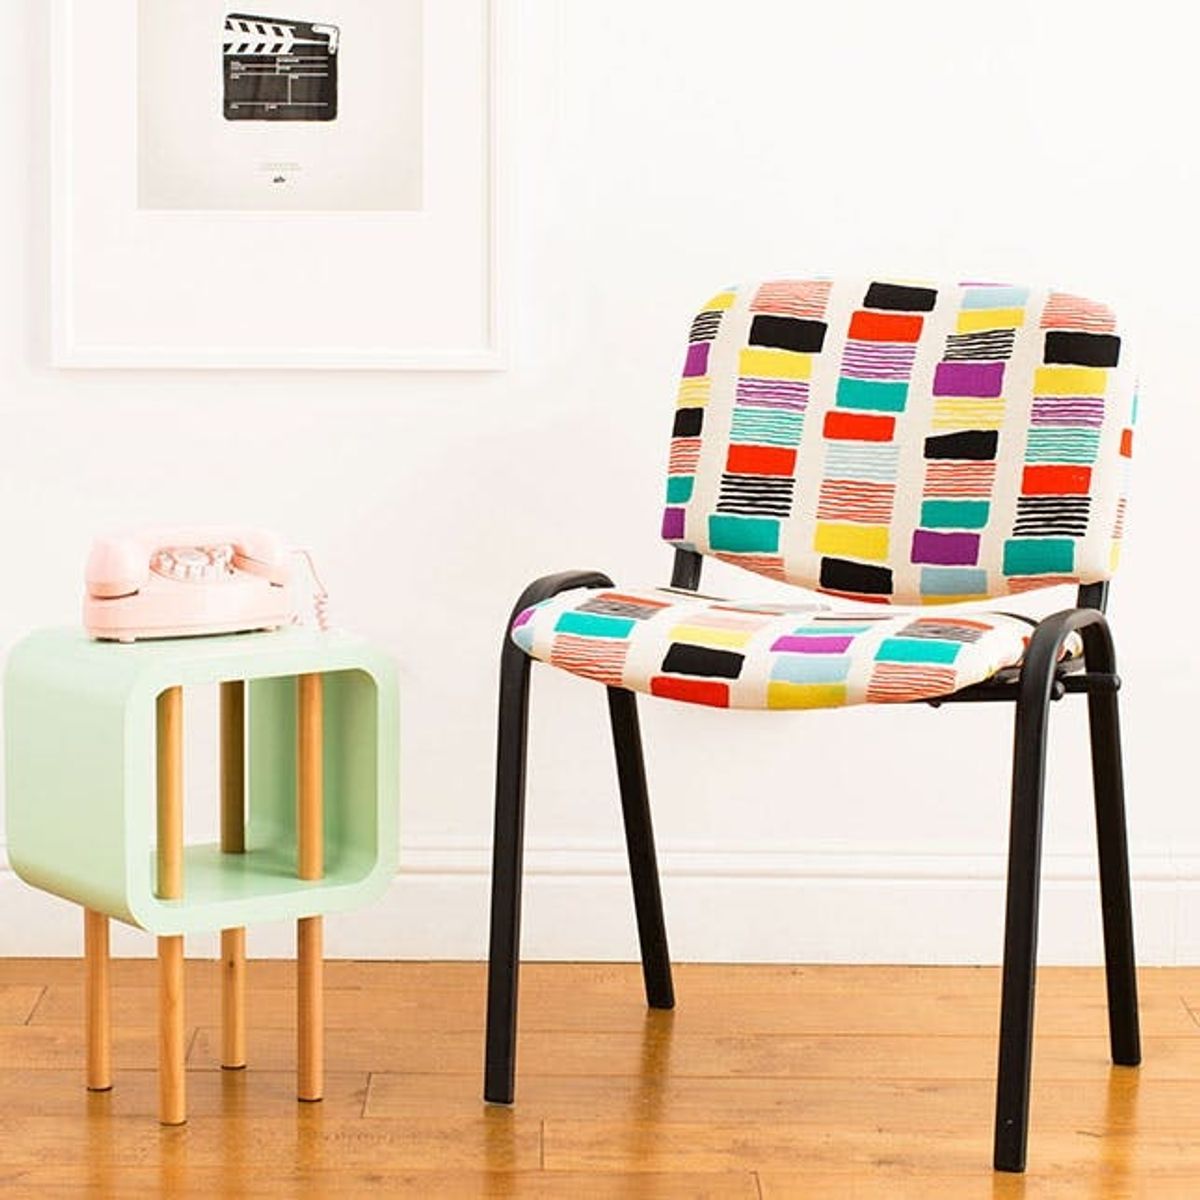
Sure, you’ve mastered the painted chair, but reupholstering a chair may sound like a more intimidating task. We’re here to tell you not to fret — it’s toootally doable (and DIYable ;) Thanks to our lovely friend the staple gun (who helped us make beauts like these ridiculously easy wall art canvases) you will walk away with polished furniture every time. Head out to your local thrift store or garage sale and scout out a cheap set of chairs to turn from drab to fab asap.
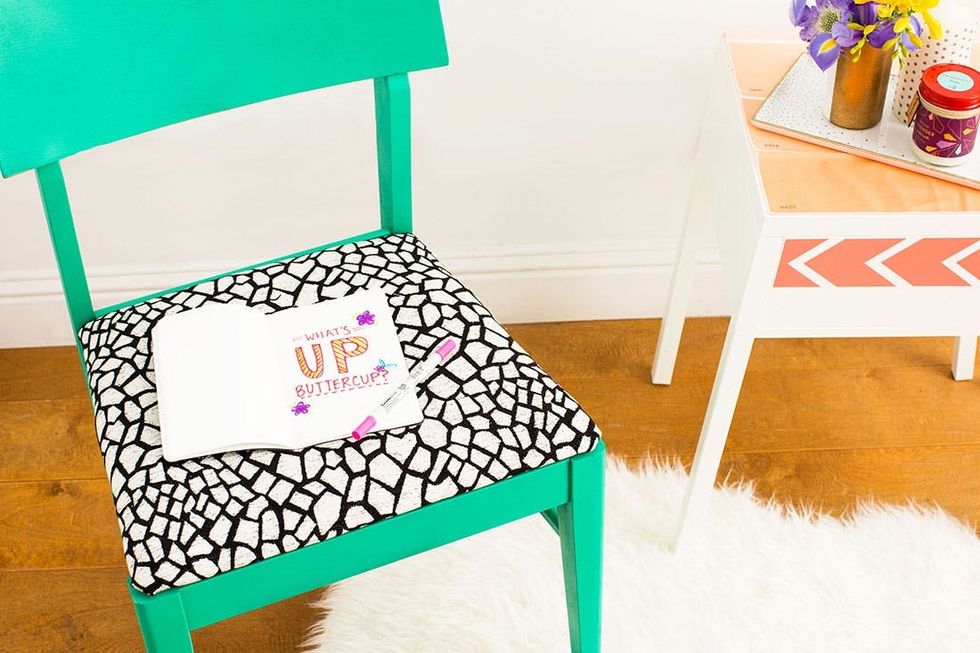
Materials:

– upholstery or cotton fabric
– spray paint
– protective finish paint
Tools:
– screwdriver and/or drill
– sandpaper
– staple gun
Instructions:
1. Use a screwdriver to disassemble your thrift store chair.
2. If your chair is wood, sand it and apply about three coats of spray paint and one coat of a protective finish. If it is metal, use one coat of spray paint and one coat of protective finish.
3. Cut out a piece of fabric that will wrap around the seat of your chair. Start by putting a staple in the middle of each side. Then work your way out to the corners. Once you’ve reached a corner, fold the fabric inward, pull tightly, and staple to hold the fold.
4. Attach seat cushions back to the chair using your screwdriver.
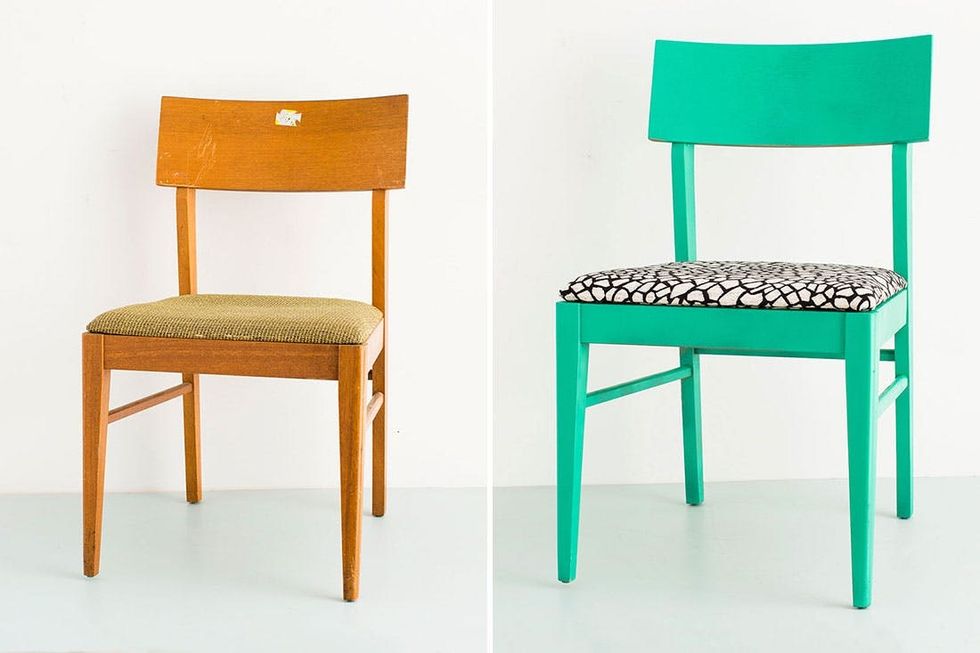
We found this sad little chair at a thrift store for $5.99! It has clearly seen better days. Hey chair, lemme upgrade you.
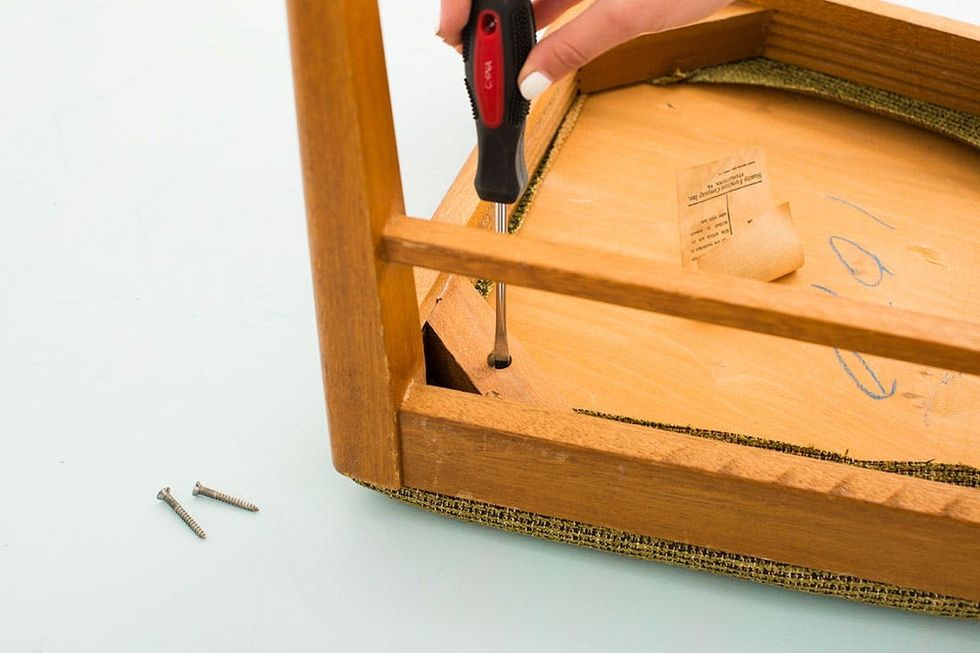
This chair only had four screws on the bottom, so it was super easy to disassemble. We recommend checking out how the chair is built before you buy it. Some have attachments that are welded together — stay away from those, because they will be a DIY nightmare.
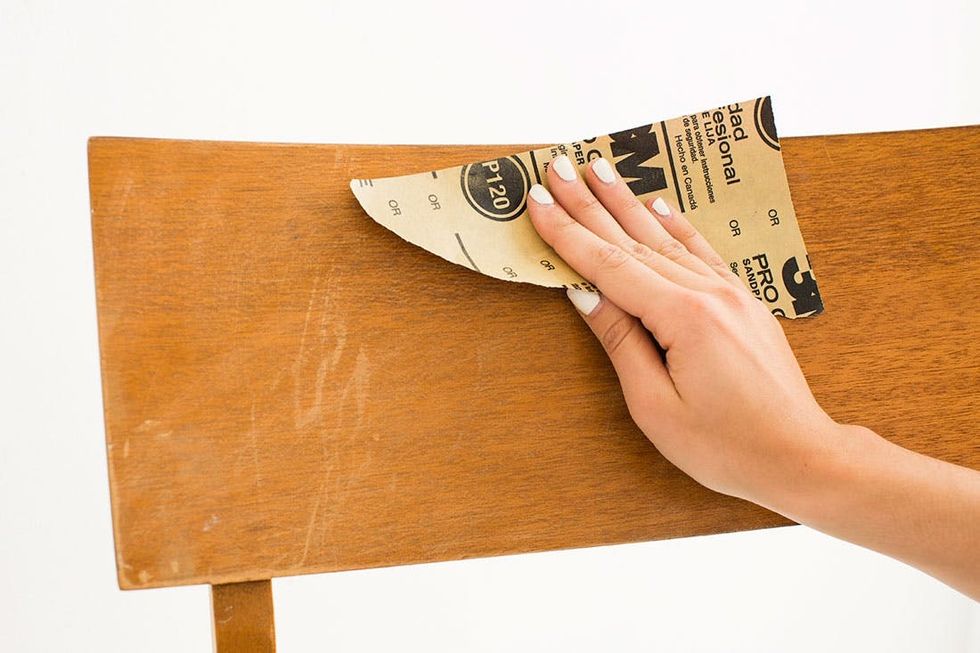
Grab some sandpaper and give your chair a quick rub down. Pro tip: once it’s completely sanded, wipe off the chair with a damp paper towel to get all of the dust out of the pores.
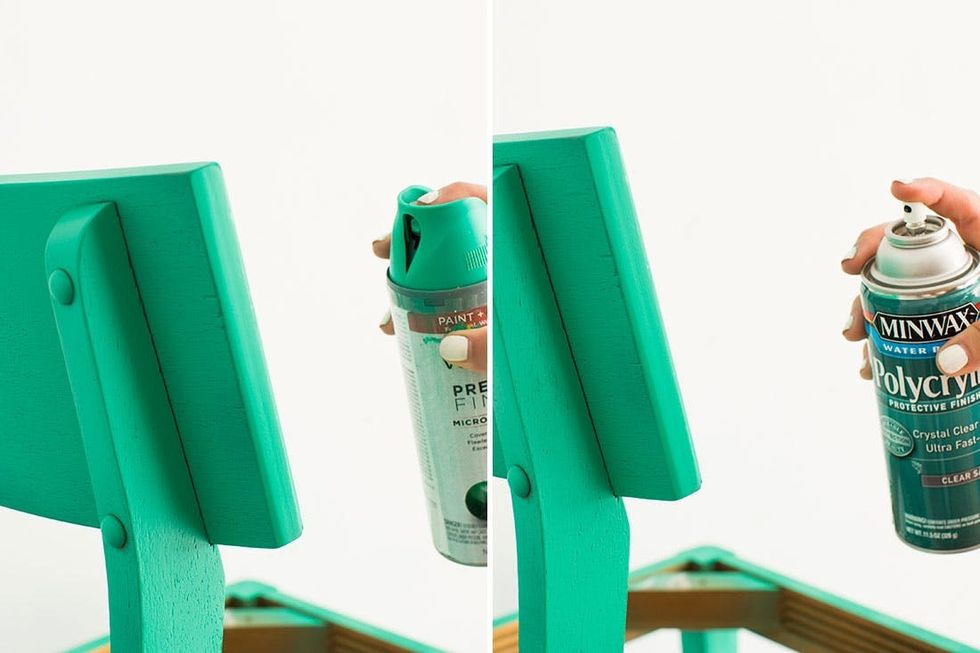
Apply three coats of your favorite color spray paint to the chair and then let it dry. Make sure you get in all of the crevices. Once dry, apply a protective finish top coat. This will prevent the paint from chipping.
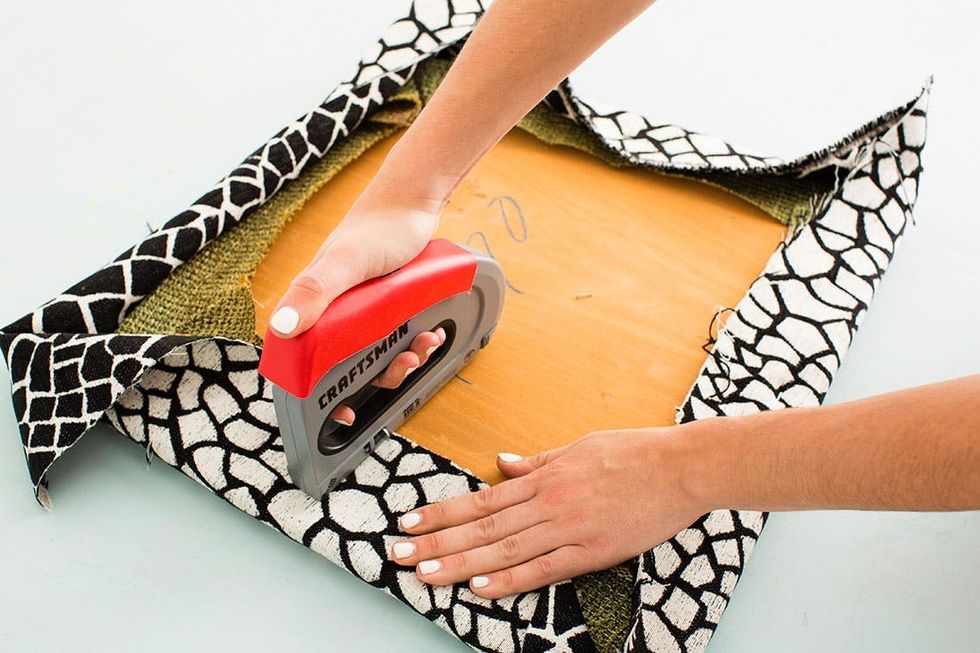
For this chair, we used upholstery fabric from our favorite local fabric haven — Britex! Cut a piece of fabric that will wrap around the seat of the chair and get stapling. Start by putting a staple in middle of one side, then put a staple in the middle of the opposite side. Make sure you pull the fabric tightly before laying the staples down. It isn’t easy getting them out once they are in place. After you get all of the middle staples in, follow the same pattern and work your way to the corners of the chair.
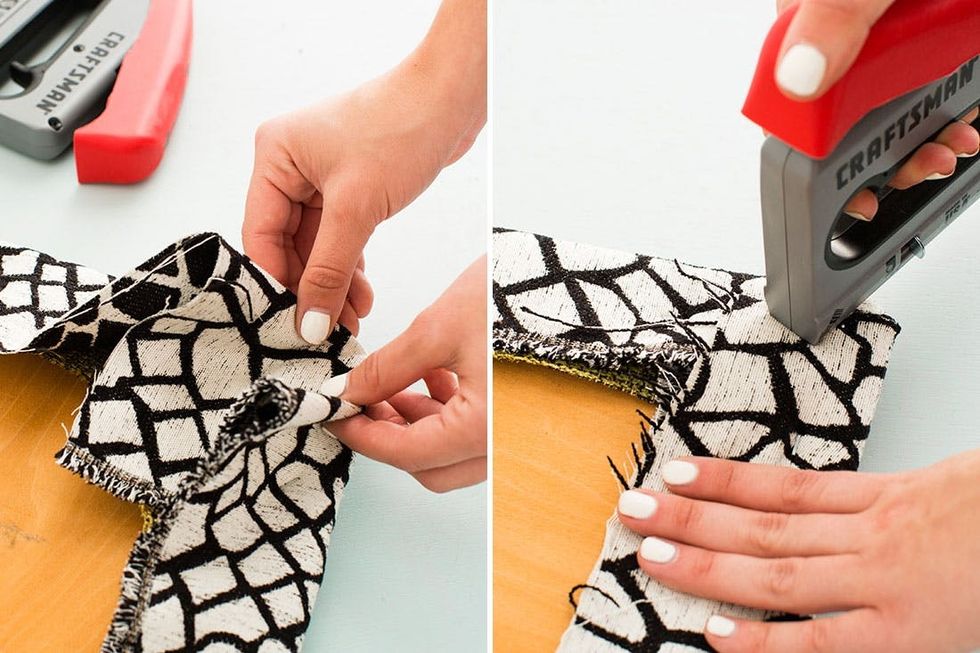
Fold the fabric inward to create a nice corner fold. Pull tightly and apply a staple to hold the fold together.
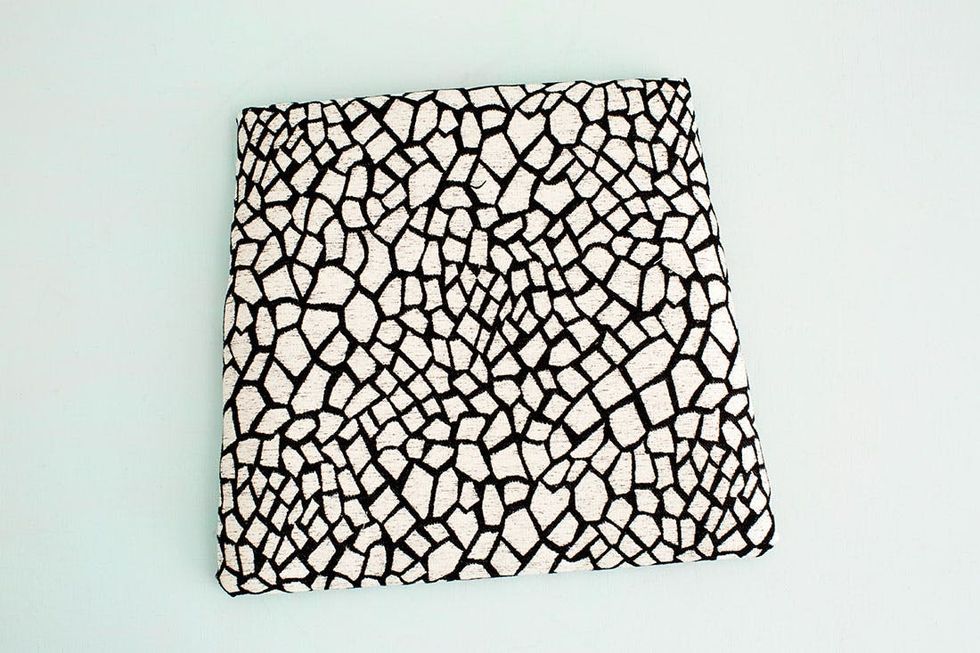
We love it already, and it’s not even on the chair yet!
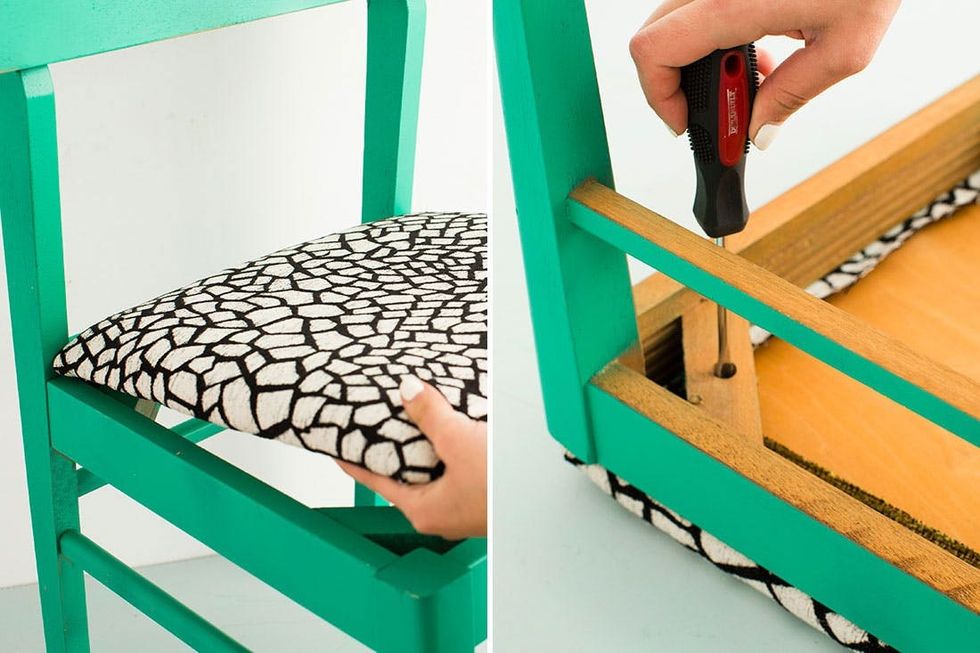
Figure out which way the seat goes, flip it over, and reattach the screws. The fabric will likely cover the holes in the chair, so you might want to re-poke the holes with a nail or an awl.
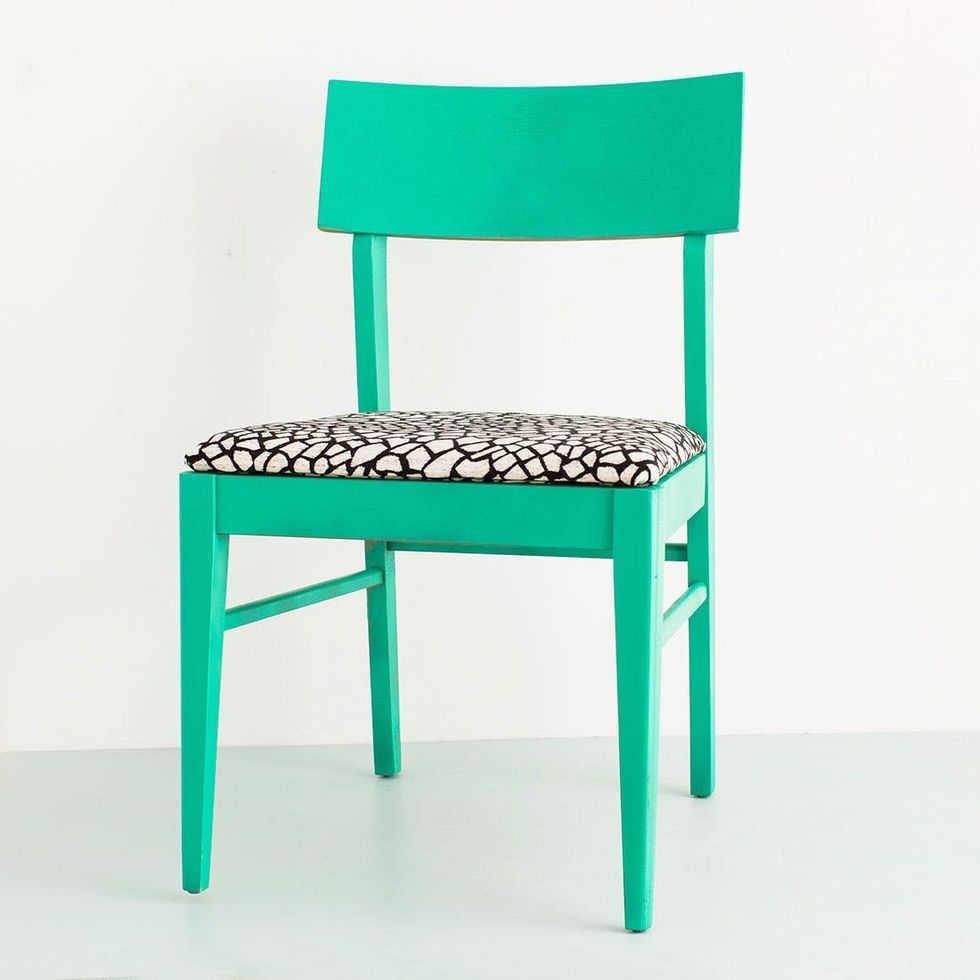
We can’t even believe this is the same chair! Successful upgrade for sure.
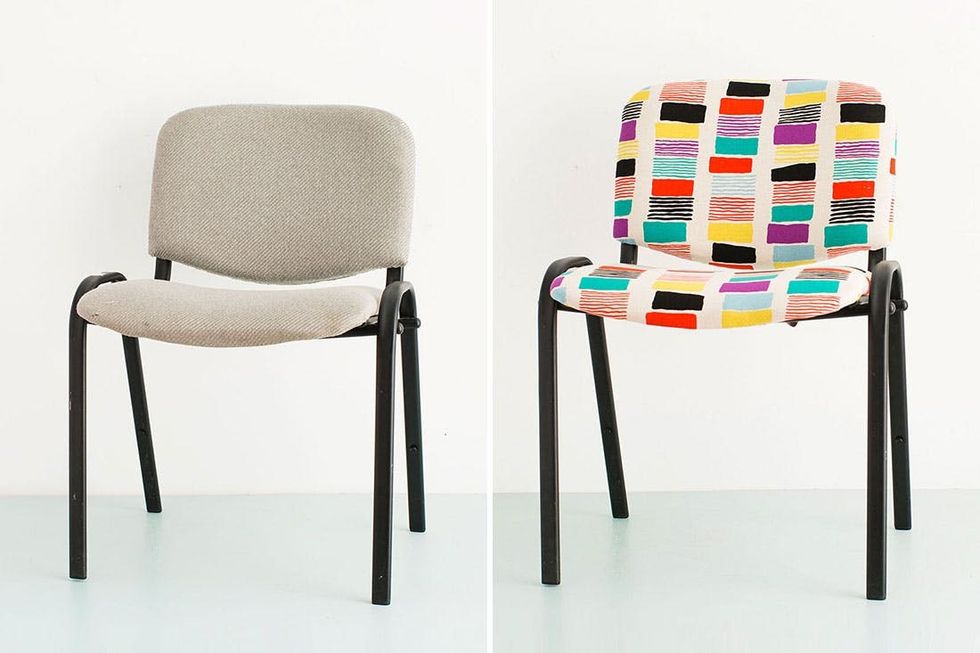
Our next chair is a sad, old-school waiting room chair. Thankfully we only spent $2.99 on this one. Super gross. Upgrade please!
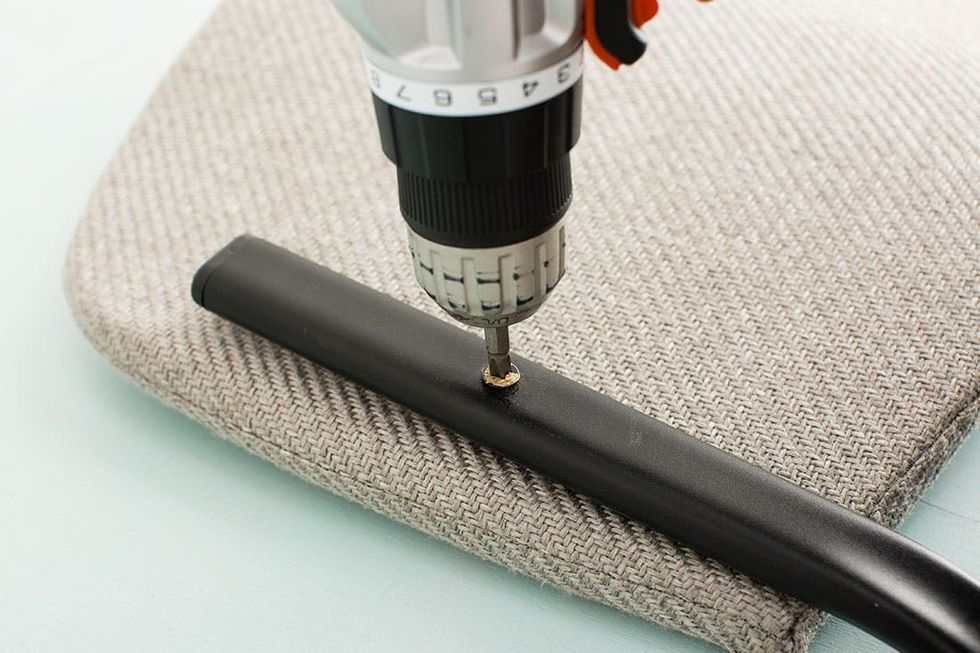
This chair had Phillips head screws attaching the seat back and seat cushion. With a power drill they were easy to remove.
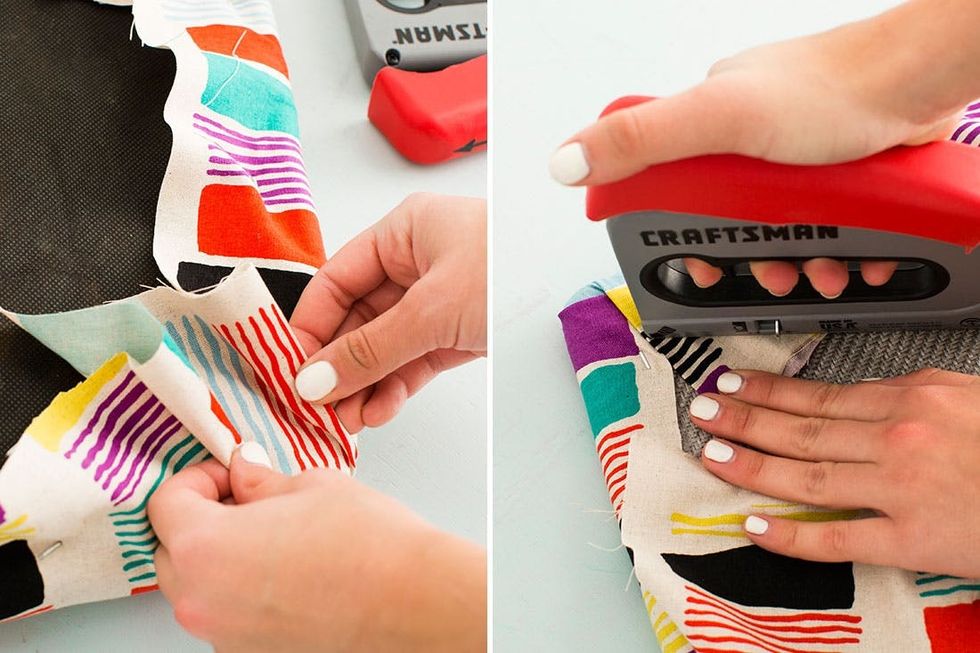
For this chair we went with a cotton fabric that we absolutely LOVE. Thanks again Britex! Fair warning — you might see some wear and tear with this fabric versus the upholstery fabric. The good news is that these chairs are so easy to upgrade, you’ll probably want to reupholster them with a new pattern before you even see the worn threads. For the bottom cushion we followed the same method as above. Cut a piece to wrap around the seat cushion and add staples in the middle of each side. Work your way to the corners, fold the fabric in and staple to hold the fold.
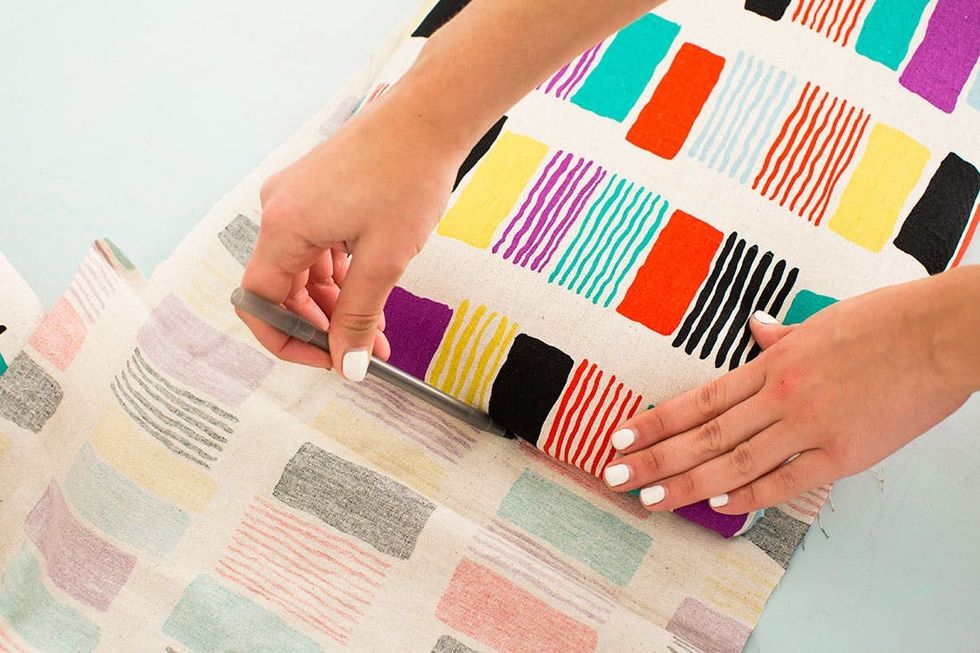
The seat back will be seen on both sides, so we had to make the backside presentable. Cover the front section like the seat cushion and trim the extra fabric away from the staples. Trace your seat back onto a section of fabric to make the correct-sized panel.

Lay the panel along the backside and attach with staples. Apply the staples in an even pattern all the way around the perimeter.
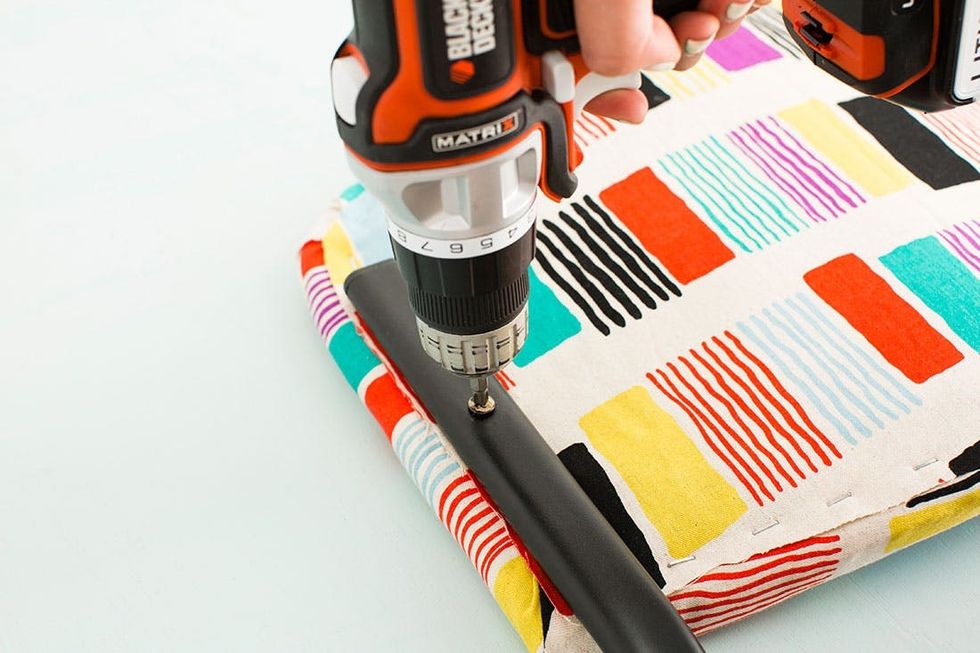
Grab those old screws and attach the cushion back to the frame. Once again, you might need an awl or a nail to poke through the fabric before reattaching the screws. It will make the whole process a lot easier =)
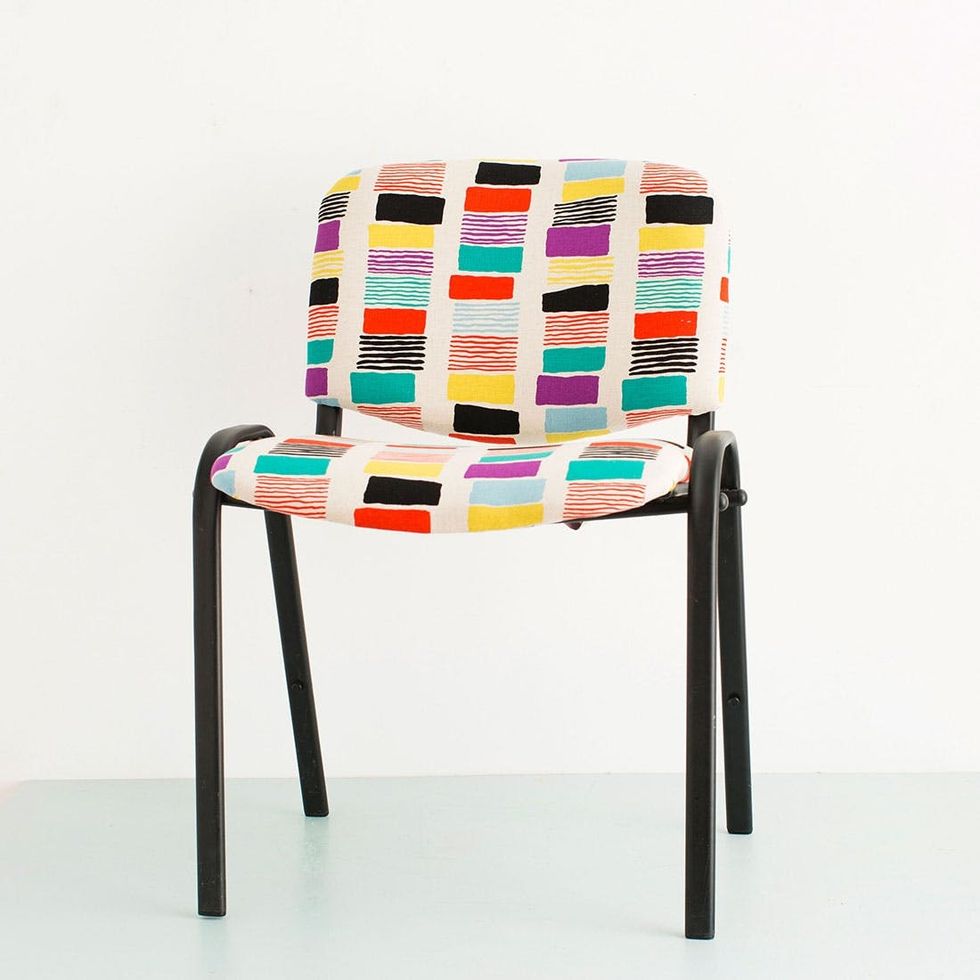
Old waiting room chair, say whaaaat??!! This chair is as awesome as Ben & Jerry’s Free Cone Day.
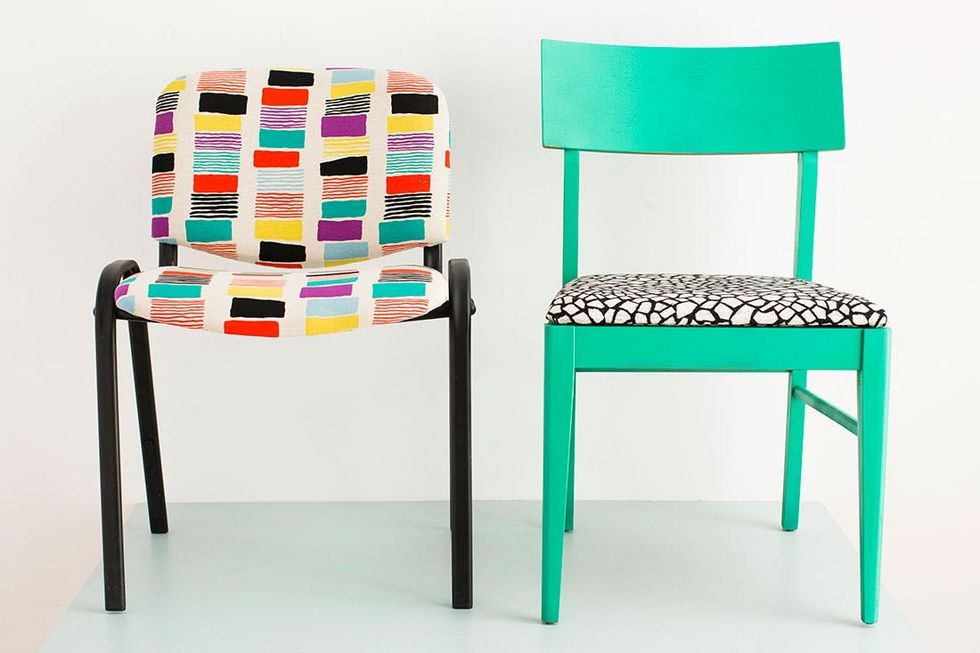
Two little chairs sitting in a tree. We are IN LOVE!
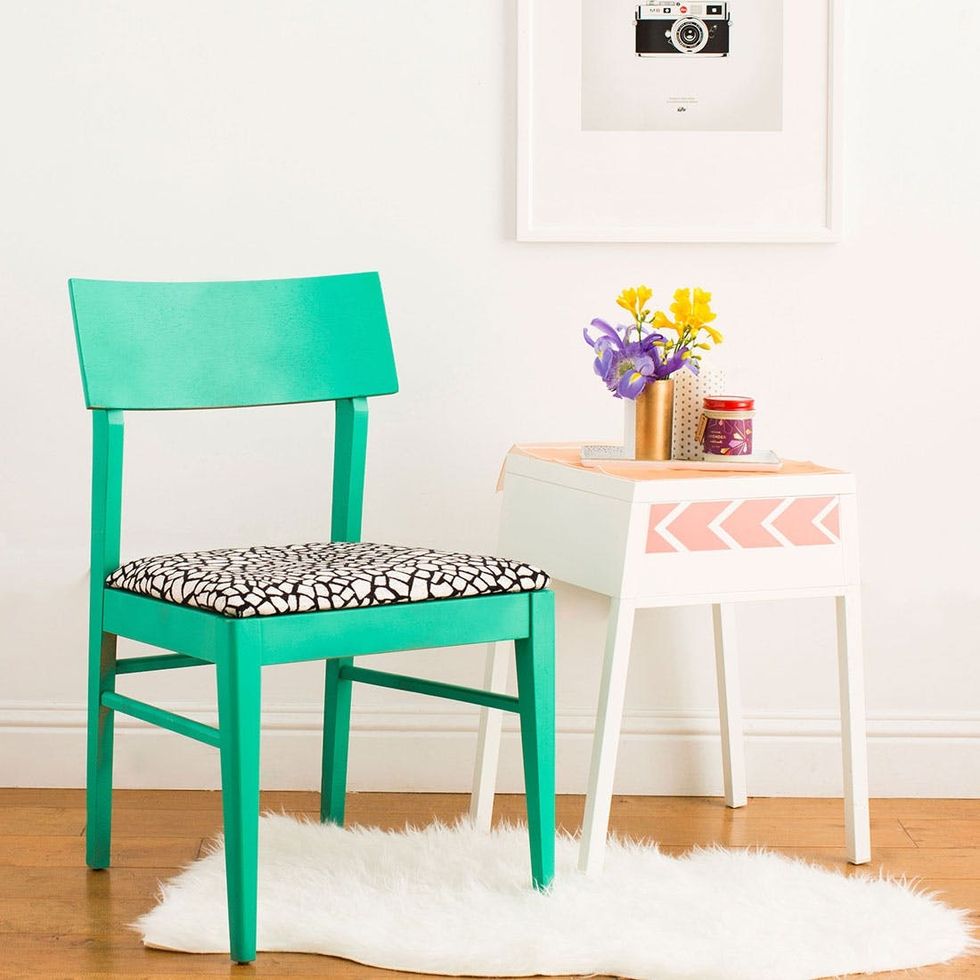
Play with color! Teal and coral are a great pair and will give your room the pop that it needs. Don’t forget to layer with texture! Hit up garage sales around town this weekend to find a cheap set of four chairs. Your kitchen table will be forever grateful for the quirky upgrade.
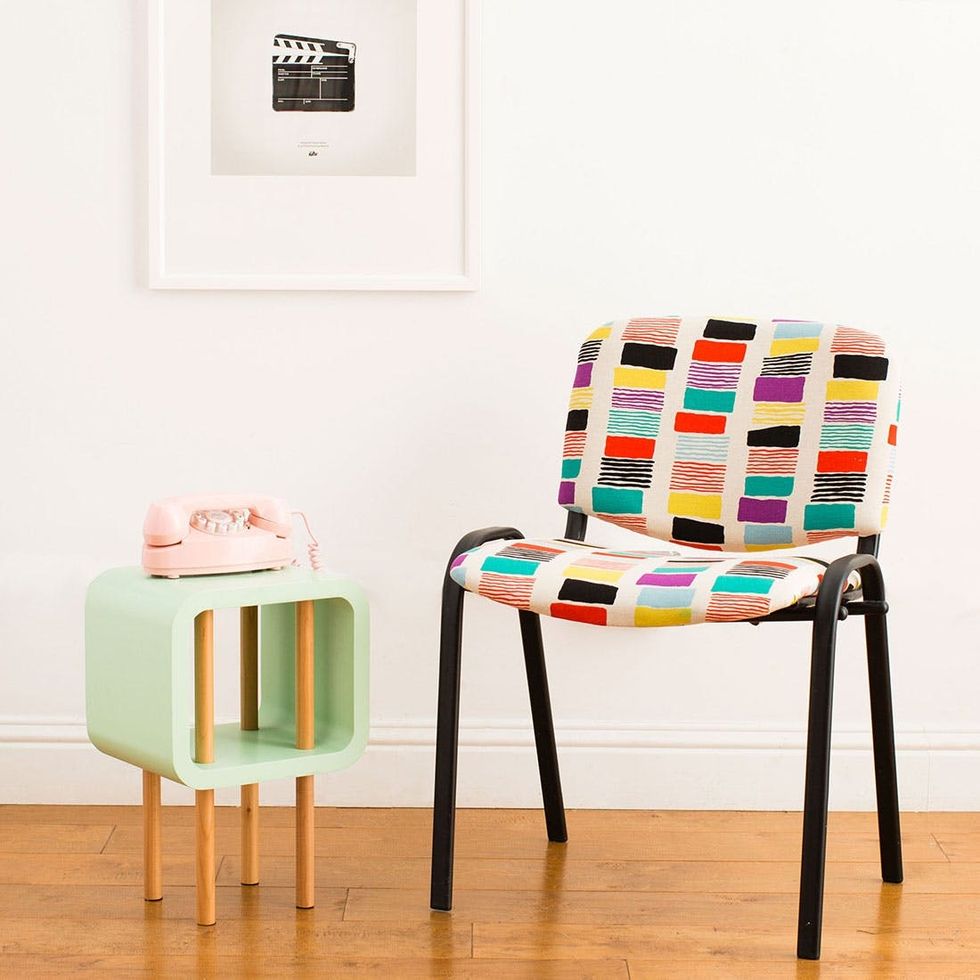
We couldn’t help but go all-out retro with this one.


