DIY your own wedding cake for a budget-friendly wedding.
How to Stack a Wedding Cake Like a Pro
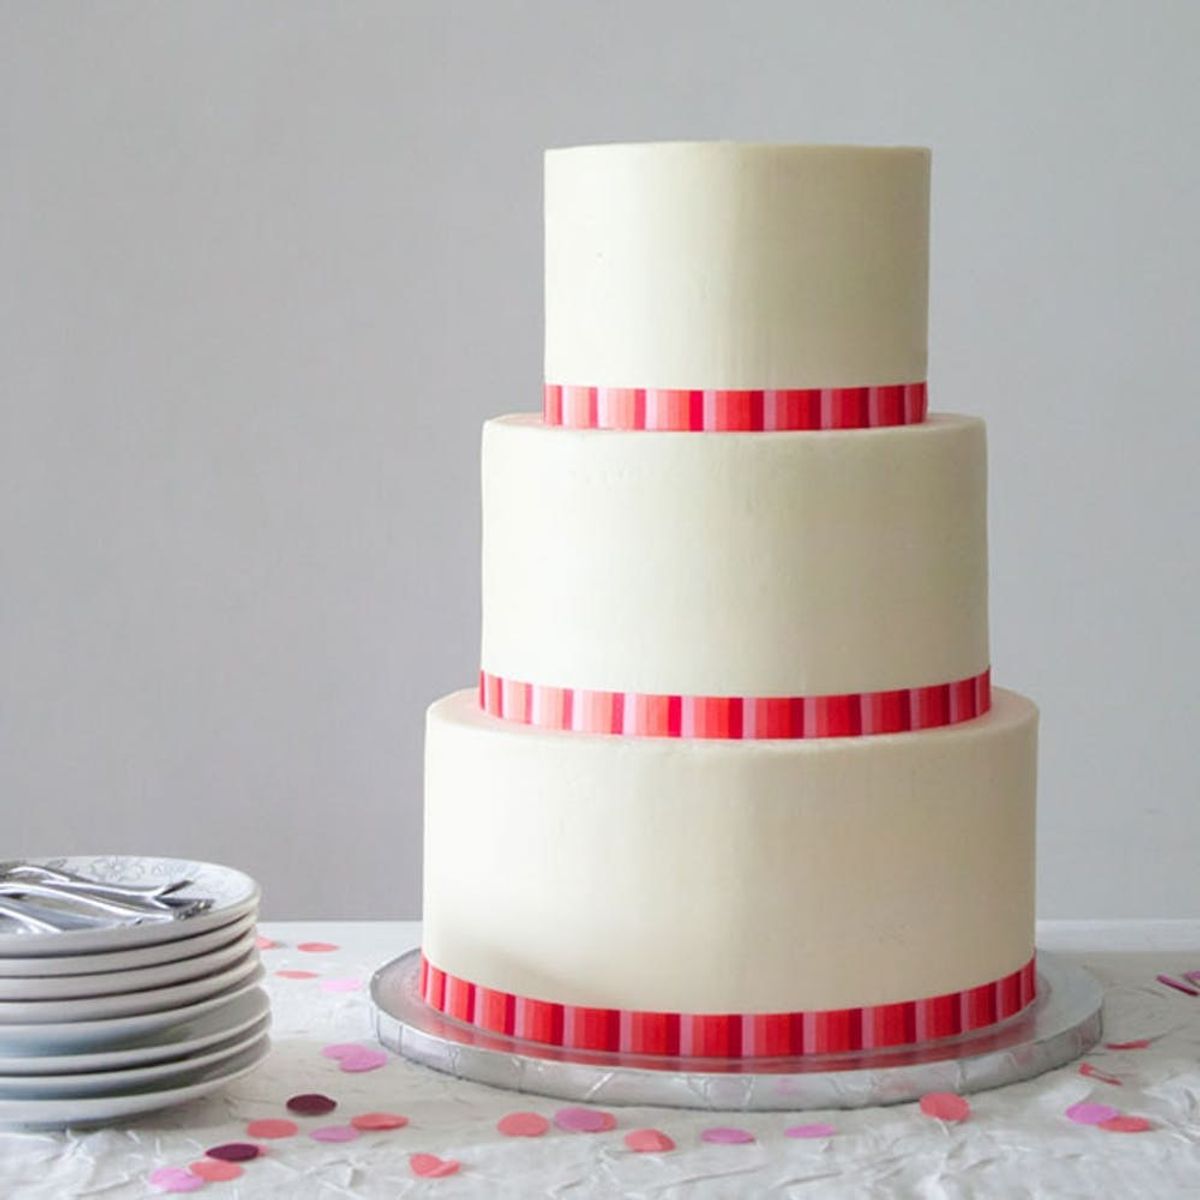
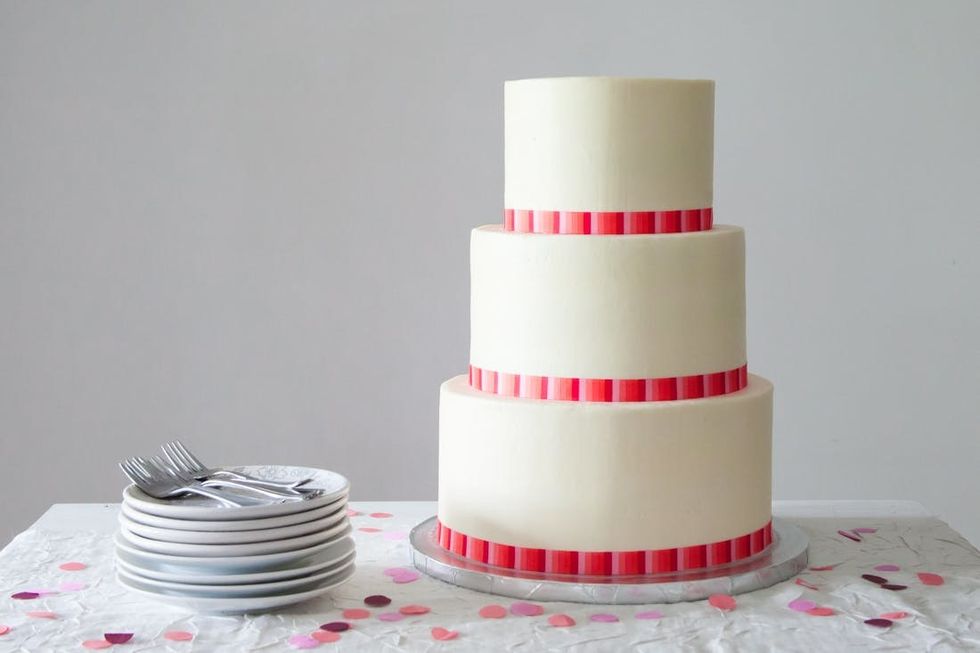
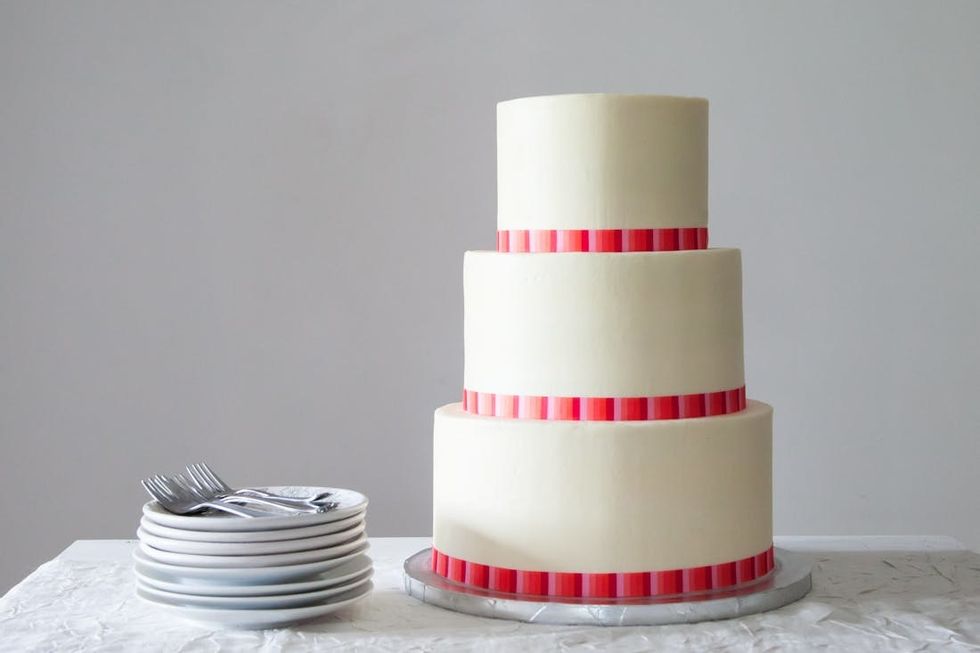
Planning a bash on a budget but still want it to look like a $100-per-head affair? Learn how to stack a gorgeous wedding cake like a pro, and do it yourself! Only requiring a few simple materials (besides the cakes, of course) like cake boards and a few wooden dowels, this weekend project will surely shave some dough off the hefty price tag of any wedding or celebration. If you can bake and frost a cake, then you are only a few steps away from making a show-stopping tiered cake! Transportation and storage can be tricky, but making and assembling a tiered cake is definitely within even a rookie cake-maker’s reach.
“naked” cake
 boxed cake mix upgrade!
<br/>
 — various sized cake boards
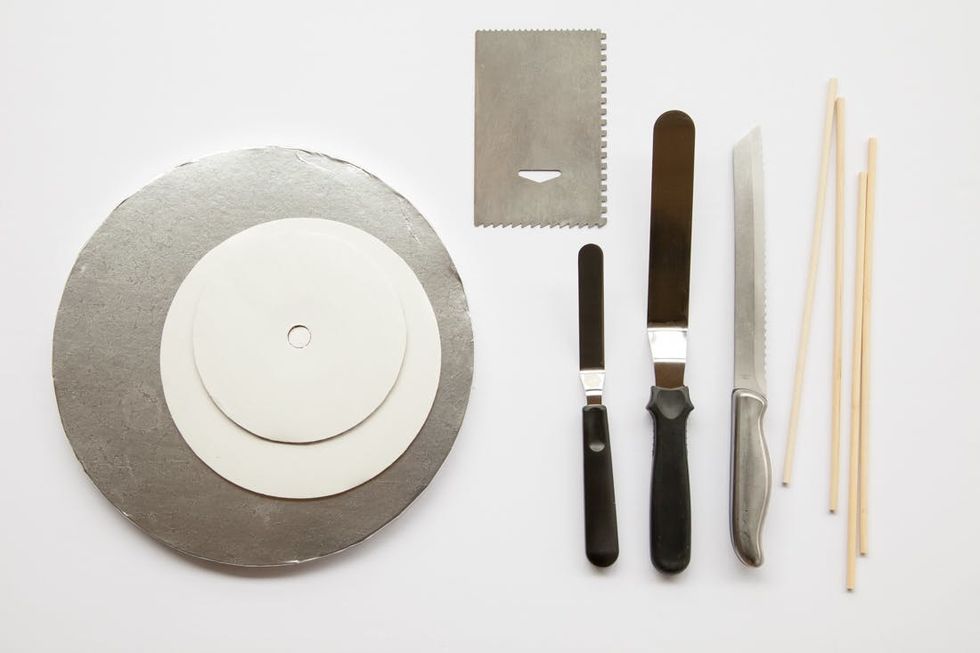
— cake drum or serving dish
— wooden cake dowels
— serrated knife
— small and large offset spatulas
— icing smoother
— cake turntable (optional)
— filled cakes
— frosting (about 12-14 cups to cover a 6-inch + 8-inch + 10-inch cake)
— decorative ribbon (optional)
Instructions:
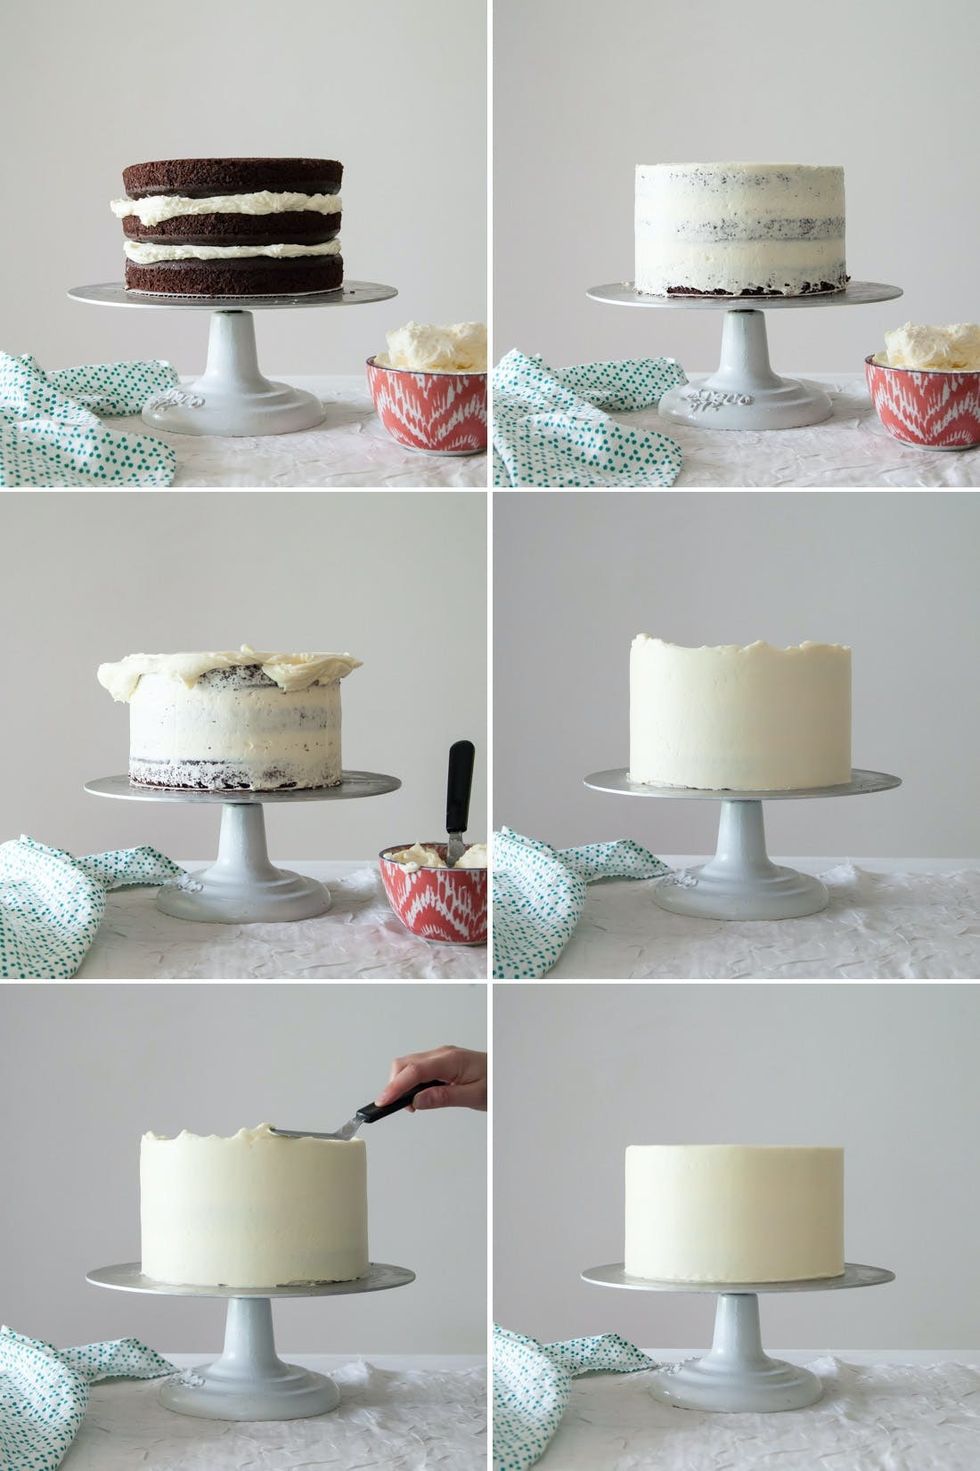
1. Place the bottom layer of each cake on a corresponding cake board, minus the bottom tier. For example, place the bottom layer of a 6-inch cake on a 6-inch cake board and the bottom layer of an 8-inch cake on an 8-inch cake board. Once baked, the cakes should shrink a bit to fit on the boards.
2. Place the bottom layer of the bottom tier on a cake drum or serving dish. A cake drum is about a 1-inch-thick cake board that can be found at most craft stores that sell cake decorating supplies.
3. Using an offset spatula and an icing smoother, fill and frost each cake. Use the cake board as a guide — the frosting on the sides of the cake should be flush with the edge of the board so that it does not show. If using a cake turntable, keep the bottom edge of the icing smoother parallel to the turntable, and spin to help smooth out the frosting and keep the sides nice and straight.
4. Once the cakes are frosted, chill in the refrigerator.
5. For every cake, minus the top tier, cut five to seven wooden cake dowels. Insert a wooden dowel into the cake. With a non-toxic writing utensil or edible marker, mark exactly where the dowel reaches the top of the cake. Remove the dowel and trim. Using the first dowel as a guide, measure and cut the remaining dowels. To cut, simply score with a serrated knife (or even kitchen shears), then break cleanly. The wooden dowels made for cake decorating should be fairly easy to break. You will need seven dowels for a 10-inch round cake and five dowels for an eight-inch round cake.
6. Start by placing the first dowel into the center of the cake. Evenly distribute the remaining dowels, keeping them within 1-2 inches from the edges. The tops of the dowels should sit flush with the top of the cake. If they are uneven, then the cake on top of it will not sit evenly.
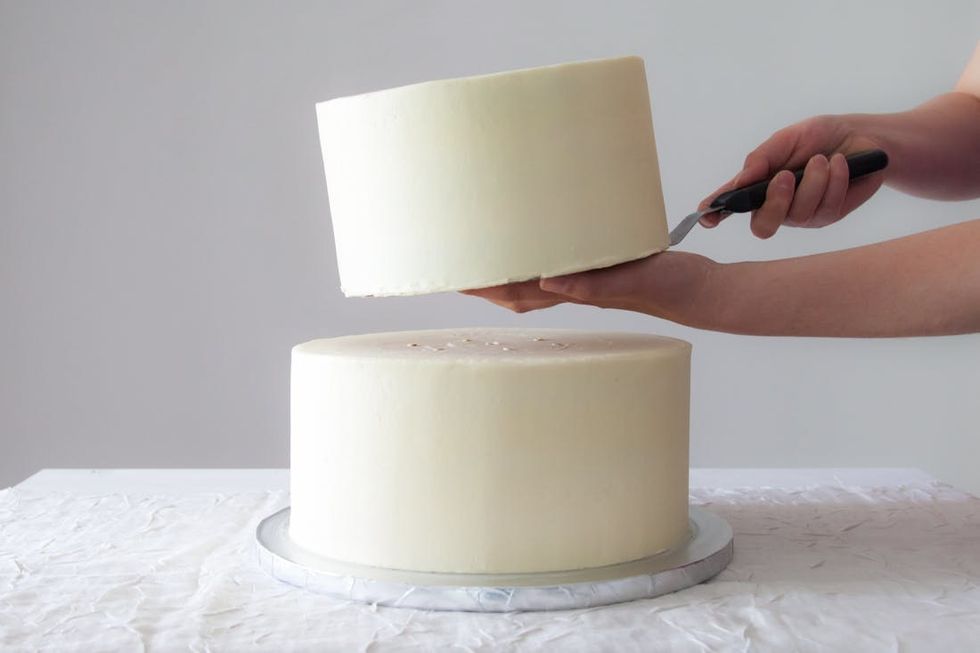
7. Use an offset spatula to lift and carefully place the cakes on top of each other. Use your second hand as support, and then gently slide it out as you set the cake down.
8. Continue stacking all of the cakes.
9. To cover the seam between the cakes, fill in with frosting or simply add a decorative ribbon.
Especially when working with chocolate cake, apply a base coat or “crumb coat” to keep the crumbs out of the final coat of frosting. Chill in between coats for about 15 minutes. Once completely frosted, refrigerate until the frosting firms up. This way the cakes are easier to maneuver and stack without bumping or scratching the frosting.
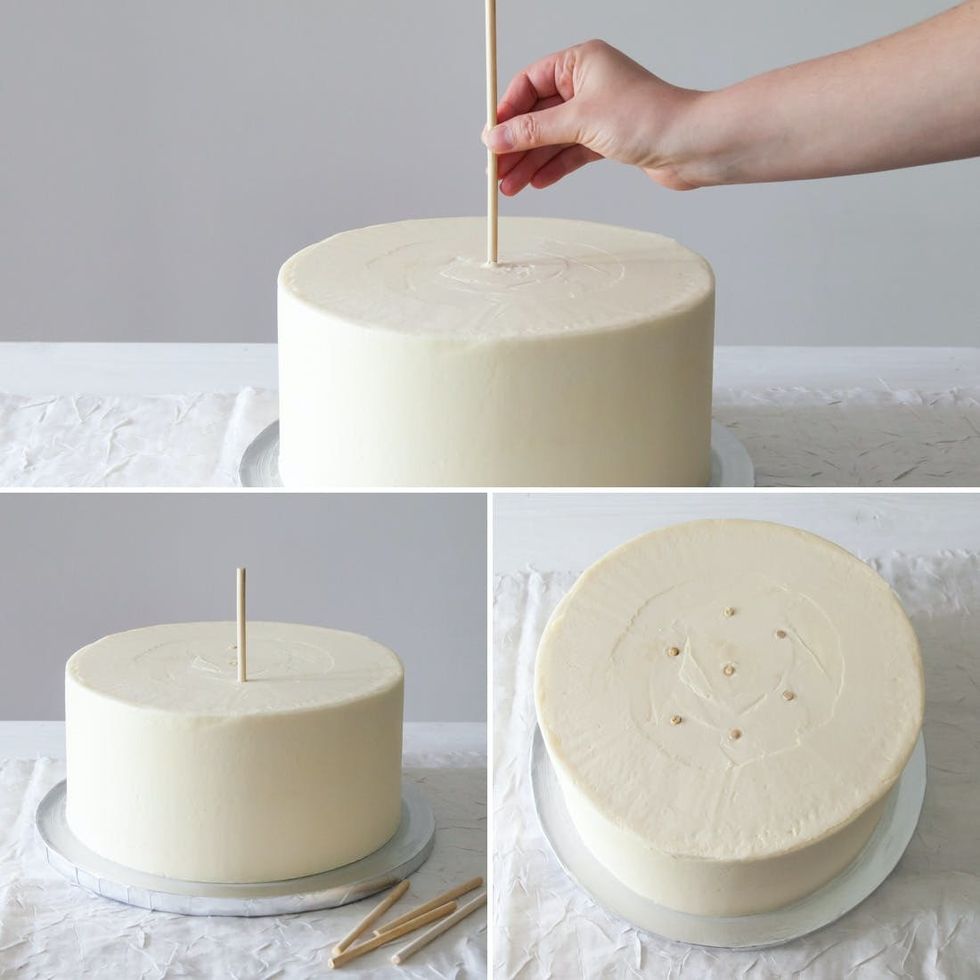
Adding dowels to cakes ensures they can support the weight of the cakes being stacked on top of them. Make sure that all of the dowels are the same height, in order to keep the cake tiers level and stable. Do not place the dowels too close to the edges, because the cake being stacked on top will have a smaller diameter.
If transporting a large cake, bring the cakes pre-doweled, then stack once you arrive at your event. Be sure to bring a toolbox including a bit of extra frosting and an offset spatula to stack tiers and fix any bumps that may occur in transit.

Many types of ribbon will simply stick to the frosting. Pull taught and wrap around. Use a straight pin in the back to help keep it in place if necessary (but make sure to remove before serving!). Some types of frosting may appear greasy and seep through certain types of ribbon, so check your ribbon before placing on your cake.


