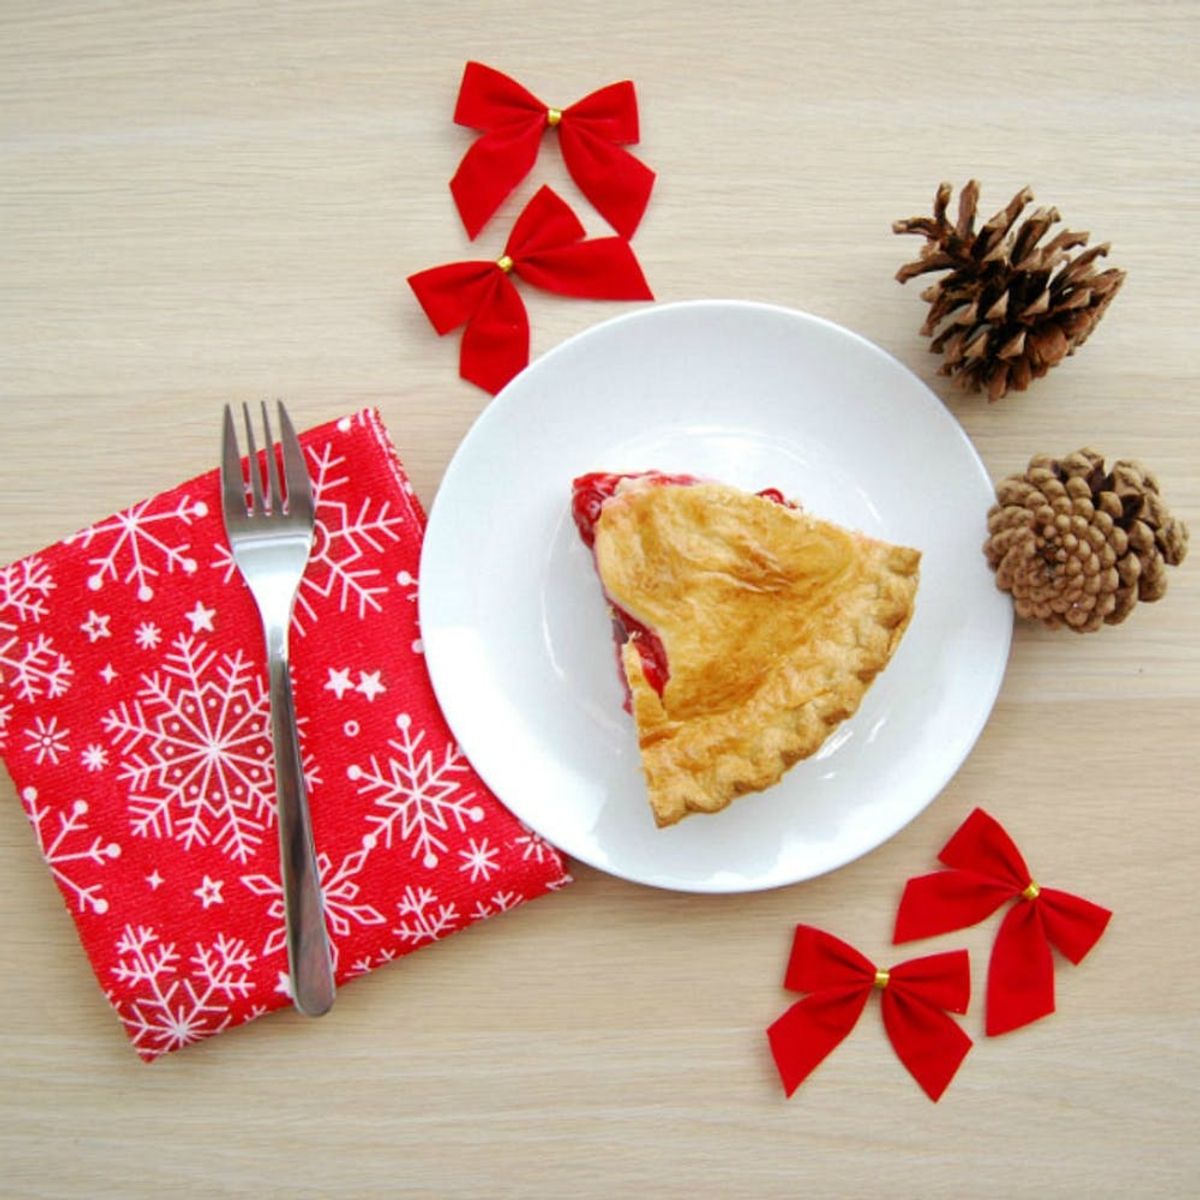
Your shots of food this holiday season will have everyone’s stomach growling!
5 Steps For Taking Instagram-Worthy Food Photos

The holidays mean food, food and even more food. There’s a good chance you’ll want to photograph all of those delectable holiday snacks, meals and drinks in order to fondly remember the tastes long after they’re gone. Our photo-loving friends over at Photojojo gave some tips for photographing food, as well as some ideas for keeping a fresh perspective in your shots. Read on, and you’ll be capturing tabletop deliciousness in no time!
LIGHTING
First, let’s talk about lighting. People won’t be able to appreciate your shot if they can barely see the subject due to overwhelming shadows. Natural light is ideal (and therefore the favorite of many photogs), but unfortunately it’s not always available, especially if you’re taking photos indoors at night. But there’s still a way to achieve bright, vivid lighting even without the help of the sun!
It’s easy to shy away from using your camera’s flash, since it’s known to result in garish photos. But the flash can easily be your friend with something like a flash bounce. Like the name suggests, a flash bounce is a mirror or white card that bounces the light from your flash off the ceiling or walls, depending on how you angle it.
This way, the subject of your photo is being lit by the light coming from above or the side, rather than directly from your camera. This results in much softer, more natural lighting, like in the photo above. In comparison, the photo below was taken with a direct flash and no bounce. Kinda yucky looking, right?
WHITE BALANCE
Perfecting white balance is important in order to keep unsightly color casts (like blue or orange tints) out of your photo. While it can be tempting to use your camera’s auto white balance at all times, this setting doesn’t always get the colors exact. Therefore, we recommend using a gray card (or a White Balance Lens Cap).
With these tools, you can take a photo with the perfect white balance, then set that photo as your reference in the “custom white balance” settings in your camera. After that, every photo you take in that scene will also have a white balance that’s juuust right. Compare the two photos below, the second of which was taken with the “auto” white balance settings. It came out with an orange tint, especially in comparison to the first.
Pro Tip: If you have a photo with a color cast and need a quick fix, check out the free photo editor PicMonkey. There’s a “neutral picker” option under the “colors” setting. With this, you can simply click on whatever part of the photo is supposed to be white, and PicMonkey will automatically correct it for you!
ANGLES
Sometimes you won’t know which angle your food looks best from until you take a bunch of shots from several different perspectives. Don’t just take photos from the seat of your chair (no matter how comfy you are). Stand up and move around! One of our favorite angles is from directly above, as seen in the photo below. You’re not only getting a classic and clean shot of your food, but also all the decor surrounding it.
After shooting from above, get a little lower and shoot from the side. This way you’re capturing details that may have been hidden from view before, like the holly imagery on the mug below. Experiment with distance too. Take some shots from farther away to capture the whole scene, then get in close enough so you can basically taste those sugary-sweet marshmallows (or whatever you’re photographing… but hopefully it has marshmallows, because yum).
“IN PROGRESS” SHOTS
Photos of your food-making process can look just as appetizing as your final product photos. If you’re about to bake some super happy gingerbread men, capture the delicious mess of cookie dough and flour with your tools scattered throughout the frame.
SET THE SCENE
The food in front of you at the table doesn’t have to take up your whole shot. Give your photo more of a communal feel by including more food off in the background, like a big ol’ plate of cookies. This kind of shot is fun for your viewer too, since it gives their eyes an opportunity to move throughout the frame instead of just landing on one spot.
AND ACTION!
You may not typically think of food and drink photos as capable of having action shots, but a photo of some ice-cold eggnog being poured into a holiday mug will make your viewer feel like they’re right in the scene!
Now you’ve got all the tips and tricks you need for tasty holiday food photos. Go forth and start photographing (and don’t forget to eat all the delicious food afterwards). Want more photography tips and tricks? Check out the Photojojo blog!
Do you have a favorite holiday food that you can’t wait to photograph? Show us your project by tagging us on Instagram + using hashtag #iamcreative!


