Backpacks are back — woo hoo!
Update Your Old Backpack With This SUPER Pretty Watercolor Technique
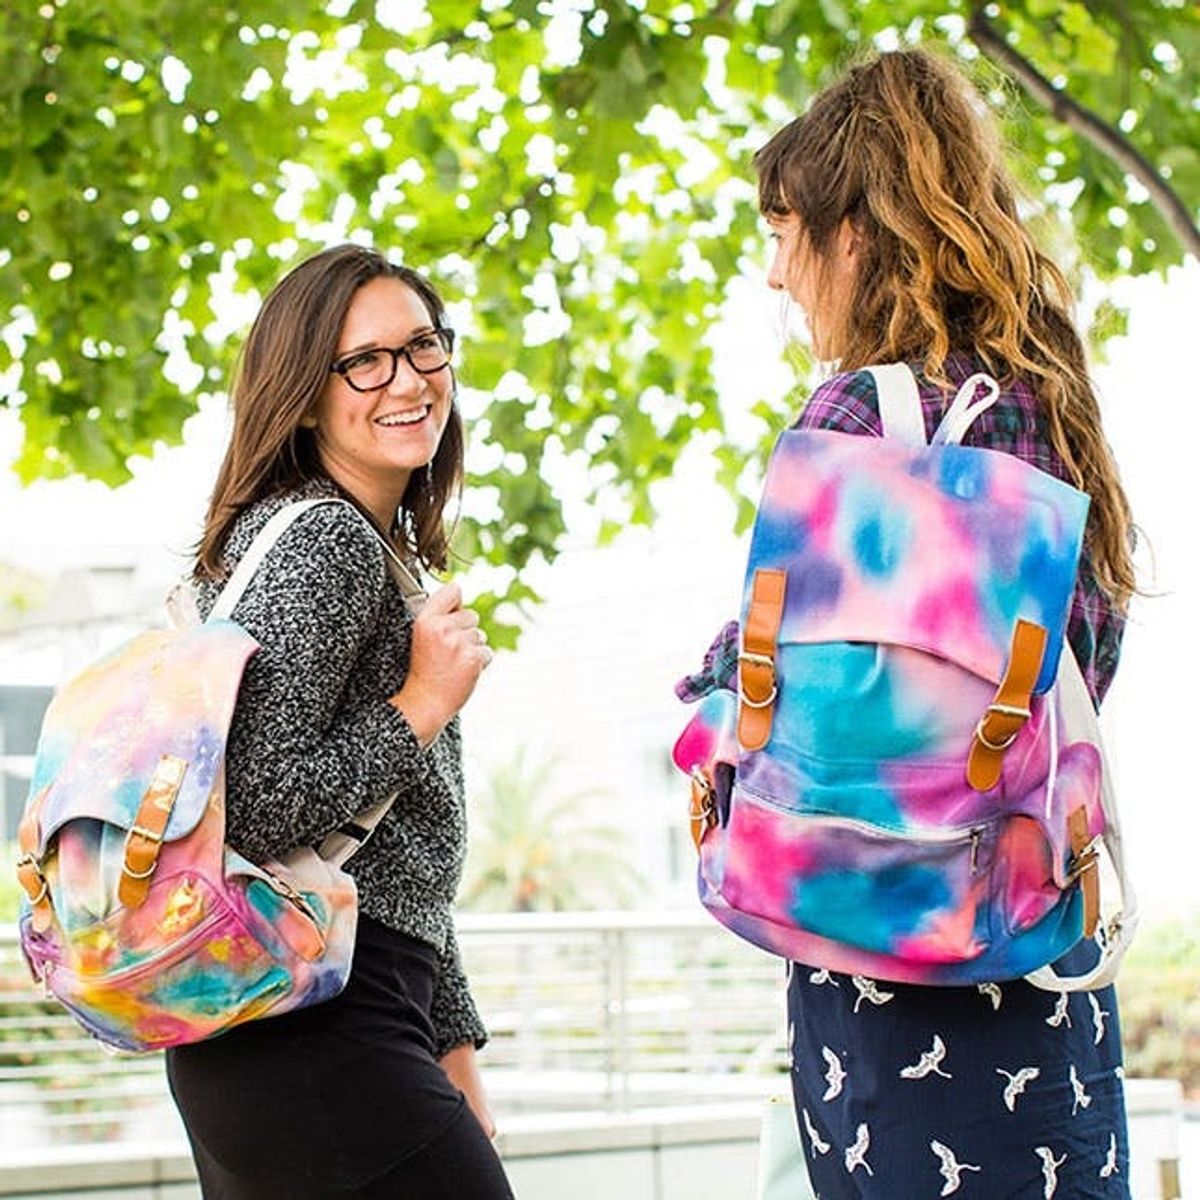
As much as we hate to admit it, summer is coming to a close and school is right around the corner. Here at Brit HQ, we feel like we had a great summer, so we are ready for cooler fall weather, stockings and booties. Oh wait — that is San Francisco weather always. Well, for all of you who are heading back to school, we have a great way to update your old backpack — with gorgeous watercolors! We think anything watercolored is an ultimate win, so this backpack takes the cake.

Materials:
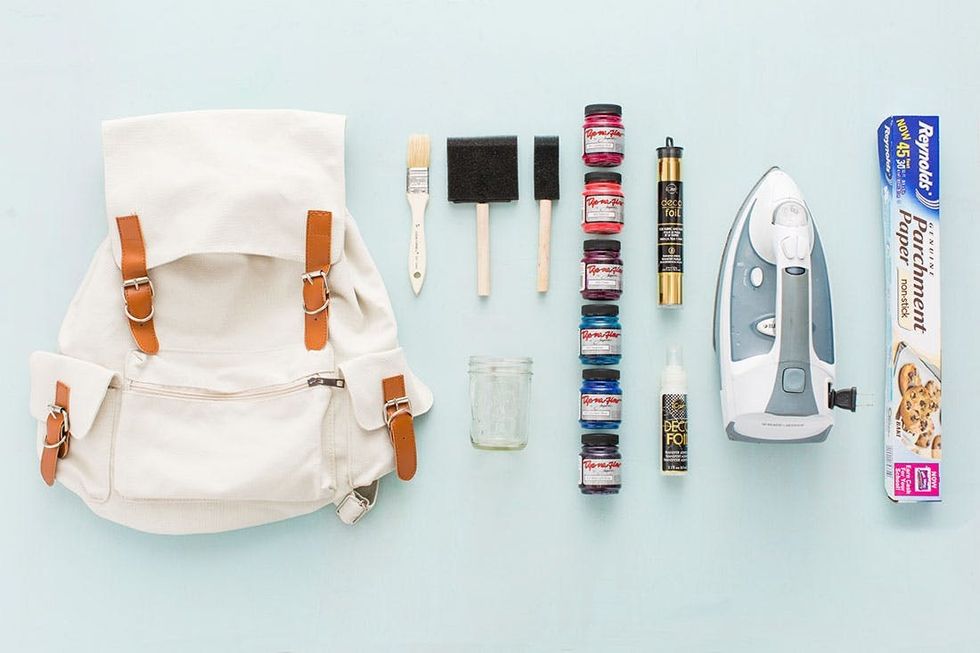
– canvas backpack (we bought ours here)
– iron-on gold foil
– foil adhesive
Tools:
– iron
– sponge brushes
– parchment paper
– mason jar
Instructions:
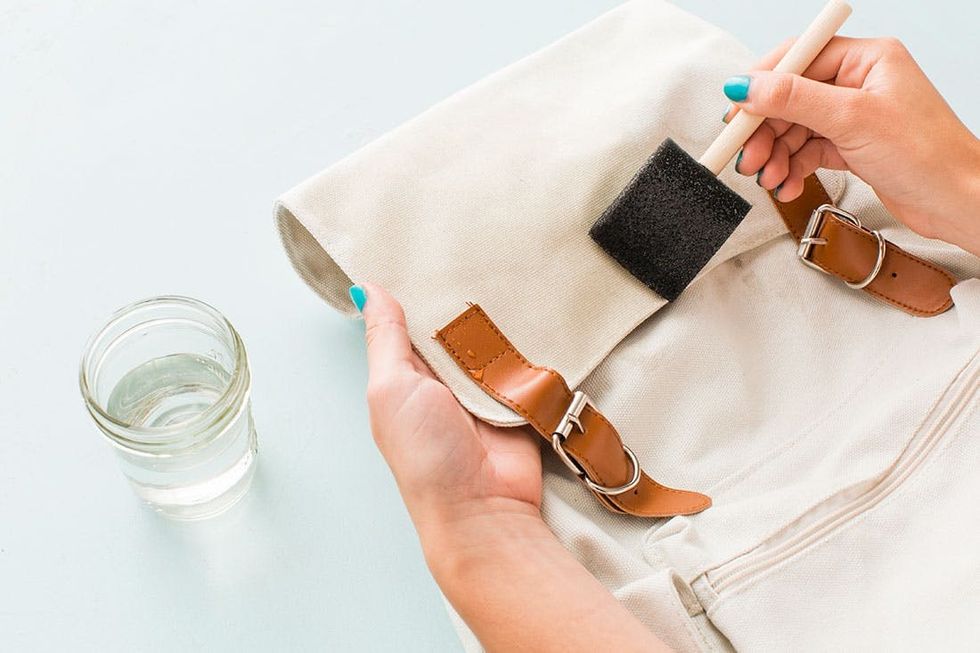
1. Use your largest foam brush to dampen all the areas that you want to watercolor.
2. Dip your smaller paint brush into water and then your first color of paint. Dab it onto the canvas and watch the paint spread.
3. Clean your paintbrush and continue dabbing other colors onto your backpack. If you want to make the colors merge more, dab a watered foam brush on top of the area where the colors meet. This will make them blend together.
4. Once dry, apply foil adhesive to the bag and spread using a paint brush. Lay the foil on top of the adhesive, cover in parchment paper and iron.
5. Let the gold foil cool and then peel it off. Repeat that process until you have gold foiled to your heart’s content.
Lather on that water. Your backpack needs to be pretty wet so that the colors can spread and create beautiful watercolored patterns.
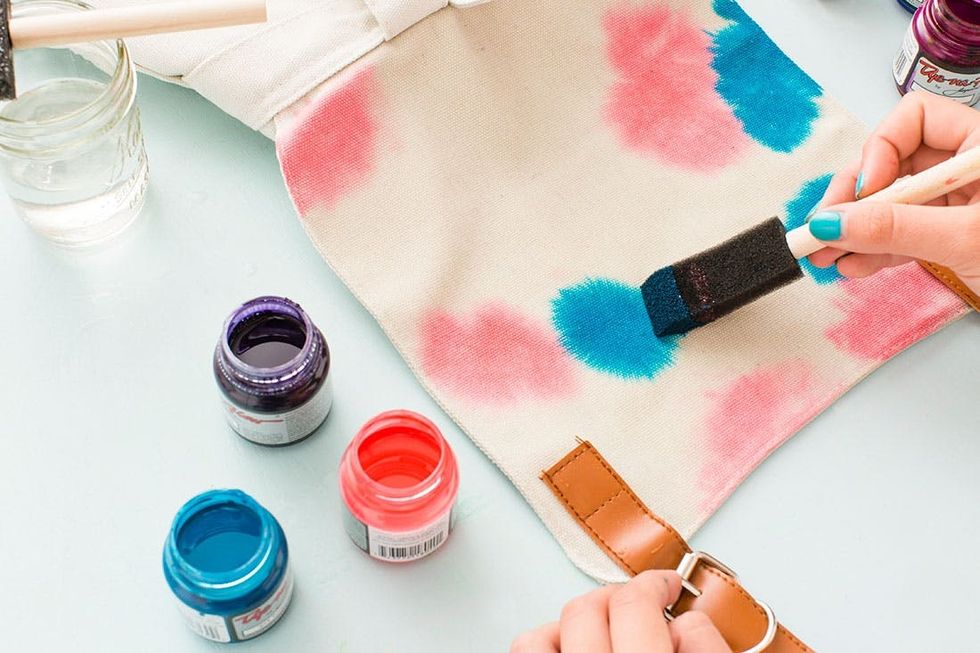
Wet your paintbrush, and dip it into your favorite color. Dab it onto the wet canvas and watch the colors spread.
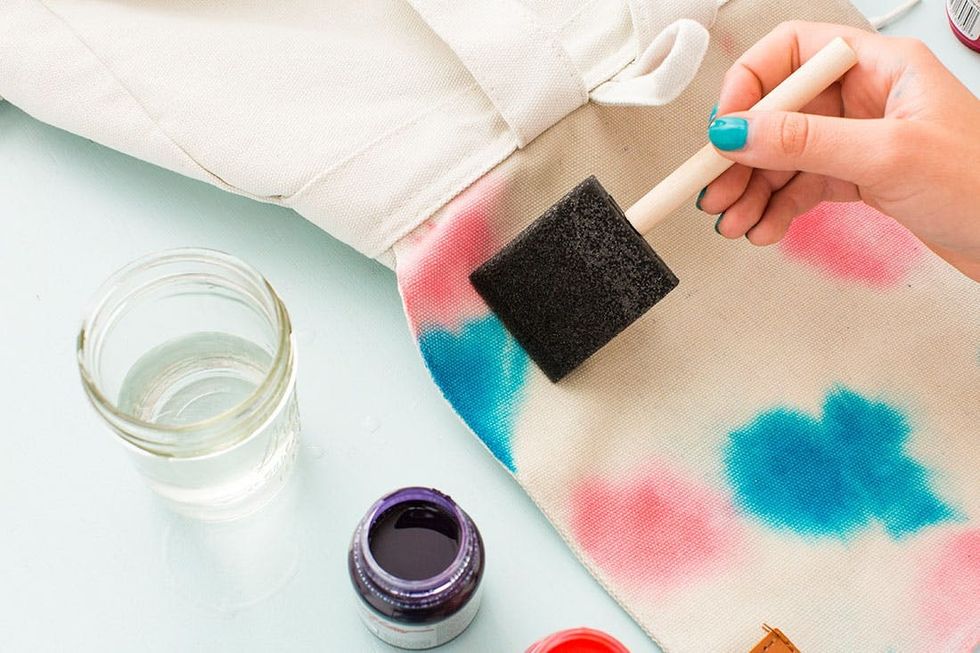
Use a clean wet paintbrush to help blend the colors together. Dab the water onto the colors rather than moving the brush over them to blend them together.
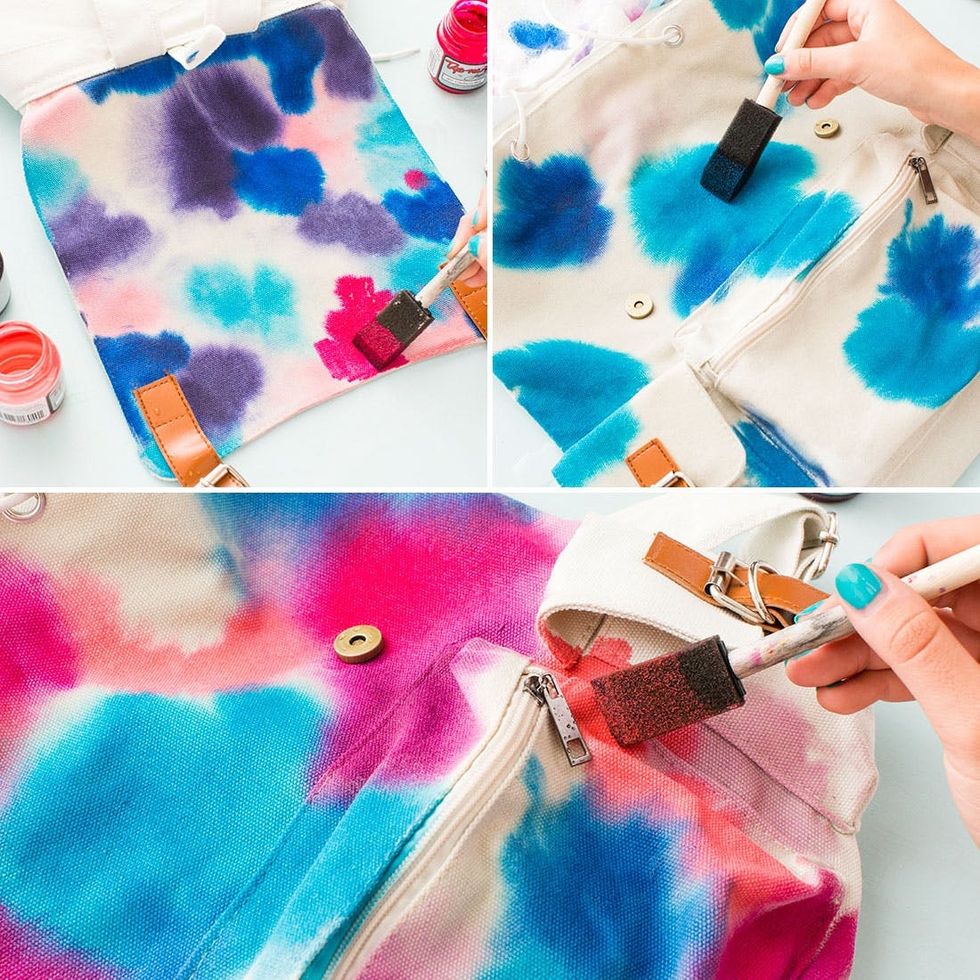
Keep adding colors until your backpack is a watercolored masterpiece.
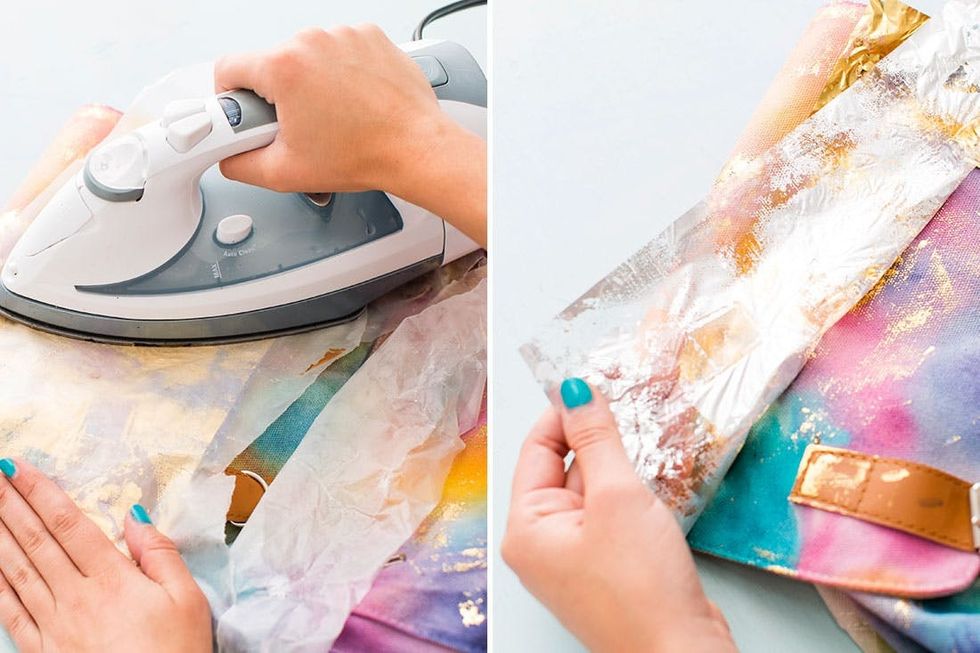
Of course we made a backpack with gold foil :) Apply the gold foil adhesive, lay the foil on top, then cover with parchment paper and iron. Once the foil has cooled, peel it back to reveal the shiny addition.
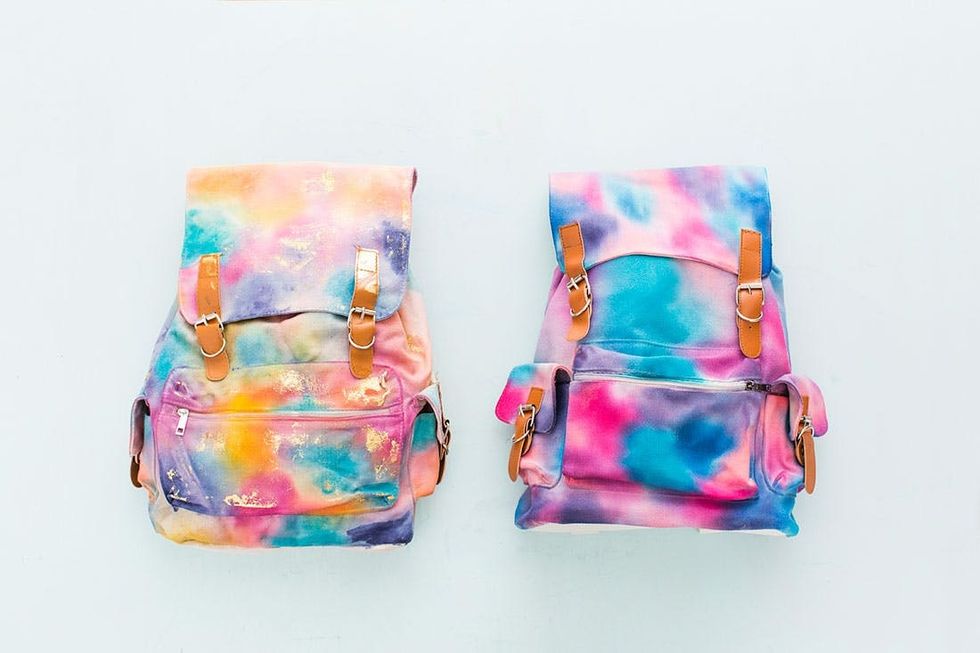
Gold foil for you, and bright watercolor for me!
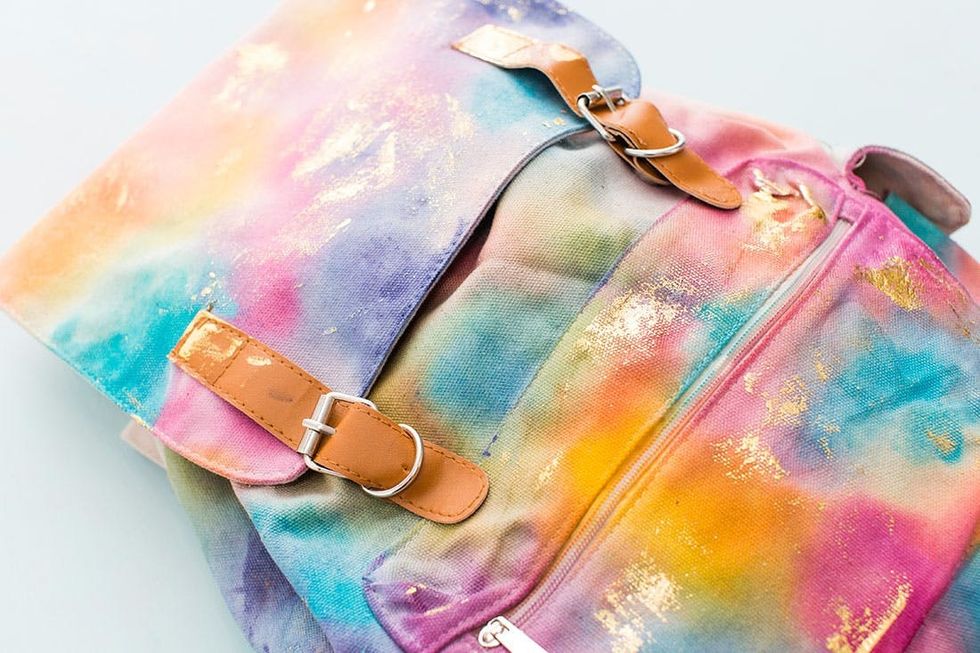
Go crazy and foil everything! Need some inspiration for interesting ways to add your foil? Check out our tutorial on how to gold foil a tote bag.
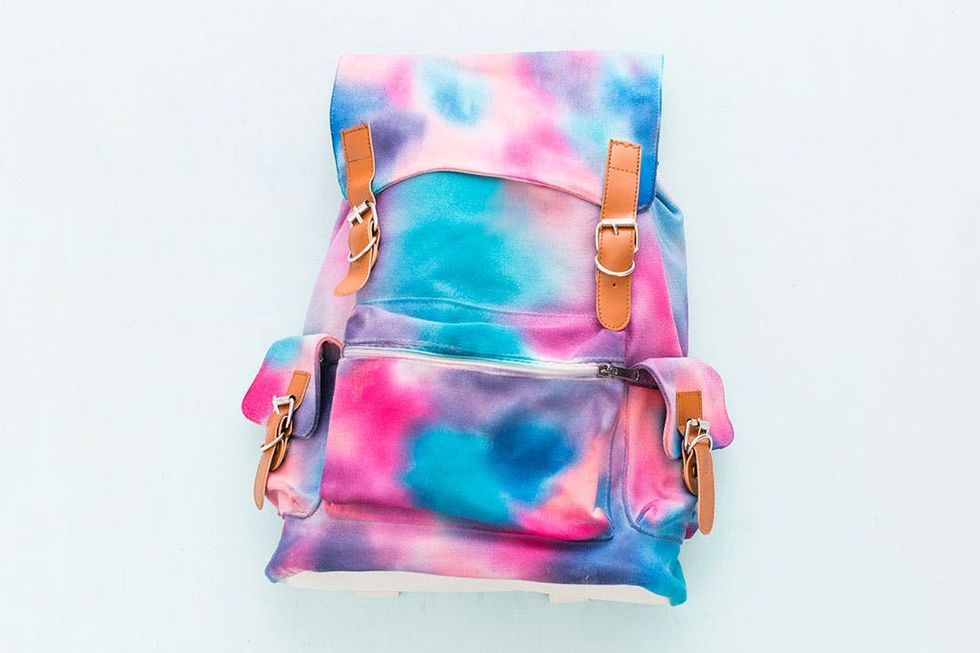
Gold foil will always win over our hearts, but this cool toned backpack is pure beauty.

These girls are ready to go back to school. It was an honor to have Andrea, a new face to Brit + Co, join us for this shoot!
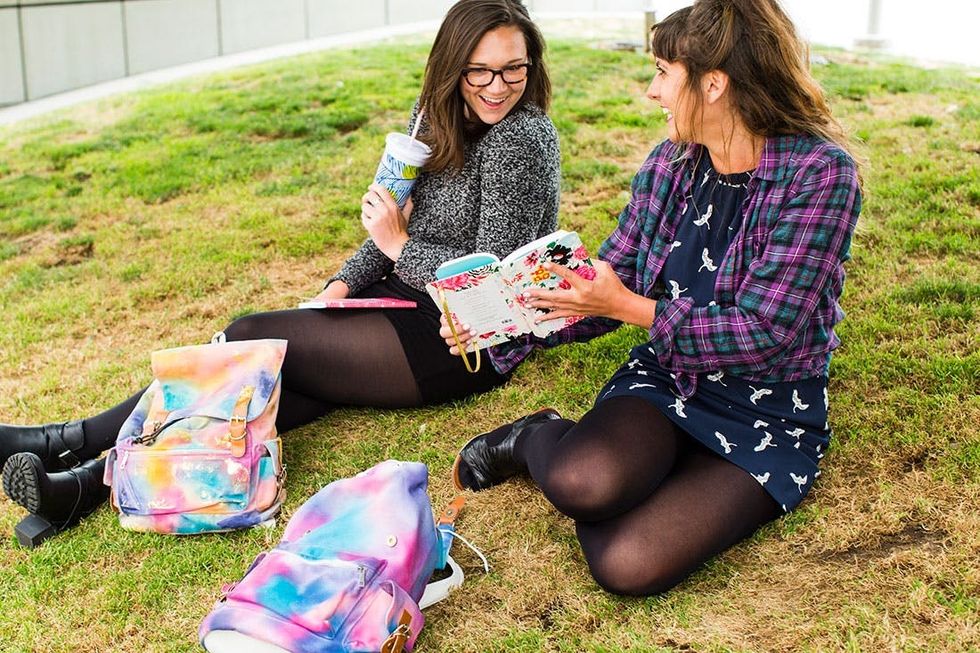
“OMG no way! You got his number!”
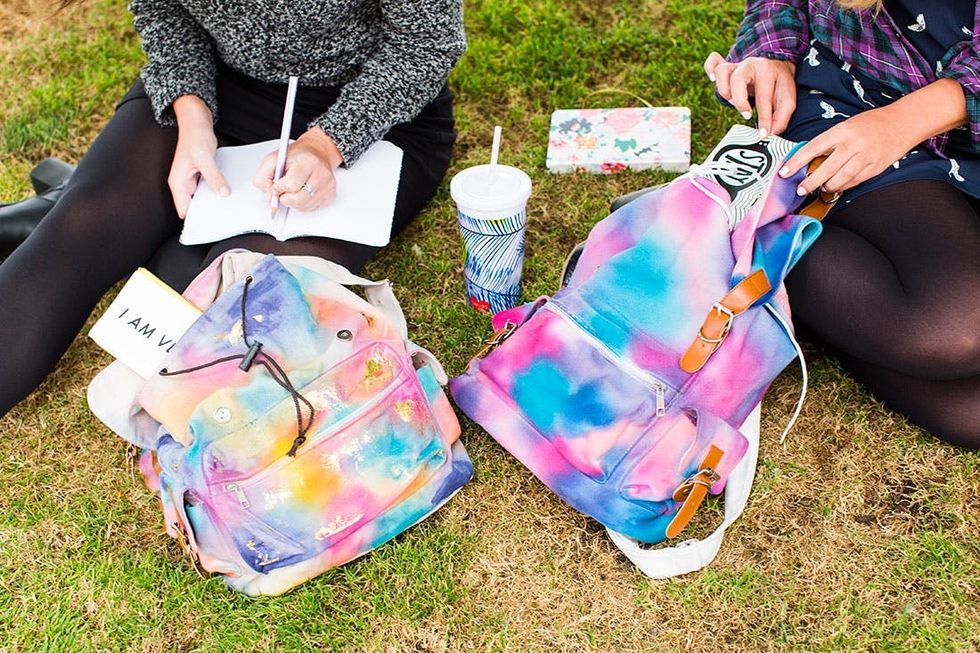
Get the look!
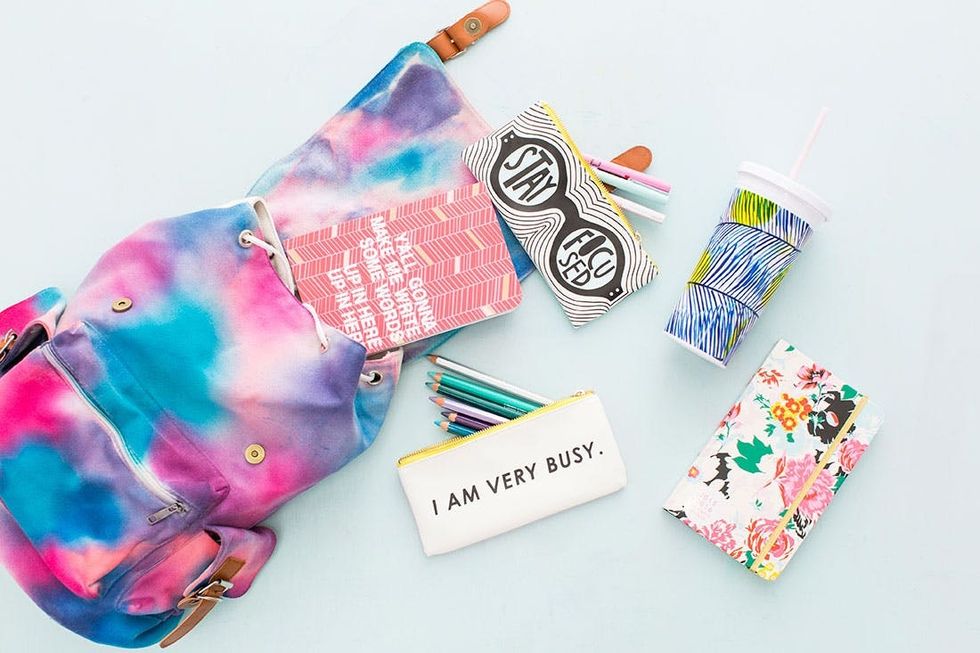
Here are all of the goodies that you can buy in our shop that we used in the shoot.
1. Stay Focused Pouch – $12


