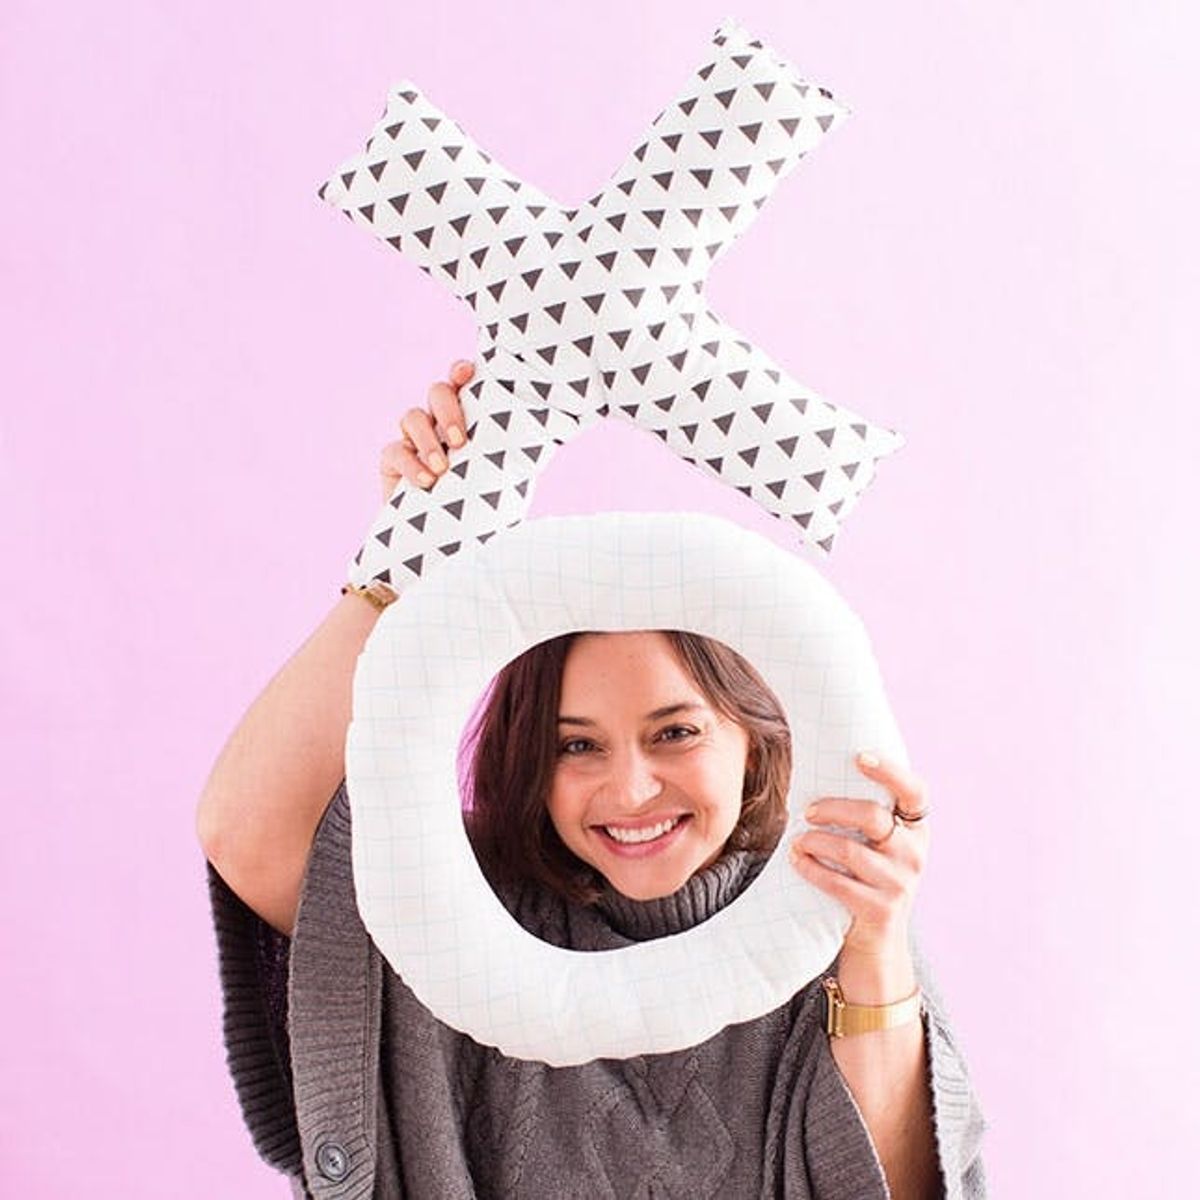
XOXO, Brit + Co
How to Make XOXO Pillows Your Couch Will Love All Year Long

Today we're making the most adorable hugs and kisses pillows that will bring the spirit of love into your home. Not only are they great for Valentine's gifts, but these pillows can sit pretty in your house all year long. Need to review some basic sewing skills? Check out our sewing class!

MATERIALS

– fabric
– batting or microfill
– two Ziplock boxes (or other rectangular objects from around your house)
– one dessert plate
– one large circular platter
– white thread
Tools:
– sewing machine
– iron
– fabric scissors
– pins
– needle
– pencil
Instructions:

Let's Start With a Kiss
- Fold your fabric in half with the pattern on the inside.
- Trace your household objects, creating an “x" and an “o."
- Cut out your letter, leaving a ½-inch seam allowance and pin the edges.
- Sew around the edges leaving one end open.
- Flip your fabric right side out and then iron.
- Fill the pillow with batting or microfill.
- Hand stitch the open edge.
The X

First, fold your fabric in half with the pattern on the inside. Then find a rectangular box around your house (Ziplock boxes work well) and trace them into an “x” shape on your fabric. Cut out your letter leaving a 1/2-inch seam allowance.

Pin your fabric in place and then sew around the edges following the lines. Leave one end open. Flip your pillow case right side out and then iron it flat.

Add stuffing and then pin your open end together to make hand stitching easier. You could also try sewing the end with your machine if you’re feeling wild ;)

Next up we’ve got our cute little “O.”
The “O"

Again, fold the fabric with the pattern on the inside. Find two circular objects to create your letter. One should be substantially smaller than the other. Trace the larger circle and then place the smaller one directly in the center of the first one.

There are two ways to do this next part. We cut our little donut by making a straight snip through the circle. You could also leave the “O” in tact, cutting the center circle by making a little fold and snipping into it.

Sew around the edges following the penciled lines. This will help keep your “O” even. Leave both ends open. If you choose to do this the other way, leave a small section on the outer edge of the circle open. Flip your case right side out and then fill it with stuffing.

Now pin the open ends together and stitch your “O” together.

Ladies and gentlemen, meet hugs and kisses!

We made a second set for even more love!

These would be great to hold up in a photo booth. You could send your pics to your Valentine rather than sending a traditional card.

Nothing cuter than pillows that say “I love you."
Share your creative projects with us @BritandCo!
This article was published in February 2015 and has been updated.


