We bet you’ve never thought to use your jewelry like this before!
How to Turn Your Jewelry into Hair Accessories — NO DIY Skills Needed!
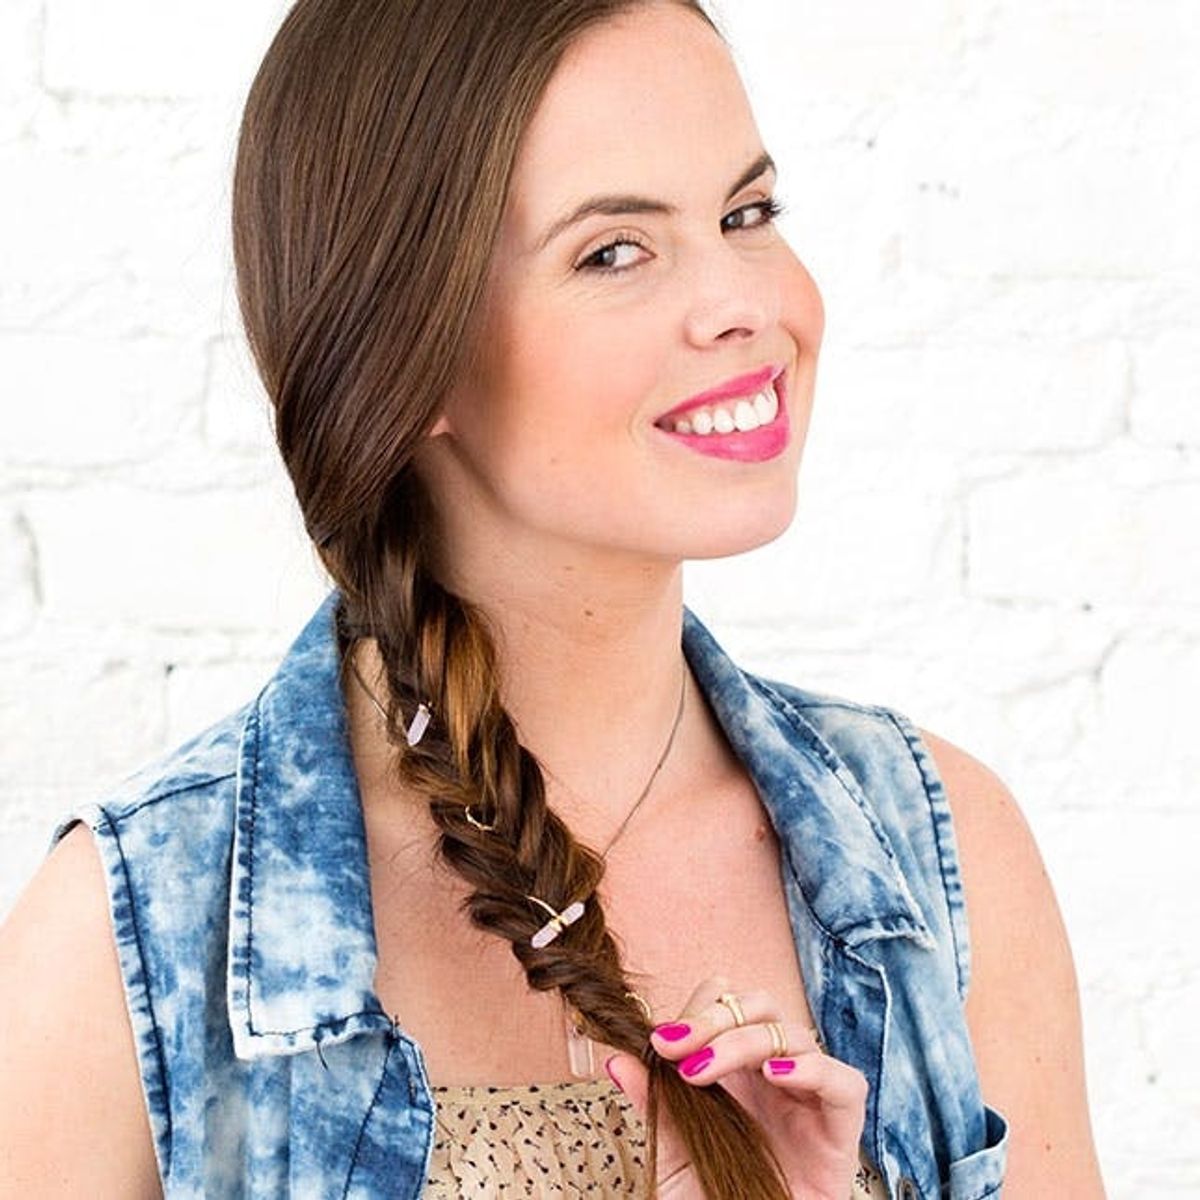
Festival season is a time when we can get away with stepping outside our beauty/style comfort zone, and for once not feel like the oddball out because you love to indulge in larger than life hairstyles! Today we’re pushing beyond the festival fishtail or Coachella crown braid to take your hair to a whole new level using accessories you already own. But whatever you do, don’t reach for the headband! Instead, we’re using rings, bracelets, earrings and of course a necklace to deck out your ‘do. We bet you’ve never thought to use your jewelry like this before, but once you see these four stunning (and easy, as always) styles, these little gems are sure to quickly become your new favorite hair accessories.
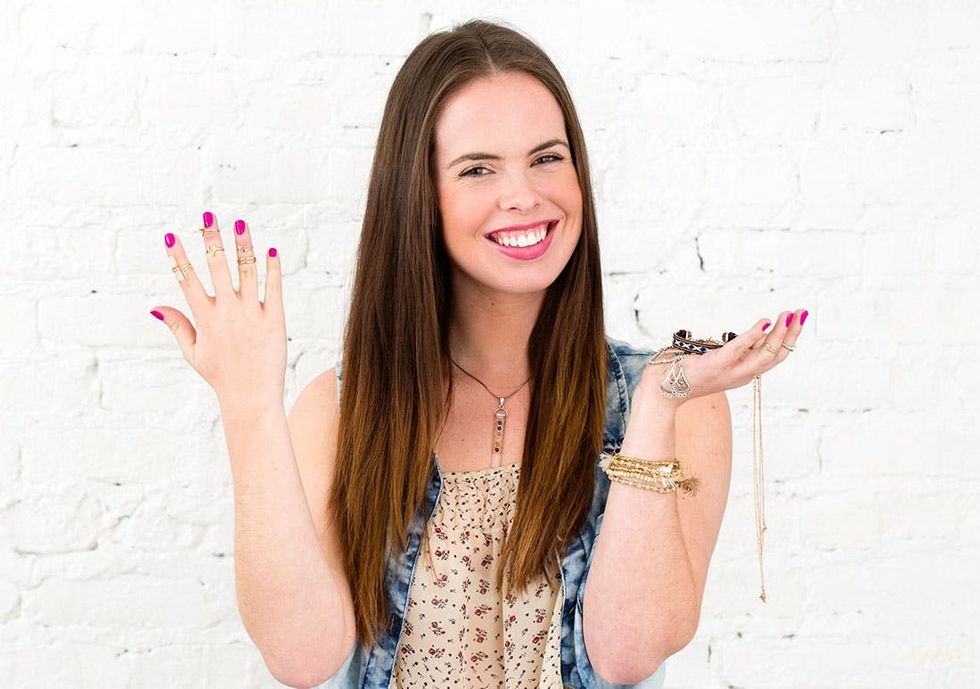
Use Rings in a Fishtail Braid
fishtail braid
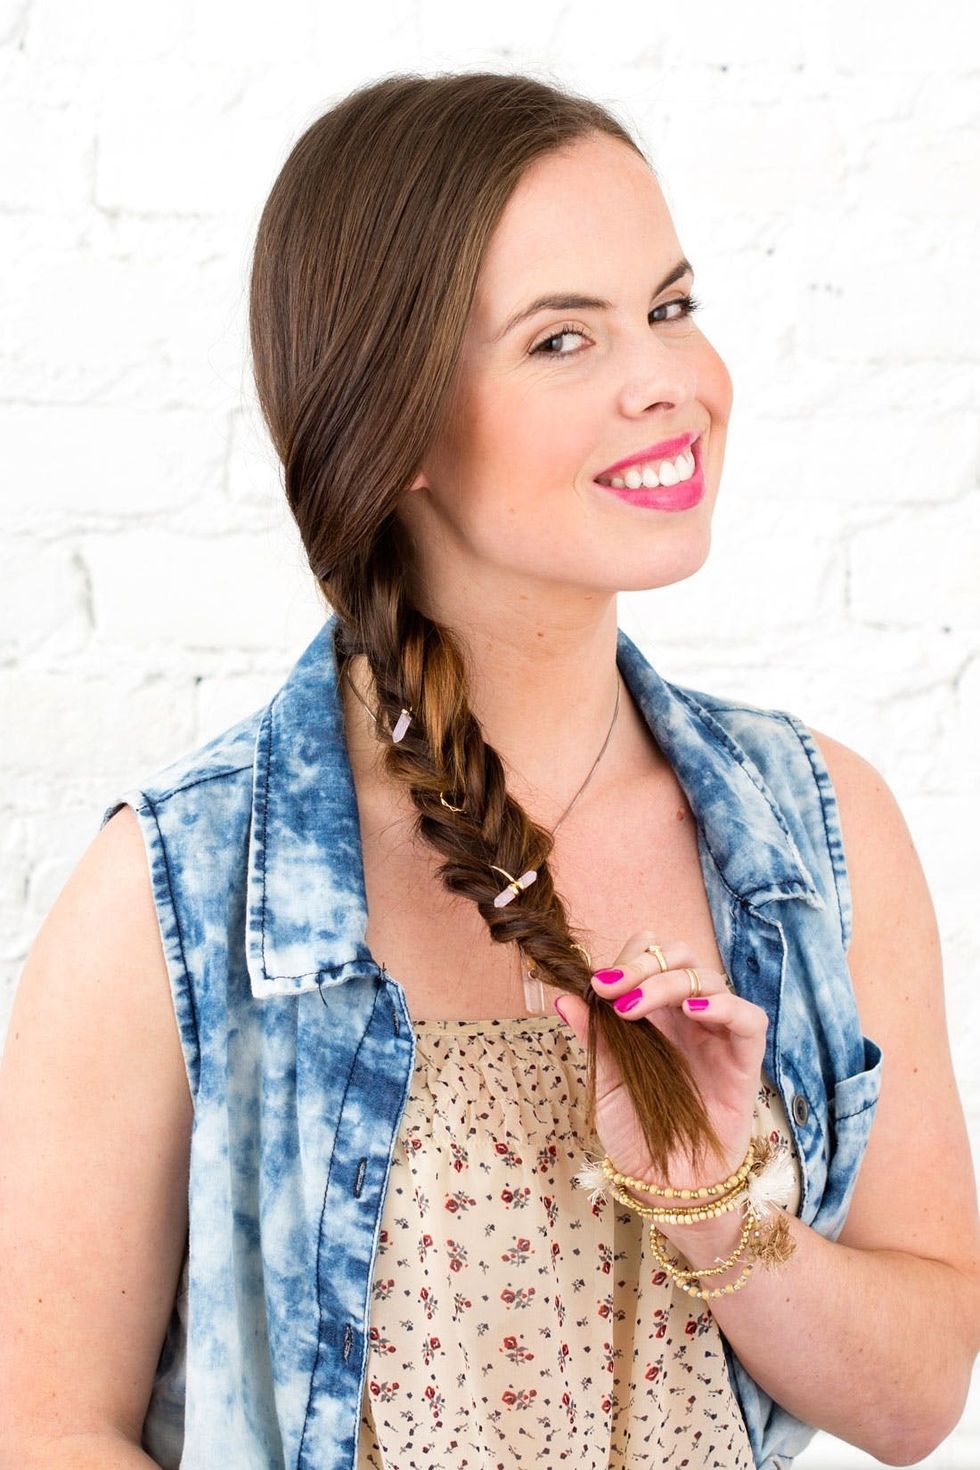 everywhere, you can grab some to use just for this for cheap, so you can leave your expensive rings at home. We grabbed this faux crystal set for just $7 at Forever 21.
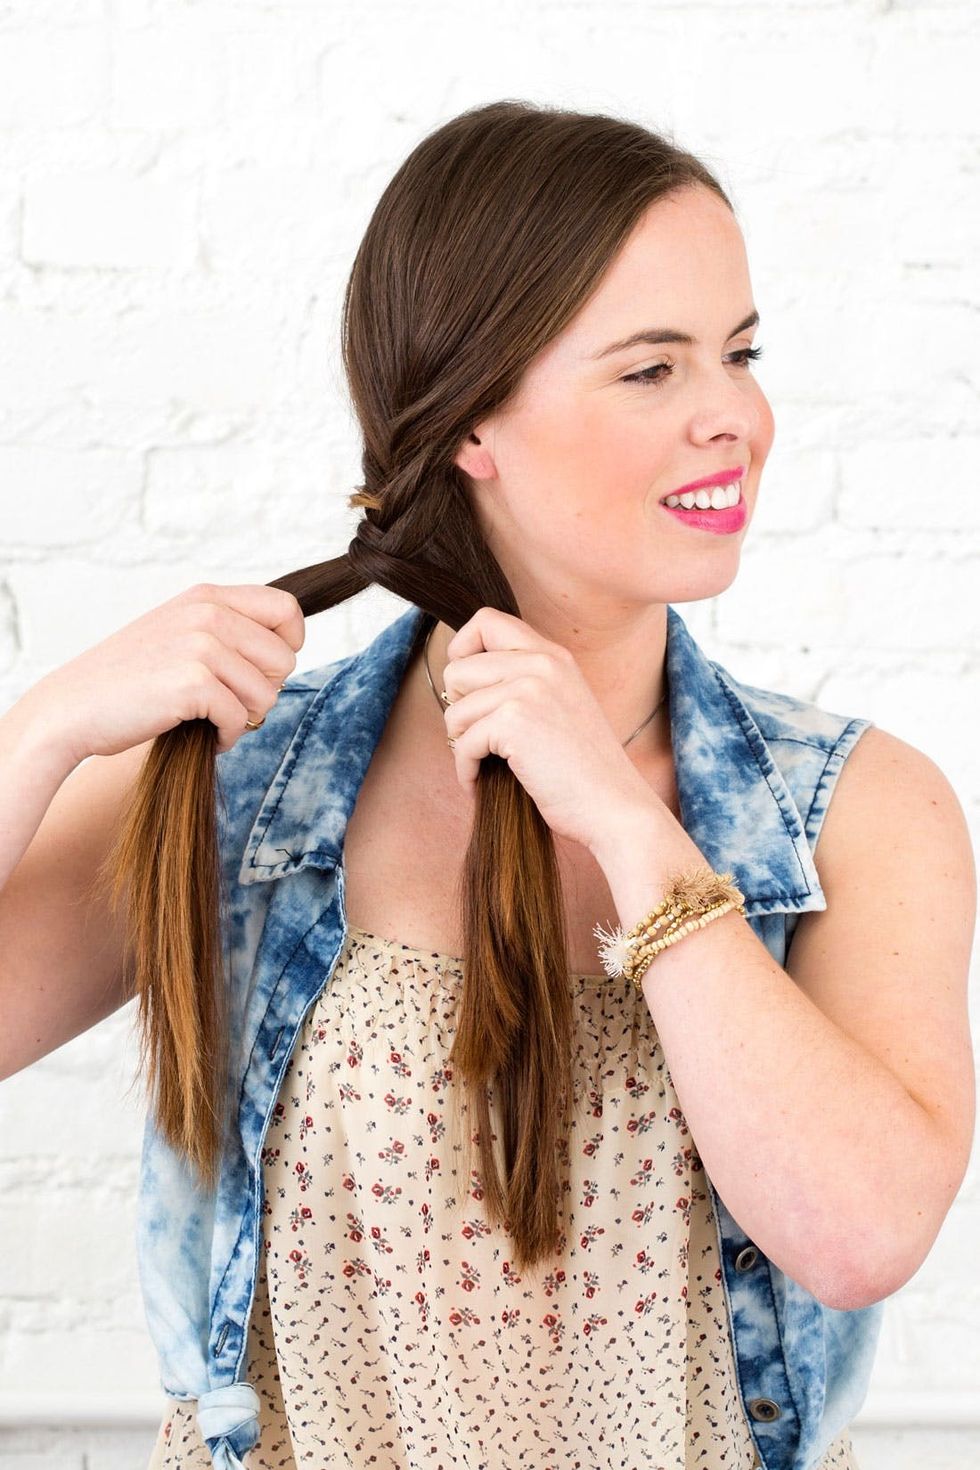
Pull all of your hair to one side and start to fishtail braid your hair.
Step 1: Begin Side Fishtail
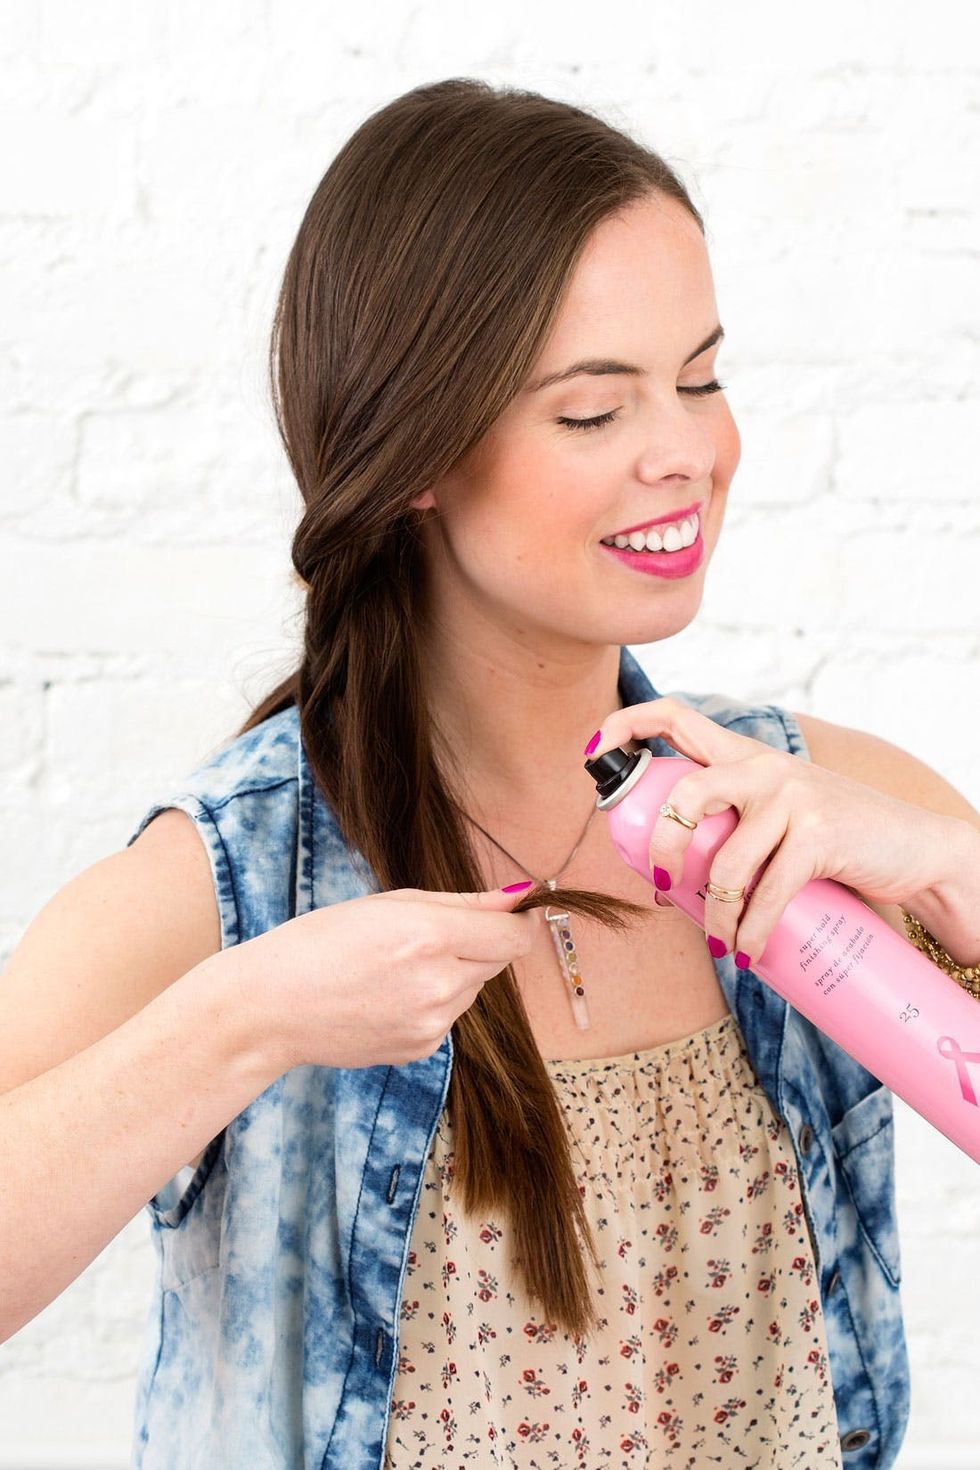
Once you get a few strands into your braid, spray the next strand you’re crossing over with a little hairspray. This will help your ends stay together so you can easily slide the ring onto the strand of hair.
Step 2: Prep Strand Of Hair
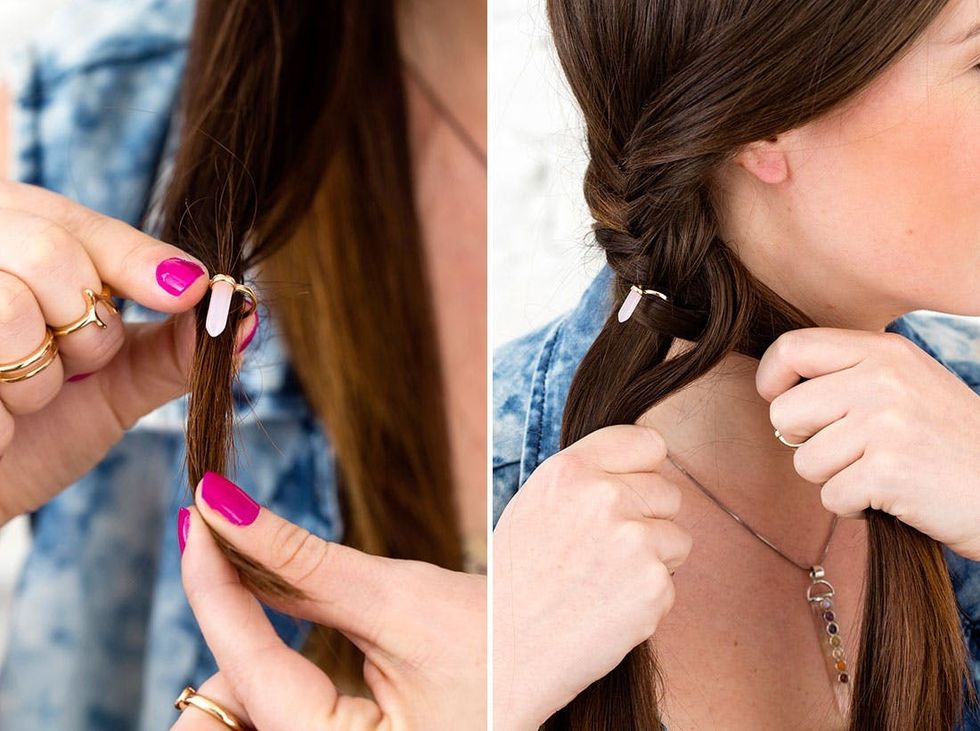
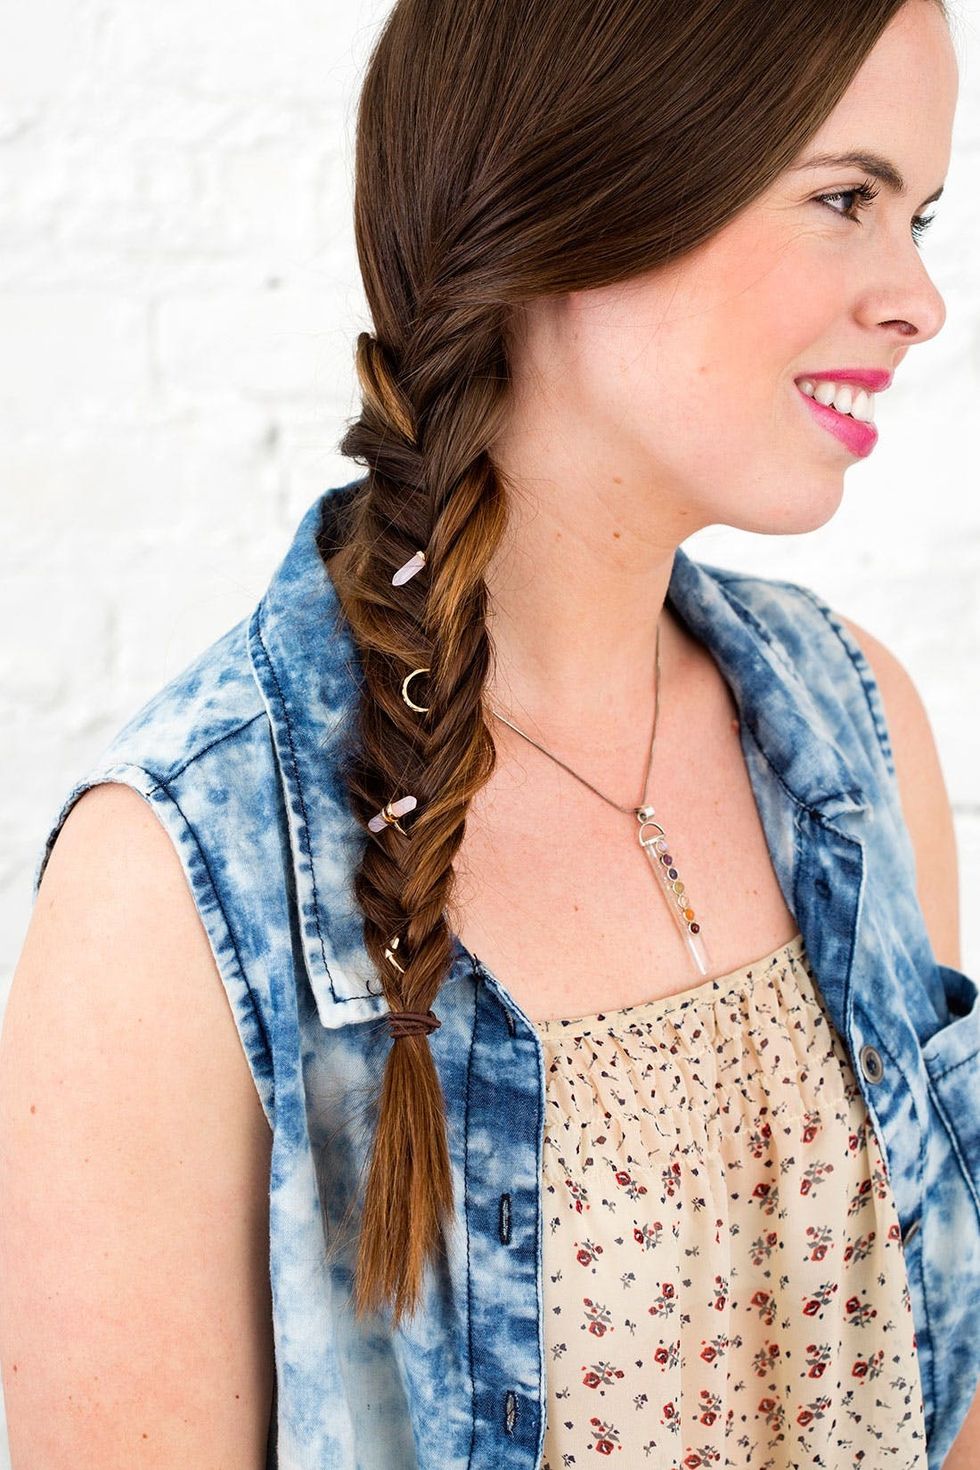
Slide your first ring onto the strand of hair and slide it up into the top. When the ring is flush to the top of the braid, finish crossing the strand over and continue the fishtail braid.
Step 3: Add Your Rings
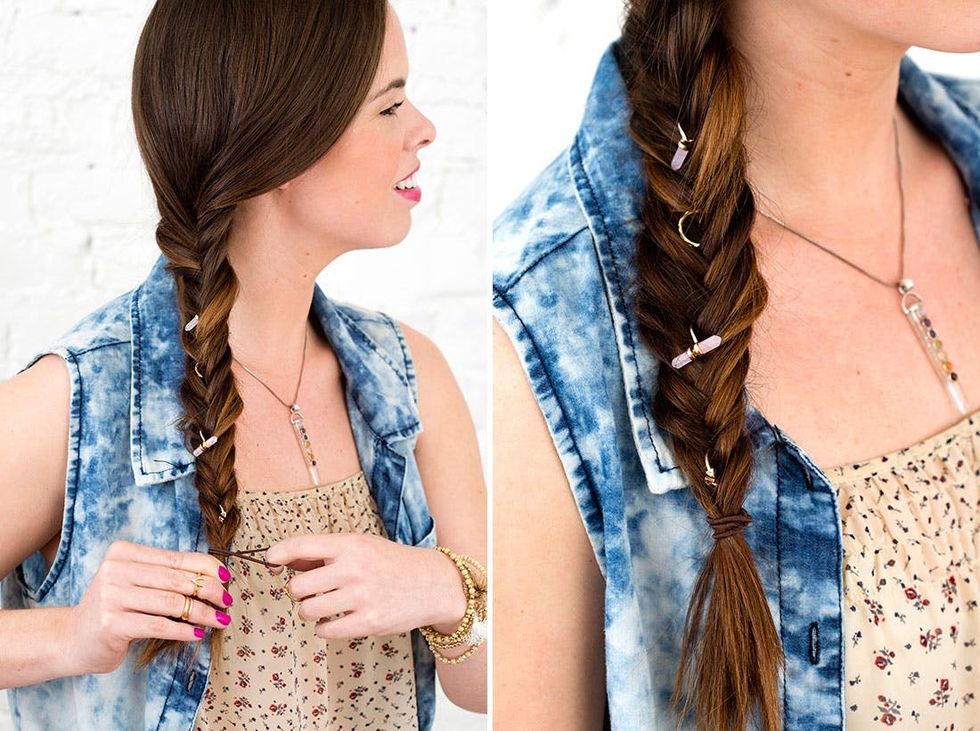
Keep adding rings every few strands until you reach the ends of your hairs. Secure with a small elastic that matches your hair color.
Step 4: Repeat + Secure With Elastic
Use Bracelets in a Bun

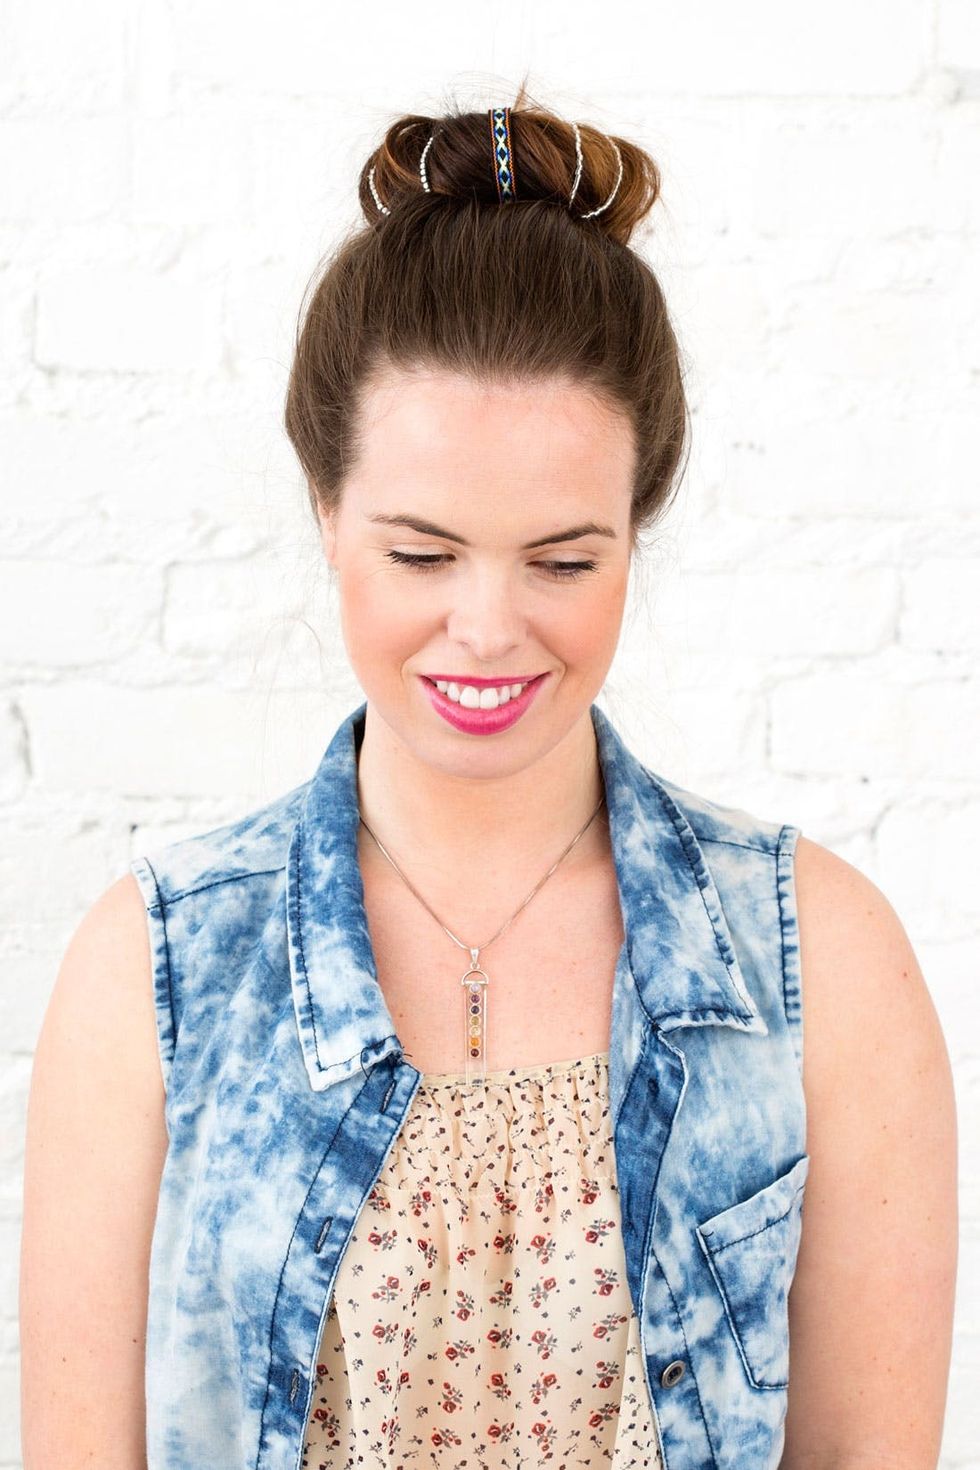
A messy bun is another hairstyle that is the perfect foundation for some hair bling. Here, we’re decorating the top knot with a patterned cuff and a few stretchy beaded bangles.
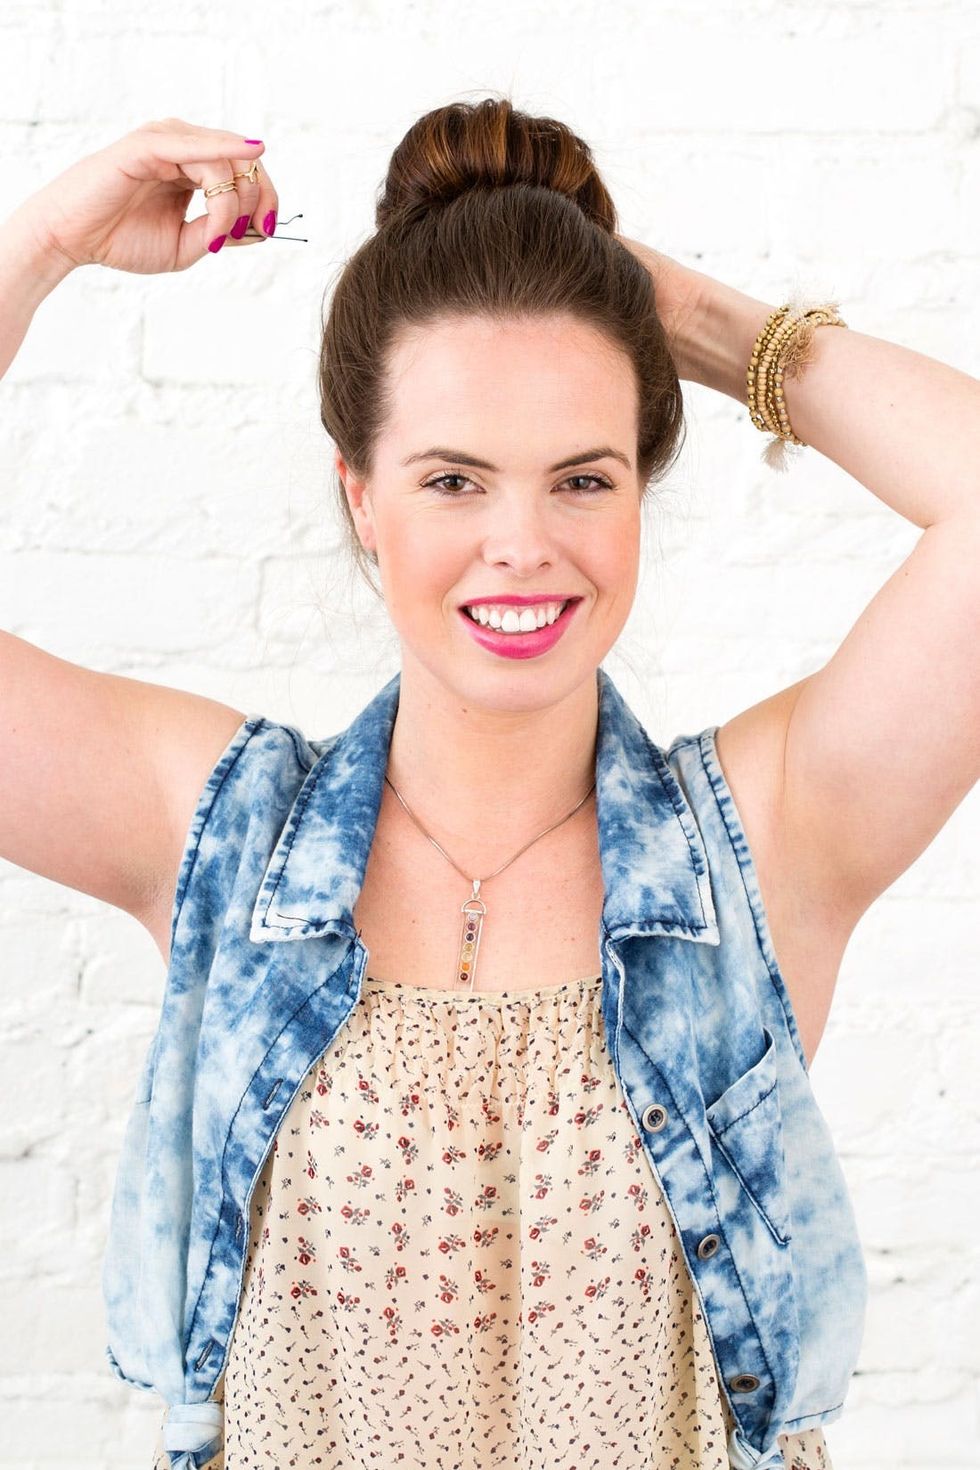
Throw your hair into a high ponytail (the messier the better)! Wrap your ponytail around until the ends can be tucked under and pinned in place.
Step 1: High Bun
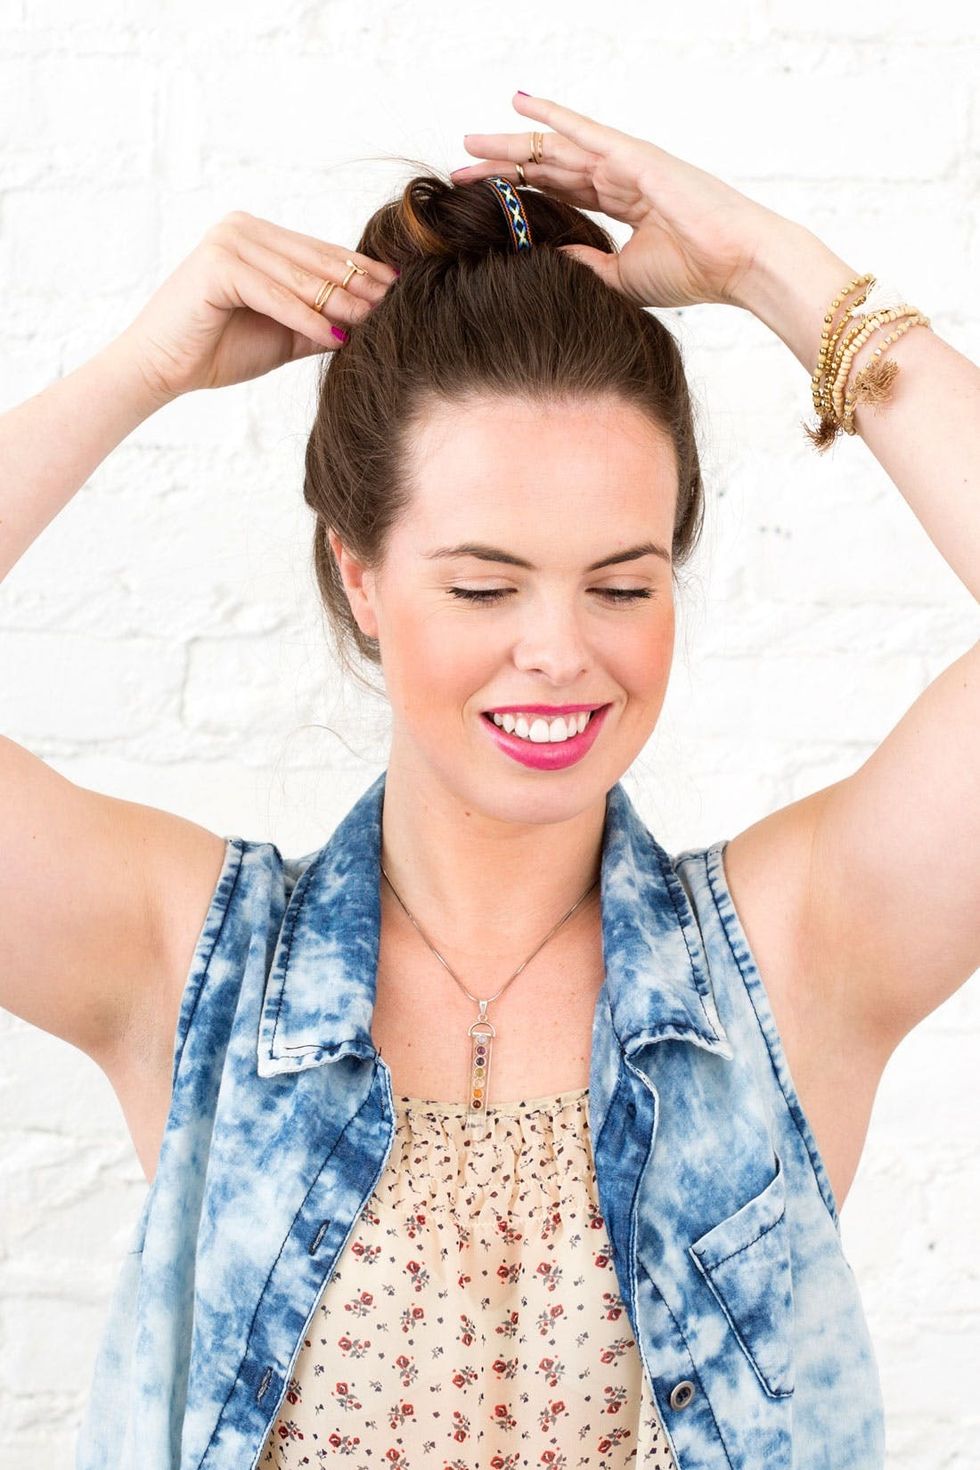
The open shape of a cuff bracelet makes it a great bun clip! Gently open the cuff around the top center of your bun and gently pinch it closed.
Step 2: Add A Cuff to the Top Center

Now place a beaded bangle onto each side of the cuff and pin its top and bottom of the bun to create a crescent shape on either side.
Step 3: Add Beaded Bangles
Use a Chain Necklace as a Headband
<em>easily </em>
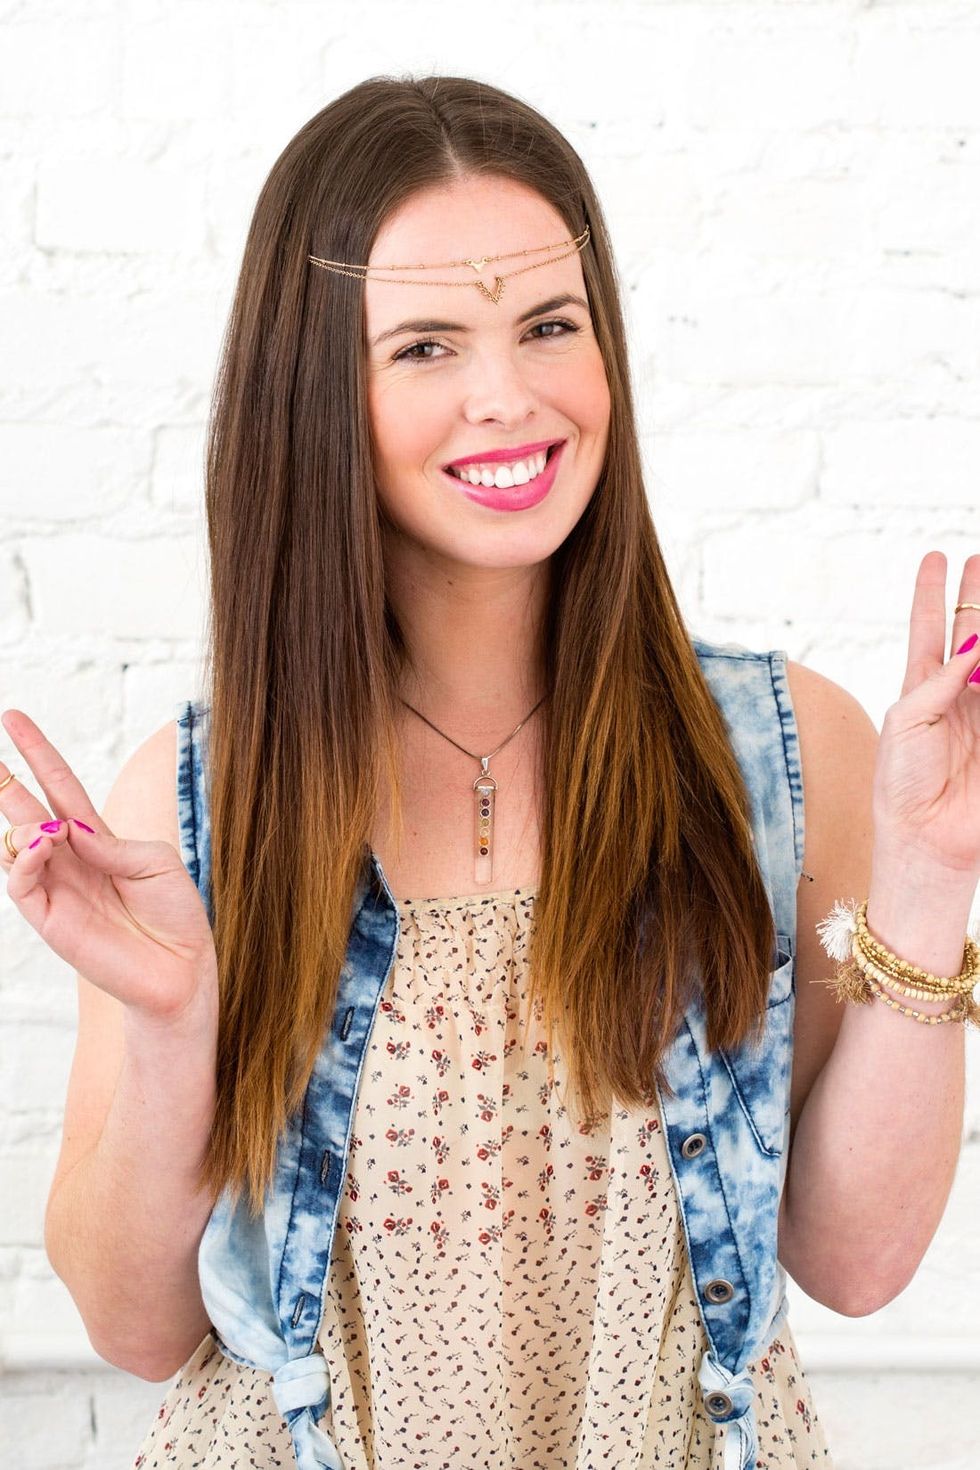 that headgear, but saving a few bucks here means more for merch there.
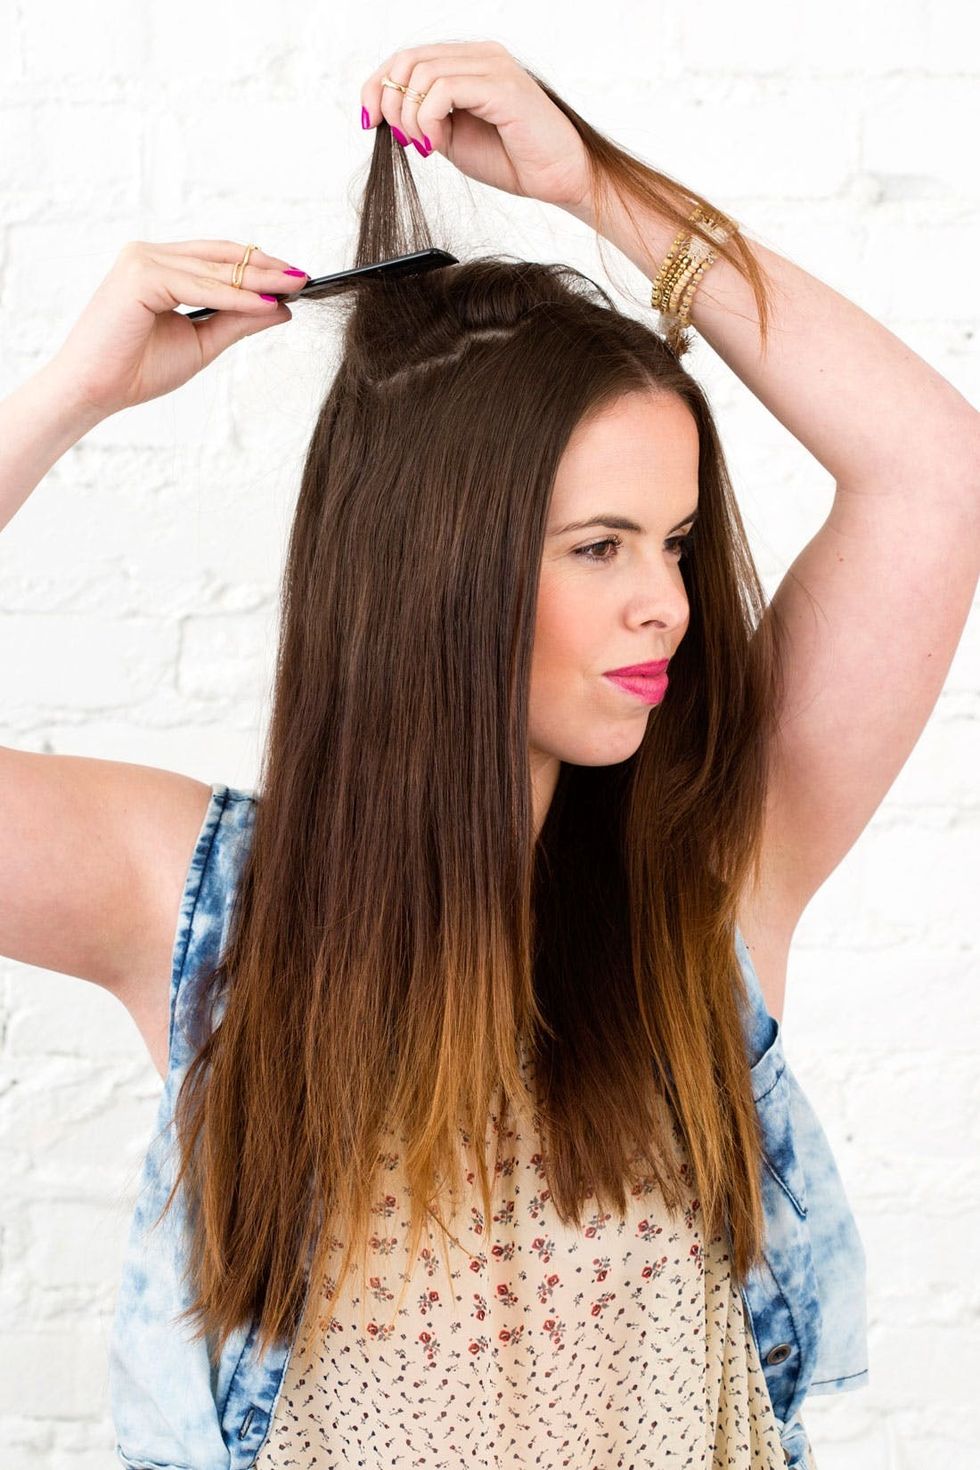
Place a center part in your hair and then begin to lift a couple inches of hair from one side of your head. Start back-combing the outer strands a few inches up from the hair shaft. This is going to act as an anchor for the bobby pins and chain to hold on to.
Step 1: Center Part + Create Anchor

Pull down the hair you teased, leaving the other hair to fall away. Then cross pin bobby pins over the chain to keep the chain in place. Do a cross pin for each chain (we did two cross pins since we’re using two necklaces). Then lay the hair that was left out over the pins to hide them.
Step 2: Cross Pin Both Chains
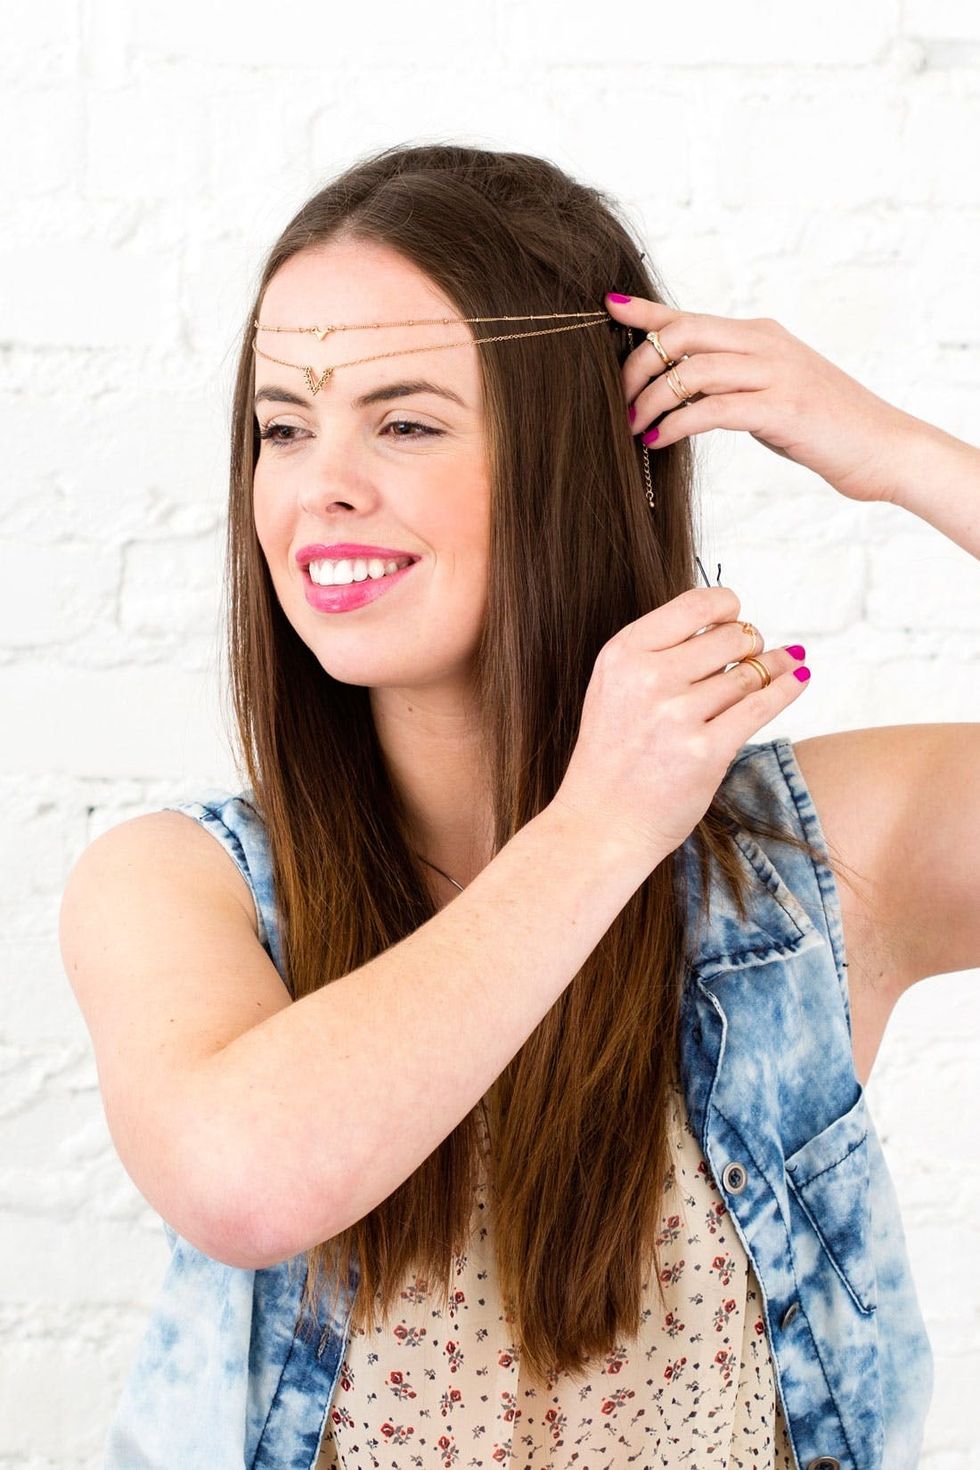
Repeat the same steps on the other side of your head.
Step 3: Pull Chain Across + Repeat

Use Earrings As Hair Charms
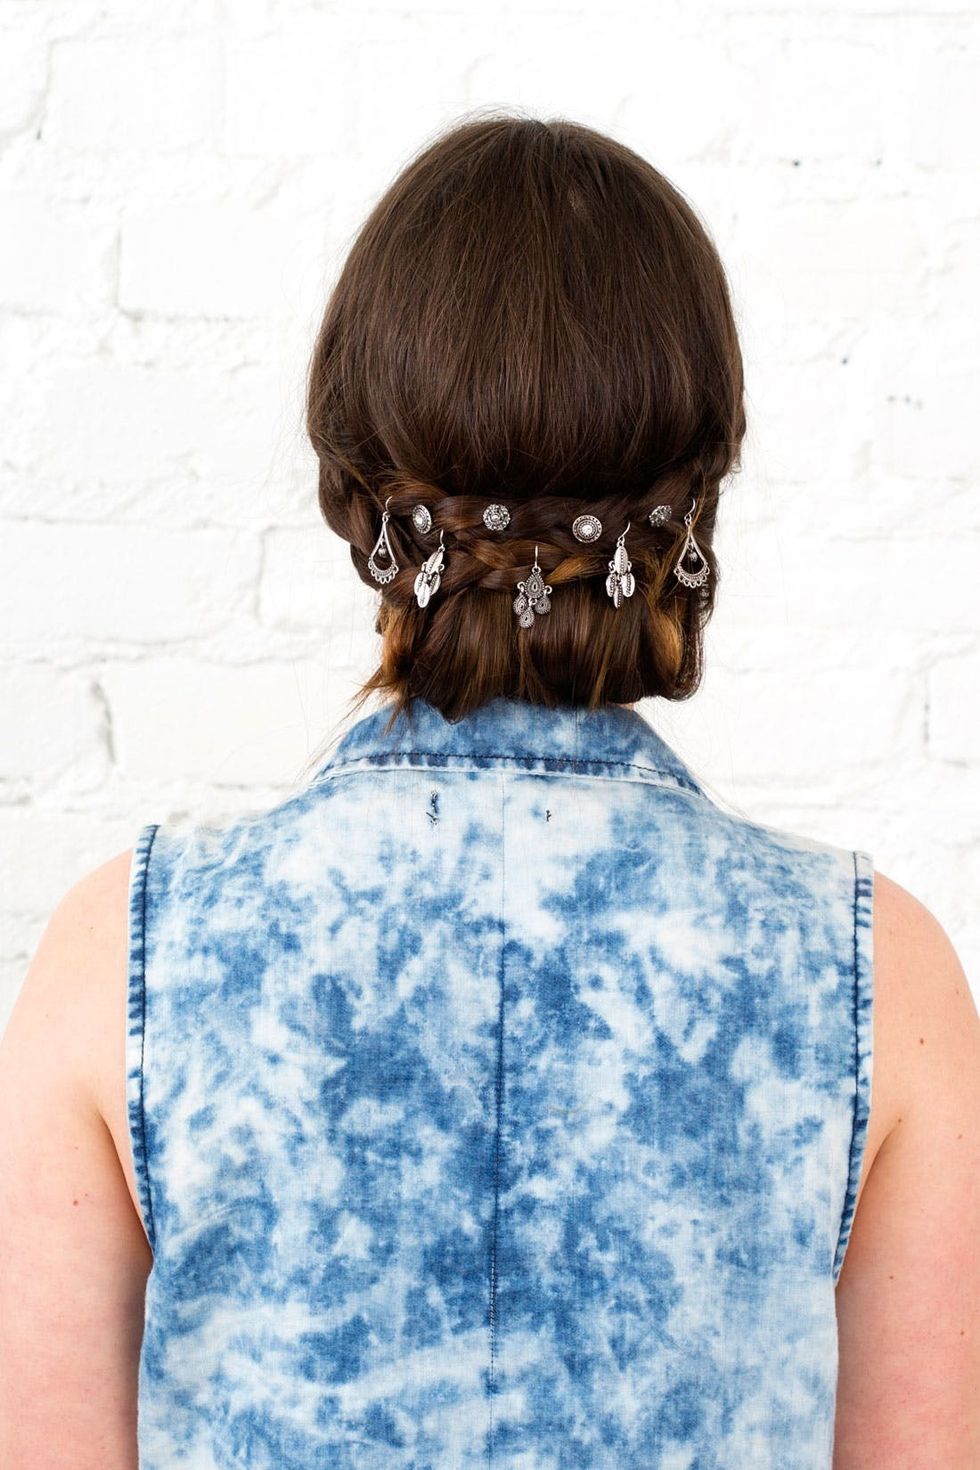
There’s no better way to make any updo look insanely intricate than by adding earrings into it. Say what? Yep! The posts on your drops and studs act as perfect anchors to sit in tightly bunched locks — just secure them with their backs and you’ve turned looks as basic as a bun or as fancy as a braided Gibson Roll into seriously stunning looks in five minutes flat.
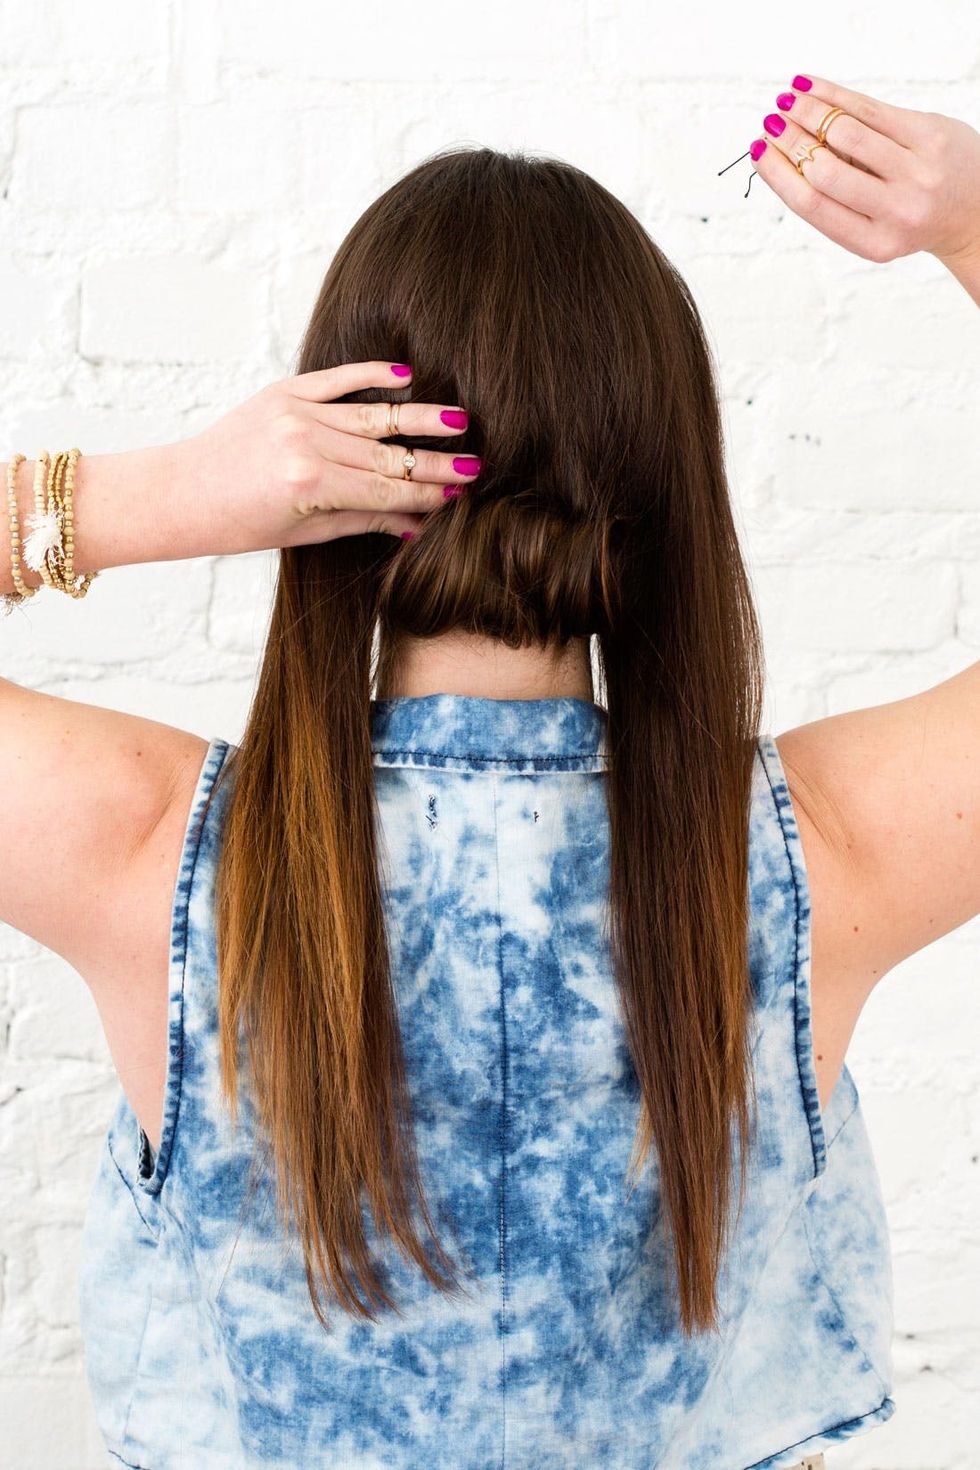
Once you’ve parted your hair into three sections, roll the center one up and pin in place with bobby pins.
Step 1: DIY Gibson Roll
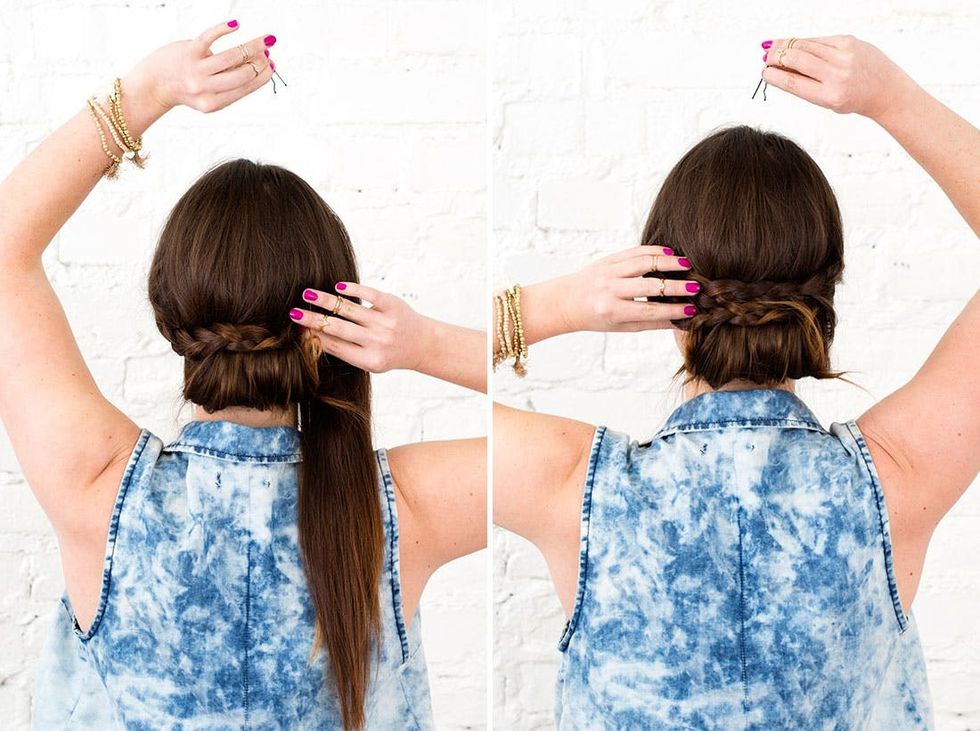
Braid one of the side sections, then cross it over to the other side and pin it in place with bobby pins. If your ends are longer than the width of your head, you can tuck them into the roll and pin them in place. Repeat the same process on the other side.
Step 2: Braid Other Sections
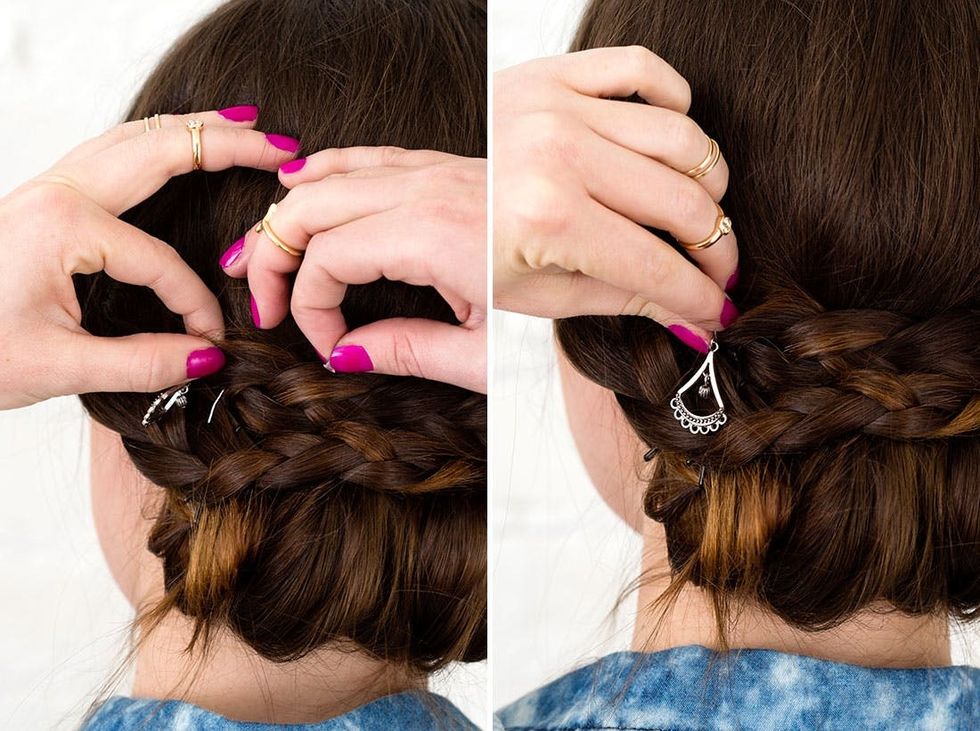
You can use earrings with hooks as well as studs to embellish. Simply hook or stab the earrings through the braids and place the backs on to anchor them into the hairstyle. Once the back is on and secure, gently tuck the earring hook or stud into the braid to hide it. Add as many as you please to complete the look!
Step 3: Add Earrings

Who knew, right?! You can always find rad hair accessories to buy, but it is SO much more fun when you can DIY your own showstopping hair goodies. It’s one insanely easy (and pretty!) way to stand out from the crowd.


