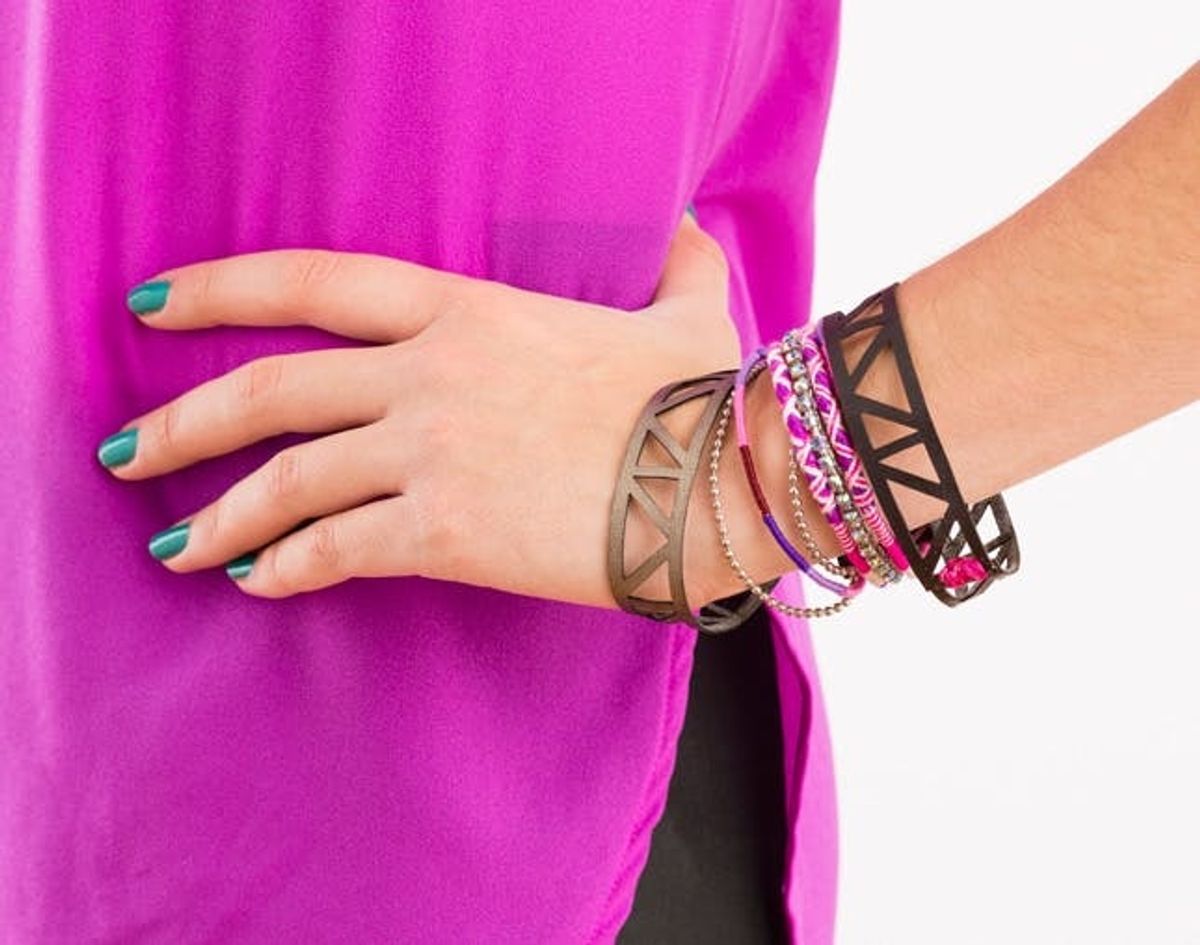
Want to make your own leather cutout bracelets in a matter of minutes?
How to DIY Chic Laser Cut Leather Bangles


One of the best ways to dress up any outfit is with an arm party. But tons of bracelets on your arm can be heavy! We used our trusty laser cutter to create custom cutout leather bangles that will amp up your style in a matter of minutes. Wrap them with fun colors of embroidery floss to give the party a pop of color.
Materials:
– leather
– embroidery floss
– E6000 glue
Tools:
– laser cutter (or xacto knife)
– scissors
Instructions:
1. Place leather in the laser cutter and cut out bracelet using the template. You can also use an xacto knife to do this by tracing the template onto the back of your leather.
2. Attach the leather together with glue.
3. Tie embroidery floss to the leather and wrap around.

This is a great way to use leather scraps!

We LOVE our laser cutter and are so fortunate to have one in our office. If you don’t have access to a laser cutter, try using an xacto knife to cut out geometric shapes from your leather.

Ta-dah! If you are interested in learning more about the laser cutter, and live in the Bay Area, sign up for one of our laser cutting classes here at the Make Shop.

Using E6000, glue the ends of the bracelet together.

Tie embroidery floss to the bracelet and wrap around where the two ends meet. Tie off and use glue to secure the knot in place.

Pops of color against a neutral? Yes, yes and yes!

Another way to wrap is by overlapping the bracelet and wrapping vertically instead of horizontally. Once you’ve wrapped enough, tie off and glue in place.

Looking for a bangle that will match everything? Then stick to neutral on neutral. These bracelets are so easy. Let’s make more!

Sick of bracelets weighing down your hands? Well these are light as a feather and make a statement. What we love about these bangles is that they can be made out of any scraps of leather from previous projects.

What bracelets have you made or bought lately? Talk to us in the comments below.


