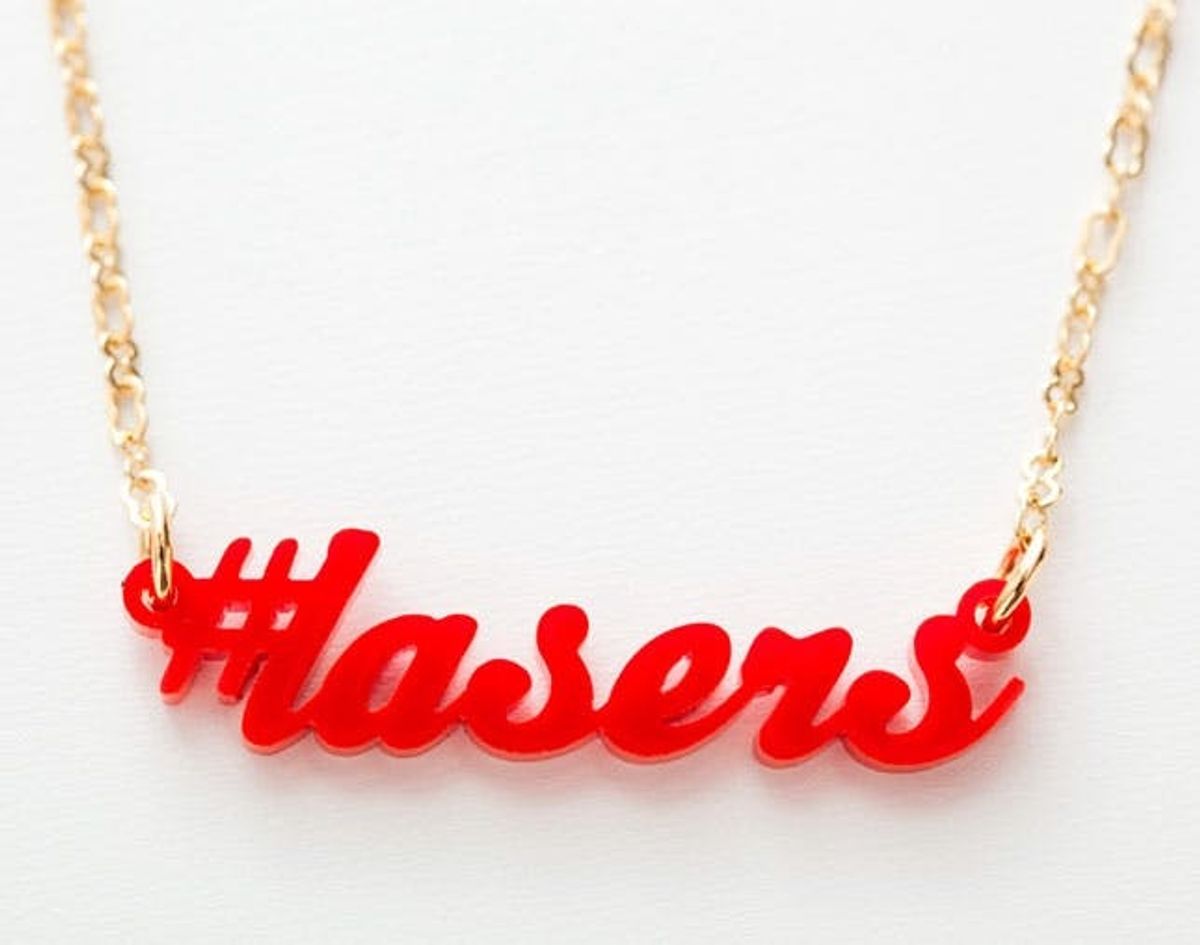
We’re basically in love with the laser cutter here at Brit + Co SF. Aside from the fact that now we have lasers operating regularly in our office, it’s been crucial in helping us make all sorts of signage, schwag, and other fun goodies soon to be seen. Though we know not everyone has access to a laser cutter on a regular basis, we thought it would be fun to launch a series sharing our adventures with the laser cutter with you, our awesome readers. First up, we’re turning our Instagram handles and hashtags into nameplate necklaces. Follow along to see how easy these are to make, and if you’re in the SF area, keep your eyes on the MakeShop site to see when our next laser cutting class is being offered!
Reason #798 Why Lasers Are Cool: They Made This Necklace

We’re basically in love with the laser cutter here at Brit + Co SF. Aside from the fact that now we have lasers operating regularly in our office, it’s been crucial in helping us make all sorts of signage, schwag, and other fun goodies soon to be seen. Though we know not everyone has access to a laser cutter on a regular basis, we thought it would be fun to launch a series sharing our adventures with the laser cutter with you, our awesome readers.

First up, we’re turning our Instagram handles and hashtags into nameplate necklaces. Follow along to see how easy these are to make, and if you’re in the SF area, keep your eyes on our site to see when our next laser cutting class is being offered!

Materials:
– bright red acrylic
– gold chain, jump rings, and clasps
Tools:
– Adobe Illustrator (to create vector art)
– laser cutter (tall order, we know!)
– needle nose pliers
Instructions:
1. Create your design on Illustrator, setting your stroke to 0.001 for a vector cut.
2. Pick out your material — we went with bright red acrylic.
3. Adjust the laser settings and press print!
4. Watch that little laser do its thang ;)
5. Carefully lift out your material and pop out your freshly cut shapes.
6. Peel off the protective backing.
7. Use needle nose pliers to attach jump rings, chain, and clasps.
8. Show off your tech skills AND jewelry skills by taking this punchy acrylic necklace out on the town!
First things first, you’ve gotta create your design. You can use Illustrator to turn any word into vector art. Be sure to add small loops to the ends of your design, and make sure to use a script front or something that keeps all the letters connected. Set your stroke to 0.001 — this allows for a vector cut.

Pick out your material of choice. As should be totally expected, we went with bright red acrylic.

Adjust the laser settings to suit your material, and press print! Now, sit back, relax, and watch that littler laser do its thang. Don’t relax too much though — lasers should never be left unattended!

Carefully lift your material out of the laser cutter and pop out your freshly cut shapes. Be sure to peel off the protective backing as well.

Now, time to turn these words into necklaces.

Use needle nose pliers to attach jump rings to the loops on either end of your word. Then attach chain and clasp.

Done-zo!

#lasers


