Give your keys some DIY lovin’.
DIY These Fun Leather Stamped Key Fobs in Less Than 30 Minutes
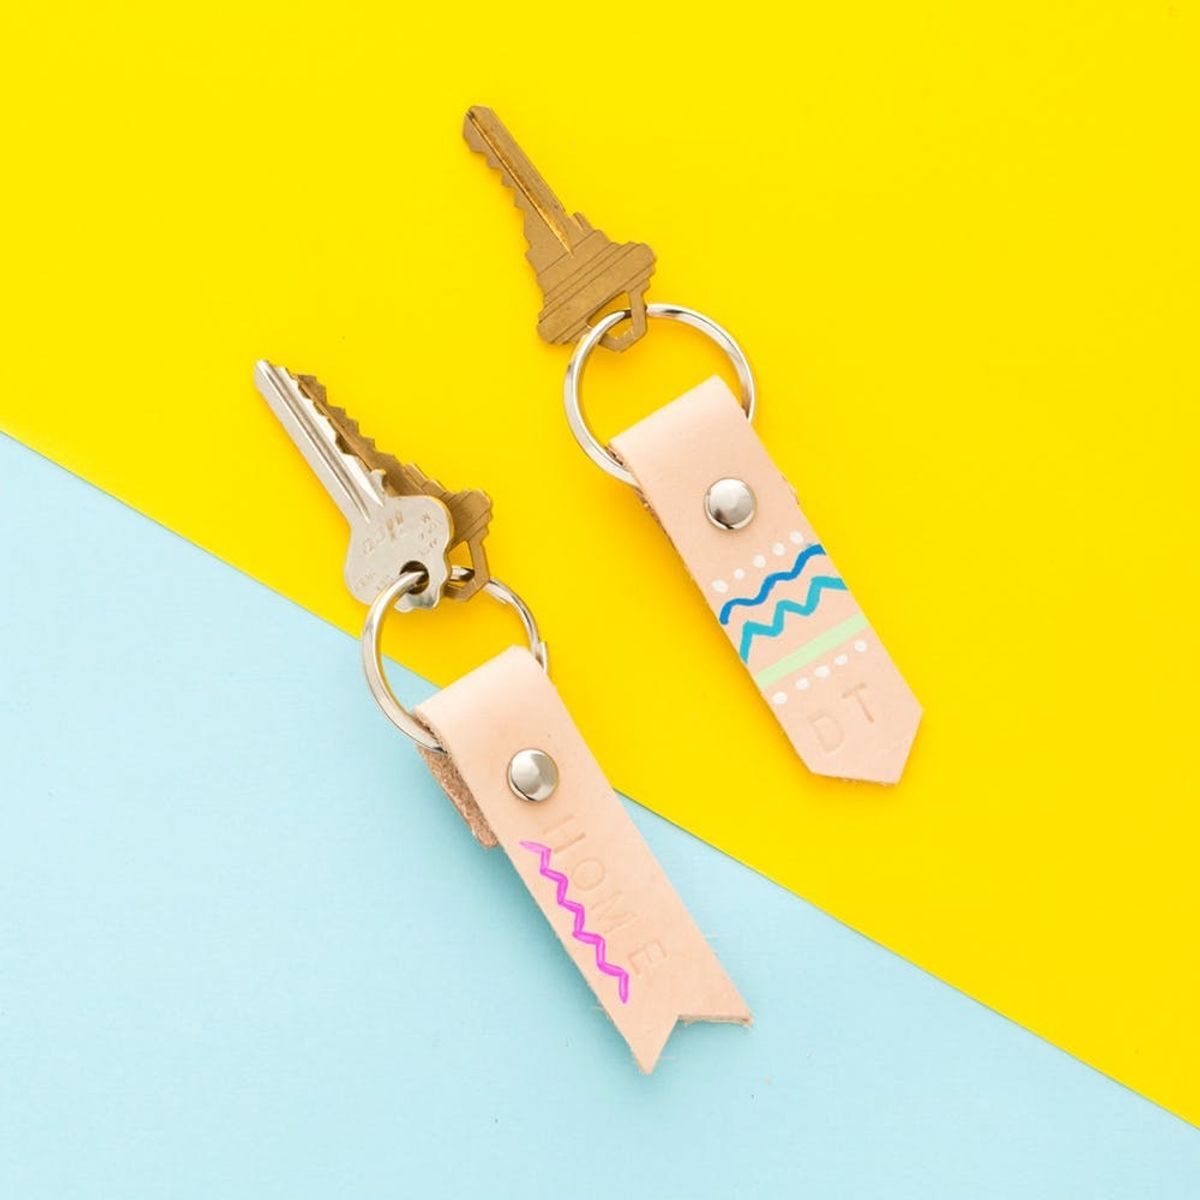
It’s time to face the music: Is your keychain lacking in style and personality? If you answered yes, then your keys are most likely dangling from a generic tourist shop key ring and you need to stop it right now. Your keys deserve better than that, and lucky for you, we’ve created a DIY Stamped Leather Key Fob Kit that will take care of that issue right away. Not to mention, this kit tops the list of seriously easy leather DIYs, so I don’t want to see your keys hanging out with mini license plates or cheap plastic compasses ever again, you hear?!
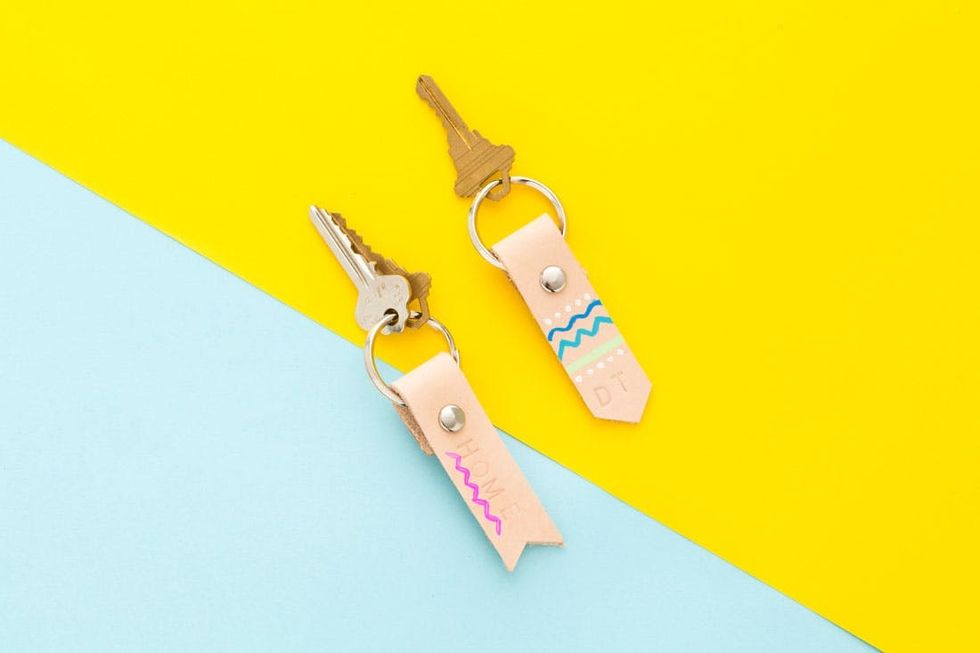
PSA: Friends don’t let friends sport tacky tourist shop key rings. You need to make these for your whole crew.
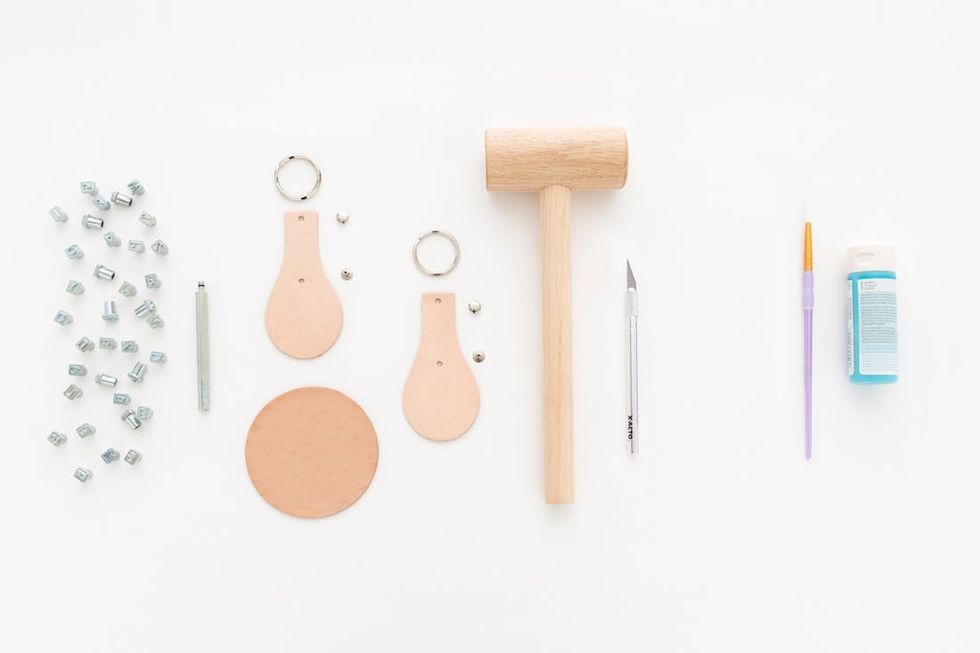
Materials (kit available in our shop!):
— alphabet stamps for leather
— 2 x leather key fobs
— practice piece
— X-ACTO knife
— mallet
*Please note: Leather is a natural material and you should anticipate variations in color from piece to piece.
Get your materials together (or purchase a kit!), and let’s get started!
Instructions:
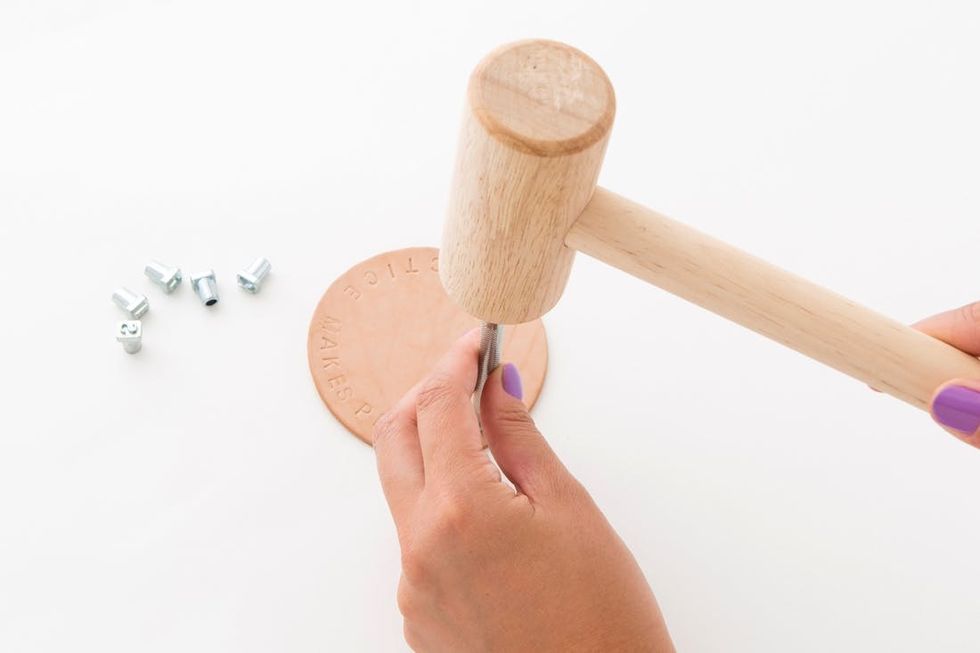
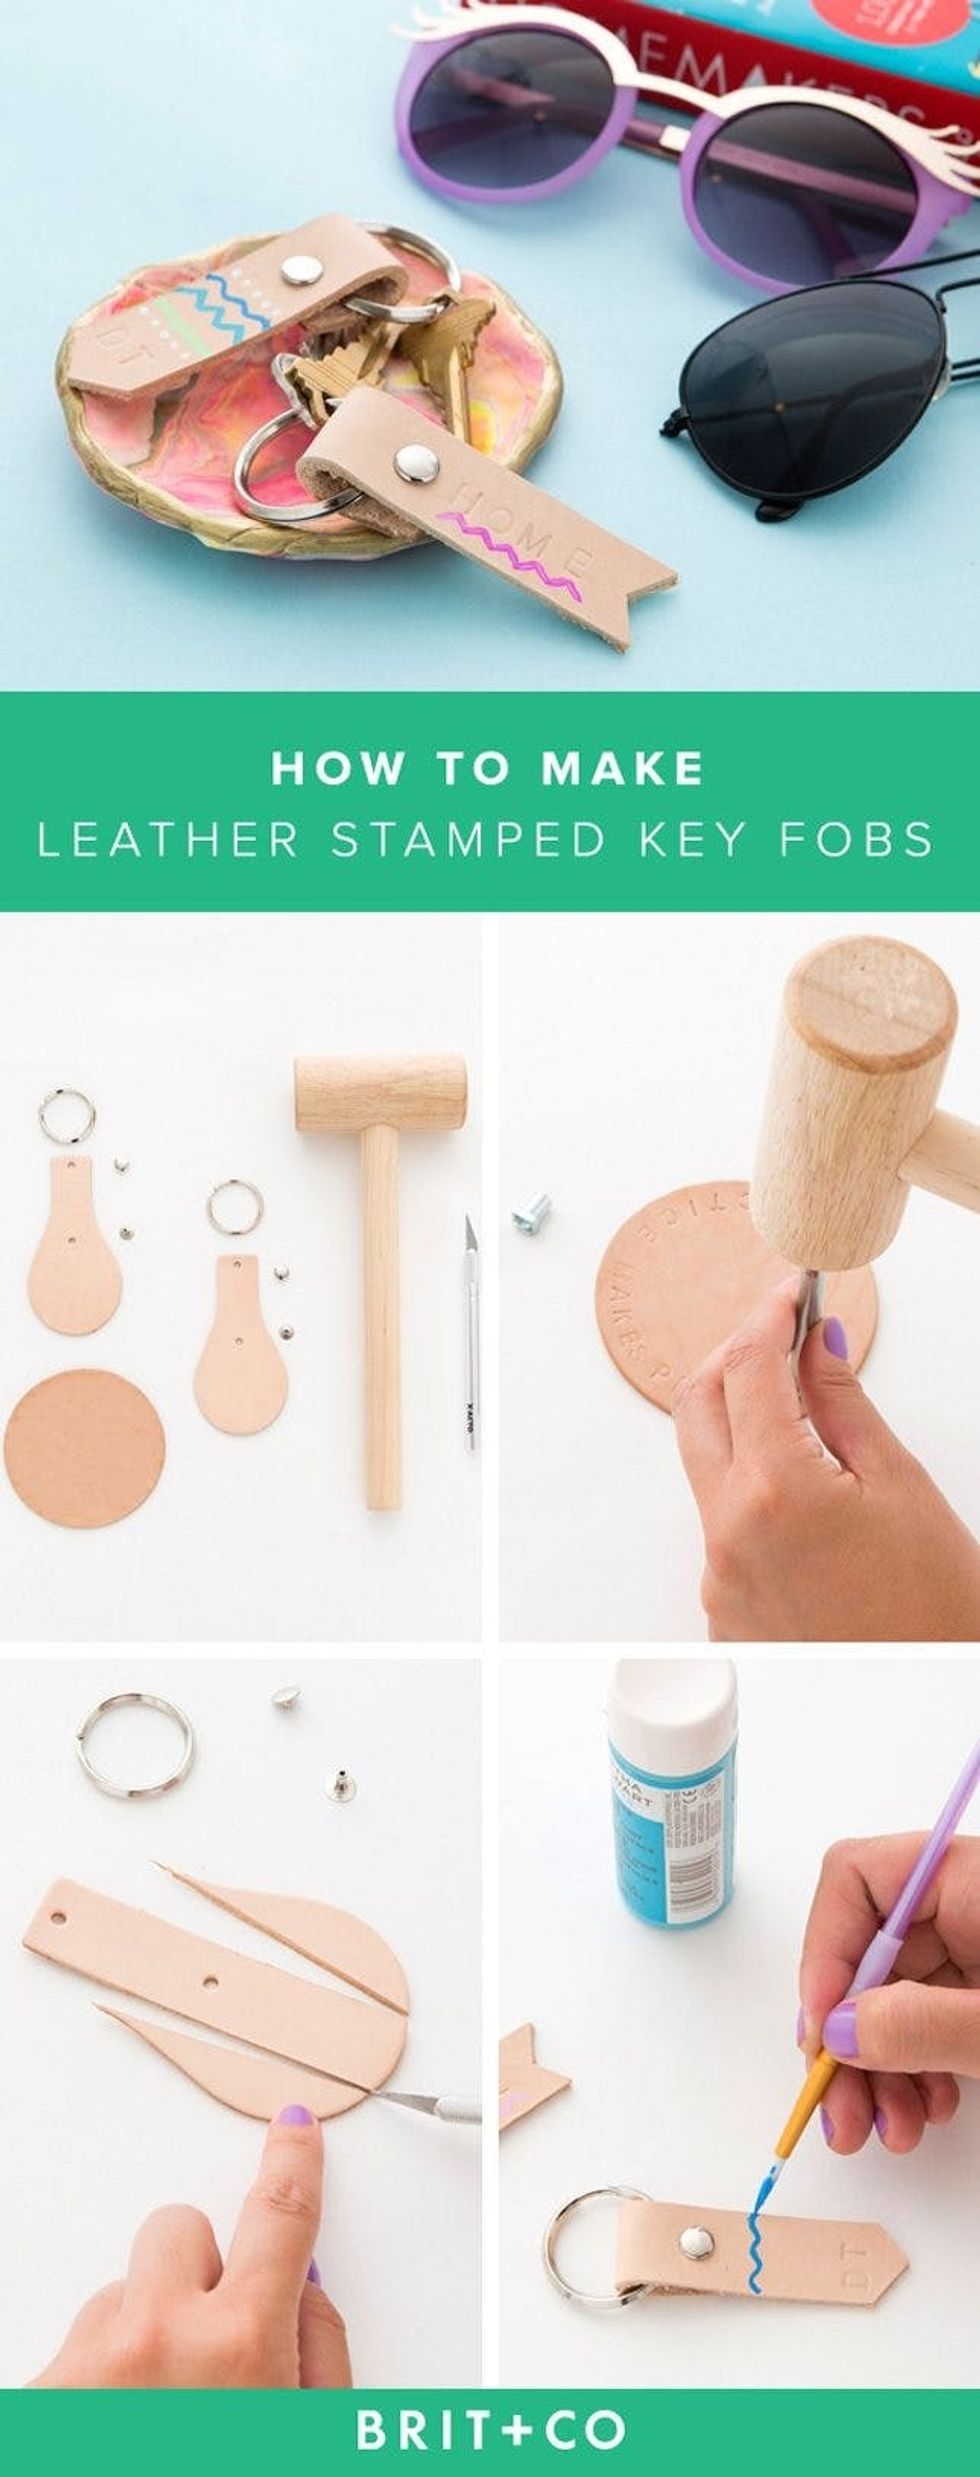
1. Practice stamping on the practice piece of leather provided.
2. Use the blade to trim the rounded edges of the leather key fob.
3. Cut a notch into the bottom of the piece of leather.
4. Assemble the key fob by inserting the bottom snap into the first hole in the leather. Then loop the leather halfway through the key ring and fold the leather onto itself. Make sure to align the holes.
5. Insert the top snap into the bottom snap, sandwiching the leather.
6. Hold the snap in place with one hand and use the other hand to strike the snap shut with the mallet.
7. Arrange the alphabet stamps onto the leather key fob and stamp them into place.
8. To take your design to the next level, add a pop of color using acrylic paint or nail polish.
Get the hang of stamping by practicing on the extra leather piece provided.

Use the blade to trim the rounded edges of the leather key fob. It might be helpful to use a straightedge to get a clean edge.

We chose to notch the bottom of the leather piece. Feel free to experiment with shapes!
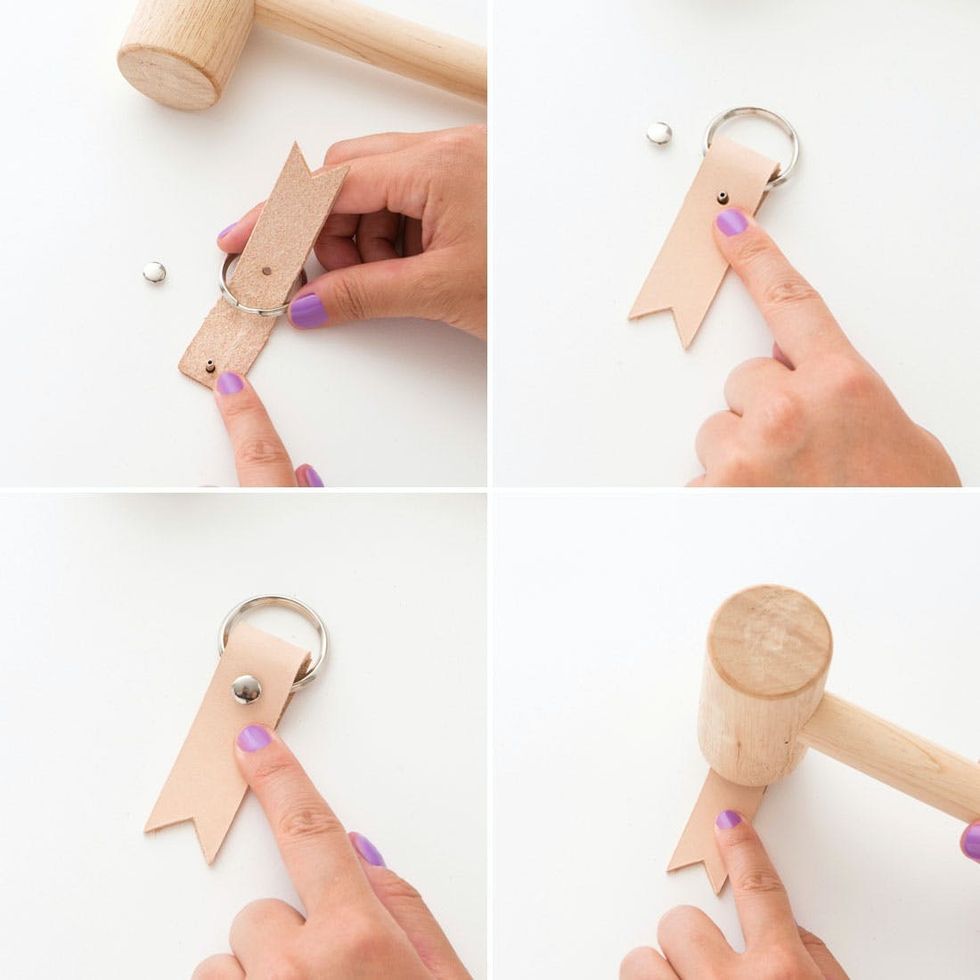
To assemble the key fob, first, insert the bottom snap through the first hole in the leather piece. Loop the leather halfway through the key ring, then fold the leather in half, making sure to align the holes. Insert the top snap into the bottom snap and give it a good strike.

Now it’s time to customize!
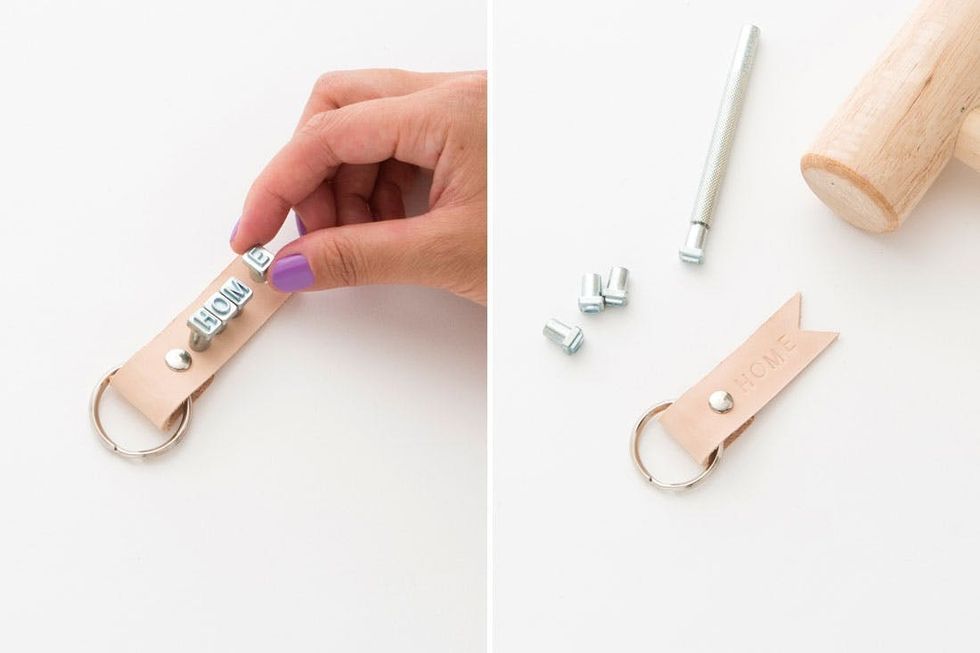
Arrange the alphabet stamps onto the key fob to get an understanding of space. Insert the alphabet stamp into the handle, position the stamp onto the leather and strike the stamp with the mallet.
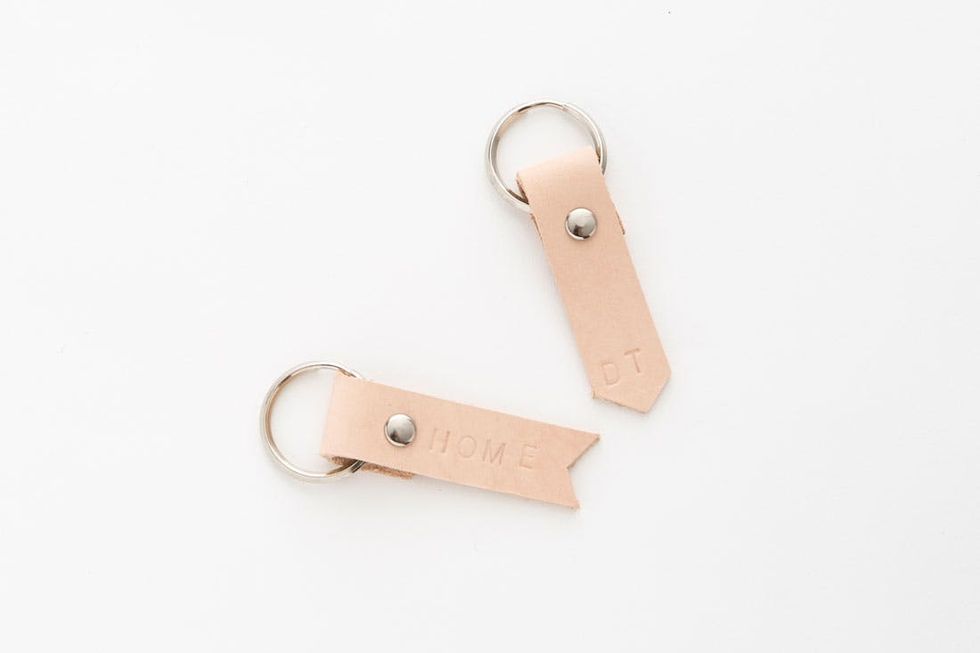
We love the idea of making a key fob for a specific location.
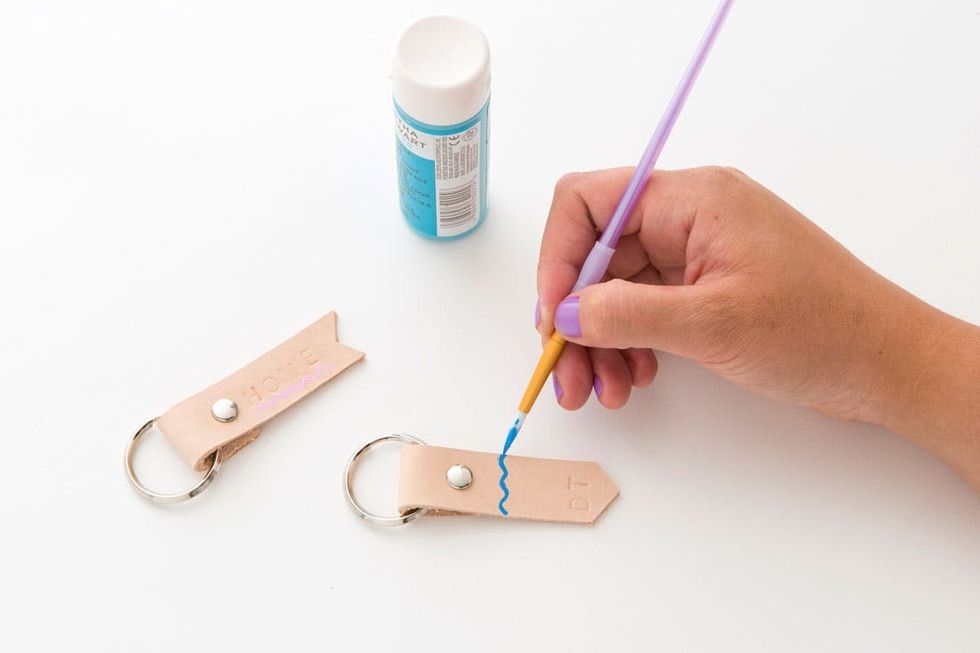
Feel free to add a little extra color with acrylic paint or nail polish. Allow the paint to dry completely before handling.
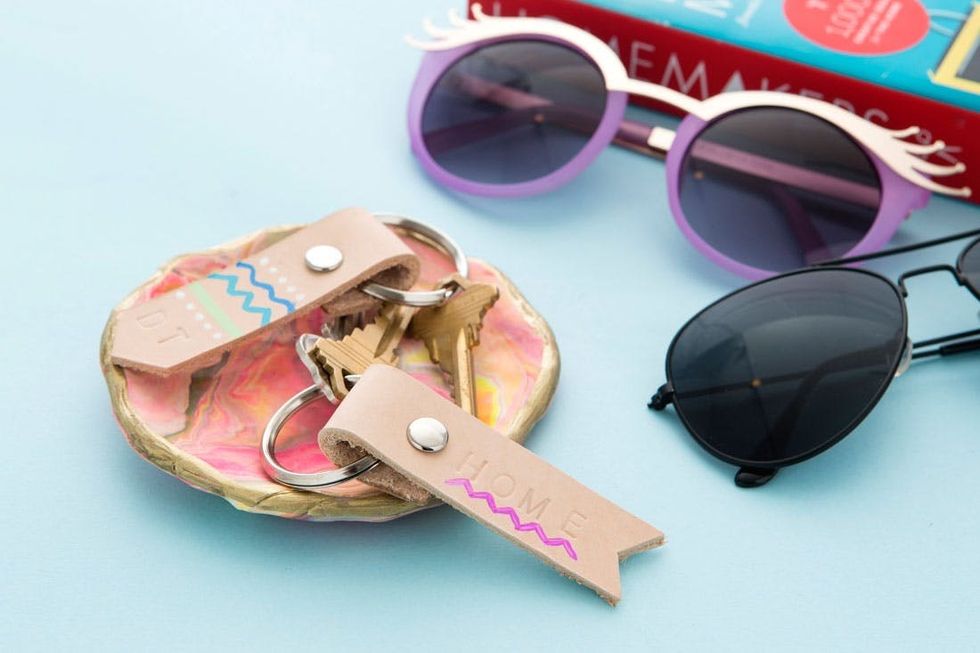
It’s the simple things in life that need a little extra DIY love.
How are you customizing your leather key fobs? Show us your project by tagging us on Instagram and using the hashtag #iamcreative!
DIY Production and Styling: Marianne Koo
Photography: Kurt Andre


