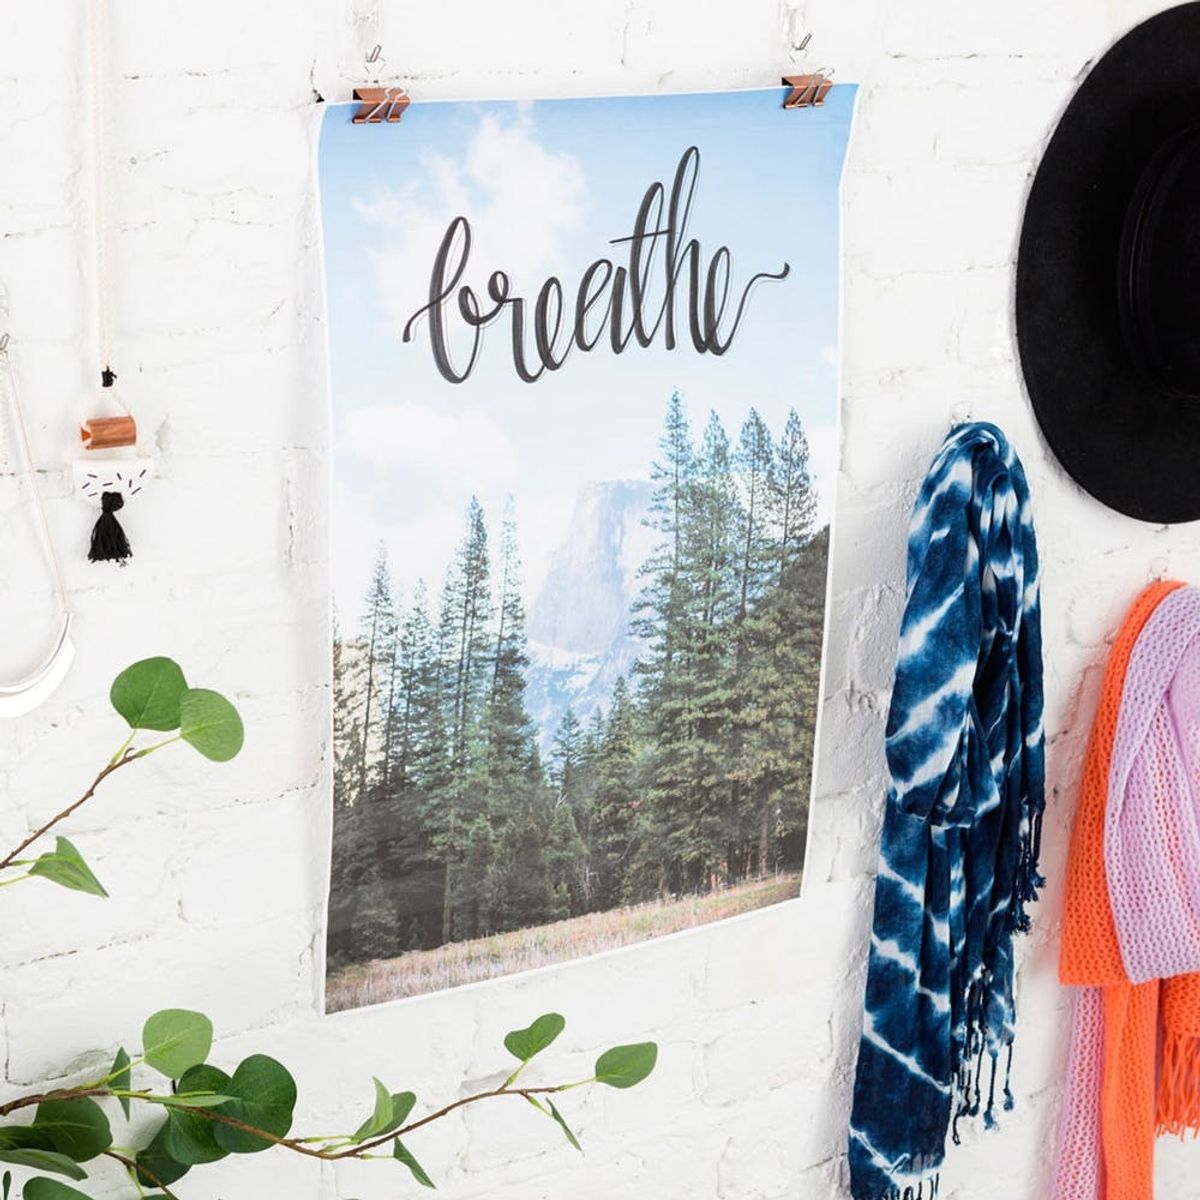
Truly original (and inexpensive!) wall art made by Y-O-U.
Make This Lettered Photo Wall Art in 30 Minutes or Less

As someone living in a small rental apartment, I’m always on the lookout for low-cost and low-commitment art to hang on my walls. After discovering the magic of inexpensive engineer prints, I wanted to combine this genius wall art concept with my new love of hand lettering to create a lettered photo poster, simply hung up by two trendy copper binder clips. Thinking “No way José” to lettering this yourself? Check out our Hand Lettering online class, built for beginners and wrapped up in 90 minutes flat. To learn how to take the perfect photo to use as your canvas, take our Intro to Travel Photography online class and brush up on those photography skills!

Materials:

— 18 x 24-inch engineer prints, in full color and black & white (we printed ours at FedEx Office)
— Tombow brush pen in black
— skinny black pen
— pencil
— painter’s tape
— scissors
— binder clips
— copper spray paint
Instructions:
1. Spray paint your binder clips with a metallic finish and set aside to dry.
2. Practice your lettering on some scrap paper.
3. Tape down your black and white practice print and write your word or phrase on top of it.
4. Layer your final color print on top of the practice print and trace over your lettering once again.
5. Add finishing details with a thin black pen and then hang up with your dry binder clips.
Go ahead and get two engineer prints at your local printer. We got one in full color for the final piece, and a black and white version for planning your layout. Pro tip: These are significantly cheaper than color prints, so perfect for practicing.

Before we get started on the print itself, let’s transform these plain plastic binder clips into trendy copper ones. Tape over the wire parts and spray a couple coats of paint on each side. Let these dry while you create your art piece!

Tape down your black and white practice print and start lettering a few versions of your word or phrase on some scrap paper. Nervous about this step? Check out our Hand Lettering online class and build up those brush marker lettering skills!

When you’re ready, pencil in your lettering onto your black and white print and fill it in with marker, thickening up your lines until you are happy with it.

Layer your final color print on top of your practice print and trace over your lettering with thin and then thick lines.

If you’d like, add some extra thin lines to make your lettering pop a bit more.

Trim your color print so that there is about a quarter-inch of white all the way around it.

Take a look at your new art piece! When your spray-painted binder clips are dry, it’s time to hang this baby up.

No one said a gallery wall couldn’t include your accessories! For a super low-maintenance (and space-efficient) way to decorate a corner of your room, hang up your lettered photo, scarves, hats and a few of your fave pieces of jewelry. Pillows and poufs are optional but highly encouraged!

DIY Production and Styling: Lee Schellenberger


