Annie Leibovitz who?
5 Tricks to Taking Magazine-Quality Photos With Your iPhone

You’ve probably seen the Apple billboards and ads with gorgeous photos that read underneath, “Shot with an iPhone 6.” There’s even a photo competition for images taken with said smartphone. These cameras are getting so advanced that the old point-and-shoot is semi-retired at this point.
Recently, celebrity hairstylist Chris McMillan, the man and mastermind behind “The Rachel” cut, shot a full editorial for Allure Magazine… with his iPhone 6. Yup, you heard us. An entire magazine-quality editorial that was taken with just an iPhone and by someone who is not a professional photographer. The man is a master of hairstyling, but a completely self-taught photog. You can check out all of the photos from the series on Mashable.
Chris is still Jennifer Aniston’s go-to hair guy, and his celeb roster also includes the likes of Kim Kardashian, Jennifer Meyer and Taylor Swift. But maybe it’s time for him to consider switching careers to be behind the lens full-time? Judging by his Instagram account, he definitely has an eye (and the touch!) for creating beautiful pics with his phone.
If you too aspire to be a pro iPhone photog, here are some tips and apps to help you achieve Instagram-pro status.
1. Turn on HDR: HDR stands for High Dynamic Range, and basically means your camera will snap off a couple of photos in quick succession and blend them together to create a higher quality shot. What you should know, however, is that HDR takes longer to process, requires a bit more memory space and also is no good for moving subjects (so make sure you bribe your dog into sitting still with a treat). Just open your camera app, and up top there should be the HDR toggle. Tap on it and switch it to “On” or “Auto.”
2. Download a Photo-Editing App: Photo editing apps are a must if you hope to achieve a super-stylized look, and not all apps are created equal. Try the now-iconic VSCO Cam (free on iOS) or maybe check out Aviary (also free on iOS). And finally, the app Polarr is also available on your iPhone.
3. Adjust the Exposure: Depending on whether you want to go sunnier or moodier with your image, you can adjust the brightness on your pic. Brightening the exposure can sometimes help make out details in the photo that were previously not as clear. Of course, going the other direction is going to dim the look of your image. Play around with it and find your style.
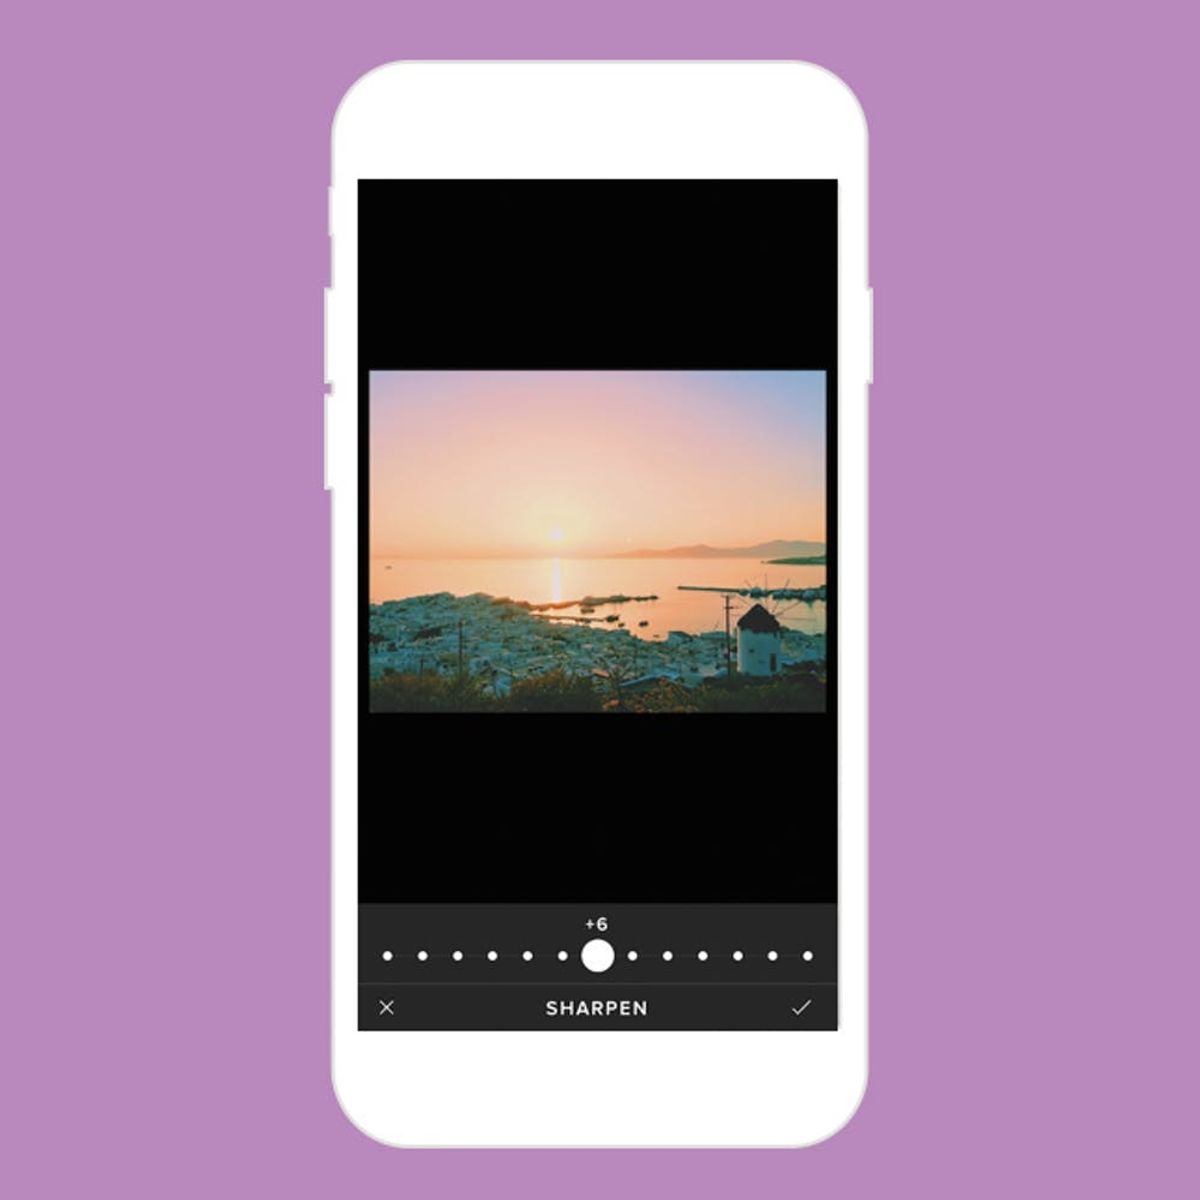
4. Sharpen Your Image: What’s neat about sharpening an already pretty clear image is that it can take everything to HD. Just adjust it little by little until you get your pic to a really clear place. But don’t abuse the sharpen tool, or you could end up with a super grainy photo.
5. Play Around With Saturation: Saturation basically determines how much color you want in your picture. Brightening the saturation can really take a good photo to phenomenal, and is particularly good for scenery and outdoorsy shots, because Mother Nature is made to be in living color. On the flip side, dulling the saturation makes your photo more sepia-toned, which might be another stylistic choice.
Do you have any iPhone photo tricks? Share with us in the comments below!
(h/t Mashable, photos via @chrismcmillan)


