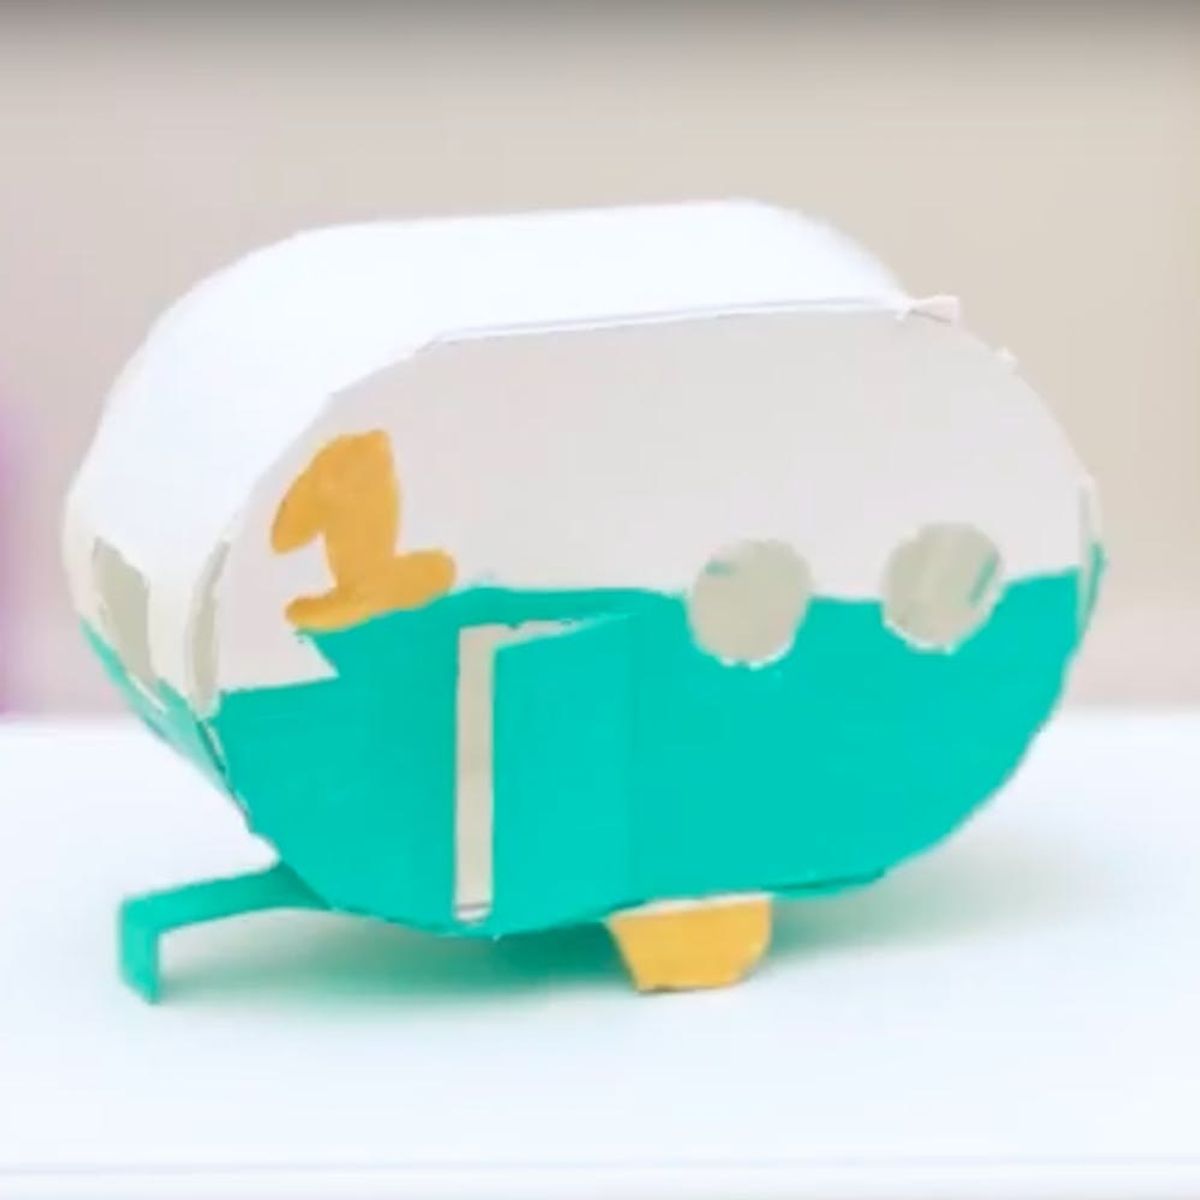
This tiny tutorial will take your holiday decor to the next (adorable) level.
Make It Mini: How to Make an Airstream Advent Calendar

Last time in our Make It Mini video series, we showed you how to miniaturize dessert by making mini peppermint donuts. This week, Make It Mini gets even more into the holiday swing of things with this adorable mini airstream advent calendar. All you need is this *free* printable template, a razor to cut it, glue to glue it and an array of bright paint to make your airstreams color *pop*! Once all your itty bitty airstreams are complete, just fill with your fave holiday treats and start the countdown to holiday celebration time!
Begin by printing and then perforating your template with a razor blade. Slow and steady wins the race — especially when it comes to this mini project!
Next, tear out your airstream shape and fold it carefully into the iconic shape. Use glue to attach overlapping tabs.
Once the glue is dry, it’s time to break out the bright paint — we love this teal and ochre combo. Number each one for every day of the month.
Once all 24 days of December are complete, you can put them out to pasture (to dry) for a perfectly adorable photo opp! Now it’s finally time to hang each airstream on your paper advent calendar tree — use different colors of construction paper to achieve this bright effect. Now all you have to think about is whether you are going with chocolate coins, kisses or peanut butter cups!
Need a little more help getting this DIY donezo? Check out the video below for a more in-depth look at crafting these cute airstreams, and check back next week for another mini-spirational tutorial!
Are you obsessed with all things tiny? Check back here for more Make It Mini crafts and follow us on Pinterest for other adorable DIYs.


