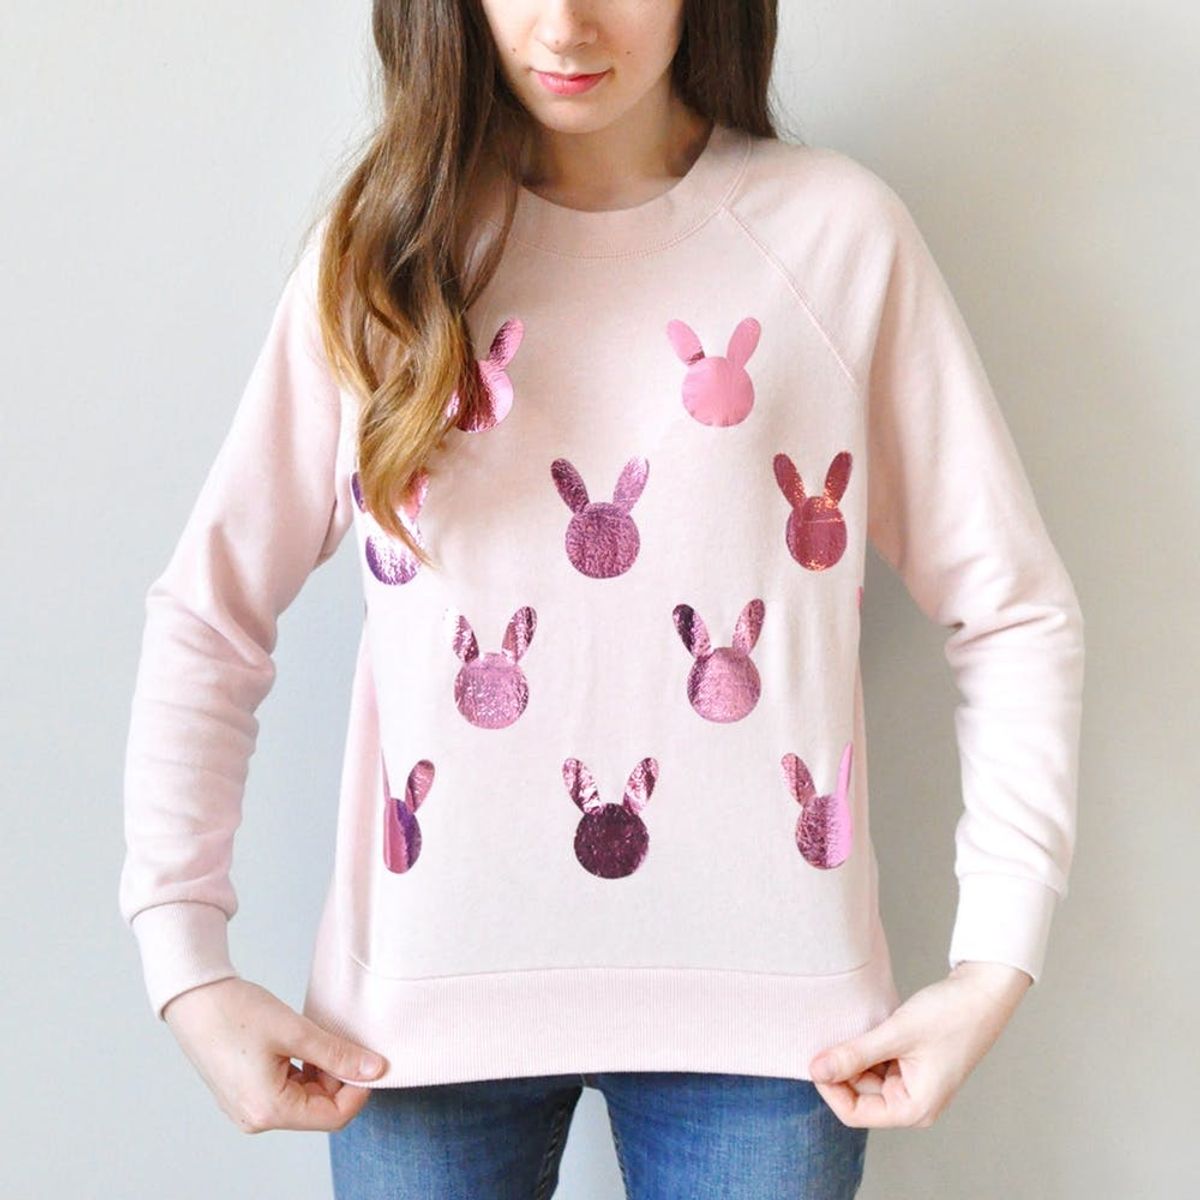
Warning: You might wear this sweater every day until Easter.
Make Your Own Metallic Pink Bunny Sweater for Easter

When I saw Kelly’s beyond amazing DIY holographic outfit, I immediately fell in love with the technique she shared. I immediately tried using iron-on adhesive with mylar instead of cellophane, and am thrilled with the results. Talk about shiny! For this sweater, I used a pinky-purple mylar on a powder pink sweater for all the pastel spring vibes. Forgive me if I end up wearing this sweater every day until Easter.

Materials and Tools:
- plain sweatshirt
- mylar
- scissors
- iron-on adhesive
- pencil
- iron
- ironing board
- press cloth
- bunny template

Instructions:
- Lay a piece of mylar (colored side down) on your ironing board and cut a piece of permanent iron-on adhesive in the same size but slightly smaller. Lay the iron-on adhesive (paper side up) on top of the mylar and press with your iron, following the instructions on your adhesive.
- Print and cut out the bunny template and trace onto the paper side of the iron-on adhesive.
- Cut out the shapes and peel the paper backing off of the mylar, leaving just the adhesive behind.
- Arrange the bunny shapes on your sweater, using a ruler if necessary.
- Carefully place a press cloth on top of the shapes and press with the iron, again following the instructions with your adhesive.
- Voila! Repeat this for the back, or keep it simple with a front-only pattern.
Lay a piece of mylar (colored side down) on your ironing board and cut a piece of permanent iron-on adhesive in the same size but slightly smaller. Lay the iron-on adhesive (paper side up) on top of the mylar and press with your iron, following the instructions on your adhesive. You’ll notice the mylar may look a little wrinkly at this stage — this will go away later, so no need to worry!

Print and cut out the bunny template and trace onto the paper side of the iron-on adhesive. Cut out the shapes and peel the paper backing off of the mylar, leaving just the adhesive behind. Arrange the bunny shapes on your sweater, using a ruler if necessary. Carefully place a press cloth on top of the shapes and press with the iron, again following the instructions with your adhesive.
Voila! Repeat this for the back, or keep it simple with a front-only pattern. Wash inside out on a delicate cycle, or by hand if possible.


Excuse me while I iron mylar shapes onto my whole wardrobe!


What color combo would you use for a DIY sweatshirt? Share your DIY spring outfits with us on Instagram using hashtags #iamcreative and #britstagram, and follow us on Pinterest for more DIY style inspo!
Brit + Co may at times use affiliate links to promote products sold by others, but always offers genuine editorial recommendations.


