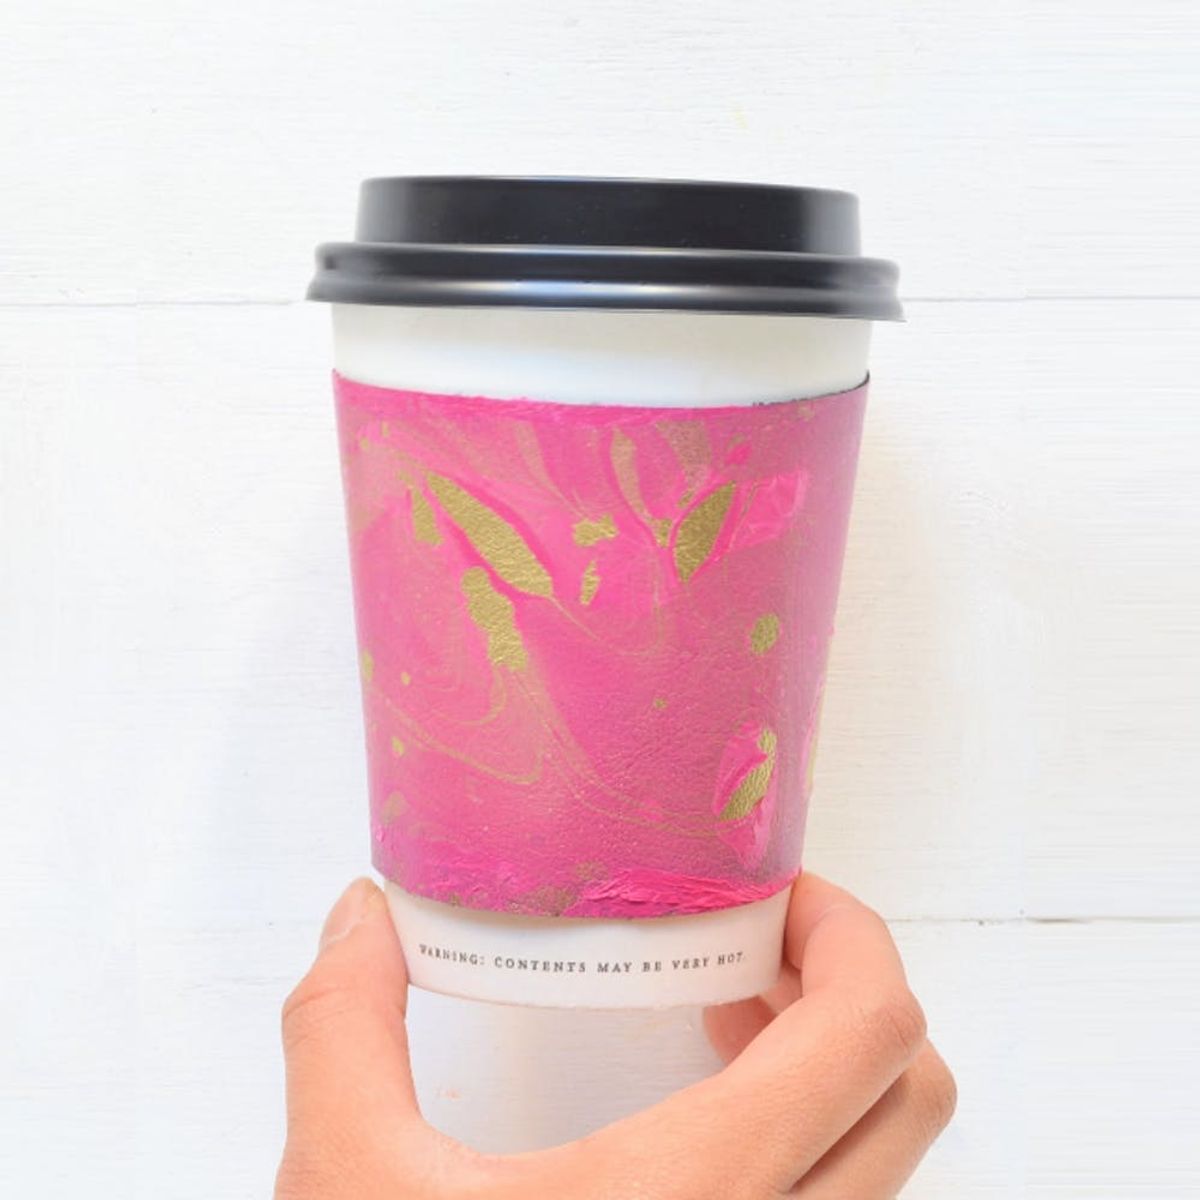
Drinking coffee has never looked this good.
How to Make a Marble Coffee Sleeve to Sip in Style

For some of us, drinking coffee is an art. From hosting a coffee-themed wedding to making a homemade coffee cart, there are just so many ways to live an awesomely caffeinated life. And since a cup of java is the perfect weapon to take on the day, we couldn’t help but dress it up in style. That’s where this easy marbled project comes in. Not only can you take the nail polish marbling technique for a new spin, but you’ll be able to save countless paper sleeves from the trash. How’s that for sweetening up your daily grind?
Materials:
- — opaque nail polish
- — faux leather
- — water
- — gold spray paint (optional)
Tools:
— foil pan
— sharp scissors
— toothpicks
— hot glue gun
Instructions:
1. Fill the pan halfway with water. Add three to five drops of polish.
2. Using a toothpick, swirl the polish around.
3. Drop the faux leather in the water. We spray painted ours gold first, but this is optional.
4. Let dry and remove excess polish.
5. Cut each end at an angle.
6. Hot glue the ends together.
Your best bet is to use faux leather, as it produces clean, crisp edges when cut. It is also easier to work with than real leather. Start with a segment measuring 10 inches long and three inches wide; this will yield the perfect “one size fits all” coffee sleeve. You can also paint the faux leather before starting this project. We applied a layer of metallic gold to this one.
To angle off each end, start along the bottom edge, about 1 1/4 inches from the vertical side. Work at an angle so that the cut finishes 1/2 inch from the same vertical side. Repeat the same process on the other end of the segment.
Once you hot glue the ends together, you’ve got yourself a stylish new coffee sleeve. It gives you a pretty good excuse to snag another cup of joe.
Readers, what color combo would you use for your coffee sleeve? Show us your project by tagging us on Instagram + using hashtag #iamcreative!


