We took our favorite childhood material, oven bake clay, and elevated it into a classy set of jewelry trays, fit for a grown-up vanity or front entry table. Grab your own DIY Marbled Jewelry Trays Kit ($24.95) from the Brit + Co HSN Shop.
Sculpey FTW: DIY Marbled Jewelry Trays
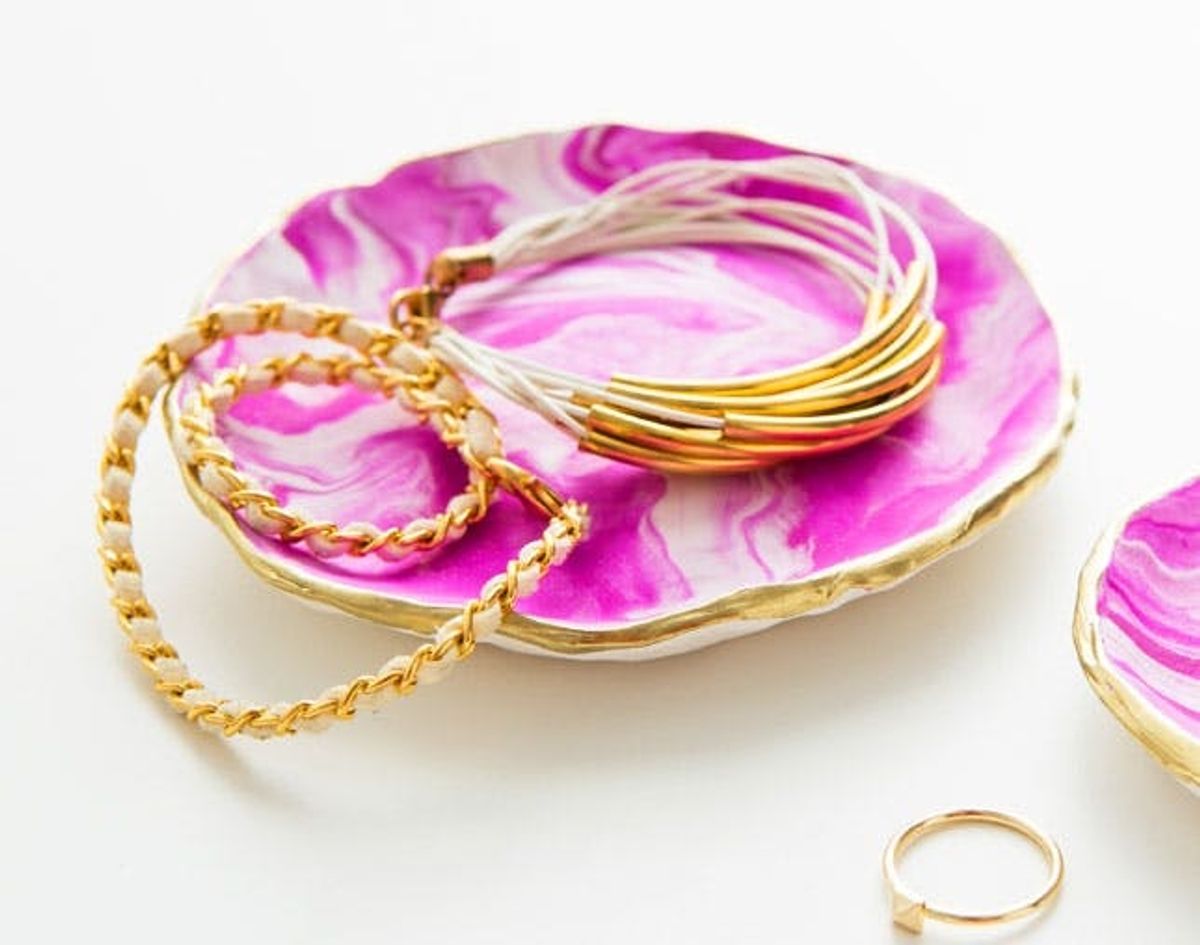

We’re losing our marbles over marbling! The organic pattern that has everyone from fashion designers to recreational makers hooked has now got us as well. We took our favorite childhood material, oven bake clay, and elevated it into a classy set of jewelry trays, fit for a grown-up vanity or front entry table. Grab your own DIY Marbled Jewelry Trays Kit ($24.95) from the Brit + Co HSN Shop in one of five colors – Blue, Purple, Magenta, Light Pink and Silver.
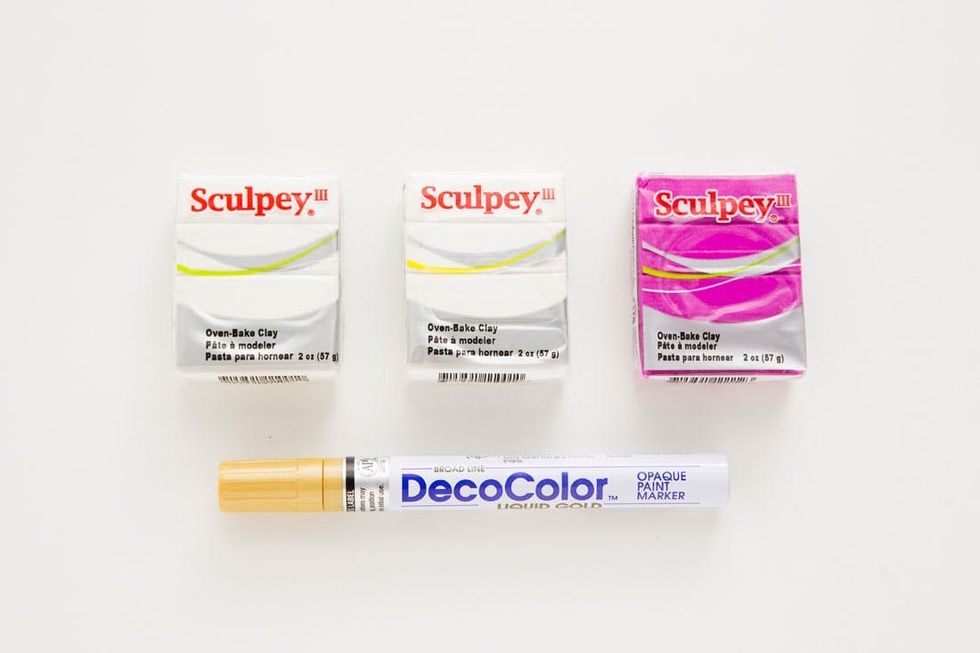
Materials (get the kit!):
– white clay
– colorful clay
– gold paint pen
Tools:
– butter knife
Instructions:
1. Break off one section of white and one section of colorful clay and twist them around each other.
2. Keep twisting and kneading your clay until you have an evenly dispersed, marbled pattern.
3. Flatten your marbled clay into a circle, about 2 1/2 to 3 inches in diameter.
4. Flatten one more section of white clay into a circle of the same size, and layer underneath the marbled circle.
5. Using a butter knife, trim off the uneven edges of your two-layer clay circle.
6. Pinch the edges of your circle upwards so that they form a lip all the way around.
7. Repeat this technique for the larger tray, using two sections of white and two sections of colorful clay.
8. Place on a cookie sheet and bake in a 275 degrees F oven for about 20 minutes, and let cool.
9. Gild the edges of your two trays with a gold paint pen.
Even grown-ups need a little make break, so let’s get making!
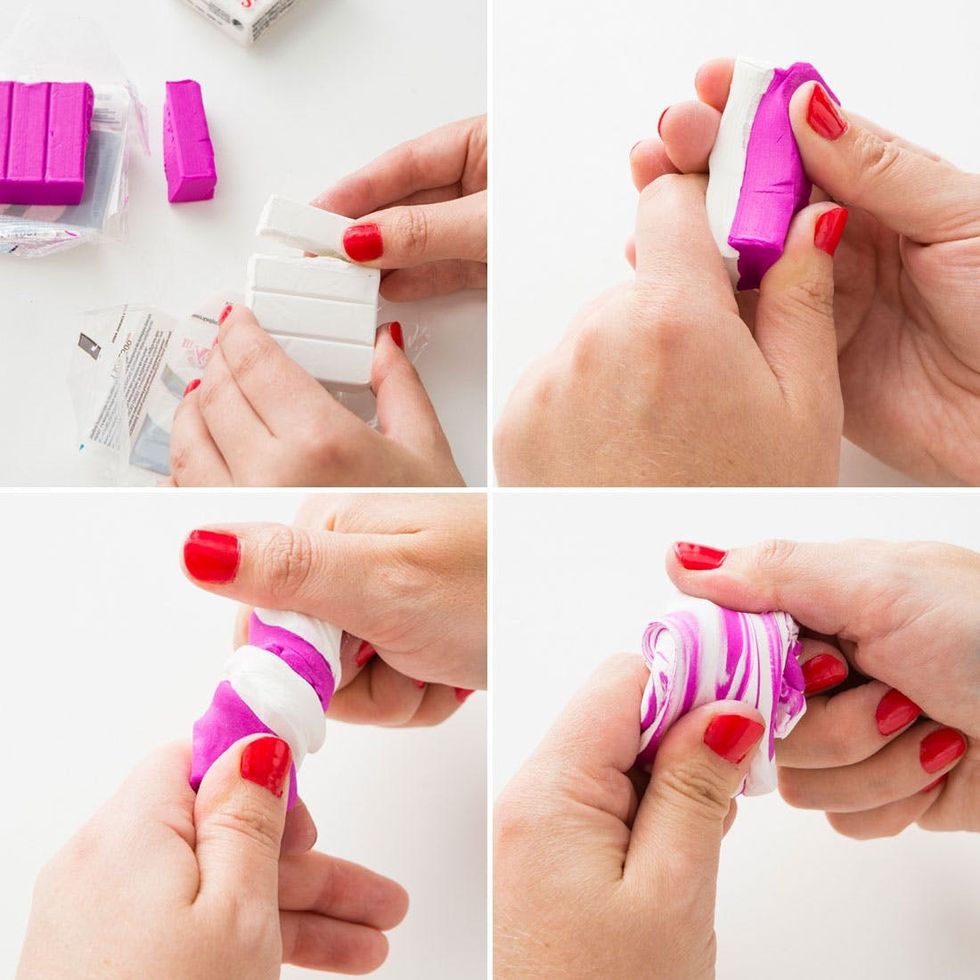
Starting with the smaller of two trays, break off one section each of white and your choice of colorful clay and twist them around each other.
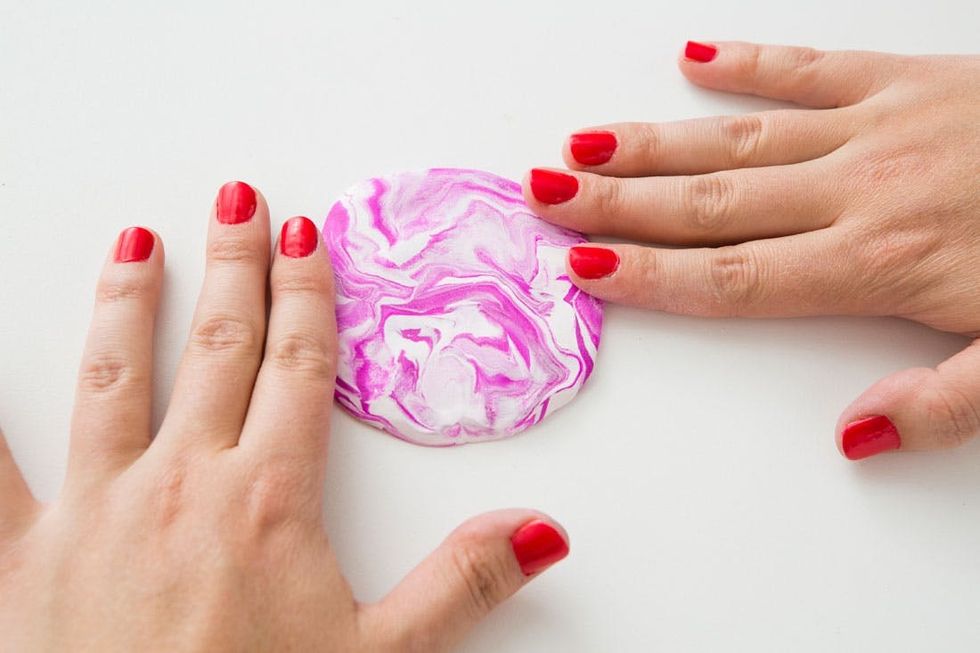
Keep twisting and kneading your clay, dispersing the color throughout, until you have a nice marbled pattern.
Then flatten your ball of clay into a thin circle, approximately 2 1/2 to 3 inches in diameter, and 1/8th of an inch thick.
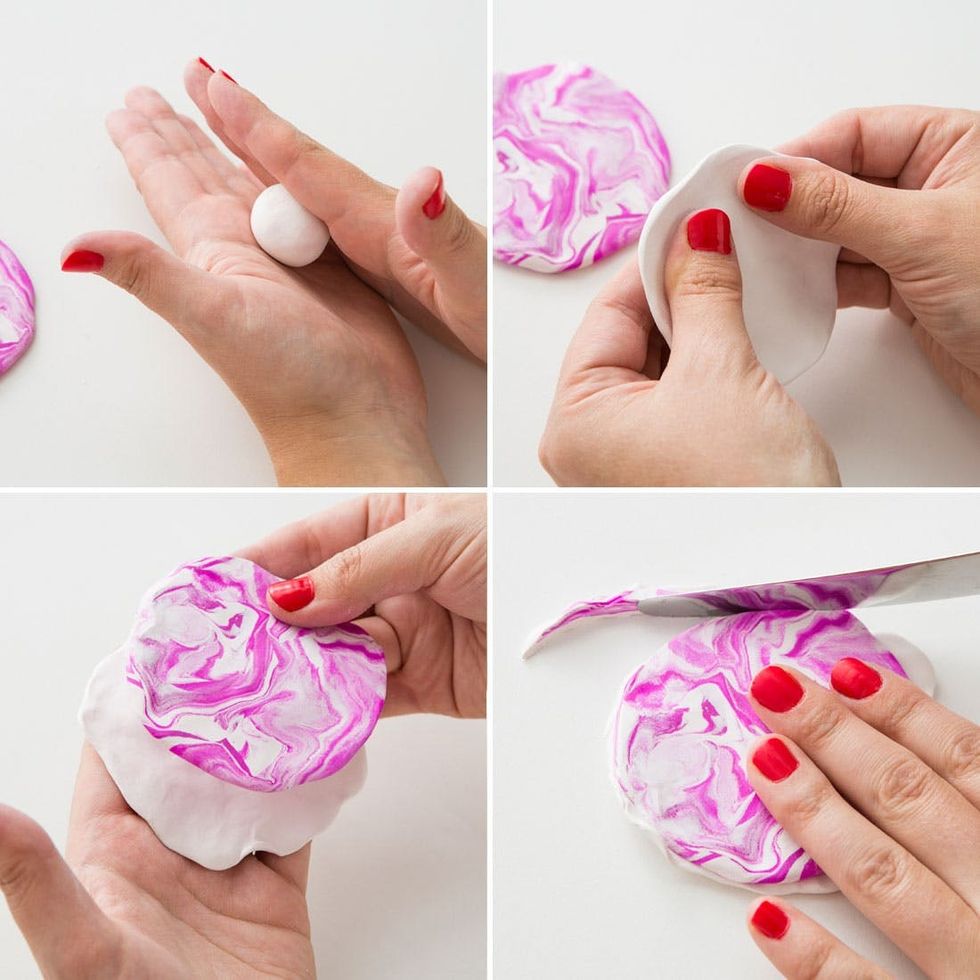
Now take one more section of white clay and roll and flatten it into a circle with about the same diameter. Then layer the two circles together, with your preferred marbled side showing on top and your white circle on the bottom.
Using a butter knife, trim around the edges of your two-layered circle to get a closer to perfect circle.
For your last clay molding step, simply pinch the edges of the circle and lift them upwards to create a lip all the way around the tray.

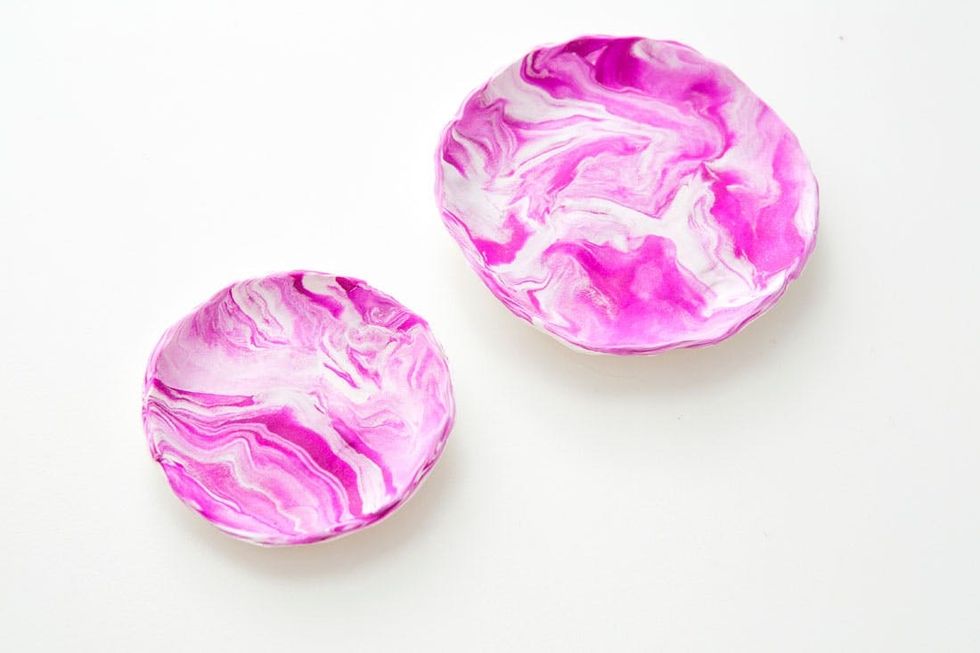
Repeat this same technique for the larger tray of about 5 inches in diameter, using two blocks each of white and colored clay for the top marbled layer, followed by two additional white blocks for the bottom layer. Once formed, place both trays on a cookie sheet and bake in a 275 degrees F oven for 20 minutes.
Once your trays have been cooled, it’s time to add that classy gilded edge! Simply draw along the edges of each tray with gold paint pen, and don’t be afraid to use a lot of paint.
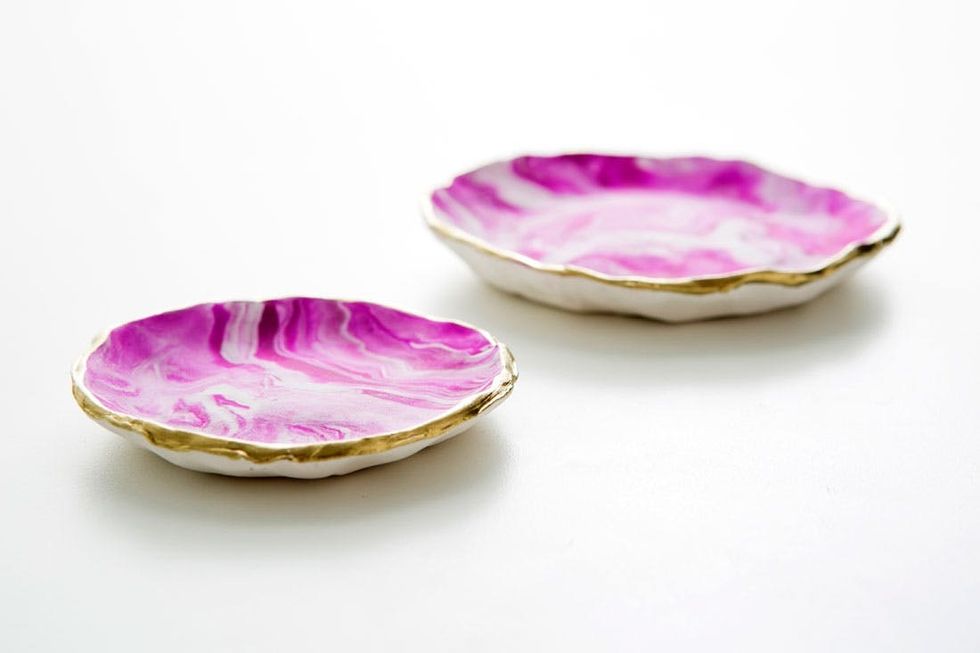
Let the gilded edges dry and admire your beautifully marbled pieces!
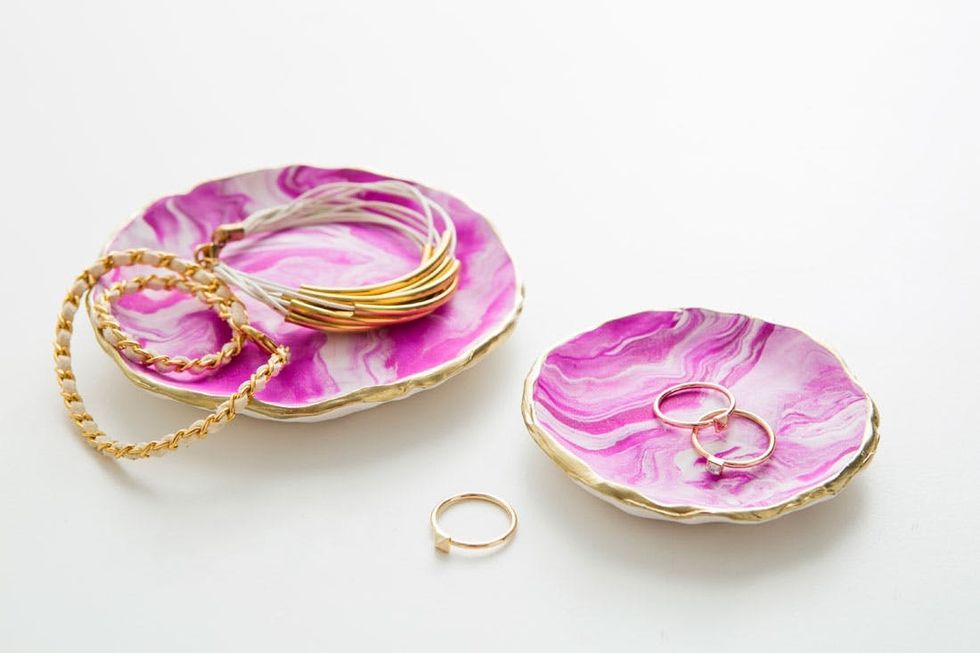
Store rings in the smaller tray and bracelets in the large one. Or use them as a place to store your keys, change or other small items.
DIY Marbled Jewelry Trays Kit
 Brit + Co HSN Shop in five awesome colors – Blue, Purple, Magenta, Light Pink and Silver.


