Hop in your arts and crafts time machine and get back in touch with your finger painting roots! We partnered up with Jeanne Chan at Shop Sweet Things to create this bold wood bead necklace kit, fit for any age and any style.
Got 10 Minutes? Make Swoon-Worthy DIY Marbled Bead Necklaces
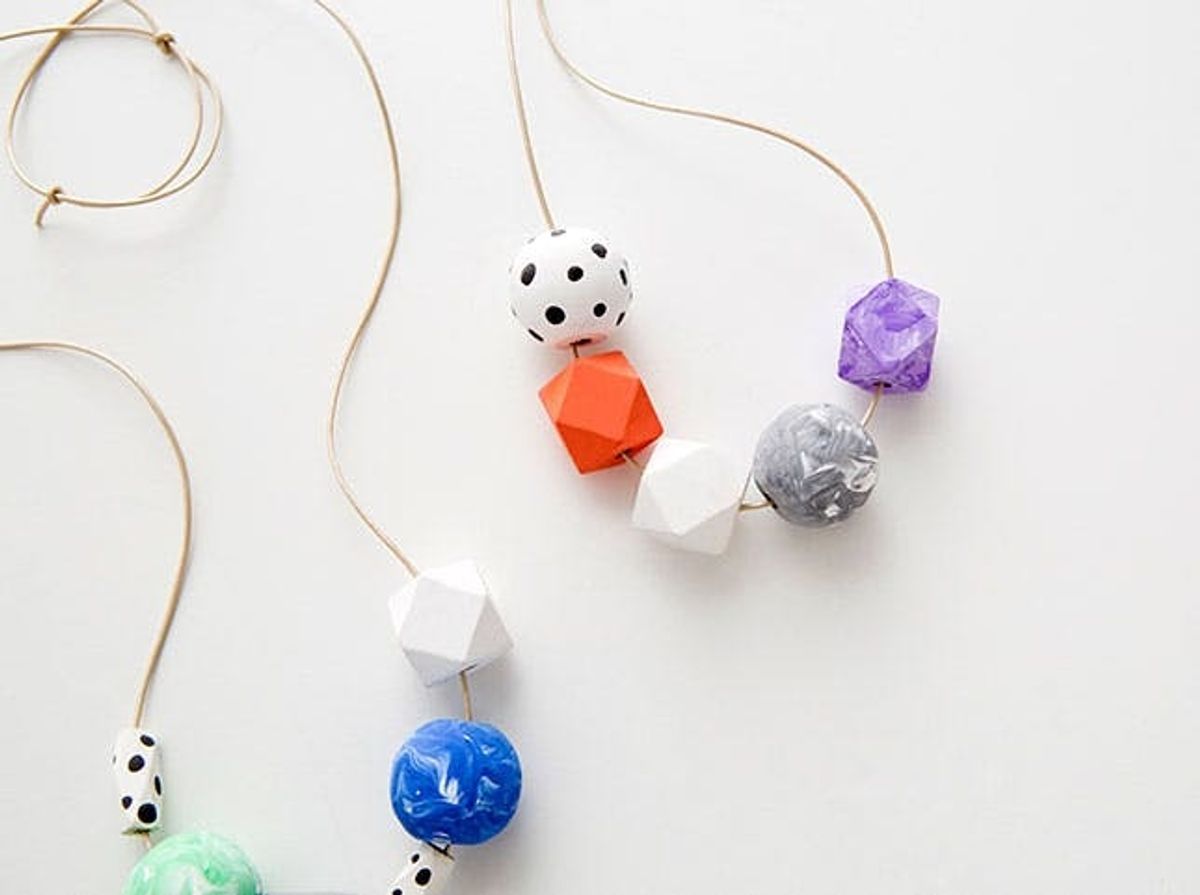
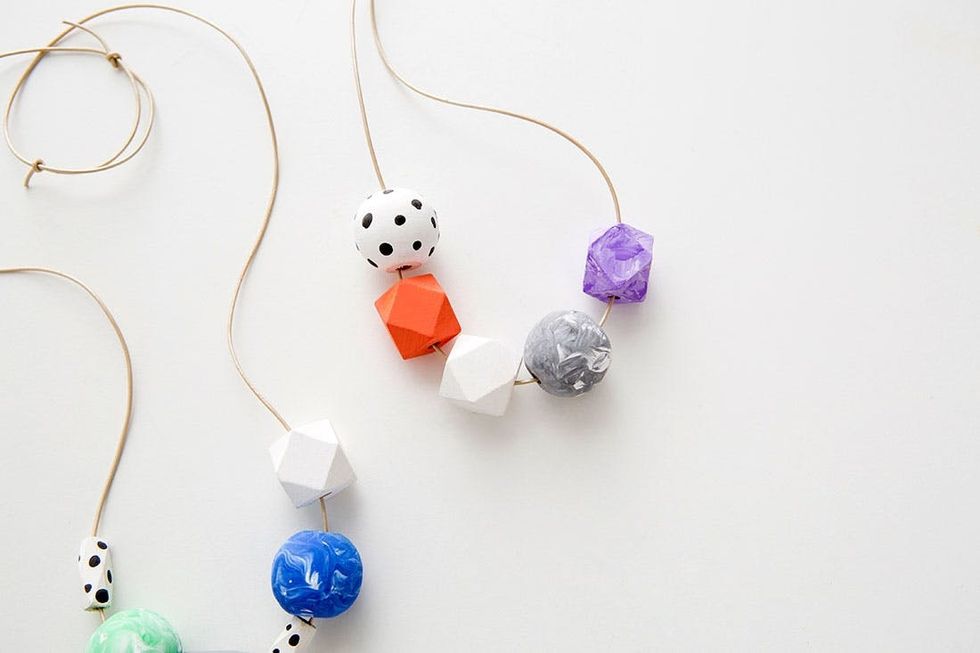
Lately we feel like there’s been one thing missing in our DIY lives, so we brought it back. Yes, we’re talking about finger painting! How good does it feel to throw all adult etiquette to the wind, get your hands covered in paint, and make something beautifully random? Real good. So good we teamed up with Shop Sweet Things to turn it into a kit as part of Brit Kit Collabs.
What are Brit Kit Collabs? Glad you asked! We teamed up with eight of our favorite makers, bloggers and designers to create a brand new set of nine exclusive Brit Kits, just in time for the holidays. Head to the shop to check ’em all out, and follow along to learn how to create your own set of wood bead necklaces. You can get everything you need to create this project in our Wood Bead Necklace Kit for just $30 in the B+C Shop!
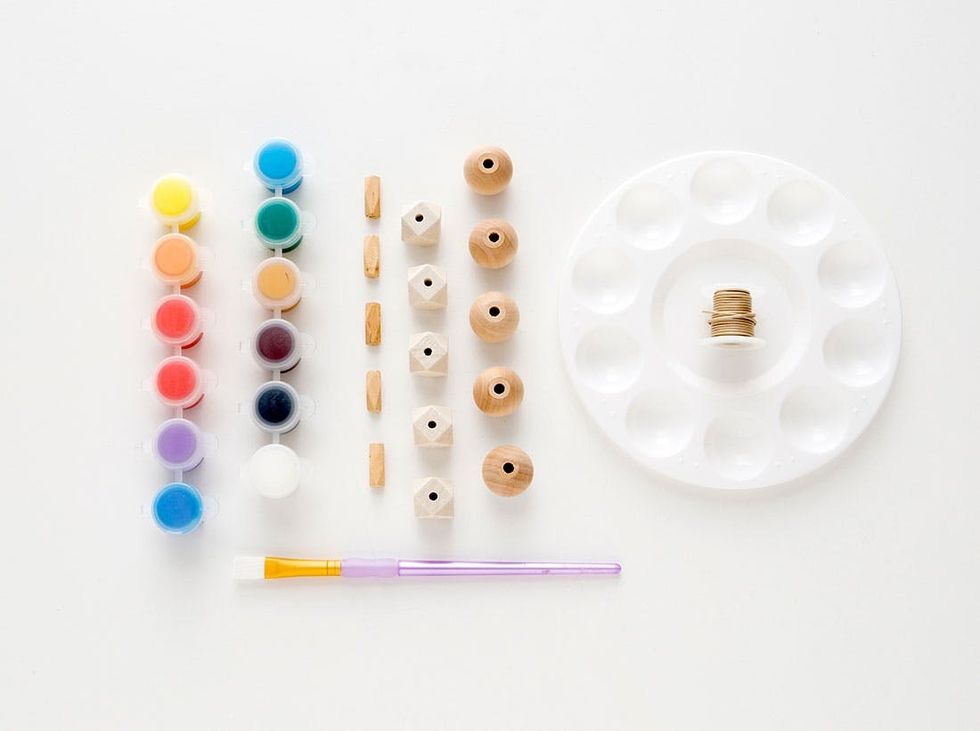
Materials + Tools:
– wood beads
– paint
– paintbrush
– paint tray
– leather cord
Additional Tools (not included):
– scissors
Instructions:
1. Fill your paint tray with different color paints.
2. Paint a few solid beads with a paintbrush (or your hands!) and set aside to dry.
3. Add some polka dots or other designs onto your solid beads.
4. Swirl together a couple different colors in one section of your paint tray.
5. Roll a wood bead around in the swirled paint to cover.
6. Touch up any missed spots with more paint.
7. Set your beads aside to dry.
8. Cut a long piece of leather cord and string your beads onto it.
9. Tie off the ends using two overlapping slip knots, and adjust to your desired length.
Let’s get painting!
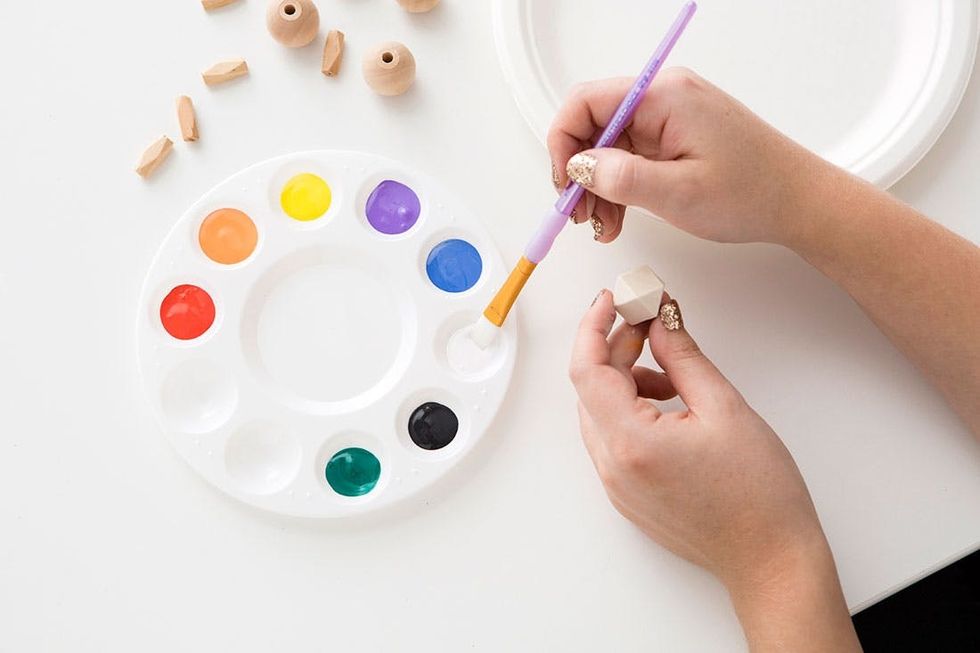
First off, fill your paint tray with several different colors. We included black and white paint as well as some of our favorite colors.
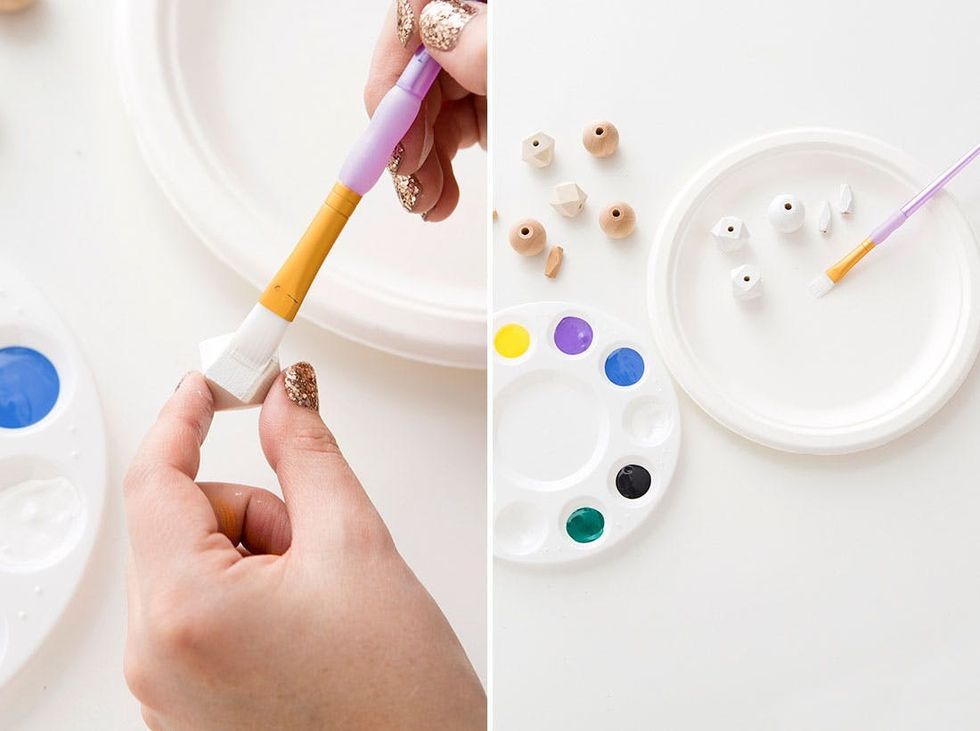
Before we wreak havoc on this beautifully organized tray, paint a few beads in solid colors using a paintbrush (or your fingers!), and set aside to dry. Having a few plain white ones around can be good, as they create a little visual “breather” amongst all the other colors and textures.

We added some bold polka dots to a few of these white beads, using the opposite end of the paintbrush.

Now it’s time to amp up the mess factor! Swirl two colors around in one section of your paint tray, and place a bead into the paint. Roll the bead around to pick up more paint and create a marbled effect. Cover any missed spots with more paint, and swirl those colors around with your fingers.
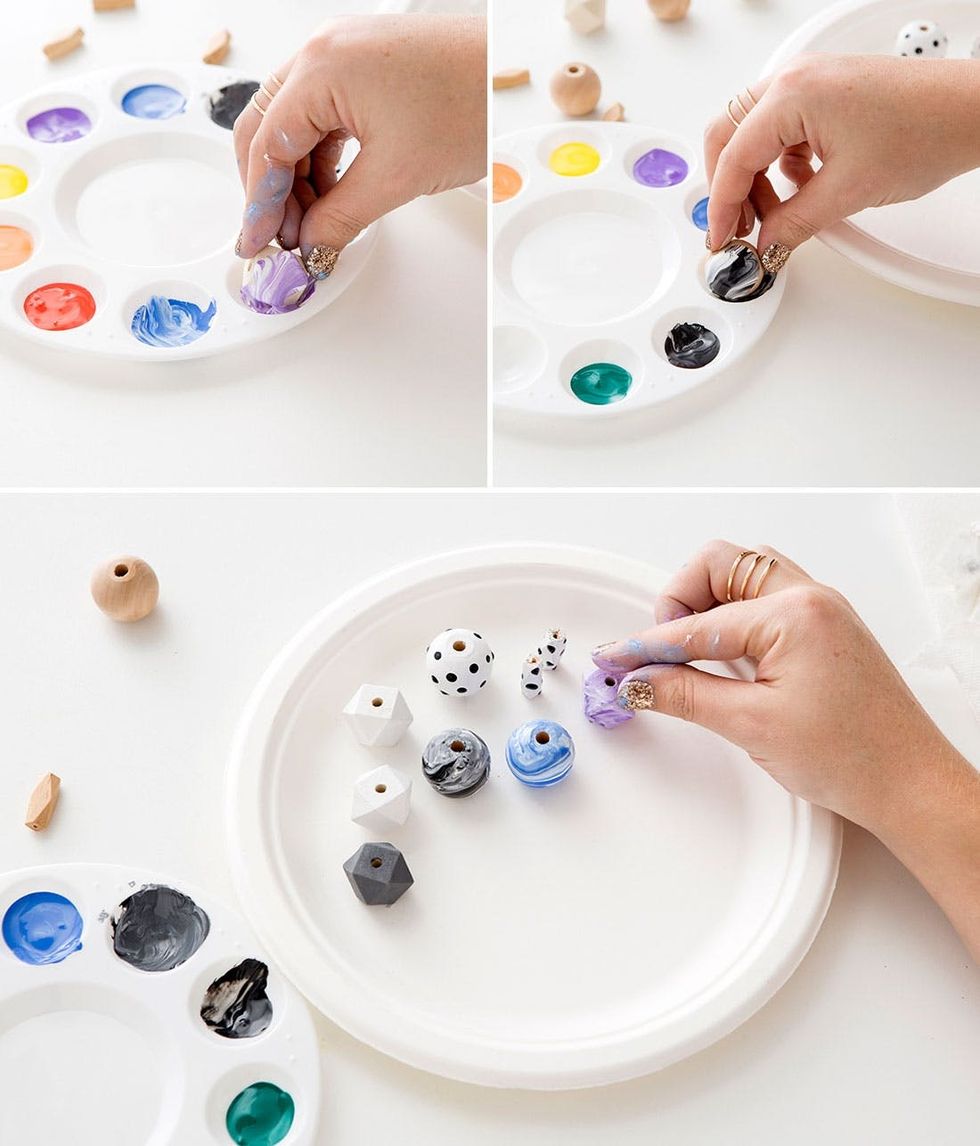
Repeat with a few different color combos and set them aside to dry. The marbled beads will need extra time because they have that nice thick paint layer, and trust us – it’s worth the wait!
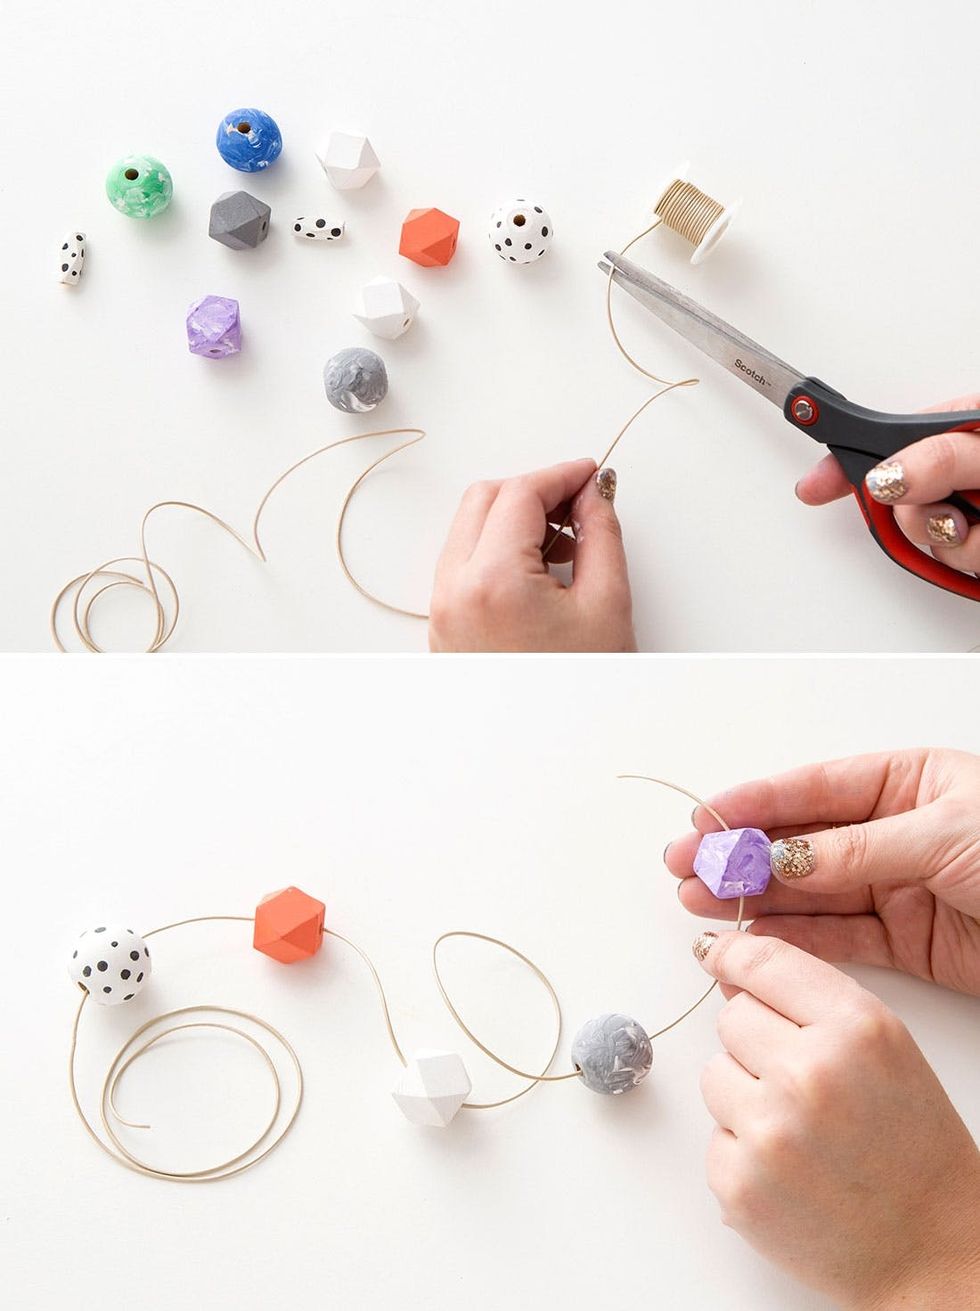
Now cut a long piece of leather cord using scissors, and string your beads on in whatever order you like.
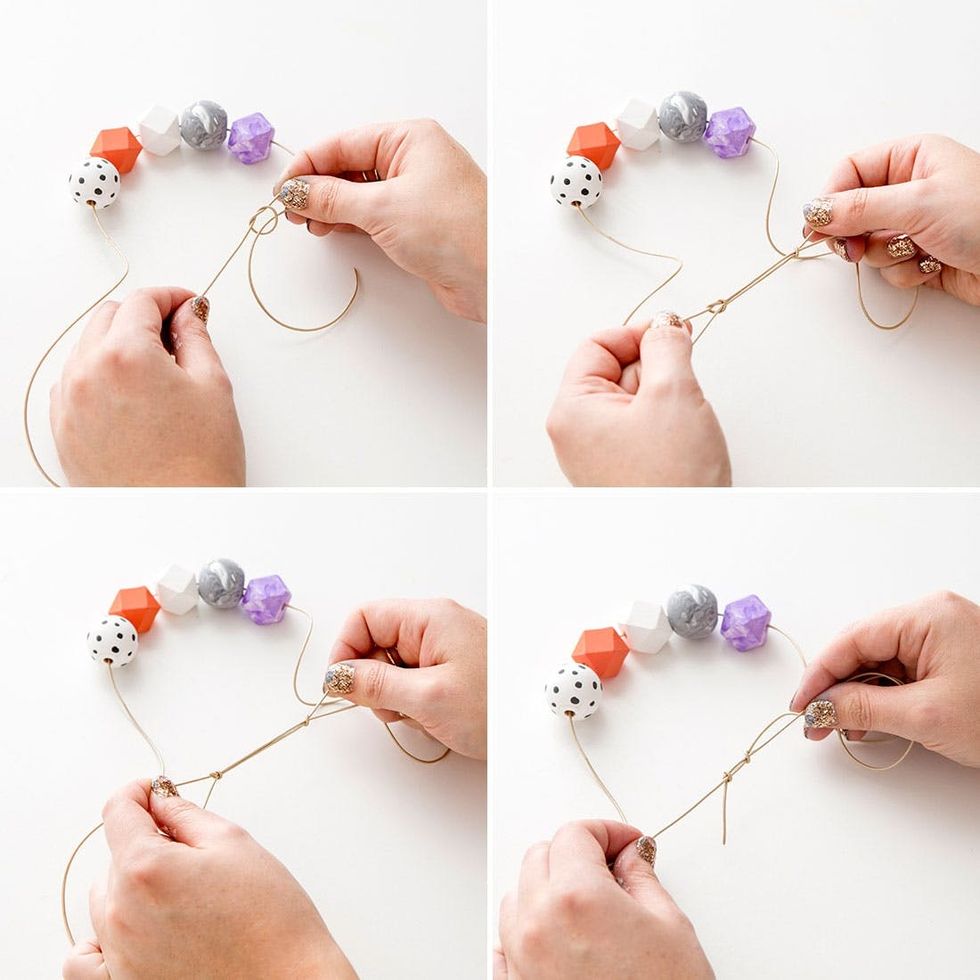
To finish your necklace, tie the two ends of leather cord together using two overlapping slip knots. Tie one end as if you were making a regular knot, but before tightening it just slip the opposite end through the open loop. Tighten that knot, and then repeat on the other side, looping another knot around the opposite strand of leather. Then, tighten both knots by pulling on the ends and slide the two knots closer and farther away from each other to adjust your necklace height.
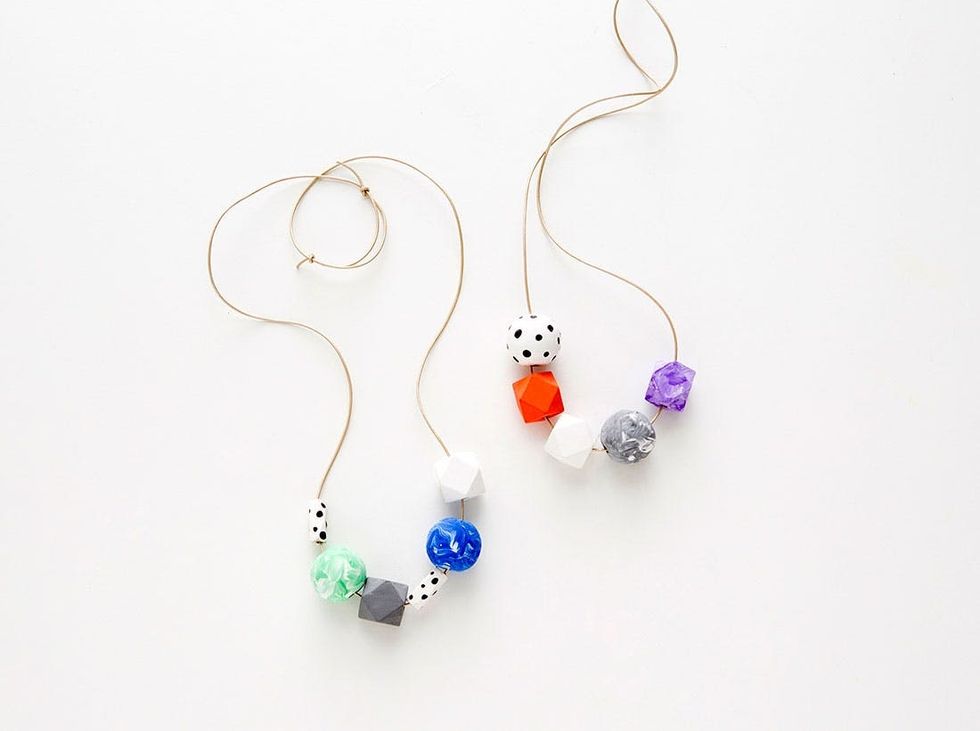
Repeat for your second necklace, and take a good look at your handiwork!

These fun beads look great against a simple everyday tee or shift dress. Whether you’re going for a sweet retro vibe or a wild statement (or you’re 7 and don’t really care what vibe you have), these playful necklaces are sure to complete the look!

What other messy marbling DIY’s are you dying to try? Tell us in the comments below!


