Cheese sauce recipe NOT included.
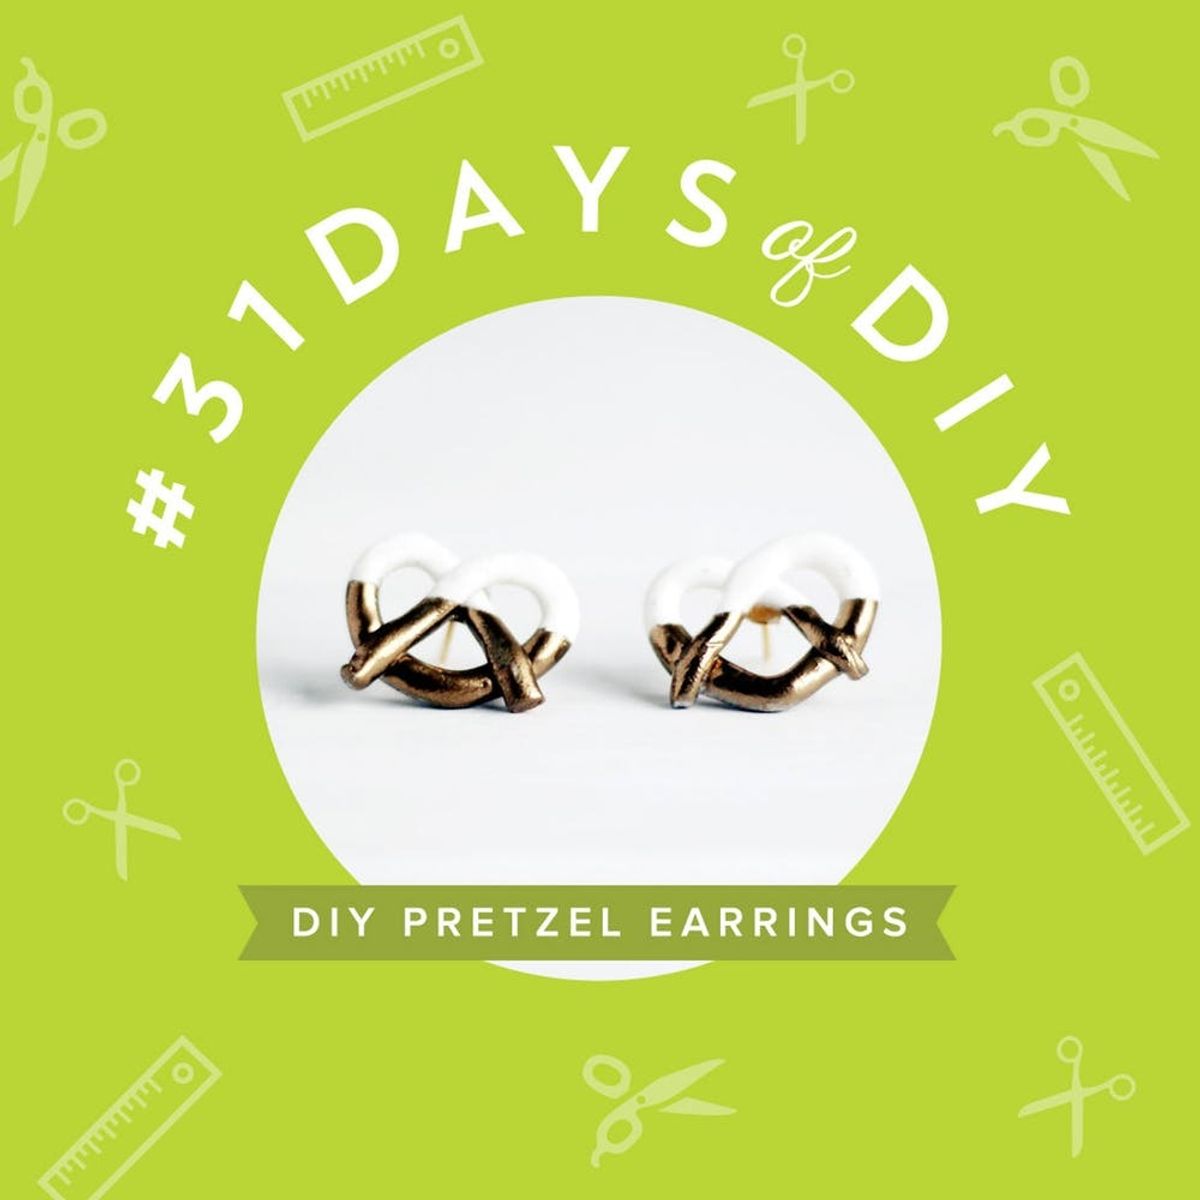
DIY These Marc Jacobs-Inspired Pretzel Earrings for $15

Even if you’re cutting down on carbs this January, you can still get your fix with an indulgent accessory or two that won’t break a single resolution. You’ll be living the guilt-free life when you treat yourself to these doughy delights — gold-dipped pretzel earrings, inspired by Marc Jacobs. Not only are these lookers no longer available in stores, but rather than dropping the original retail price of $48, this installment of #31DaysofDIY will set you back a mere $15.
No idea what #31DaysofDIY is? It’s a brand new tradition here at Brit + Co that’s all about kicking off 2015 right. We’ve challenged ourselves to make or learn something new every single day for the month of January, and we’re inviting all of you along for the ride. From DIY basics like Sewing 101 to learning to design and laser cut our own stencils, we hope this month of making inspires you to make all year long.
Materials:
– Polymer clay
– Flat earring backs
– Masking tape
– Metallic gold spray paint
– Strong multipurpose glue
Instructions:
1. Warm a marble-sized ball of polymer clay by working it in your hands. Once it’s malleable, roll it between your palms to create a long thin cylinder shape.
2. To shape the pretzel, hold each end of the clay and create a U shape. Cross over the ends then pull both ends towards you, bringing the twisted section over. You should see your pretzel shape taking place.
3. Trim the excess clay from the ends.
4. Make a second pretzel the same size and bake them both in the oven on low heat for half an hour.
5. Once the clay has cooled, wrap the top half of the pretzel in masking tape then spray the exposed end in gold. Spray both sides.
6. Leave the paint to dry for 10 minutes then peel back the masking tape.
7. Glue the earring backs onto the back of the pretzel at the twist. Use plenty of glue and leave to fully dry before using them.
To get started, roll the clay in your palms until a long snake-like shape forms. Once you have a long thin clay “snake,” form it into a pretzel shape by holding the clay at the two ends, making a loop and then crossing the two ends over the center of the loop. Put the two pretzels in the oven for half an hour on low heat. Eating pretzels and drinking beer while you wait for the timer to ring is highly encouraged.
Since pretzels are infinitely better when they’re dipped, it’s time to give them a little gilded treatment. Once the clay has cooled after its trip into the oven, use painters tape or masking tape to make a straight line across the pretzels, dividing them in half. Make sure the earrings are fully wrapped, front and back.
Then, get out that metallic gold spray paint (or whatever color you please) and give the little dough boys a good spray down on both sides. Don’t go too heavy on the spray paint. Just a light coating should do the trick. Let the paint set for 10 minutes. Then slowly peel pack the tape. Add one dollop of strong, multi-purpose glue to whatever side you deem the back and then add an earring back. Do the same for the second earring. Let them fully dry before taking them out for their debut.
Fair warning, once your friends get a load of these, they will be putting in requests for a pair of their own. In other words, bookmark this tutorial for Galentine’s Day. You’ll be needing it.
What other designer pieces would you like us to DIY? Let us know in the comments below!


