
 Recommended for you
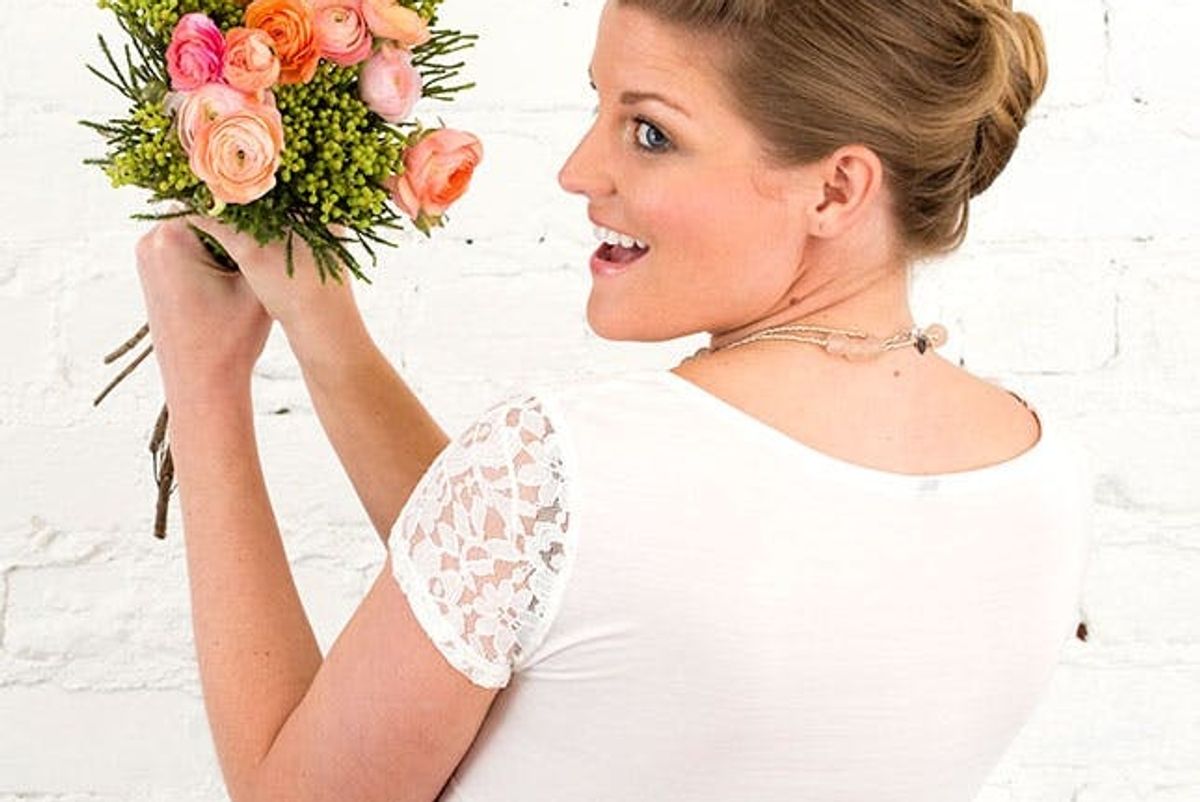
‘Tis the season for updos! That’s right: Wedding season is officially here, and so is the search for a perfect wedding hairstyle for brides and plus ones alike. Finding an updo for shorter to medium length hair can be a little more challenging — and we know you’ve all been letting your stylists get scissor happy to achieve that perfect bob or lob, so I wanted to devote a post to perfecting the updo with medium length locks. Whether you are on the hunt for an ideal ‘do to DIY or just in need of realistic inspiration for what your hair could possibly achieve with the length it is at, these three hairstyles are designed with your medium length hair in mind.
Prep: Beach Wave Hair Set

Any time you are going to do an updo, it’s best to prep your hair by setting it in a wave pattern to help give body, smooth down hairs and shape your hair so it’s easier to manipulate. See the full tutorial on how to do this here! Be sure to set your hair before any of the following.
Delicately Twisted Bouffant

Step 1: Pull Out + Separate Curls

Remove all of the pins and gently use your fingers to break apart the curls. You want your hair to be bouncy and have lots of shape, but remember — you’re still putting it up, so you don’t need to make this step perfect.
Step 2: Backcomb Your Hair

Use a rattail comb to pick up small, thin sections of hair and back comb them from the root to the mid-shaft of your hair. Work through until you’ve done this to all of your hair. This is going to give you a lot of volume and texture to make this look pop.
Step 3: Throw Half Up + Ponytail The Rest

Toss up the top half of your hair into a clip just to get it out of the way, and then put the bottom section of hair in a low ponytail.
Step 4: Unclip + Frame Face

Remove the top section of hair that was in the clip and use your finger to pull out a good 2 inches of hair surrounding your face. You ‘ll work with these hairs last — this is NOT the look, don’t worry ;)
Step 5: Twist + Pin

Now take the top half of your hair, twist it back and slightly push up to create a pomp-like volume around the top half of your head. Secure in place using a few bobby pins in a cross pinning pattern, which means you make an “X” with the pins so they anchor against one another to keep in place.
Step 6: Twist, Spray + Pin

Now back to the hairs that you pulled down around your face: Pick up a small piece of hair, twist it around your finger and spray with hairspray before you move it back and lay it down directly over the original place you pinned in step 5. Do this until the entire front section is all pulled back and pinned in place. Pro Tip: Try to place the pins in a way that you will not see them to achieve a really clean look.Step 7: Lower Ponytail Elastic

Simply slide the elastic that you used to section off the bottom half of your hair down to the ends of your ponytail, leaving a couple of inches out. The elastic will help keep your hair in one section instead of falling out while trying to roll it up.
Step 8: Roll + Pin

Roll the hair up over itself and then pin in place directly under where the top half of your hair has been pinned.

 Lookin’ good, mama!
Modern Gibson Roll

Step 1: Brush + Side Part

Start this updo like the others by setting your hair to provide a base of volume and smooth down your hairs. Use a brush to comb through the curls and then place a side part in your hair.
Step 2: Back Comb

For this updo volume is clutch! Use a rattail comb to tease the roots of your hair in the back section of your head. This will help give the proper silhouette.
Step 3: Section Hair

Separate your hair into three equal sections in the back of your head, adding a small elastic to the center section.
Step 4: Twist, Roll + Pin

Twist the center section and then roll the twisted pony upwards toward the nape of your neck, securing in place with bobby pins.
Step 5: Twist + Roll Side Sections

Grab one of the side sections of hair and twist it away from your face back toward the nape of your neck. Pin in place and then roll up the remaining hair into the same twisted pattern you pinned in place from the center section in step 4. Repeat on the other side.

 So glam, and would look fab with flowers or a hair accessory, don’t you think?!
Spiral Textured Bun

Step 1: Brush Out Curls

After you take out the pin curls from your hair set, (don’t forget setting your hair, my lovelies!) brush through the curls to relax them.
Step 2: Pomp It Up

Back comb the top section of your hair (a good way to measure this is to use the outside corner of your eyes as the boundaries of this top section). Back comb volume into this section and then pin in place.
Step 3: Pin Half Up

Let the section from the pomp you just pinned in place fall into the top half of your hair, and then pick up the top section of your locks (all the hair from your ears up) pinning in place in the center back of your head.
Step 4: First Twist

Once the top section of hair is pinned in place, pick up the ends of that section and wrap around into a twisted bun, securing in place with a few bobby pins.
Step 5: Final Twist

Now grab all the hair left out in the bottom section and twist it in the same direction, wrapping it around the smaller base twisted bun you made in step 5. Pin in place with a few bobby pins.
 Go ahead and practice these looks on yourself a couple times before your event. You’ll be surprised at how quickly you can nail them. With a couple run-throughs, you’ll be able to throw these looks together in 10 minutes flat!
What other updo hurdles do you have, and are there any inspiration images of updos you want to learn how to do? Share a link to the image in the comments below.


