Heart you
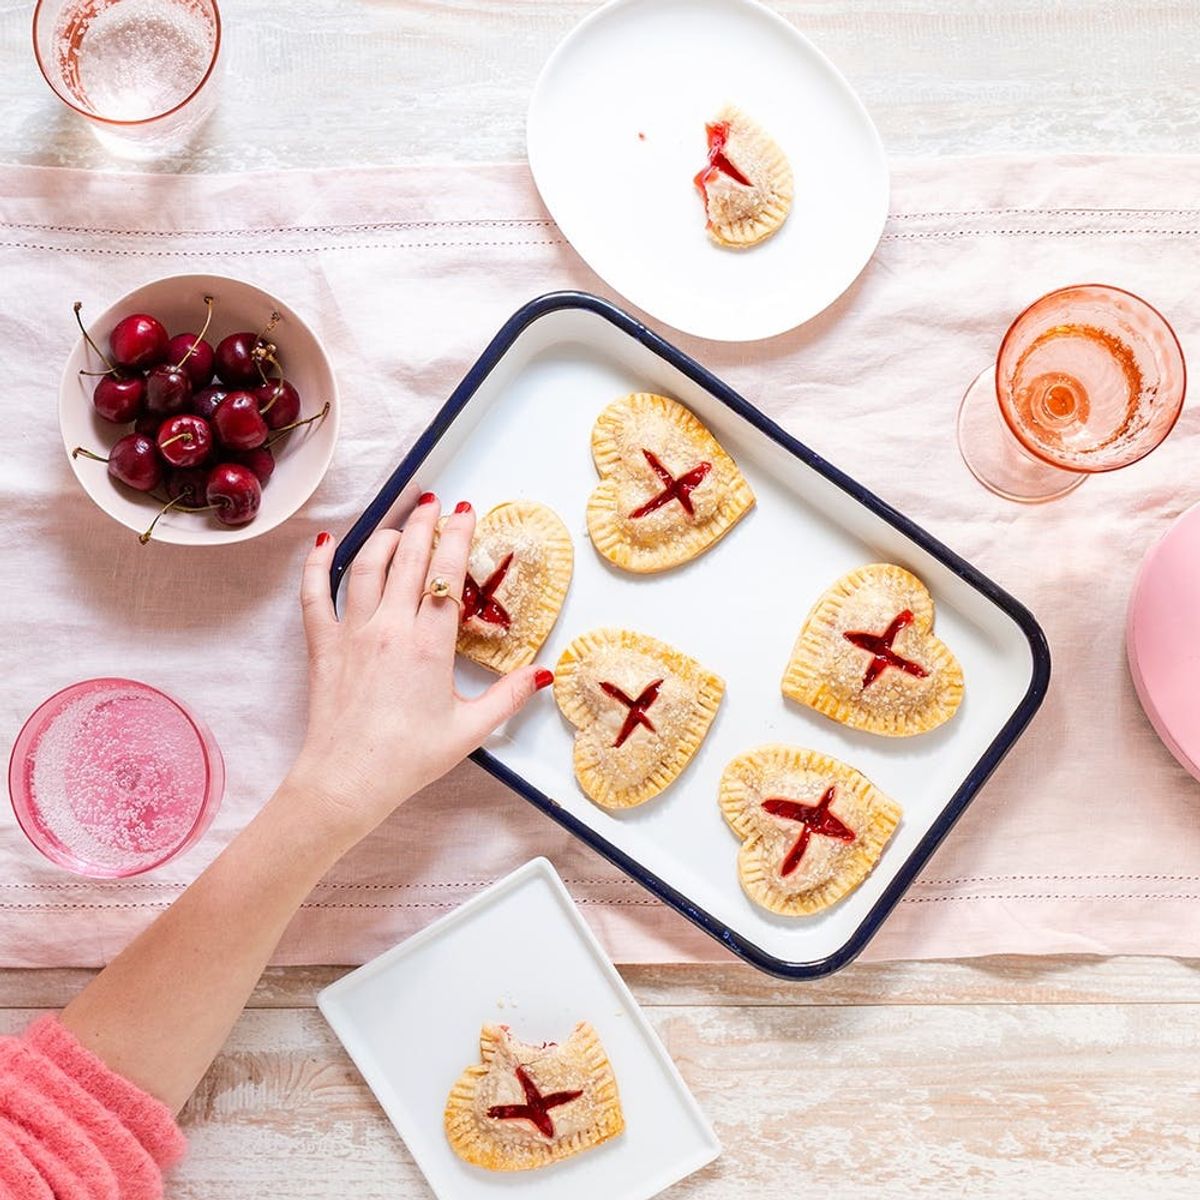
These Mini Heart Pies Gush With Cherry Goodness


Have you ever wondered how those insanely popular pinned recipes on Pinterest actually taste? Us too, which is why we’ve started our series, Pin to Plate. We’re interviewing the blogger, testing out those recipes in-house, photographing our results, and sharing our experience. #PinFails, you’ve become a thing of the past.

Heart-shaped pies and Valentine’s Day go hand-in-hand, which is why it’s no surprise at all these mini cherry heart pies have earned a spot as one of Pinterest’s top V-Day recipes. Ashley Langston, AKA the Frugal Coupon Living blogger, developed the recipe so her five kids could participate in the kitchen. She explains, “The inspiration behind it was to create individual desserts for my family. Not only is this a dessert they would enjoy during Valentine’s Day, it is a recipe that is easy enough for them to also help bake.”

Ready-made pie dough, canned cherry pie filling, a heart-shaped cookie cutter, and white sanding sugar is just about all you need to pull these beauties together. “The pies have the appearance and taste of a pastry shop but can be made in a matter of minutes within your own kitchen,” she adds. Though Langston jokes that she doesn’t quite understand Pinterest’s algorithm and why this particular recipe soared, she does admit that “hacks and easy” are two keywords that always attract her as a Pinner. “I will pin all the tips and tricks,” she enthusiastically tells us.
Mini Cherry Heart Pies
(Makes 8 mini pies)
Total Cook Time: 30 minutes

Ingredients:
- 1 box refrigerated pie crust
- 1 egg mixed with 1 tablespoon milk
- 1 can cherry pie filling
- white sparkling sugar
Equipment:
- parchment paper
- 4-inch heart-shaped cookie cutter
Directions:
1. Preheat the oven to 350°F. Line a rimmed baking sheet with parchment paper.
2. Carefully unravel both pie crusts onto a flat surface (we lined ours with parchment paper), and cut out about 16 hearts. Gather and reroll scraps as needed to cut out more hearts (get an even number).

3. Use a spatula to transfer half of the hearts to the pan.
4. Use the egg wash to wet the edges of the hearts on the pan.

5. Carefully place 5-6 cherries in the center of each heart in a V formation using a fork. Try and avoid putting too much gel; otherwise, the hearts will overflow.

6. Cut a small X in the center of the remaining half of the hearts that are not on the pan.

7. Carefully place the X heart crusts on top of each of the filled hearts. Line up the pointed tips before pressing the crusts together for the prettiest presentation.

8. Press and crimp the edges of the pie crusts with a fork (about 1/2-inch) to secure closed. If any pie filling pops out, use a slightly damp paper towel to clean it up.

9. Brush the sealed pies with egg wash.

10. Sprinkle the tops of the pies generously with sugar.

11. Bake them for 16 minutes until the crust is browned, and allow them to cool before serving.
Find more pin-to-plate recipes by following Brit + Co on Pinterest.
(Recipe via Frugal Coupon Living; styling via Kayla Haykin/Brit + Co; photos via Frugal Coupon Living and Brittany Griffin/Brit + Co)


