A perfect gift to put in those Easter baskets.
How to Make a Mini Coloring Book Zine
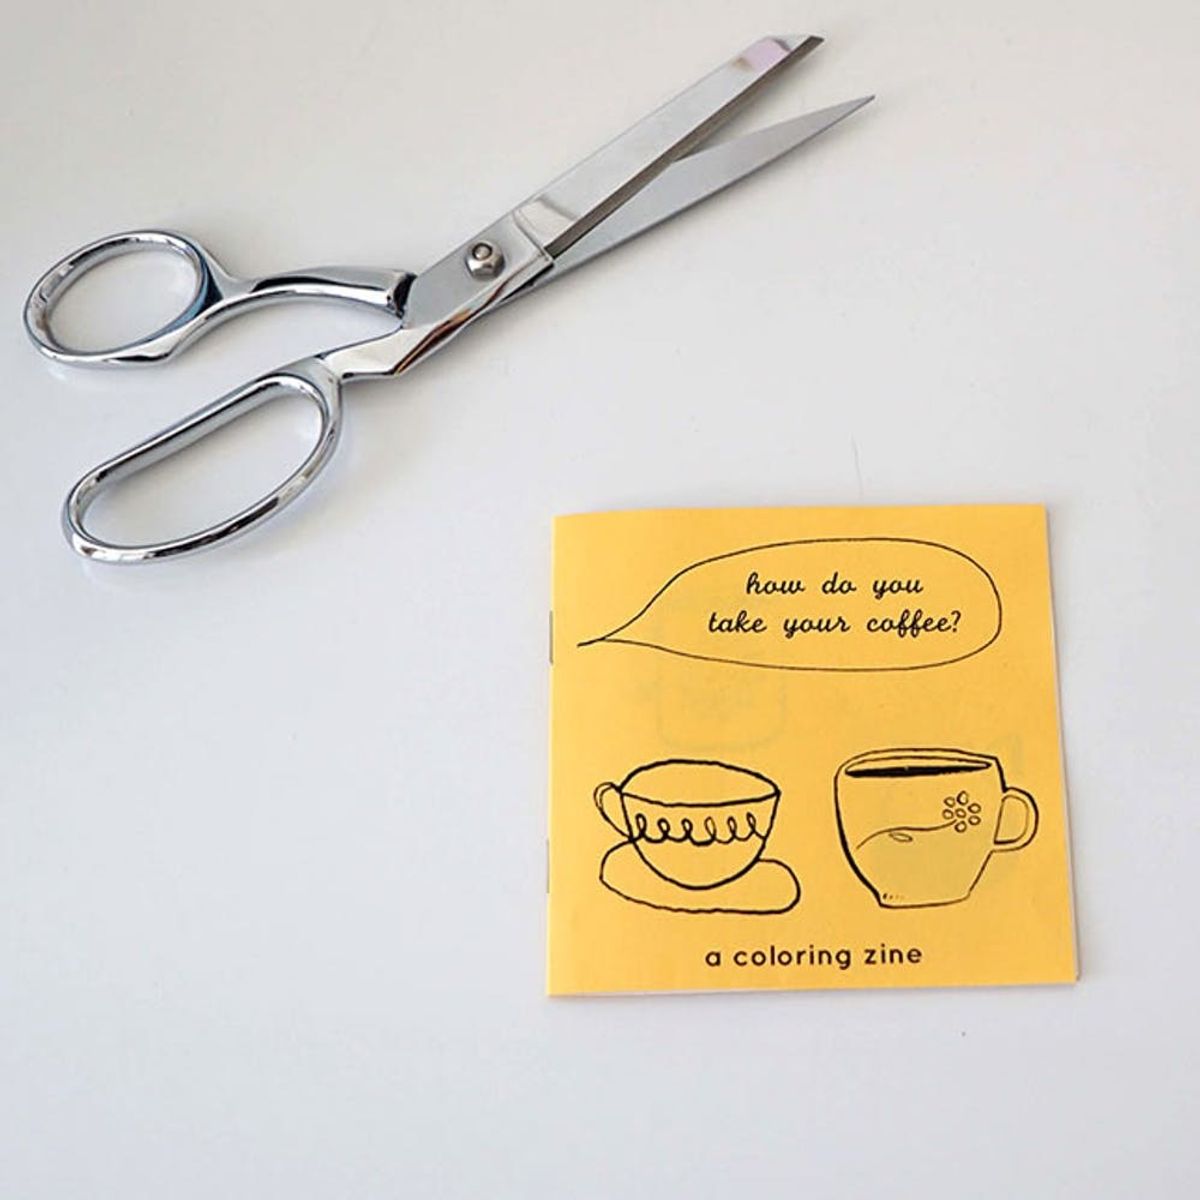
Zines! Little handmade, self-published books that can be about anything. They have their roots in punk music (and Star Trek fandom) and were a way to spread information before the Internet existed. Remember those days? Today we’re making a mini coloring book magazine with our friends Sara Diamond and Courtney Riddle of The Grand Newsstand. These two gals have been making zines and sharing tables at zine fests for years. Sara makes zines into the wee hours of her free time when not working on VR short films. And Courtney owns The Grand Newsstand in San Francisco — a zine newsstand in a renovated vintage newspaper kiosk. You should stop by if you’re on Market Street.
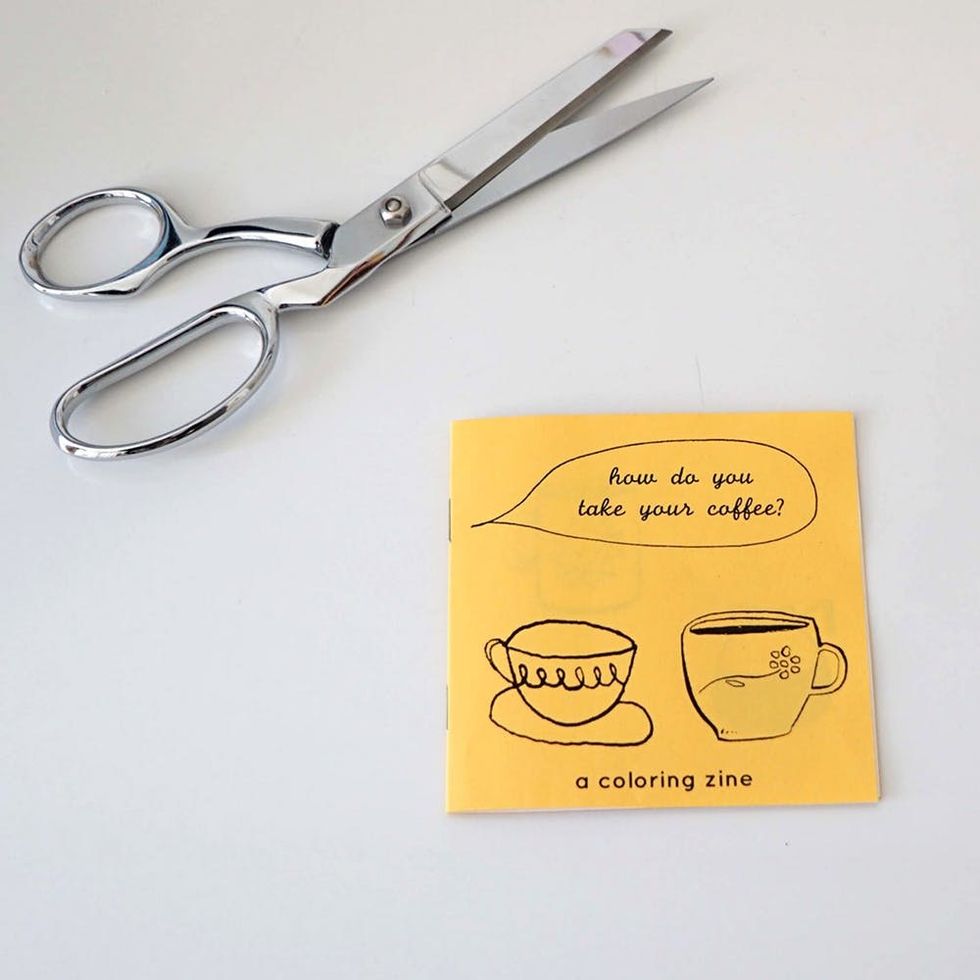
Zines are really special. They’re about expressing yourself, communicating and connecting with your community and beyond. They can be sold, traded and/or shared. Plus they make great gifts. So we’re going to help you make your own original zine coloring book. There are lots of different ways to make a zine. Our example is made by folding one 8 1/2 x 11-inch sheet of paper into eight sections. We’re going to be drawing directly onto paper and scanning it.
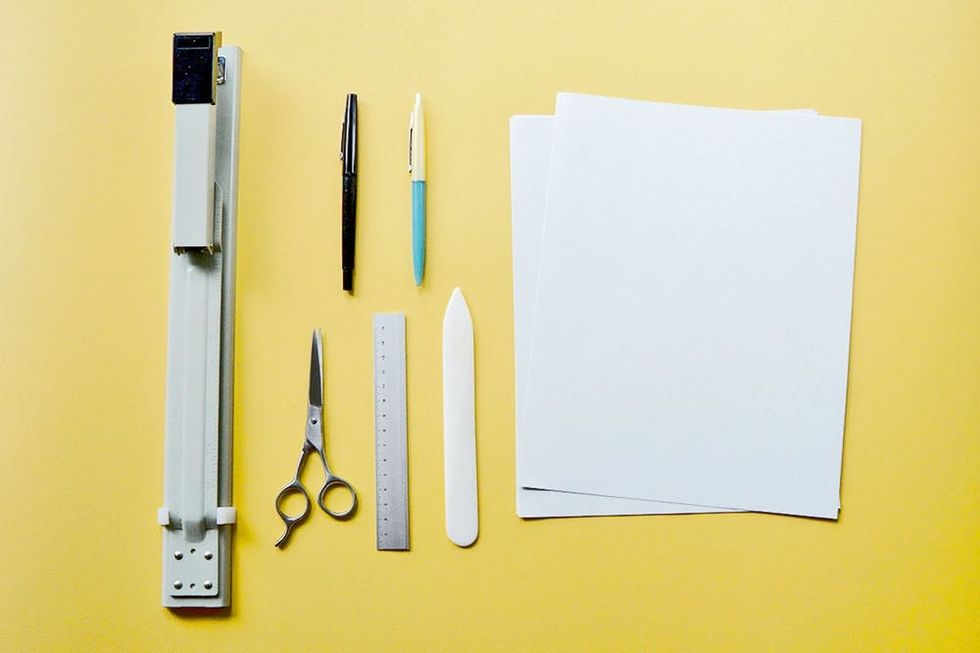
Materials and Tools:
— one sheet of white paper (for the inside pages)
— one sheet of colored paper (for the cover)
— your favorite pens
— scissors
— stapler (long-arm style is the BEST!)
— bone folder
Gather your supplies. This is a list of tools we specifically used. You do not need these items per se, and you can use other ones we haven’t included. Improvisation and a DIY spirit are key. Paper and pens are essential. The scissors are for cutting the paper into quarters or eighths, the stapler is for assembling (you could also use twine) and the bone folder is for making crisp edges when folding the paper in half. But we’ll get to all that in a second.
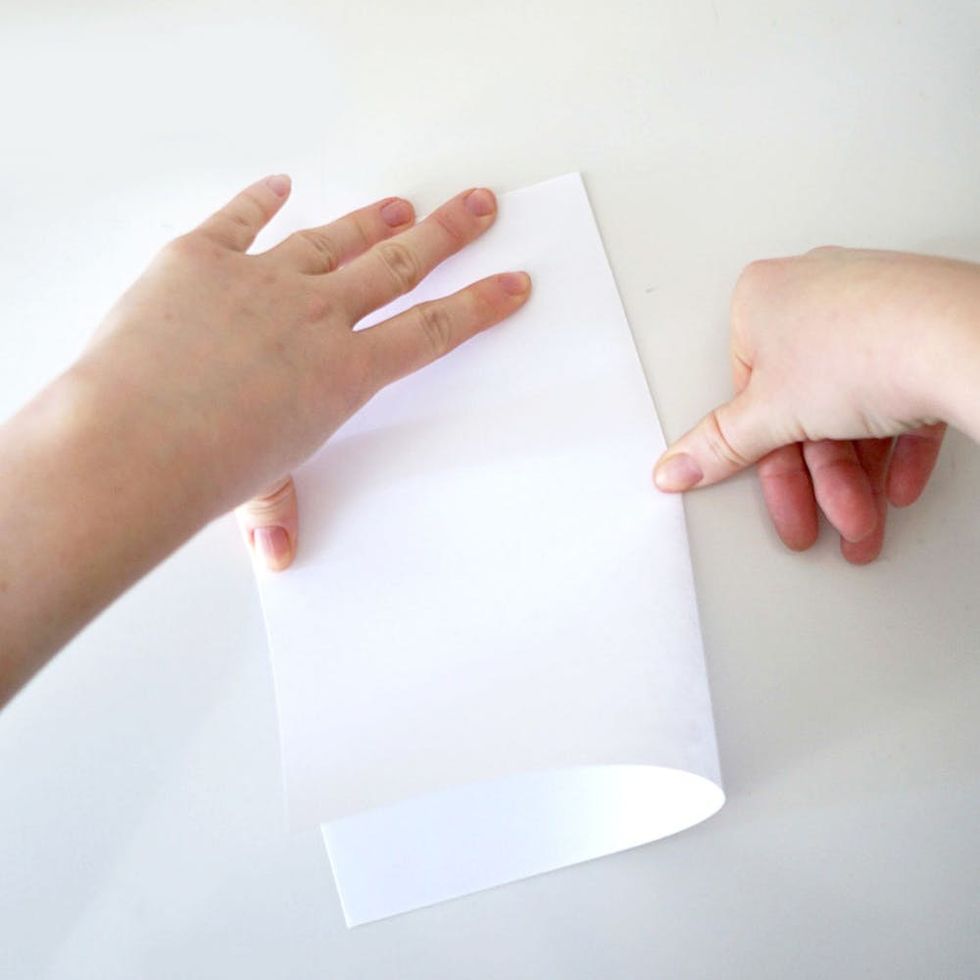
We’ll start by folding the paper to get a good idea of how our pages will look. We’re doing a quarter-page size booklet, so we’ll fold it into fourths. You could fold a 8 ½ x 11-inch piece of paper in half and have four pages. Or you could cut that paper in half and have an eight page zine (each page would be 4 ¼ x 5 ⅕ inches). You could even fold that in half again and have an eight page mini zine out of one sheet of paper.
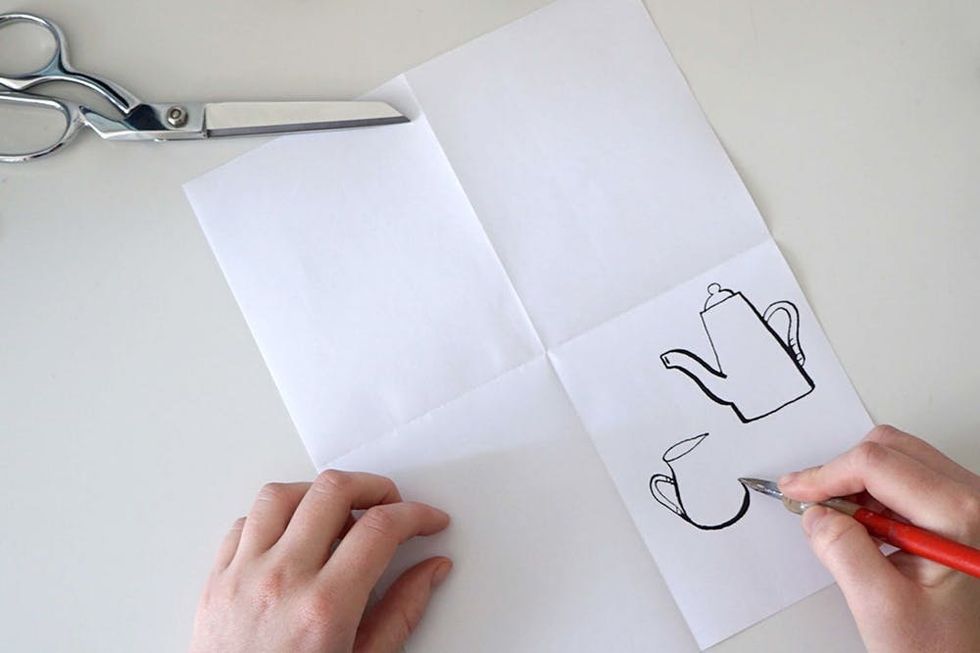
Now that you see where the pages are going to be, draw what you’d like on each page. Don’t worry too much about the page order if this is your first zine — page layout is tricky. If you decide to change the order later, you can do that in Photoshop or by laying the zine out on a flatbed scanner. Since we’re making a coloring book, we’re creating a line drawing and leaving the rest to be filled in later. In our example, we each drew images relating to coffee. Draw one image in each page segment.
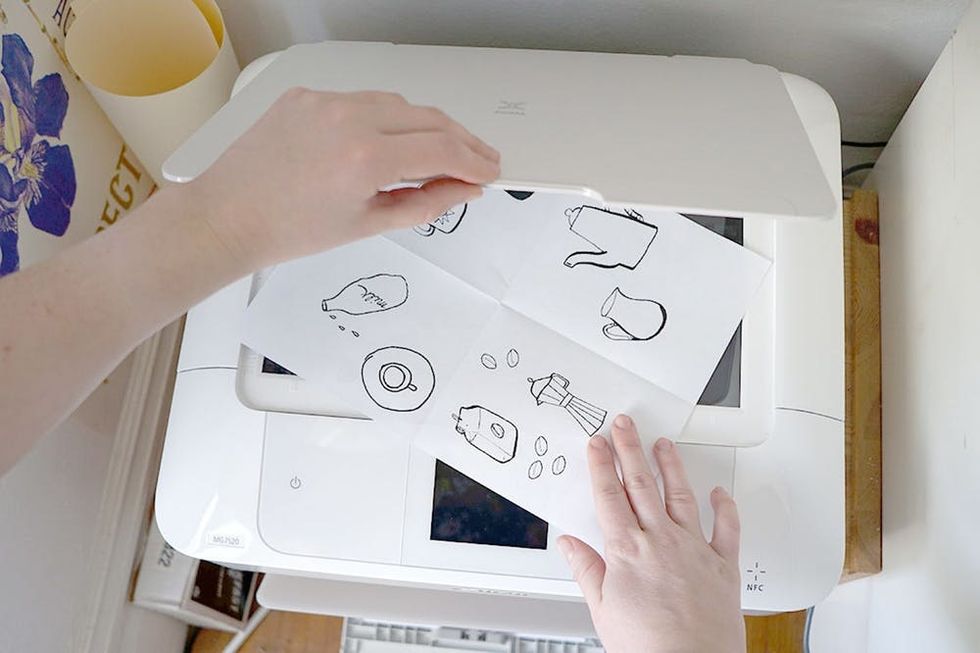
Scan the pages you’ve created to make a digital copy. This is great if you want to make multiple copies to give out, trade or sell. If you don’t have a scanner, don’t worry about this step. Just make totally unique 100% handmade zines and impress everyone you know :) Skip the next step if you are not scanning the pages.
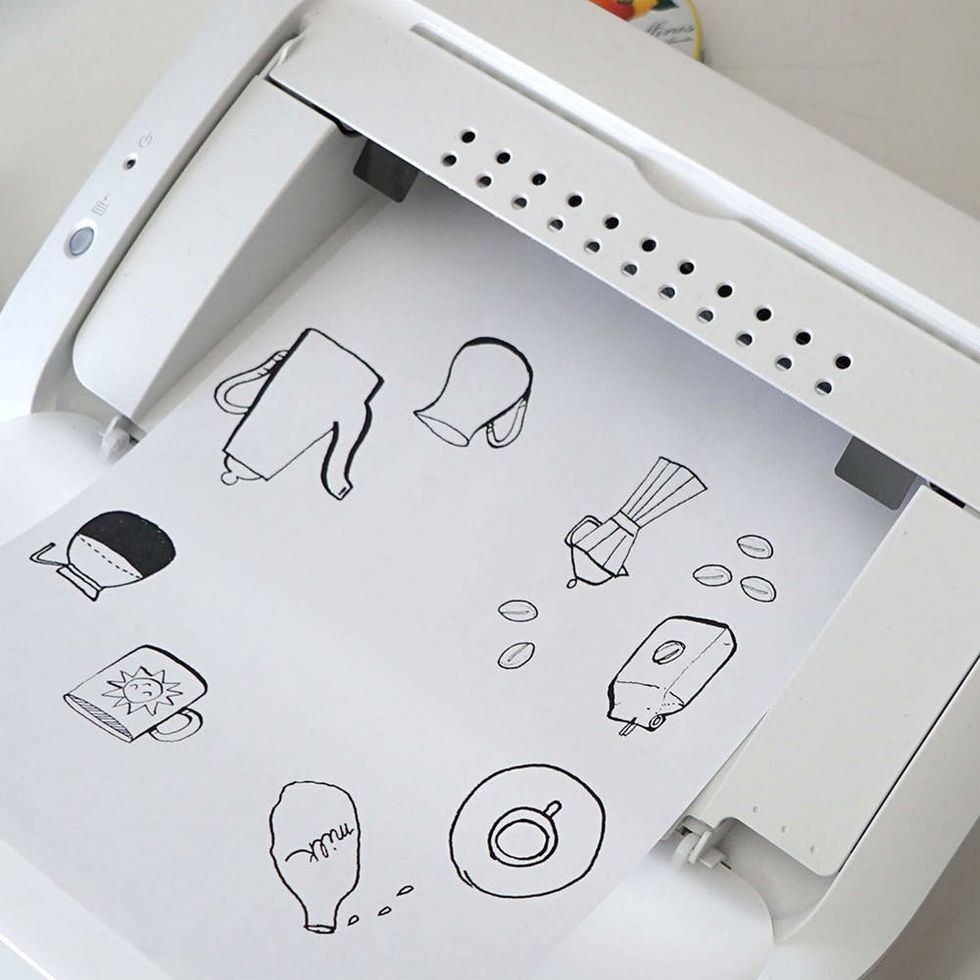
If you scanned your images, print up some more copies to share. Zine culture celebrates printing many copies and embracing imperfections. After scanning your images and laying them out digitally or on the scanning bed in the order you’d like, print out your pages. Take note of how the paper comes out of your printer. Remember to print the images back to back and have the images facing the same way. This way when you assemble your zine the pages are not upside down or blank.
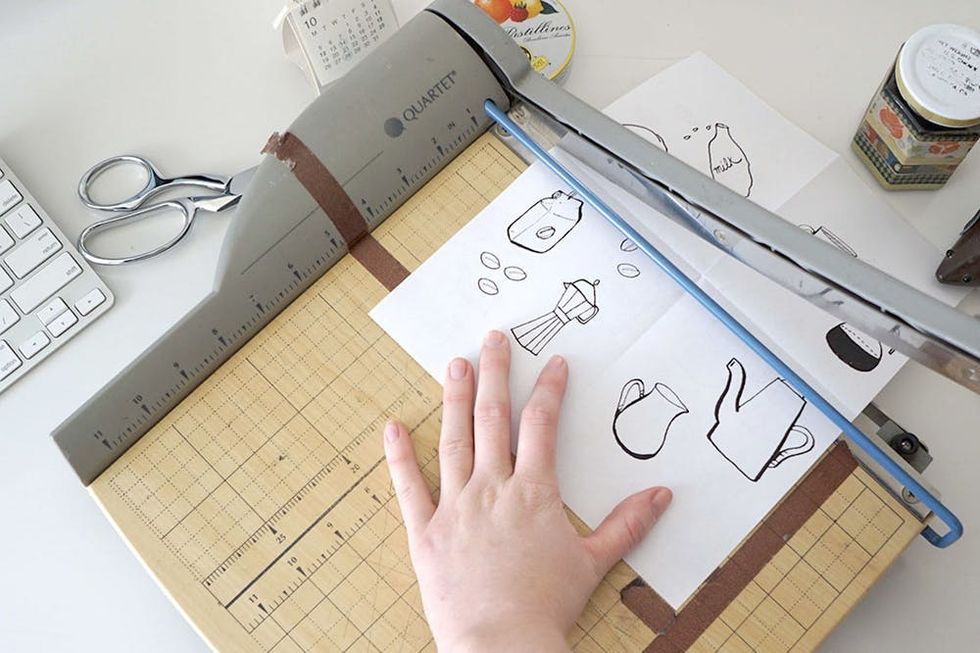
Cut your pages to size. We love this paper cutter but scissors work just as well. Cut along your folds. If you drew four images on one side of the 8 ½ x 11-inch paper (like we did), cut the paper in half so you now have two sheets of paper with eight back-to-back drawings.
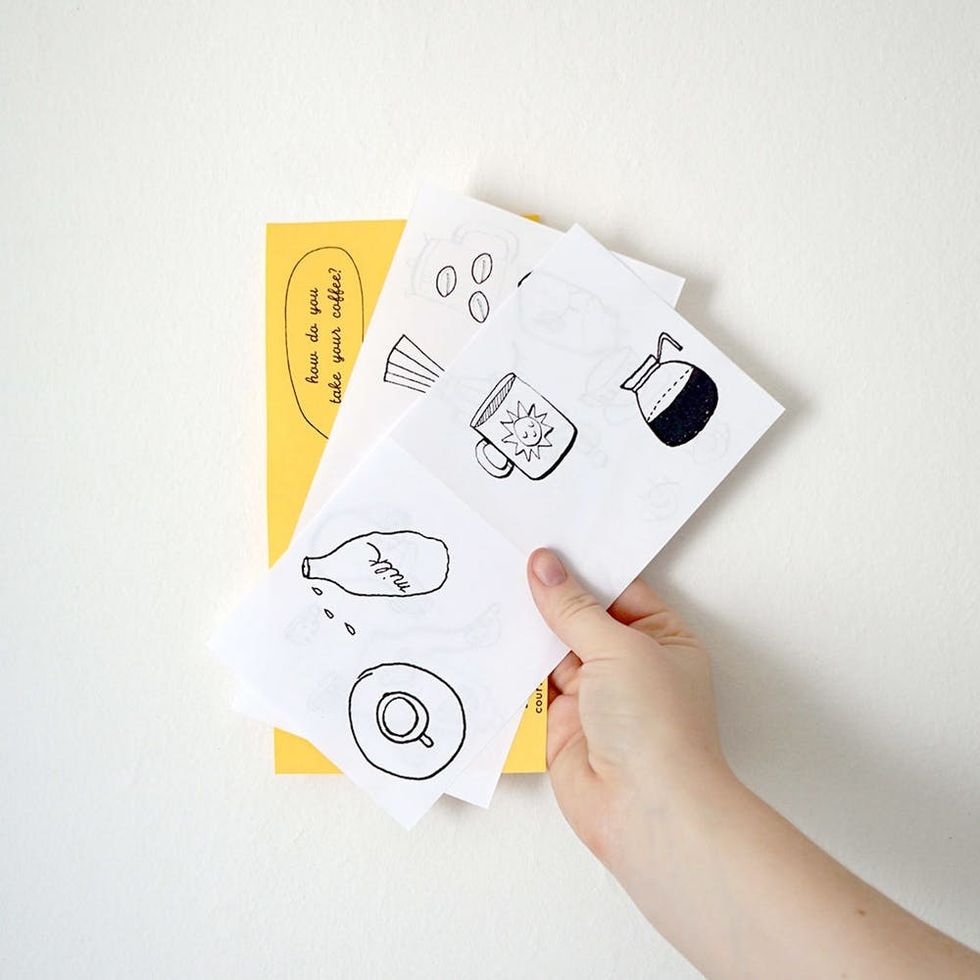
Time to assemble. Once all your pages are cut, place them in the order you’d like to see them.
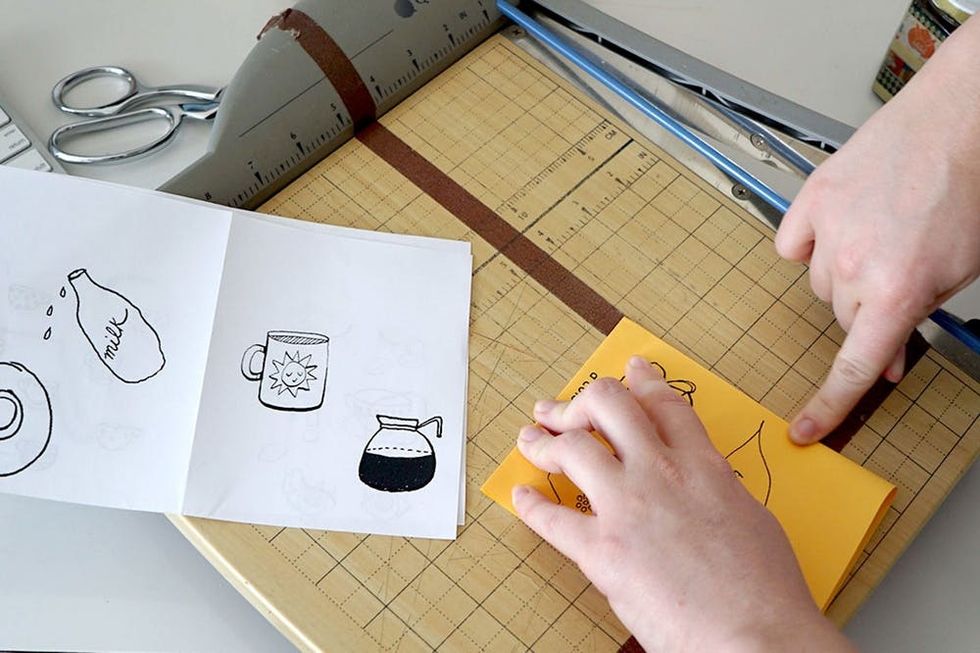
Then fold them in half with nice sharp creases with a bone folder. It’s actually looking like a little book now.
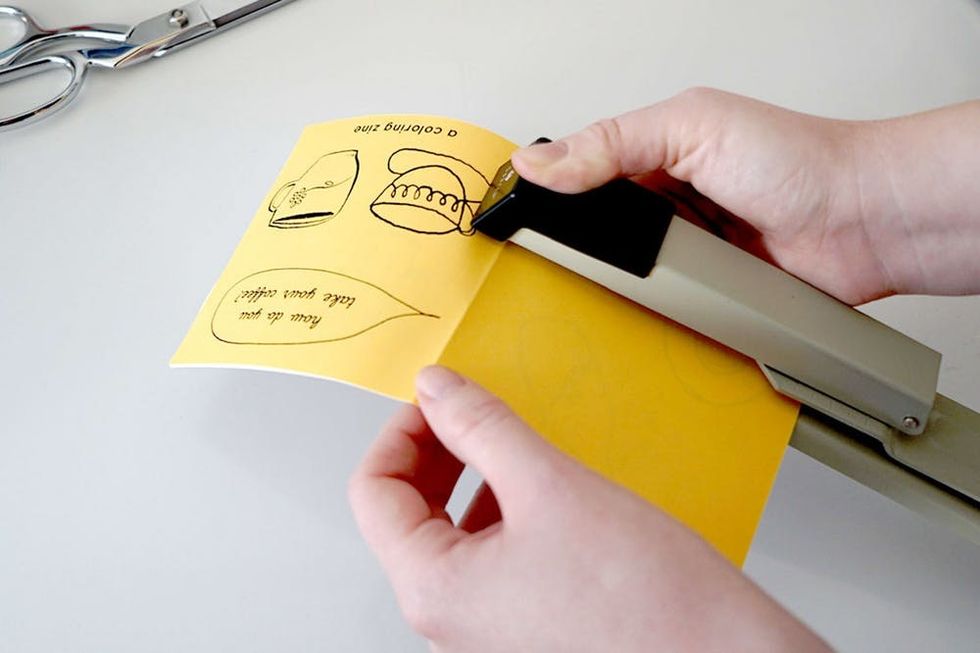
Staple the pages together. You can get creative with binding here if you’d like. Some people like to use a needle and thread to sew along the spine.
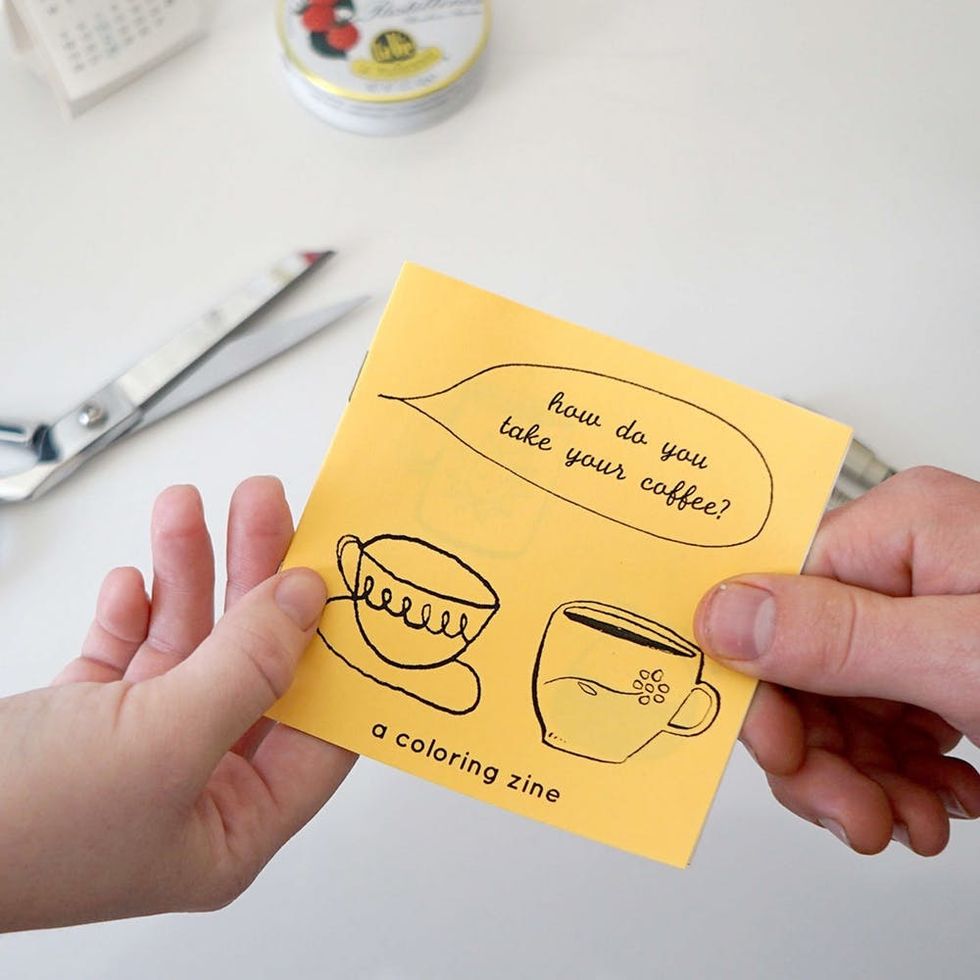
You’re done! Look at that. You’ve created a coloring book zine. Congratulations. You can share what you’ve created with friends, family, anyone you want. They’re pretty simple to make and rewarding to see when they’re printed. Good luck and have fun!
Show us your handmade zines by tagging us on Instagram + using hashtag #iamcreative!
DIY Production and Styling: Sara Diamond and Courtney Riddle
Photography: Sara Diamond and Courtney Riddle
Copywriting: Sara Diamond and Courtney Riddle


