 Recommended for you

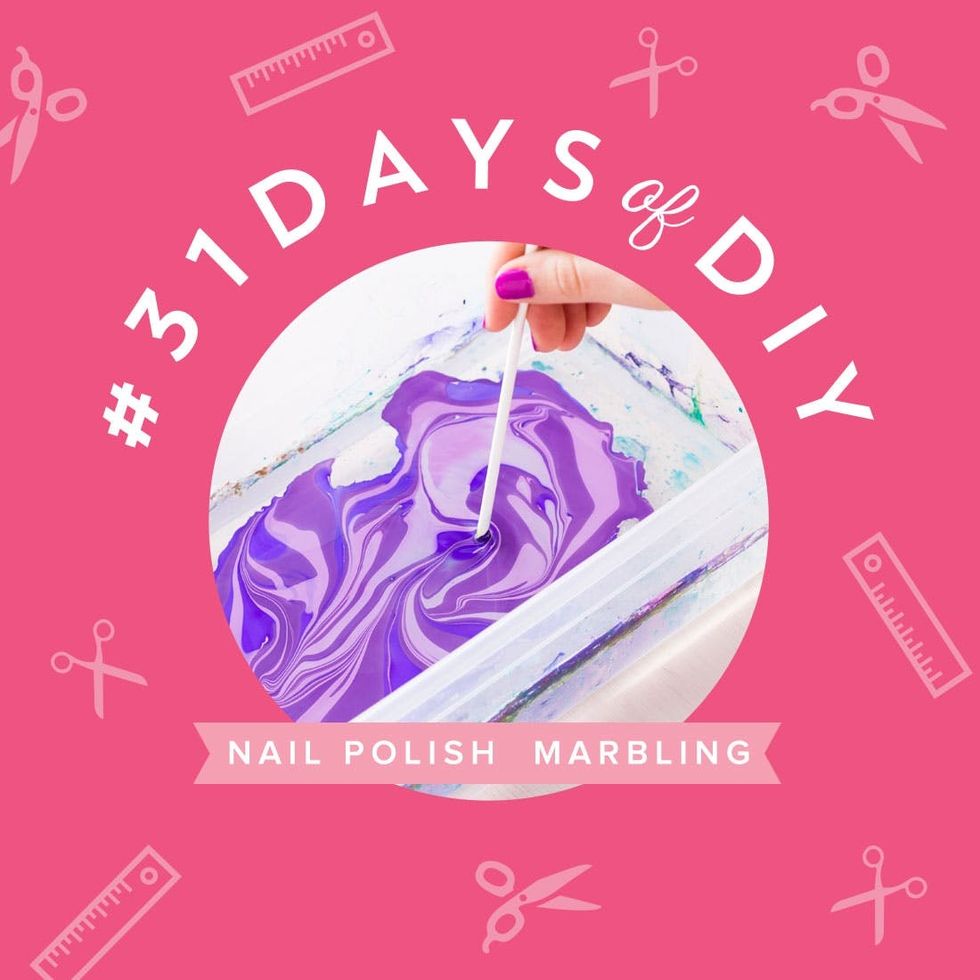
Oh marbling, how we love thee. One part psychedelic, one part graphic, this visual style is an essential in the DIY department. We’ve got the classic paint swirling technique that we used when marbling clay beads. For this installment of#31DaysofDIY, we decided to tackle the task of marbling with nail polish. And no surprise here: We are totally sold! Yes it does smell and yes it will get on your fingertips (so don’t do this project with a fresh mani) but it will always give unique results and dries almost instantly! Forgot a friend’s birthday 30 minutes before you’re going to see her?! Grab some polish and a vase, pencil cup or wooden box and give it a fresh new marbled look. Done and done.
No idea what #31DaysofDIY is? It’s a brand new tradition here at Brit + Co that’s all about kicking off the new year right. We’ve challenged ourselves to make or learn something new every single day for the month of January, and we’re inviting all of you along for the ride. From DIY basics like Sewing 101 to learning to design and laser cut our own stencils, we hope this month of making inspires you to make all year long.
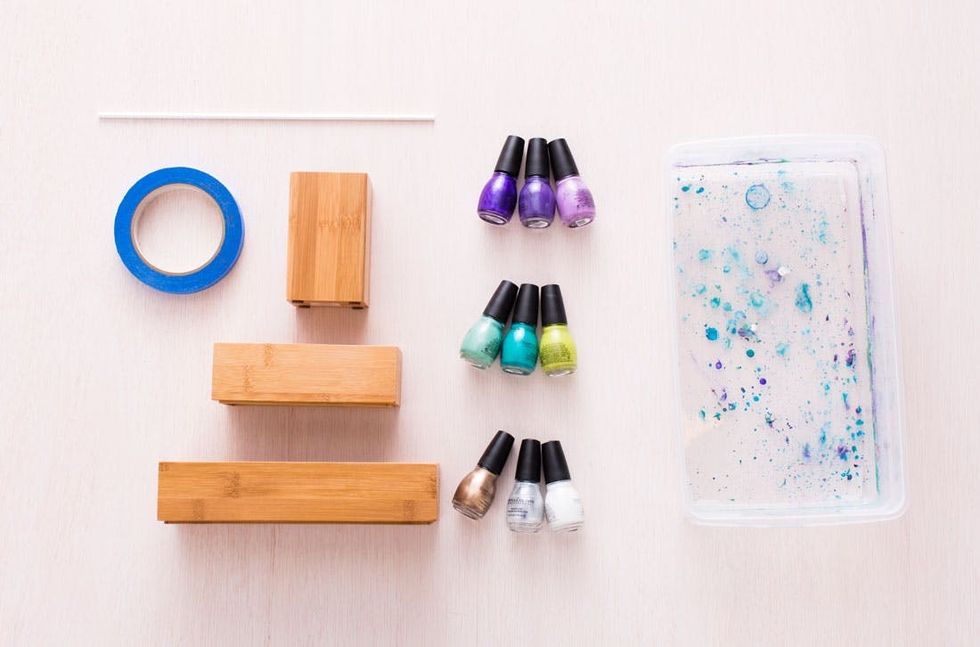
Materials:
– nail polish – as many colors as you want!
– wood boxes
Tools:
– tape
– stirring stick
– plastic tub
Instructions:
1. Tape off wooden box to create a block for your marbled section.
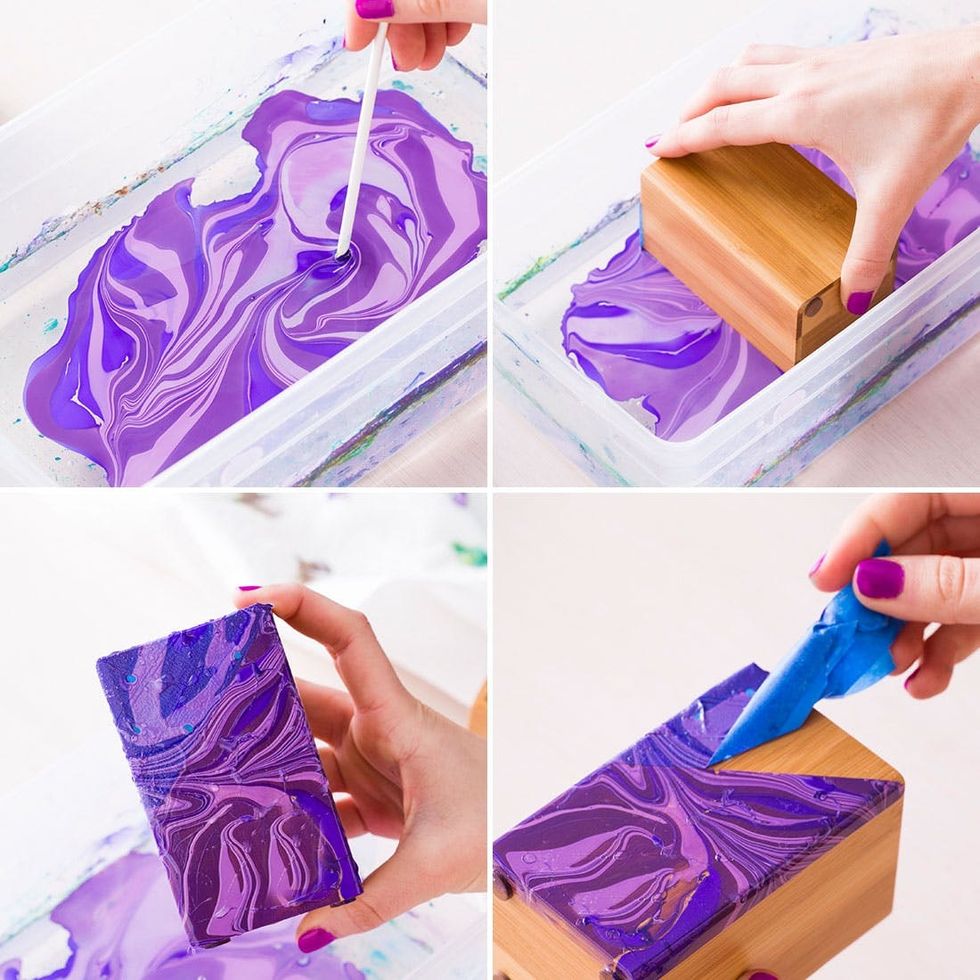
2. Fill plastic tub with water and then pour in nail polish. Swirl nail polish with stirring stick.
3. Let the face of the box touch the surface of the water and then lift. The nail polish will be stuck on the face of the box!
4. Use the stirring stick to collect the rest of the nail polish and to clean up the water for the next color.
5. Wait 10 mins for the nail polish to try and then pat the water droplets with a paper towel.
6. Remove the tape and voilà it’s that easy!
We used three colors for each marbling palette.
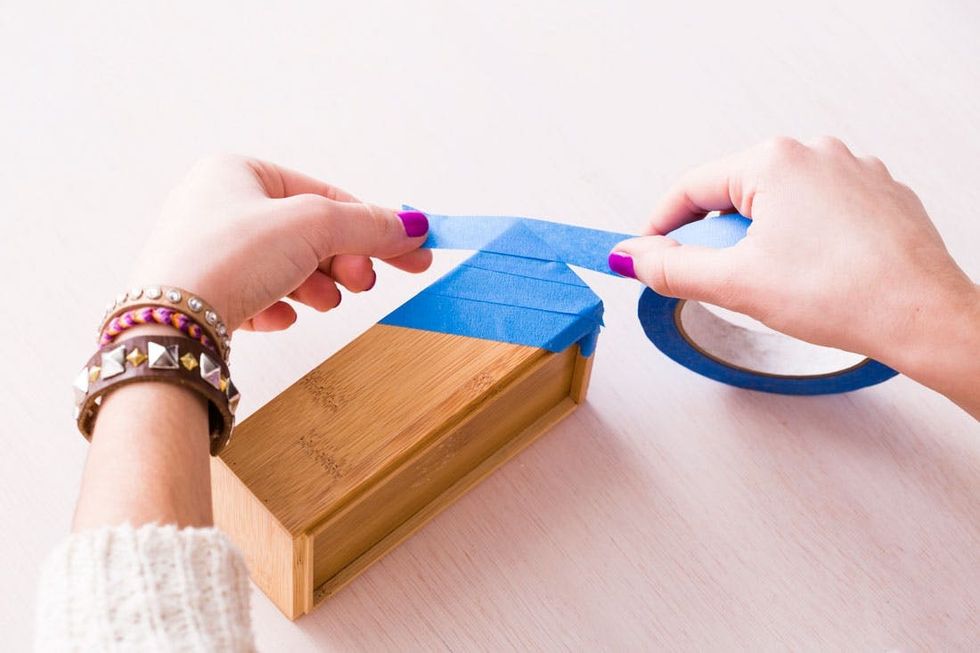
Tape off your box with painter’s tape. We chose to tape off a hard diagonal line to contrast with our organic marbled pattern.
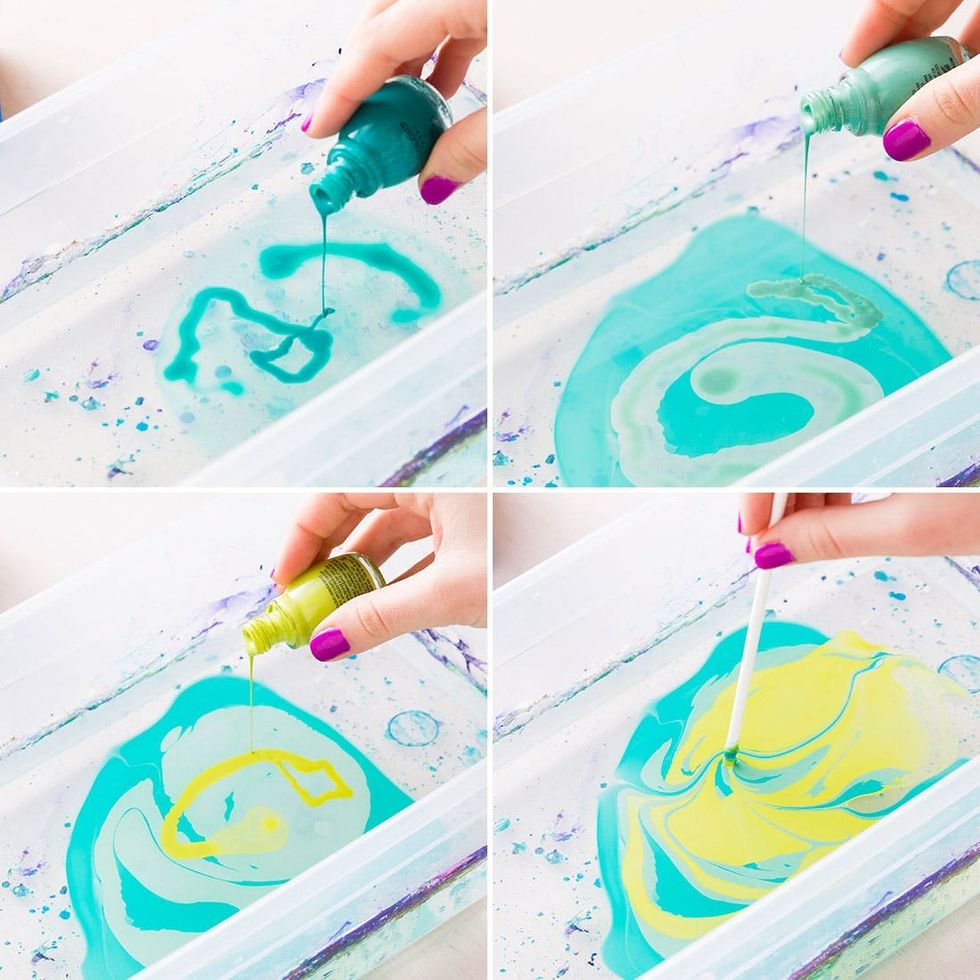
Fill your tub with water and pour in your nail polish. Pour it in slowly so it stays on the top of the water. If you pour too quickly, the nail polish will sink. Using your stirring stick, swirl your nail polish colors together.
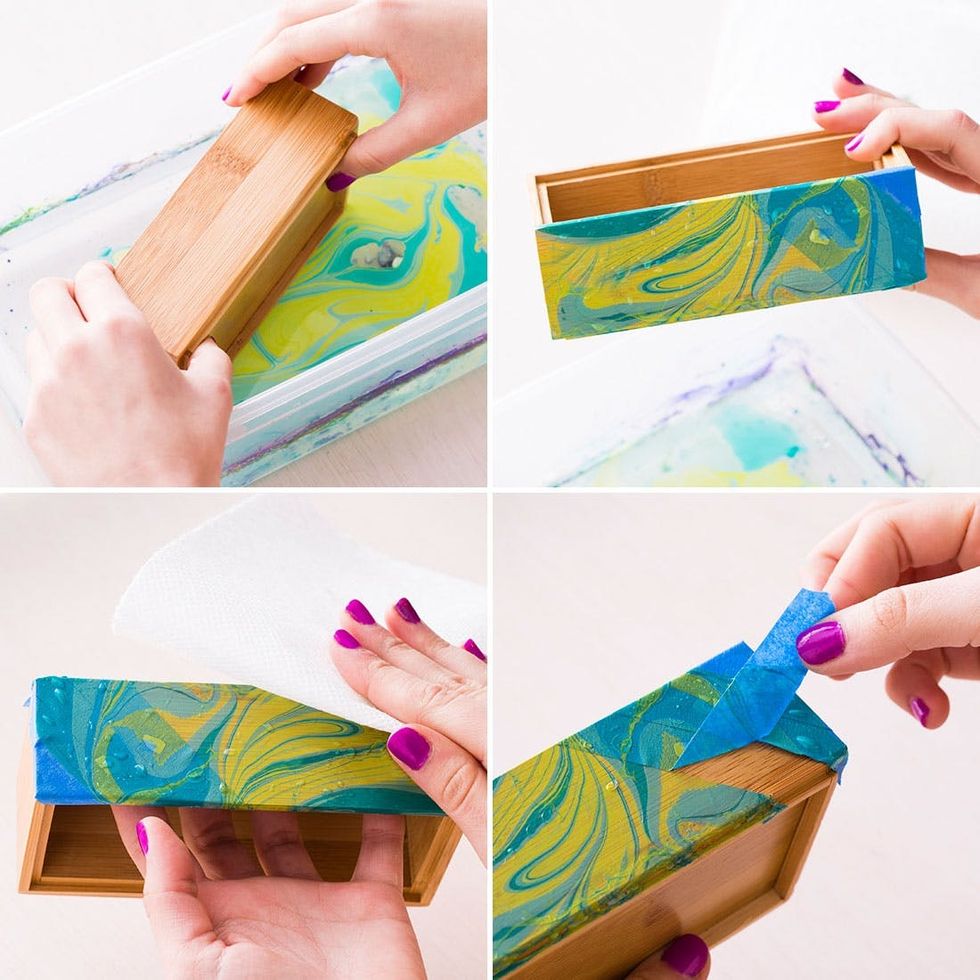
Once you’ve swirled your colors together, place the face of your box on the surface of the water. You do not want to submerge the box in the water. Wait about five to ten minutes to let the nail polish really dry. Then take a paper towel and pat the water droplets. Peel off the tape to reveal the crisp line.
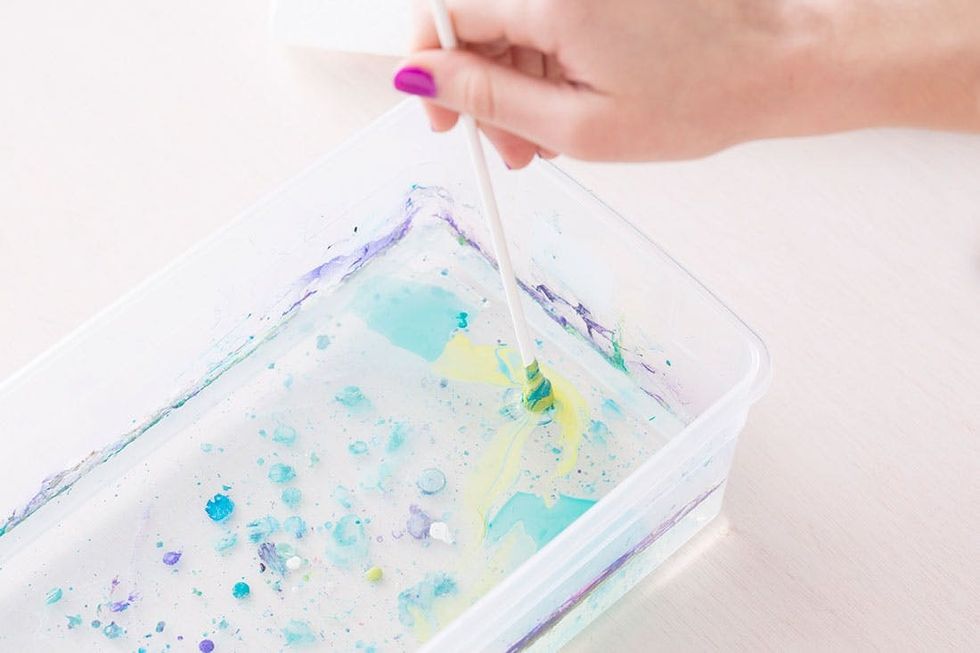
Use your stirring stick to clean up the water. The nail polish will stick to it as if you were making cotton candy.
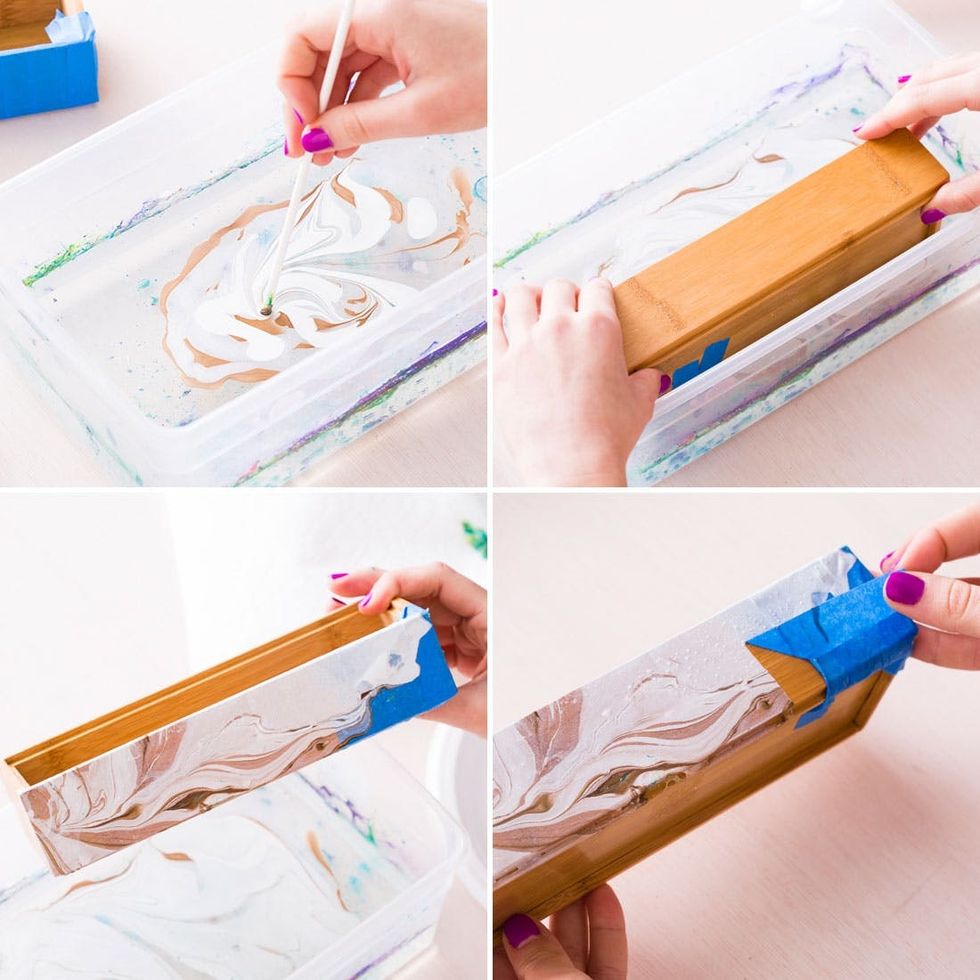
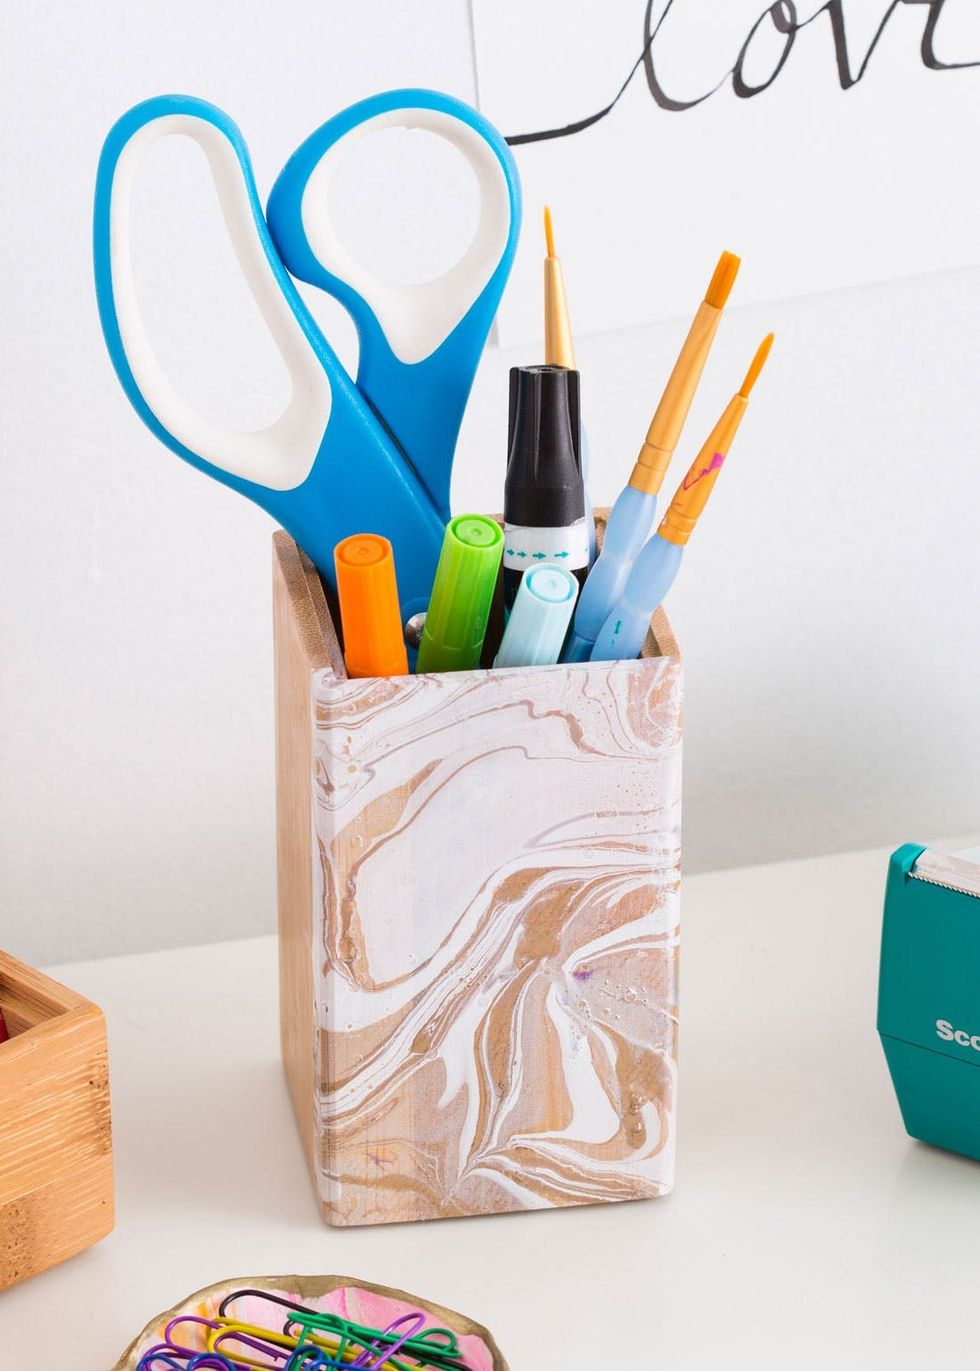
Let’s try one of our favorite new color trends. Winter white! Swirl gold, white and gray together and then touch the box to the surface of the water. Repeat the clean up step to get the water ready for the next color.
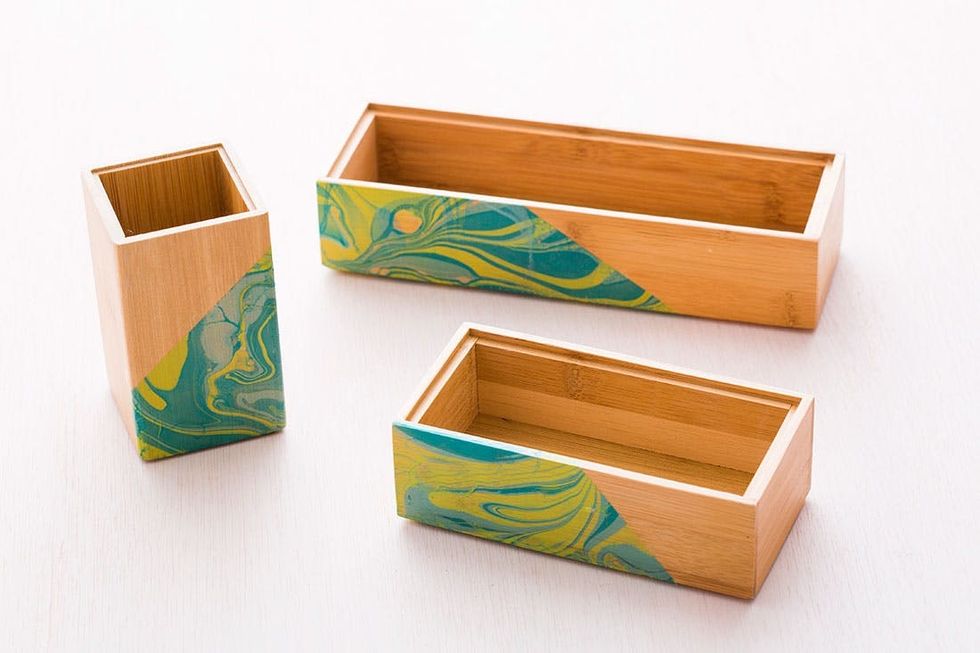
We found that bright, deep, colors worked best on our boxes. We had to stay away from corals, yellows, and oranges, since they were too similar to our wood. Keep color choices in mind when picking out the objects you are going to be marbling.

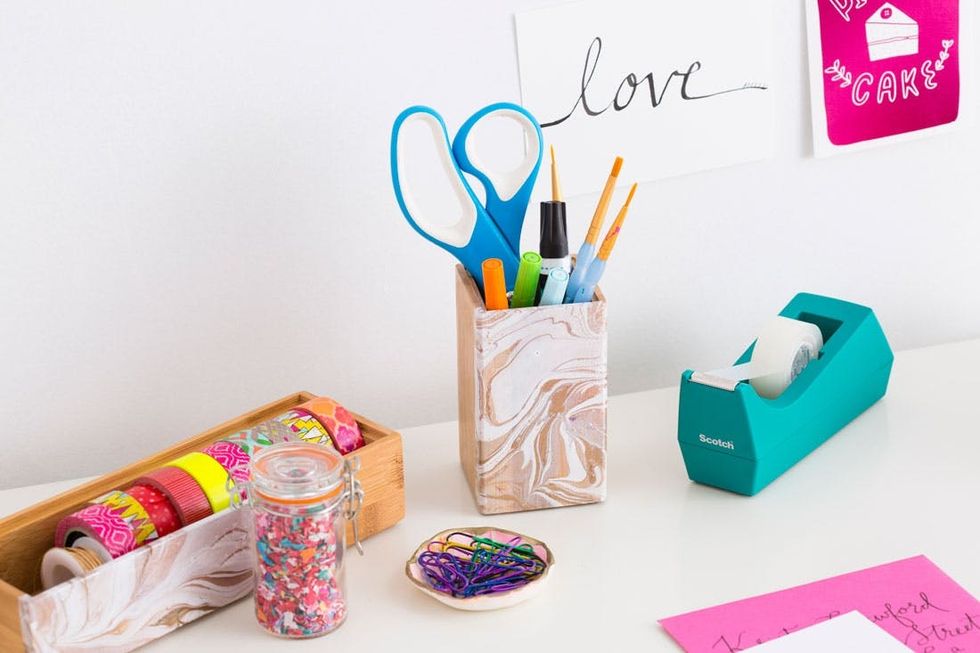
Color blocking + marbling = Our new favorite technique… this week ;)
Don’t be afraid to try different materials. The possibilities are endless! Wood, cork, ceramic, slate, metal, plastic, etc.
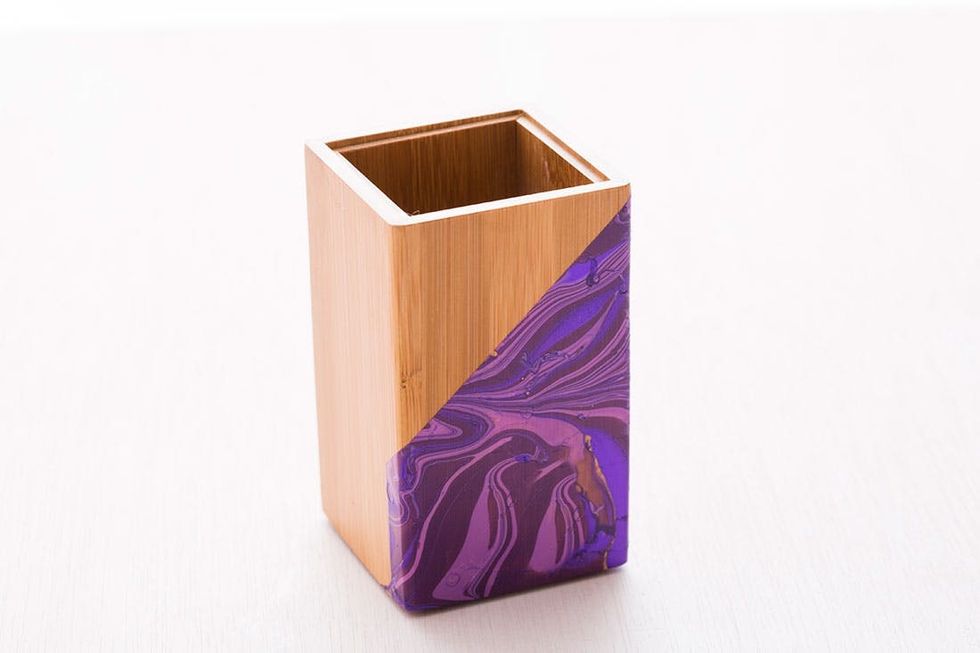
When choosing your nail polish colors pick out a complementing metallic. It will really make the marbling pop.
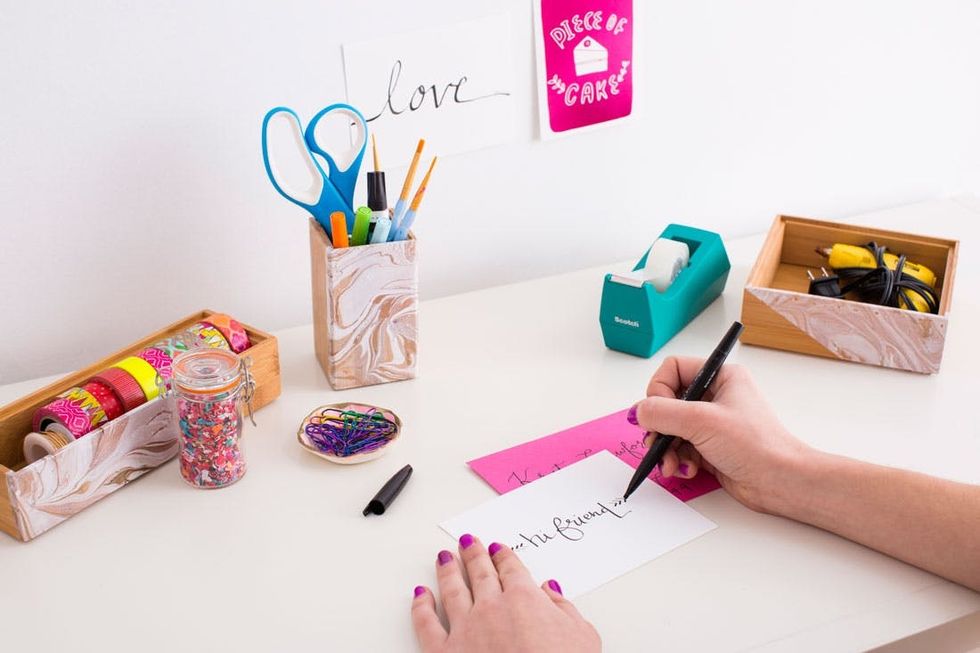
These are the perfect pieces to dress up a boring desk space.
Emergency party confetti on the desk? Always.
What do you think of the marbling technique? Show us what you made by tagging @britandco on Instagram.