Life is better with ice cream
Make Every Day National Ice Cream Day With This DIY Ice Cream Cart

Friends! National Ice Cream Day is the third Sunday of July, and if you haven’t had at least three scoops of ice cream yet, I suggest you should get on that. :) Brit + Co’s love for ice cream is no secret, given how many ice cream sando, sundae, and affogato recipes we have on our site.
To celebrate our favorite frozen treat, Brand Experience Designer Lee Schellenberger and Creative Content Producer Irene Lee(Team Lee!) are showing you how to make a DIY ice cream cart so that every day can be National Ice Cream Day.
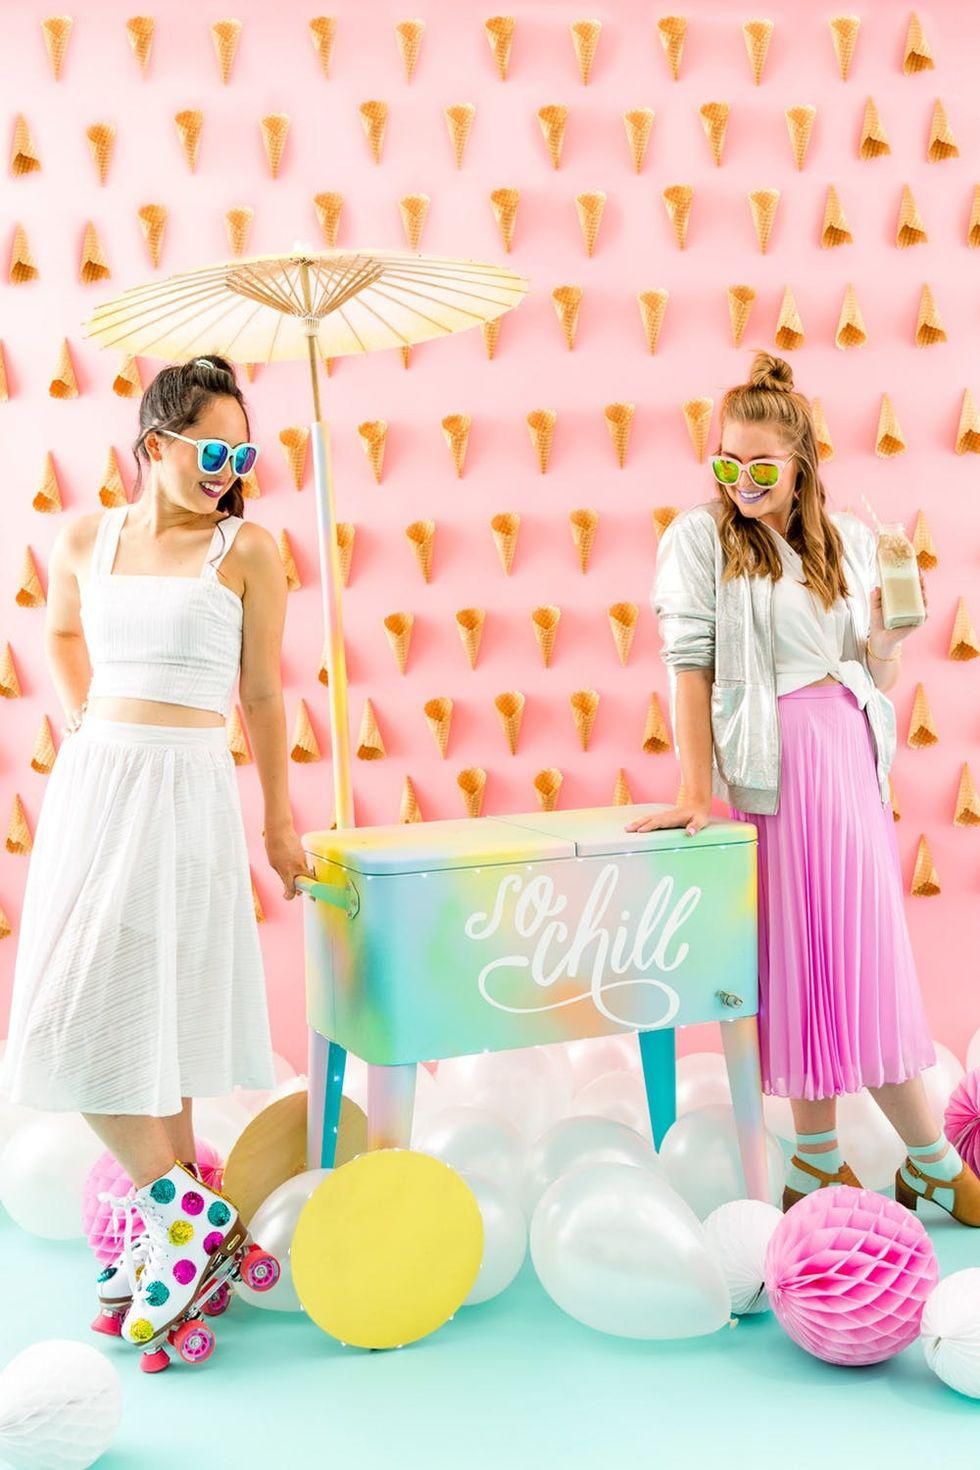
SO chill. Let’s get started!

Materials and Tools:
- Permasteel Patio Cooler ($150)
- 2 Woodpeckers 13-inch wood circles ($16)
- Paper Parasol($30 for 2)
- XINKAITE White String LED lights ($8)
- Spray shellac
- Spray paint in different colors
- Saw
- Hot glue gun
- PVC pipe
- White vinyl
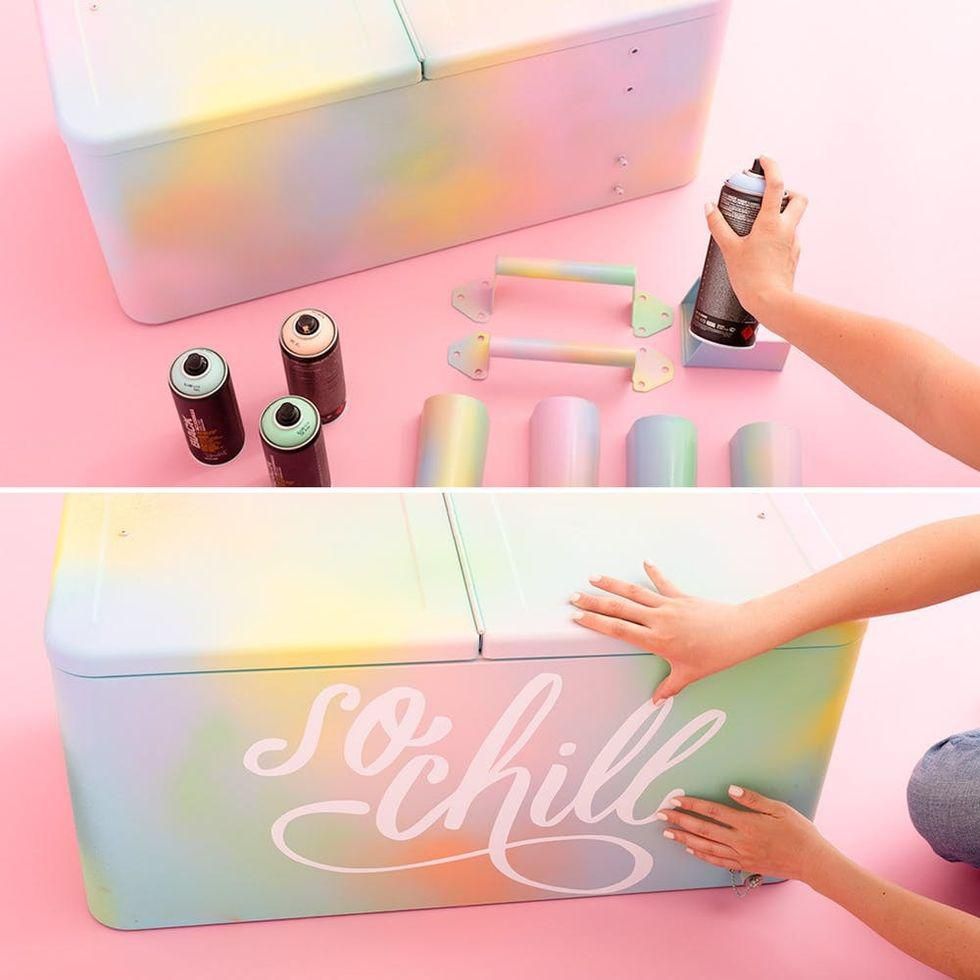
First up is spray painting the cooler! To get a spotty ombre effect, start by spray painting different colored patches, keeping the spray bottles about 10-12 inches away from the cooler. When the cooler is fully painted, “blend” the patches of color by lightly spraying between the patches. For example, between orange and pink patches, lights spray pink 12 inches away until you get a gradient effect.
Tape together tiled printable pages and place on white vinyl. Cut out letters with a utility knife. Peel off sticker back from the vinyl letters and stick on the front of the cooler.
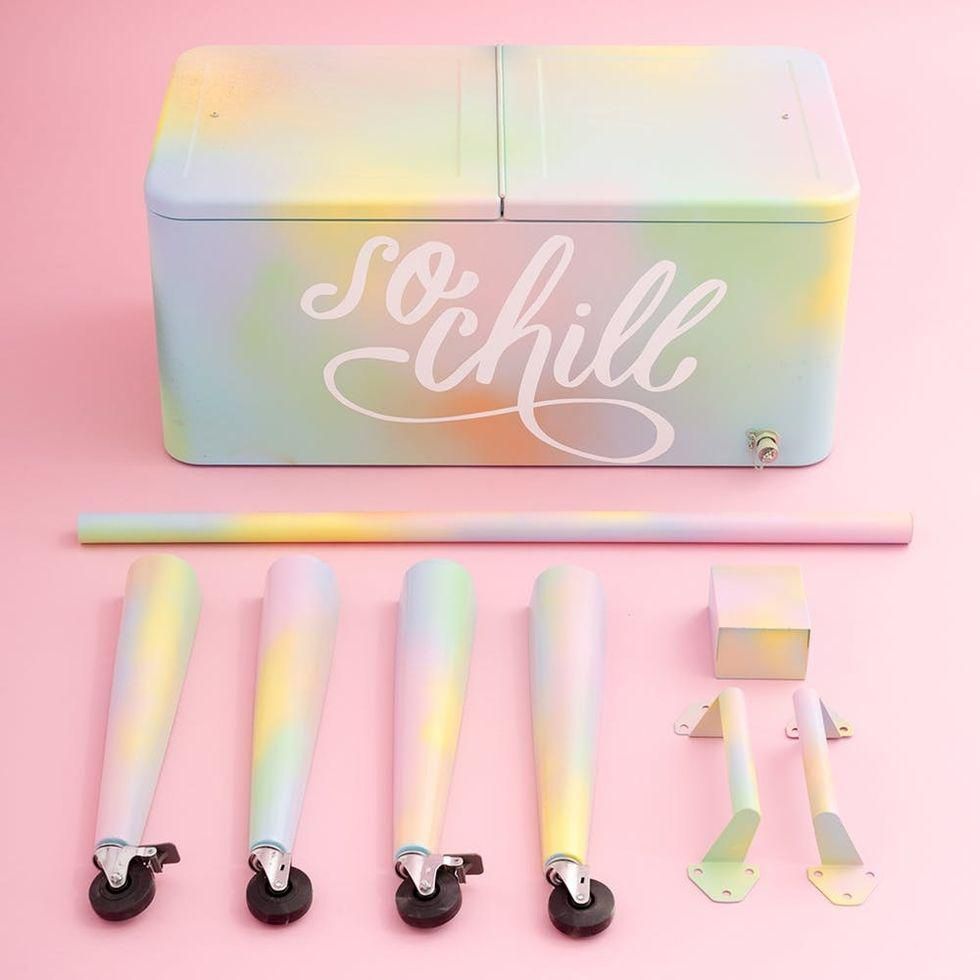
Spray the cooler legs, handles, and basket and the PVC pipe. Cover the legs’ wheels with painter’s tape before spraying to avoid getting paint on them. Let dry.
We tried to keep the colors in semi-rainbow order, like if we sprayed a patch of pink, we sprayed a patch of yellow and purple on each side.

Spray the wood circles in a solid color. Spray the bottom edge of the umbrella with the same color. We held the spray bottle 10-12 inches away from the umbrella to get an ombre effect. Let dry.
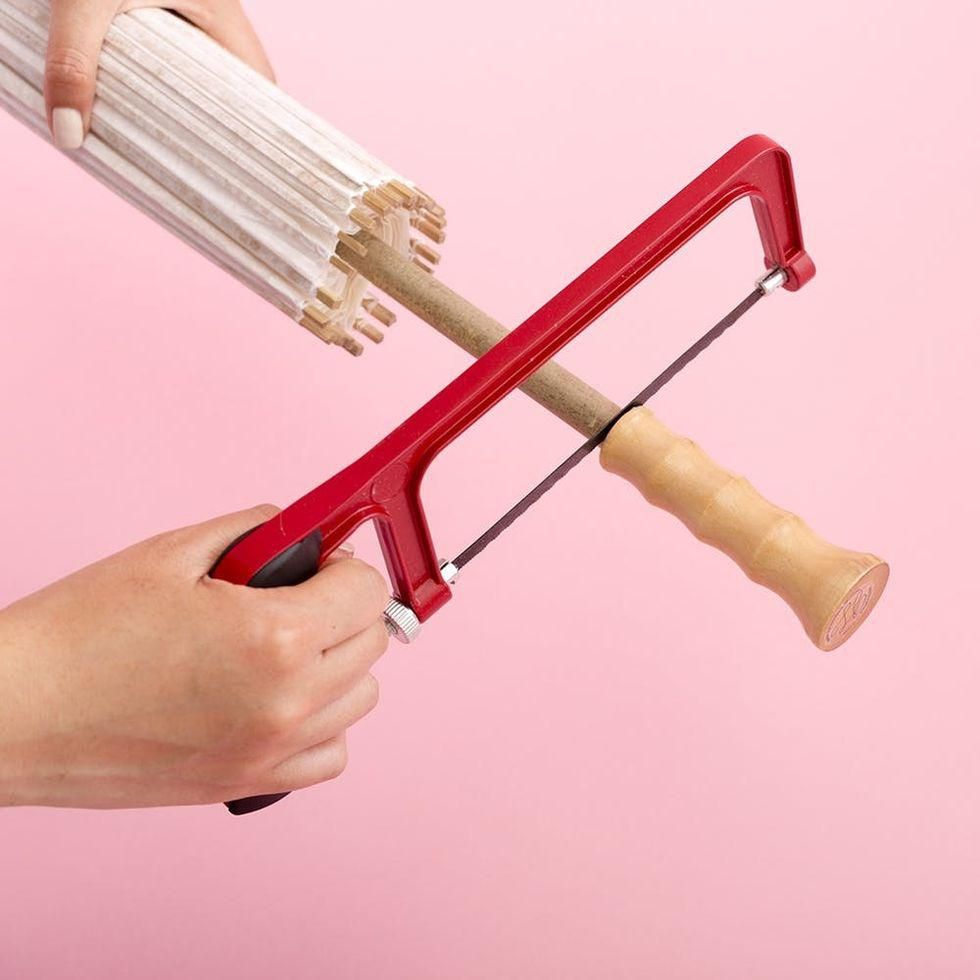
Saw off the umbrella handle.
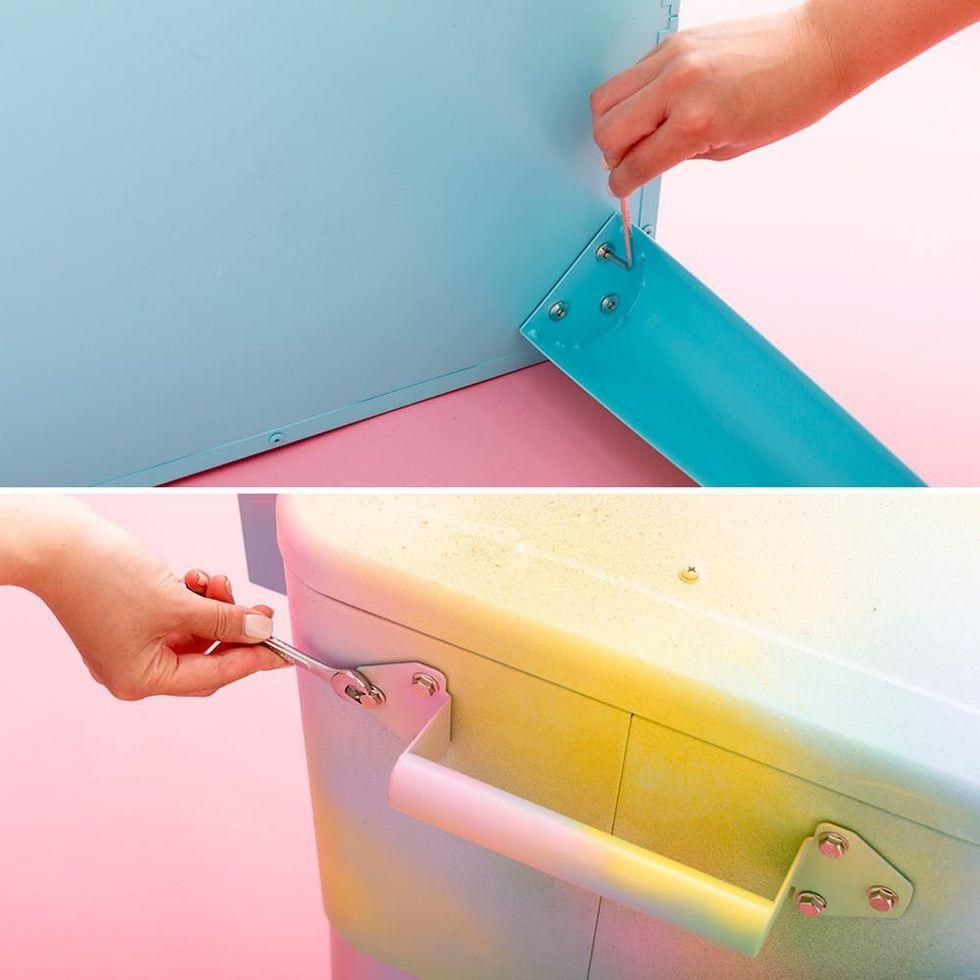
Put the cooler together based on the packaging’s instructions.
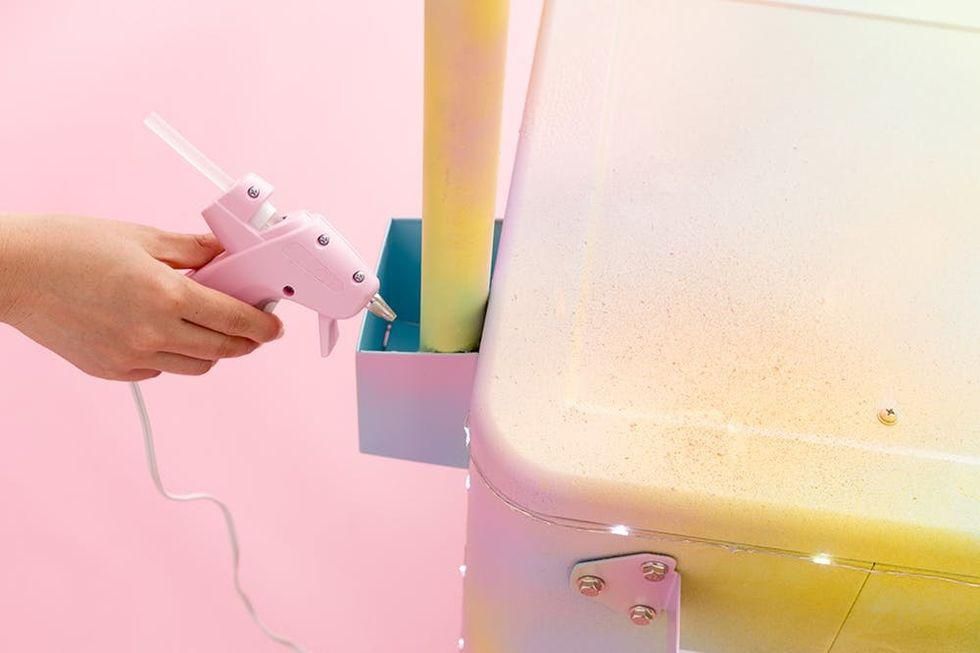
Here is the point when we realized hot glue is the best thing ever. Place the PVC pipe in the cooler basket and seal in the cracks with hot glue. Use lots of glue to make sure it’s secure.

Glue string lights along the edge of one circle. At this point, we tried to attach the circles to the cooler legs, but we realized it would bump against the wheels. To solve this, hot glue an inch-wide wood block to the center of the back of the circle. Hot glue the circle to one cooler leg. Use lots of glue to secure. Glue another block on the center of the circle and glue the circle to the other cooler leg.
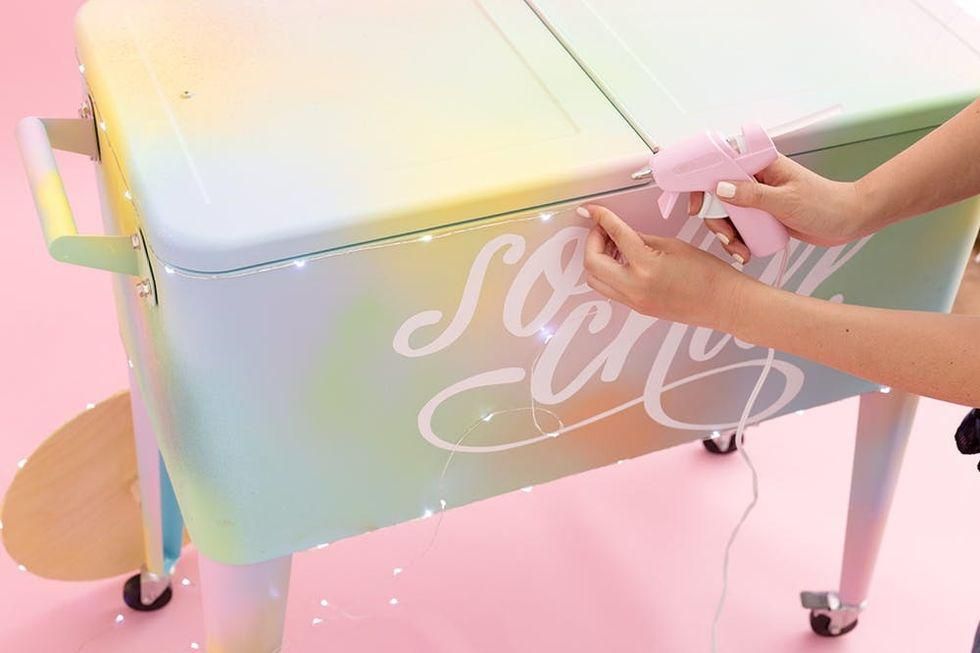
Glue string lights along the bottom edge of the cooler until you get to the other wheel leg. Glue string lights along the wood wheel and then glue the rest of the lights along the top of the cooler.
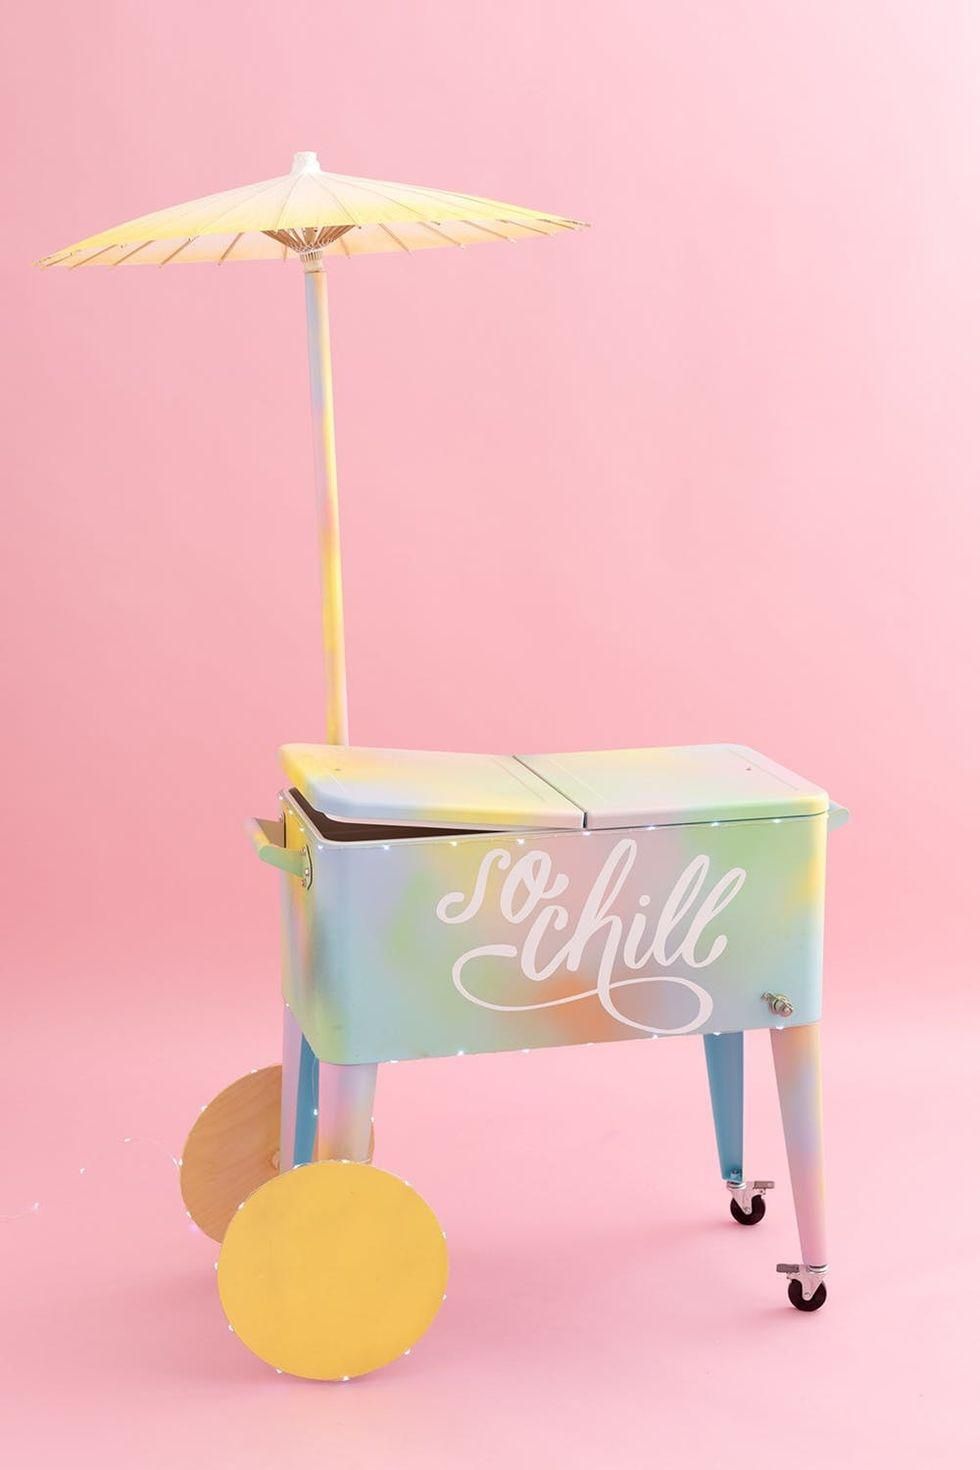
Place umbrella in the PVC pipe. Pat yourself on the back, because you just made an ice cream cart!
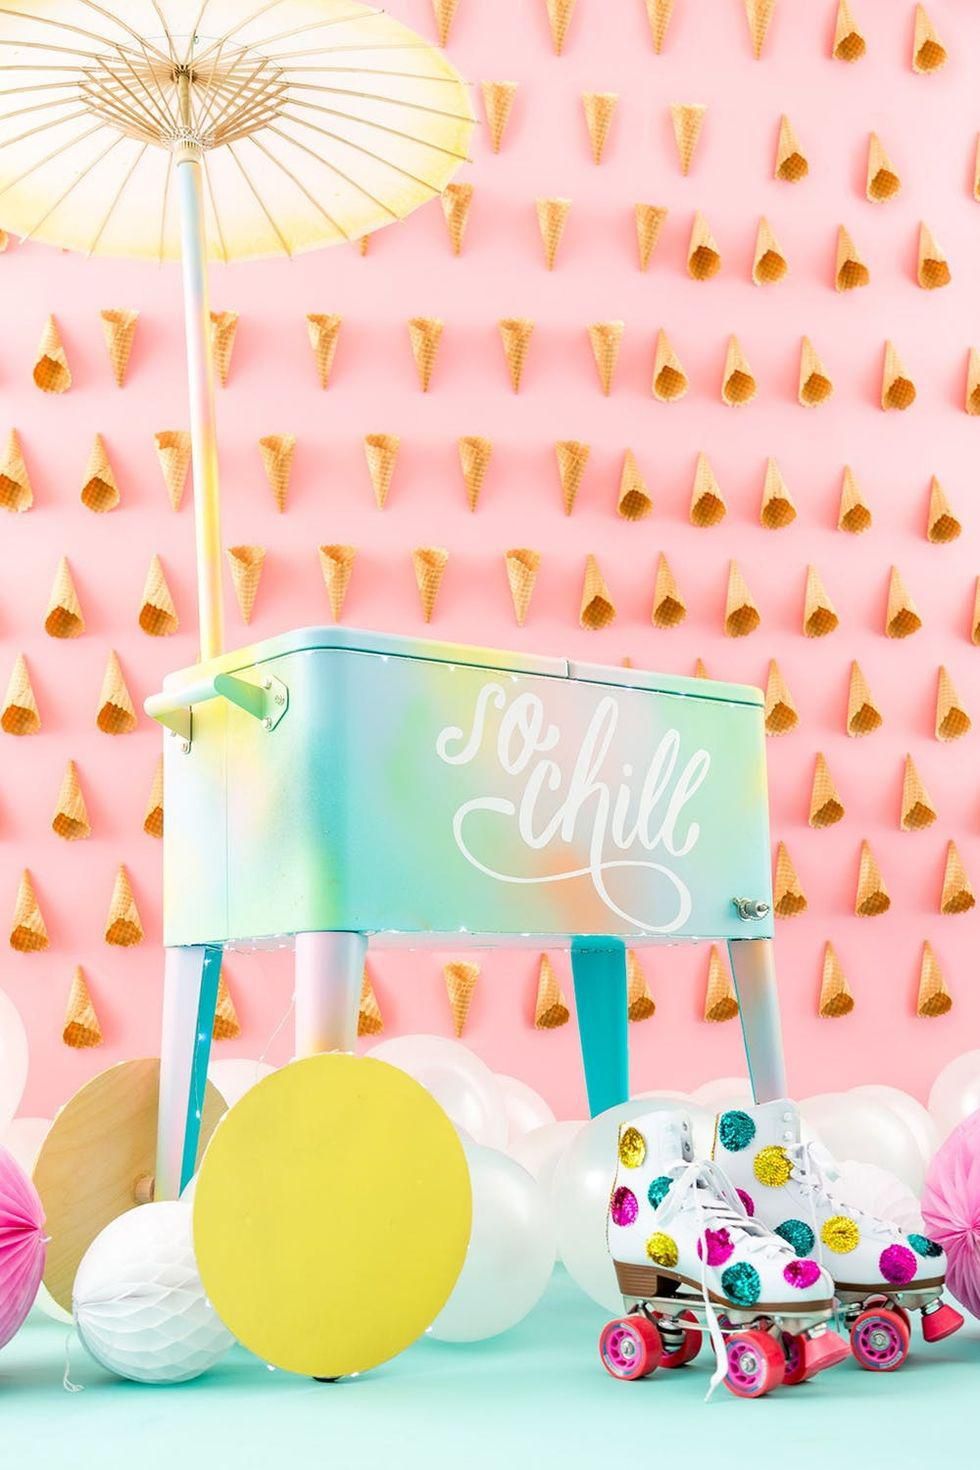
Time to party!
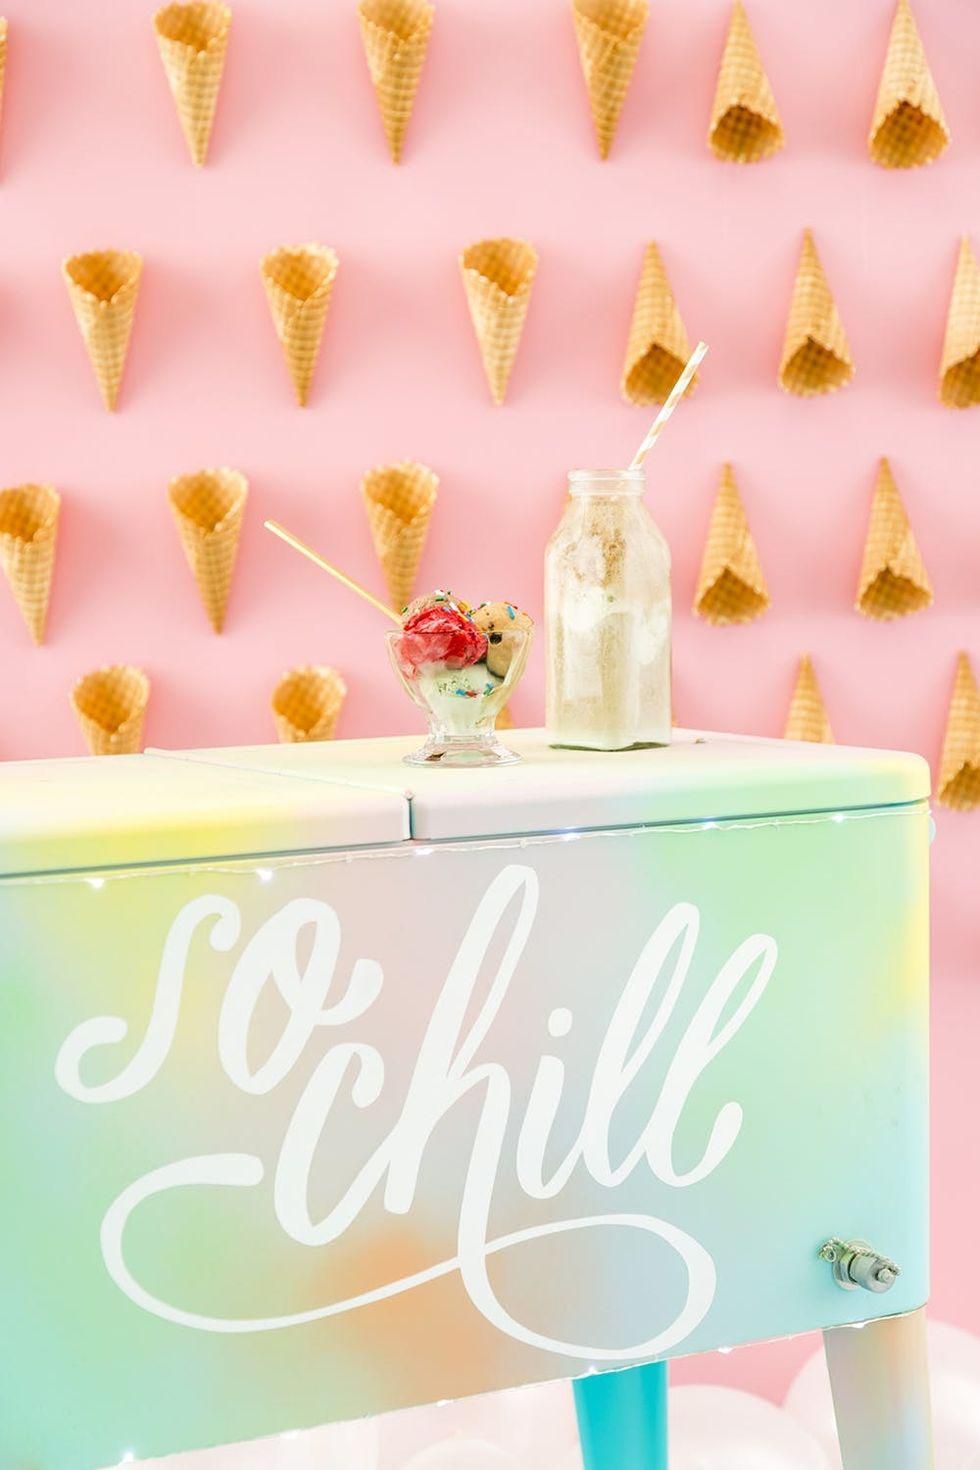
This ice cream cart is the cutest, but it also actually works as a cooler! Fill it up with ice packs, soda pop bottles, and ice cream pints for the most adorable ice cream social.
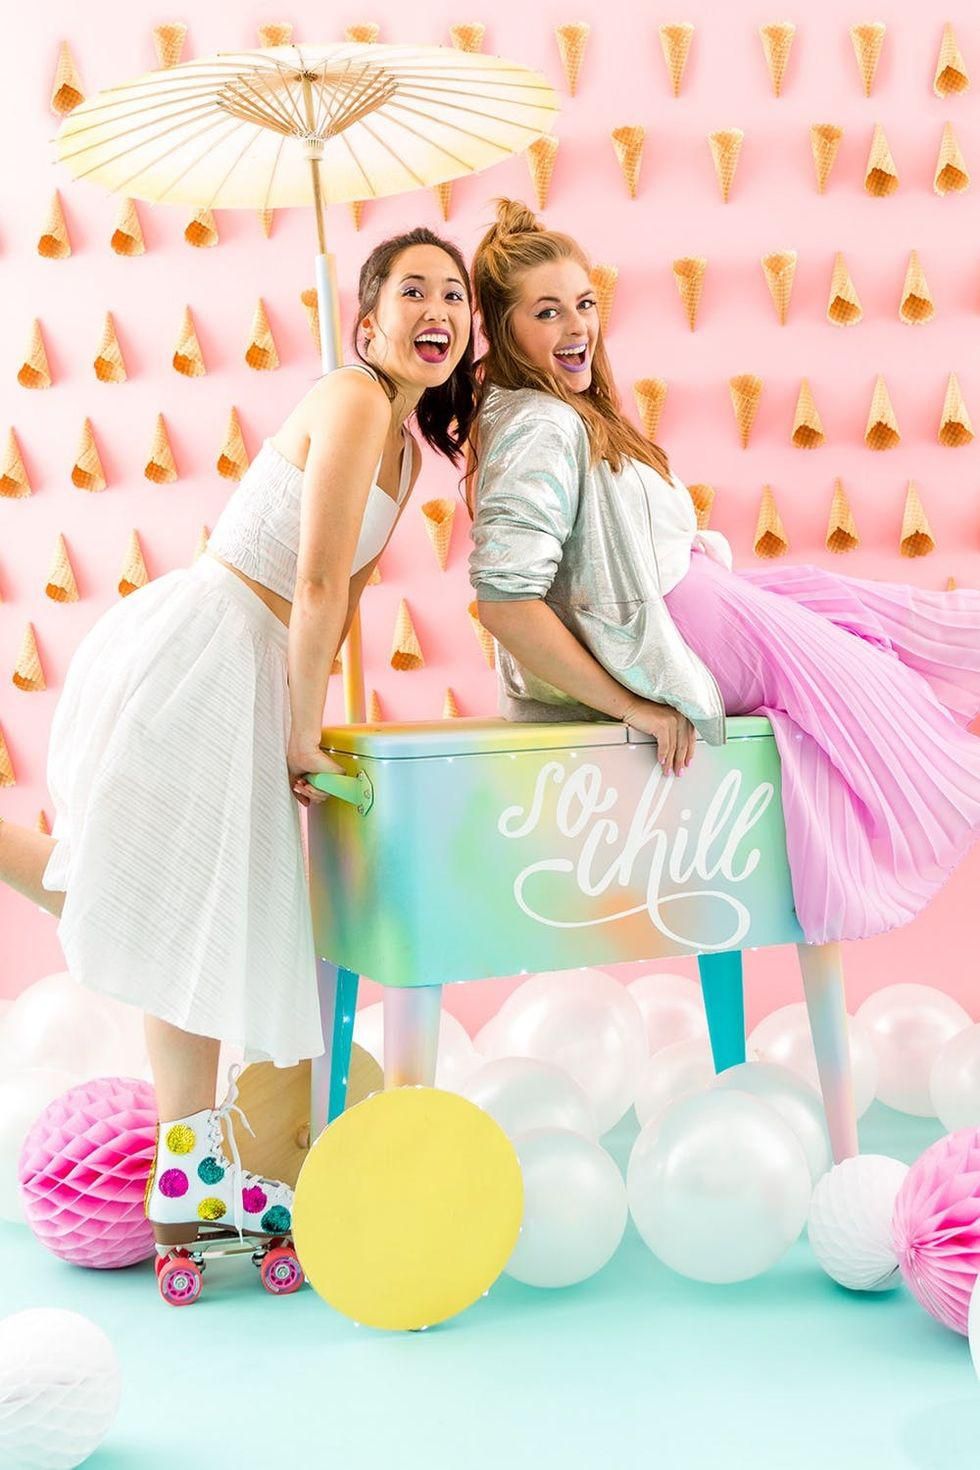
Lee 1: Let’s be real: Ice cream is the real hero of any party. As a longtime cake-hater, I’ve subbed in delicious ice cream cakes for those icing-covered sugar sponges at every single one of my birthdays (even the adult ones…). Myself and Irene (AKA Lee 2) are here to save all your parties from subpar desserts with this crucial party supply made for those icy, melty treats!
Lee 2: Irene Lee, AKA Lee 2, here. Saying I love ice cream is an understatement (I had ice cream for breakfast the other day and I’m *not* a 12-year-old boy). I also think ice cream carts are so wonderful, nostalgic, and delightful. It’s impossible to see an ice cream cart and not go, “Aww,” right??
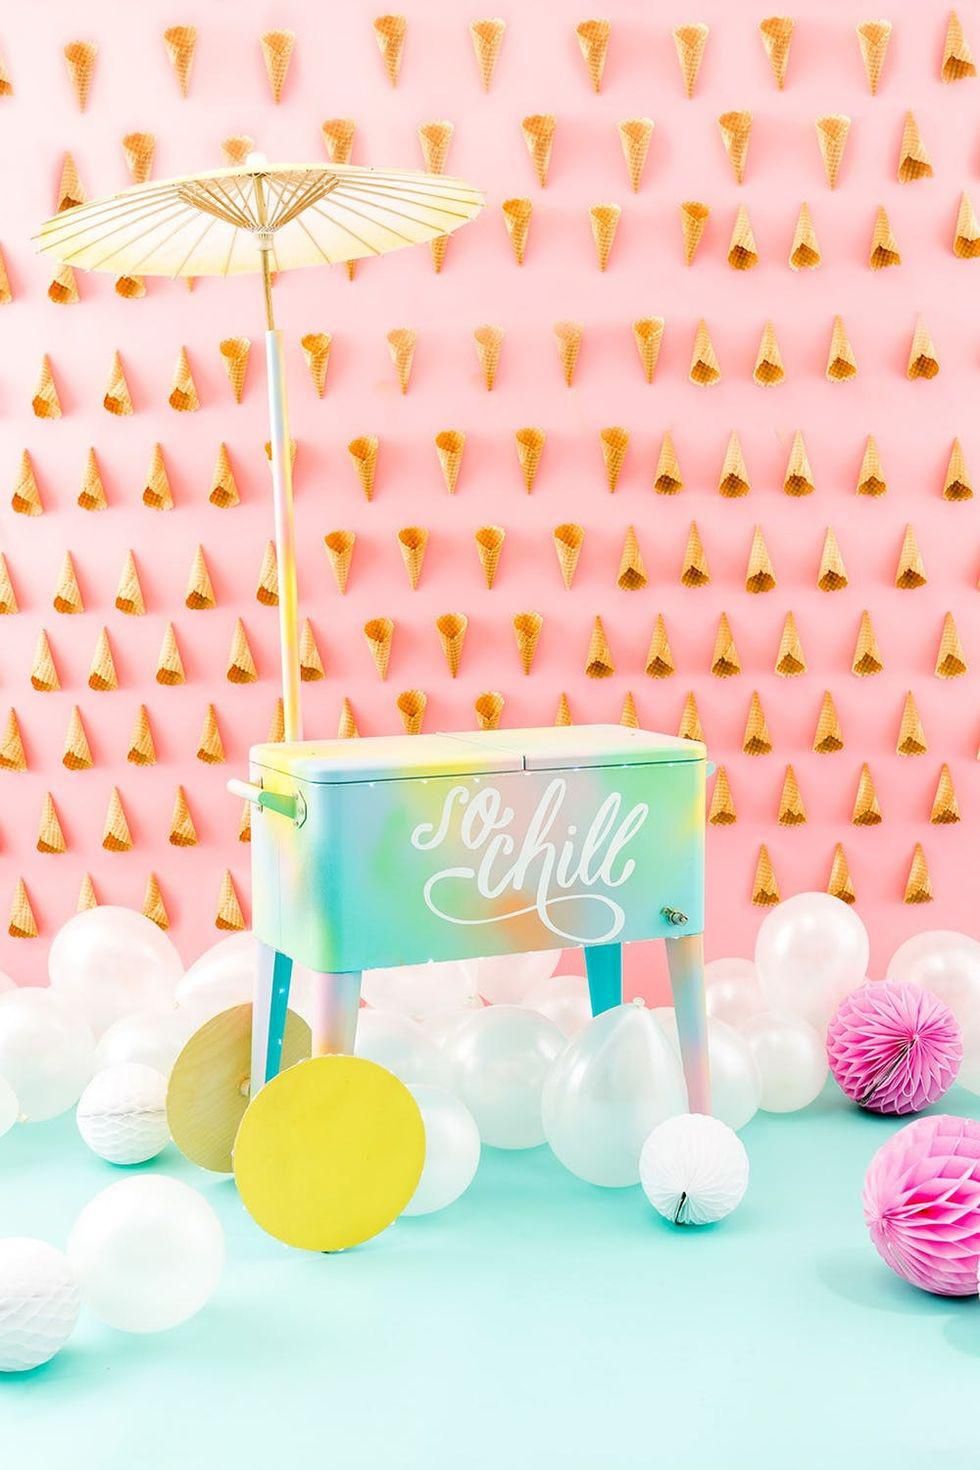
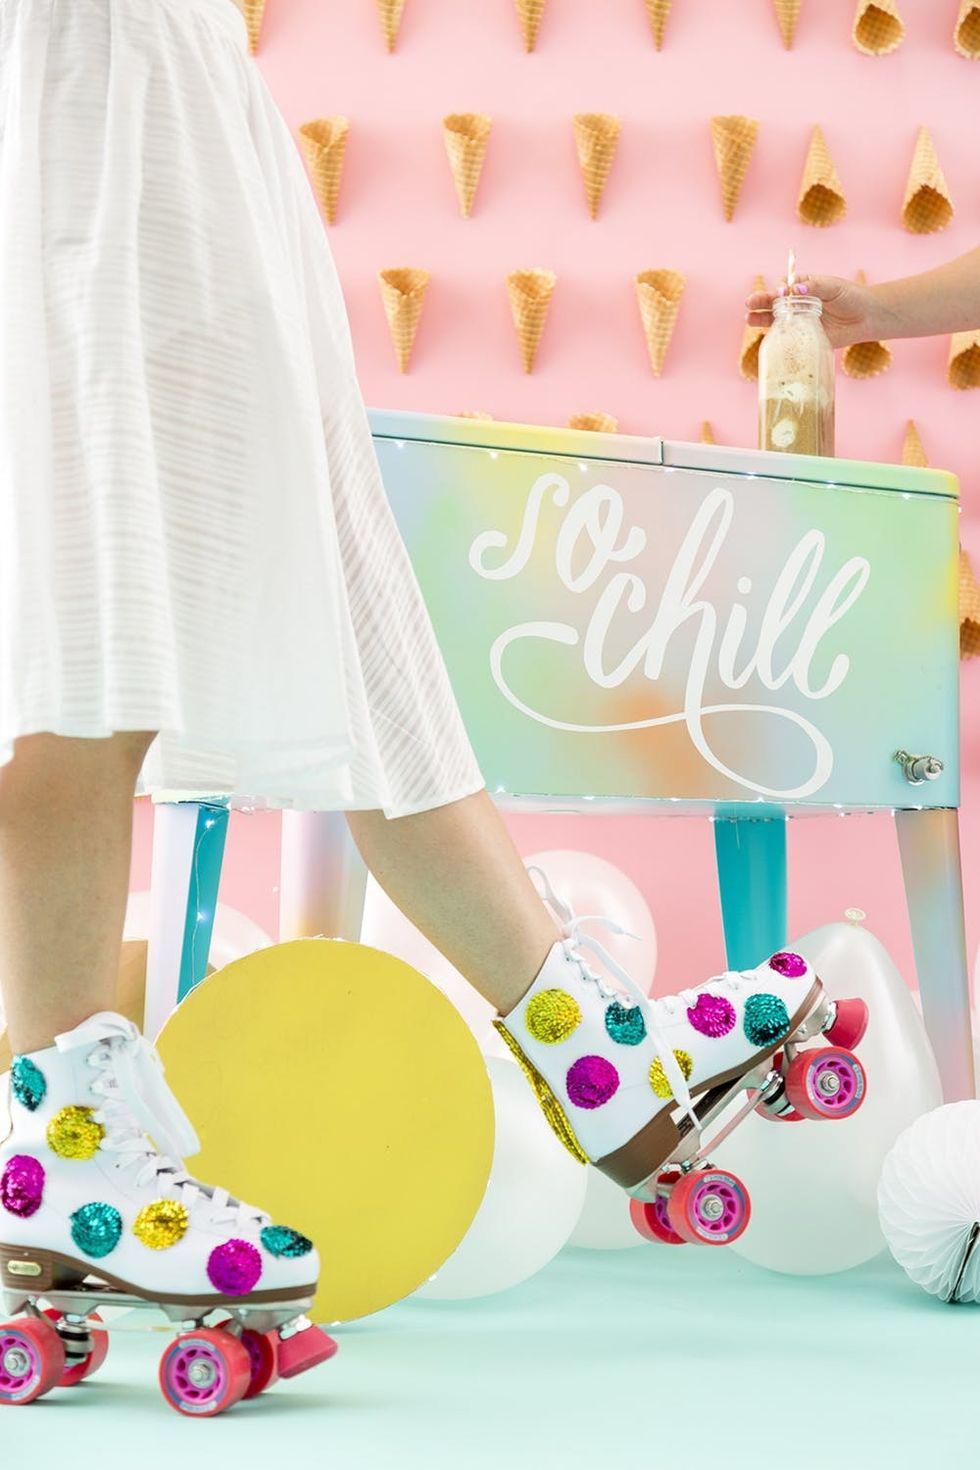
Have a chill National Ice Cream Day, okay?
Tag us with your DIY ice cream carts on Instagram and subscribe to our email newsletter for more fun summer content!
Brit + Co may at times use affiliate links to promote products sold by others, but always offers genuine editorial recommendations.
DIY Production and Styling: Team Lee (Irene Lee and Lee Schellenberger)
Photography: Chris Andre
This post has been updated.


