We’re letting you in on the secret and dishing out the three most wanted ways to wear barely-there, but beautiful makeup on your big day. Consider it an early wedding gift ;)
How to DIY the 3 Most Requested Bridal Makeup Looks
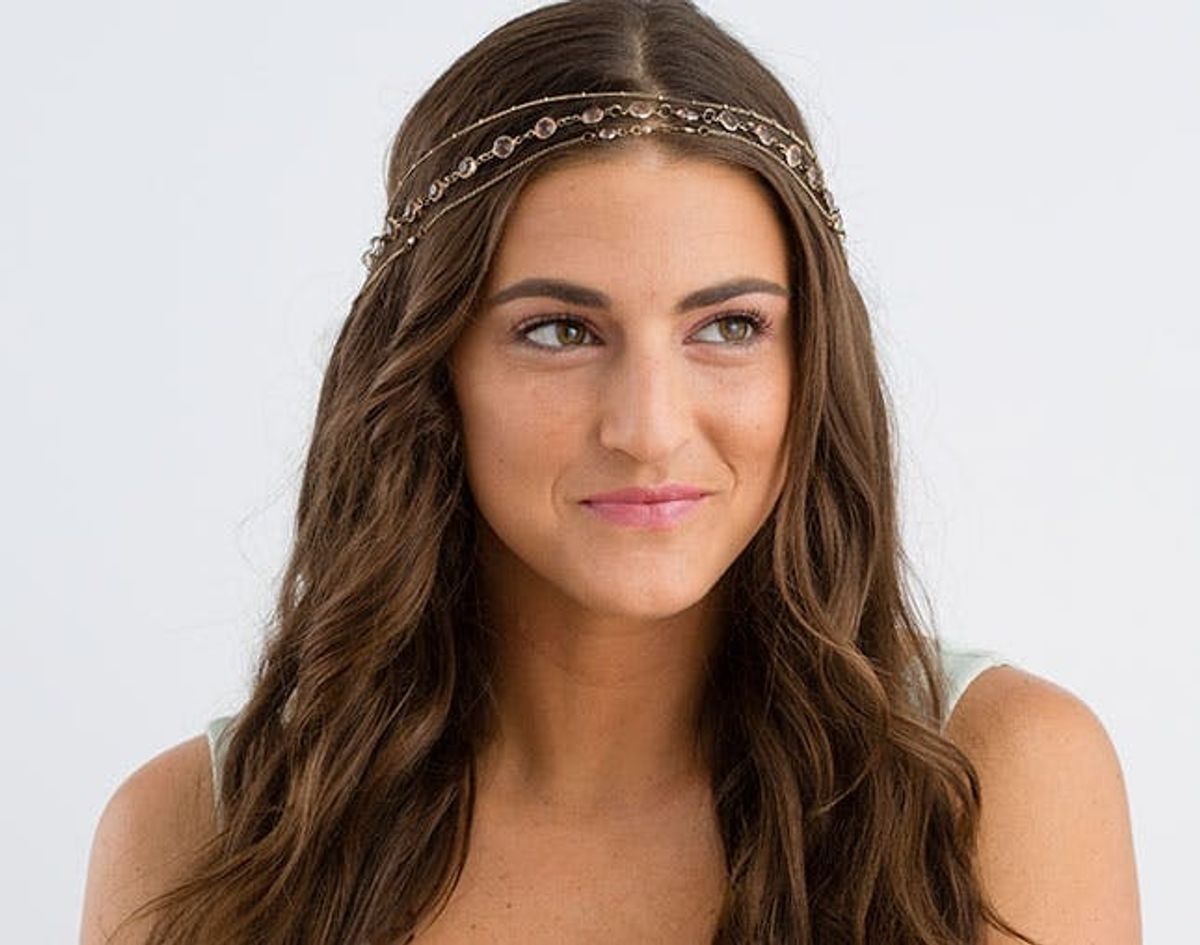
I’ve seen so many bridal makeup inspiration boards from clients looking for natural makeup especially for their nuptials, and after pouring over fresh-faced looks for years, I know exactly how brides want to wear minimal makeup. So now, I’m letting you in on the secret and dishing out the three most wanted ways to wear barely-there, but beautiful makeup on your big day. Consider it an early wedding gift ;)
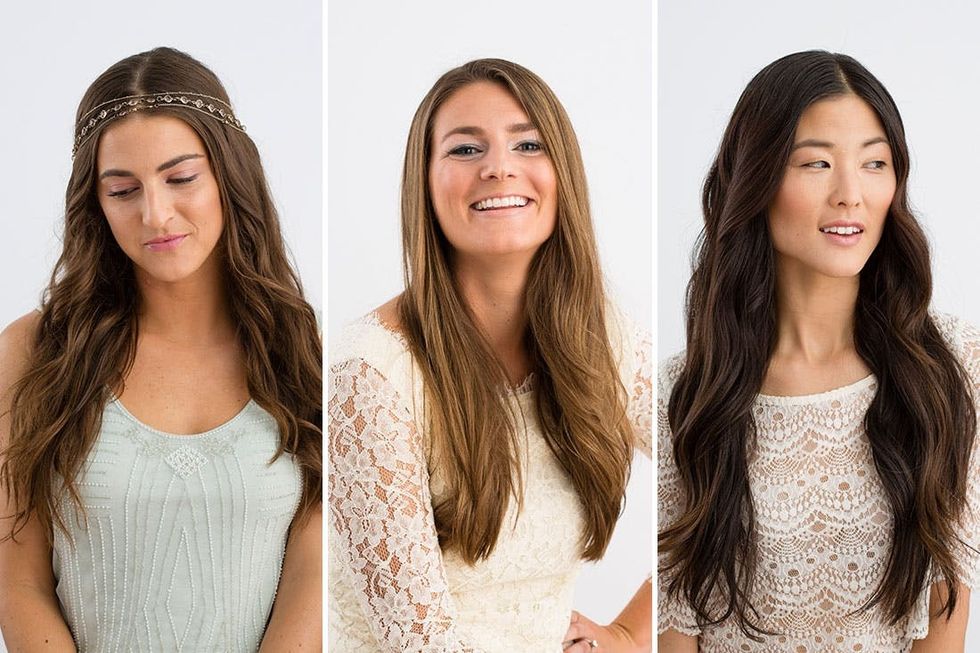
While the styles shouldn’t come as a huge surprise, from freshly sun-kissed cheekbones to a radiant, all-over glow to subtle pinks that turn you into that timeless “blushing bride,” this fact will: the most asked-for natural bridal makeup looks are all totally DIY-able. We’re showing you how to master the elegant makeup, step-by-step. So brides, stop your search and scroll below!

1. Begin by applying a primer. This helps fill in fine lines and creates an even base to apply foundation, which makes your makeup last longer as well as stand up to flash photography better. Try Japonesque Velvet Touch ($32).
Barely Bronzed
2. Once the primer has had a chance to dry, apply your favorite foundation. On Krystle, we used Covergirl Tru Blend in Ivory ($10).
3. Apply bronzer to the hollows of your cheeks, temples, along the frame of your hairline and down into your jaw line. Be sure to blend, blend, blend for the most natural look. Wet N Wild Bronzer in Ticket to Brazil ($7) is really good and incredibly affordable.
4. For concealer, try Maybelline Cover Stick Concealer in Light ($5) and apply under your eyes, on the bridge of your nose, in the center of your eyes into the center of your forehead, under your nose outside your nostrils and right in the center of your lower lip.
5. Japonesque Velvet Blush in Shade 3 ($22) is a great blush for this look because it’s slightly shimmery and has rich undertones that make just about any skin type look sun-kissed.
6. Be sure to set your makeup with a good powder like Laura Mercier Translucent Powder ($37) to help keep your makeup from smudging.
7. If your skin is pale, use High Beam by Benefit ($17) as a highlighter on the top of your cheekbones. If you have a deeper complexion, Sun Beam by Benefit ($26) is a better choice.
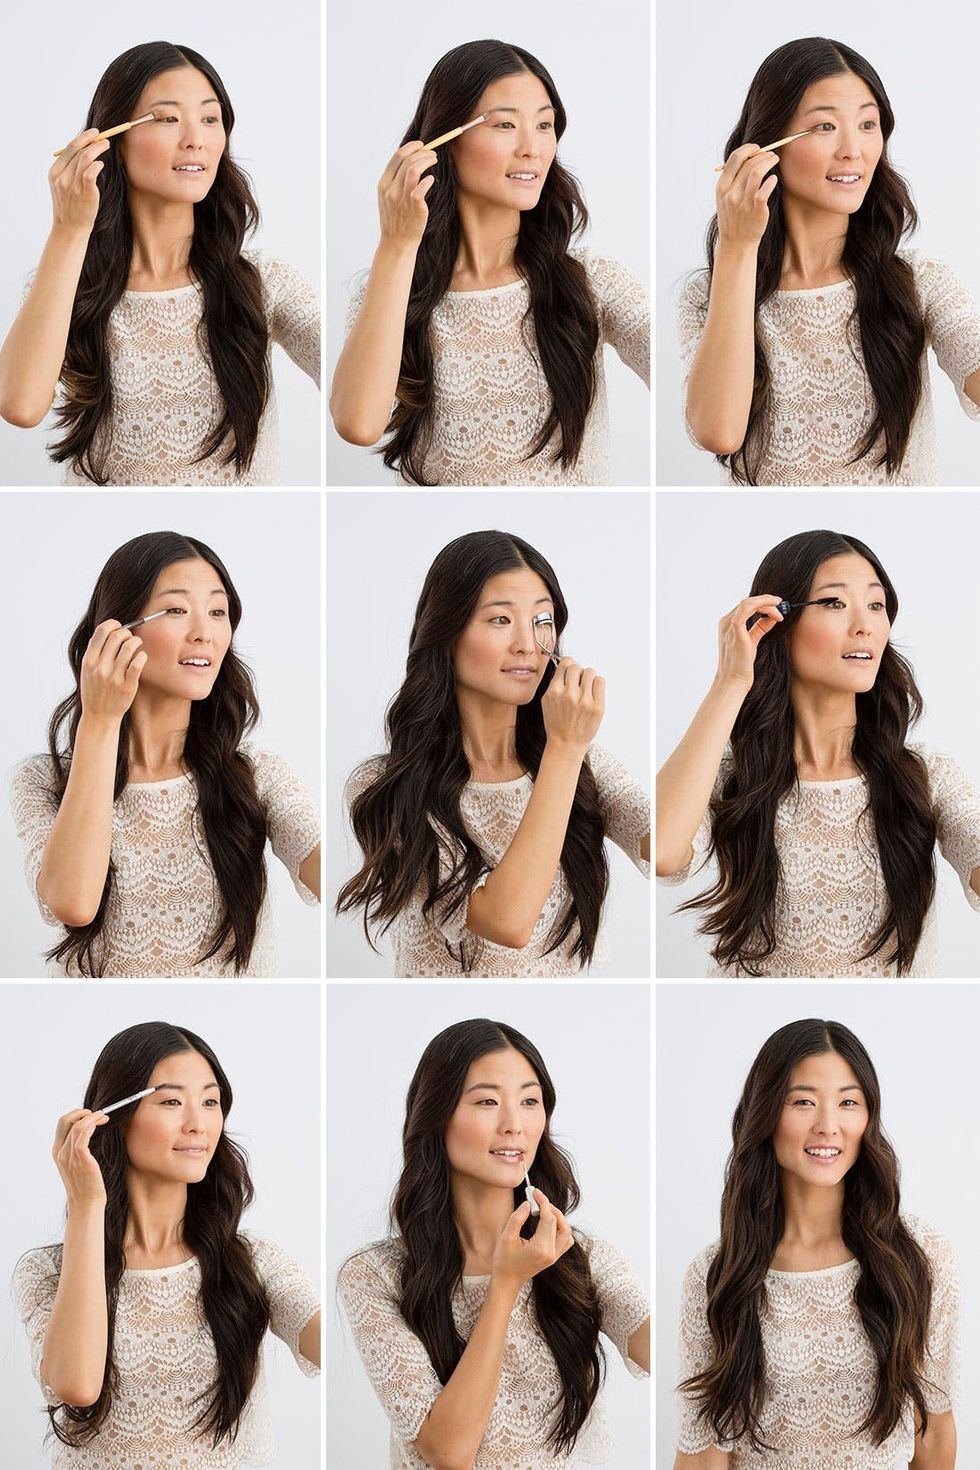
8. Apply a copper eyeshadow like MAC Amber Lights ($22) to the lid and crease of your eyes.
9. On your brow bone, inner corner of your eyes add MAC Nylon ($19) for a natural highlight.
10. Use a flat brush to apply the same coppery eyeshadow to the bottom lash line for an extra pop of color, but to still maintain a very natural look.
11. For a really natural liner effect, use a dark brown pencil like Palladio Retractable Eye Pencil in Black/Brown ($5) on the inside upper lash line (aka “tightlining”).
12. Curl your lashes.
13. Add your favorite mascara, ideally a waterproof one for your big day.
14. Give your eyebrows a little extra shape with our favorite eyebrow pencil by Billion Dollar Brow Universal Brow Pencil ($12).
15. Finally apply a subtle bronzed gloss like Wet N Wild Mega Slicks in Rose Gold ($7).
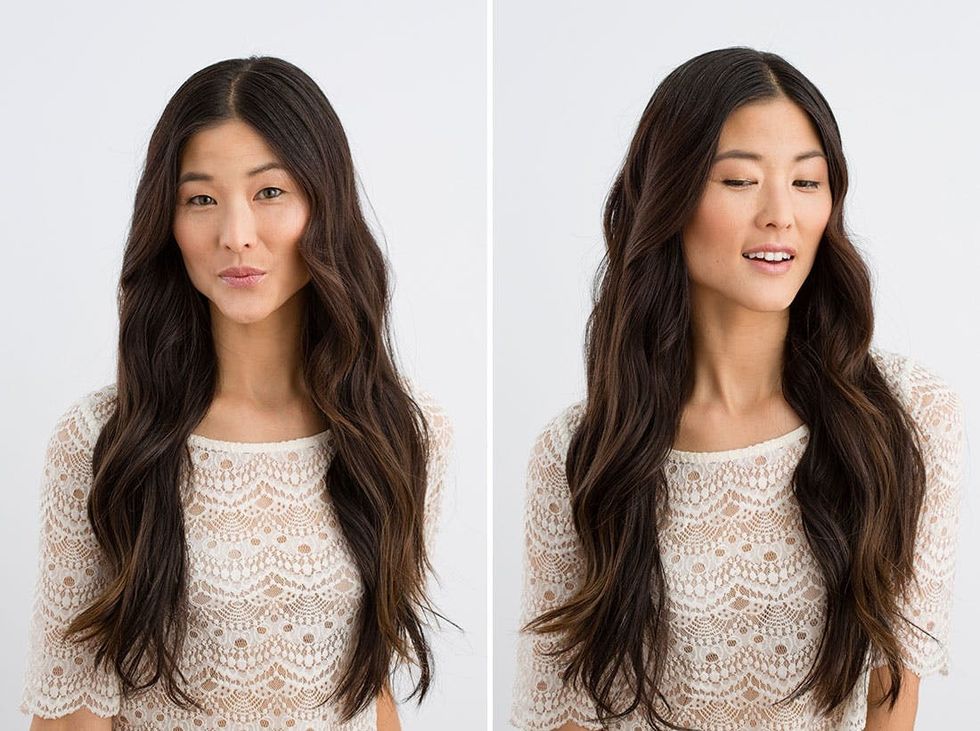
Consider this dewy bronze look a preview of honeymoon skin :)
1. Begin with a primer like Japonesque Velvet Touch ($32).
Perfectly Pink
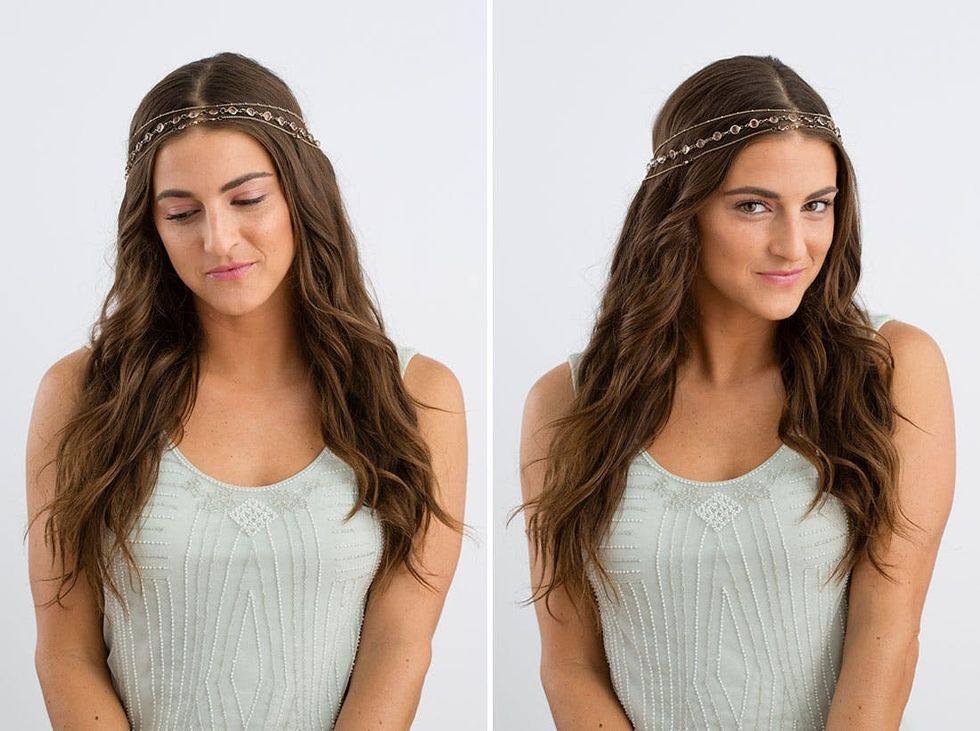
2. Next apply your foundation, on Ashley we used Covergirl Ready Set Gorgeous in Golden Tan ($9).
3. Bronze the hollows of your cheeks, your temples into your hairline and along your jawline with POP Beauty Double Duty Bronzer in Honey bBeam ($30).
4. Apply concealer like YSL Touche Eclat Mascara Radiant Touch No 1 ($35) under your eyes, on the bridge of your nose, in the center of your eyes into the center of your forehead, under your nose outside your nostrils, and right in the center of your lower lip.
5. If your skin is pale, use High Beam by Benefit ($17) as a highlighter on the top of your cheekbones. If you have a deeper complexion, Sun Beam by Benefit ($26) is a better choice.
6. Prep your eyelids with prep with MAC Pro Mixing Medium in Matte ($34), then apply a shimmery pink eyeshadow like MAC Kitschmas Pigment ($35) on the base of your lids — and be sure to .
7. Apply a cream colored shadow like MAC Nylon ($25) to your browbone and inner corner of your eyes.
8. Line the inside upper lash line of your eyes with a brown eyeliner pencil like Palladio Retractable Eye Pencil in Black/Brown ($5).
9. Apply a couple coats of your favorite waterproof mascara.
10. Next use a brow pencil like Billion Dollar Brow Universal Brow Pencil ($12) to fill in and polish your brows.
11. To really tie this look together, use a similar hue of lipstick as the shade you used on your eyelids, we used Revlon 805 in Kissable Pink ($9).
This simple-chic look is all about the balance between the eye and the lip… and maybe a little about that headpiece, too.

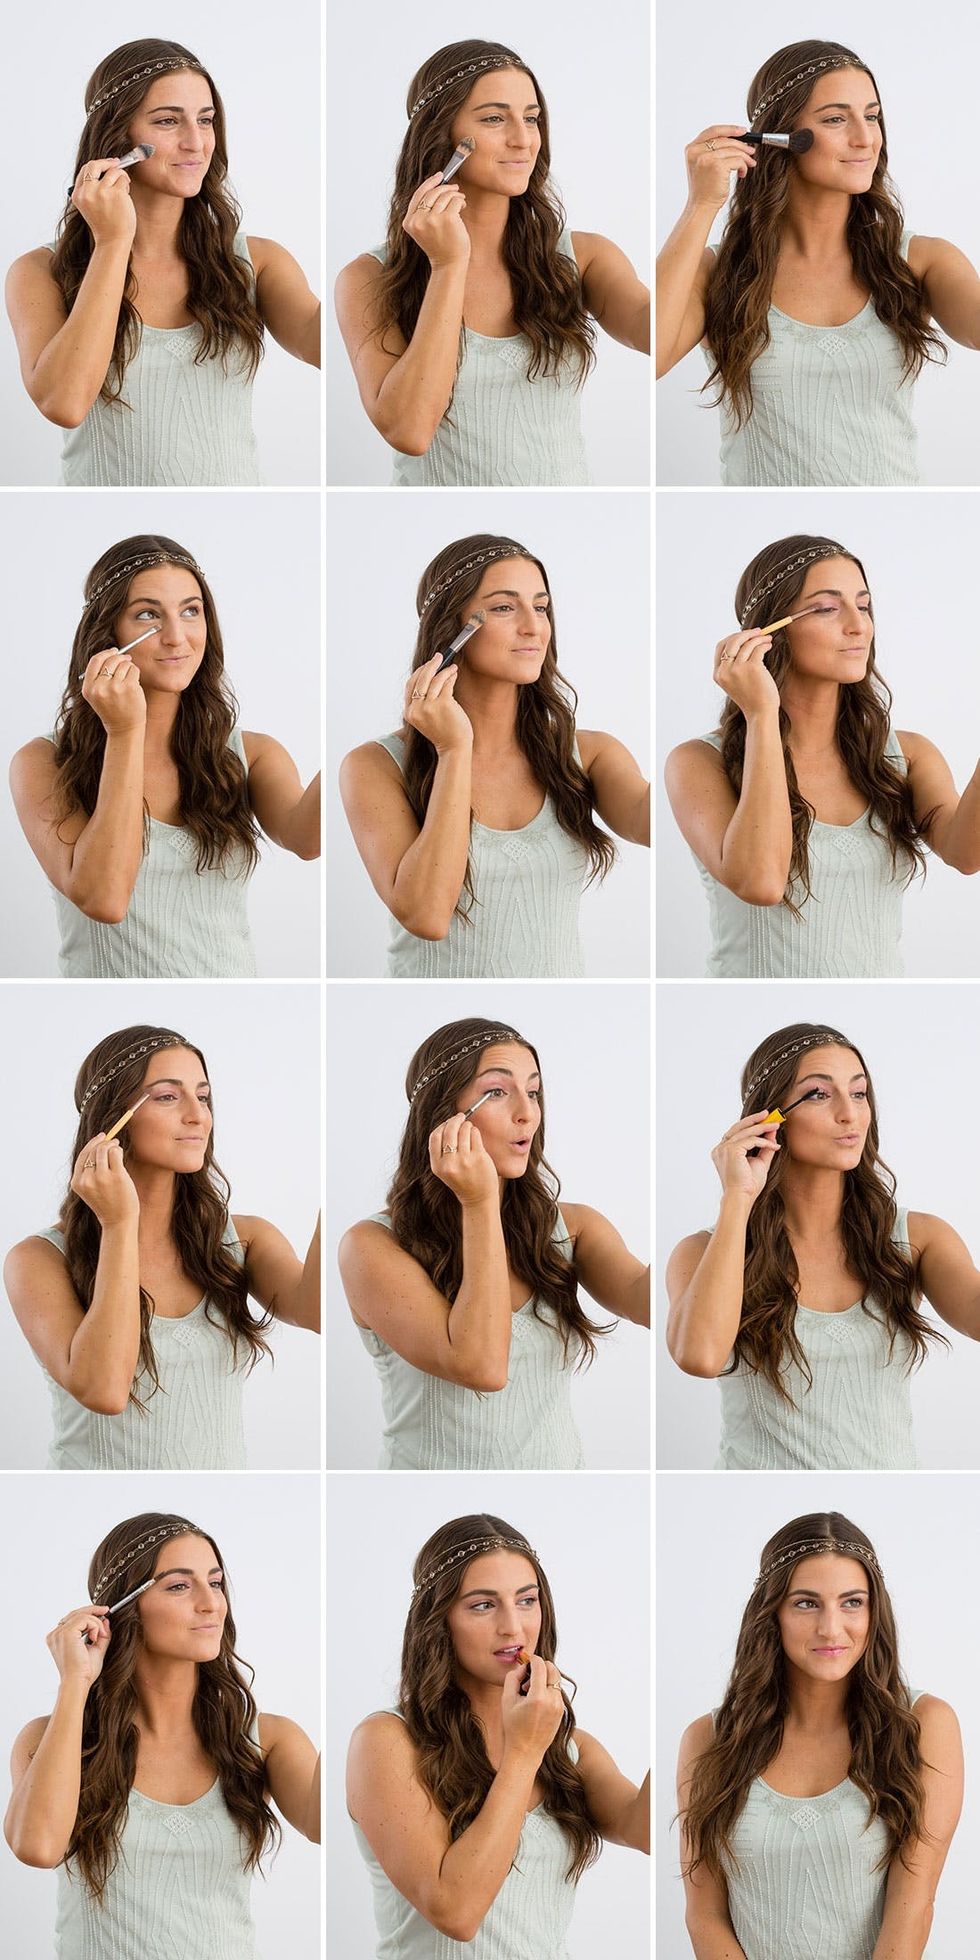
1. Apply a primer like Japonesque Velvet Touch ($32).
Gorgeous Glow
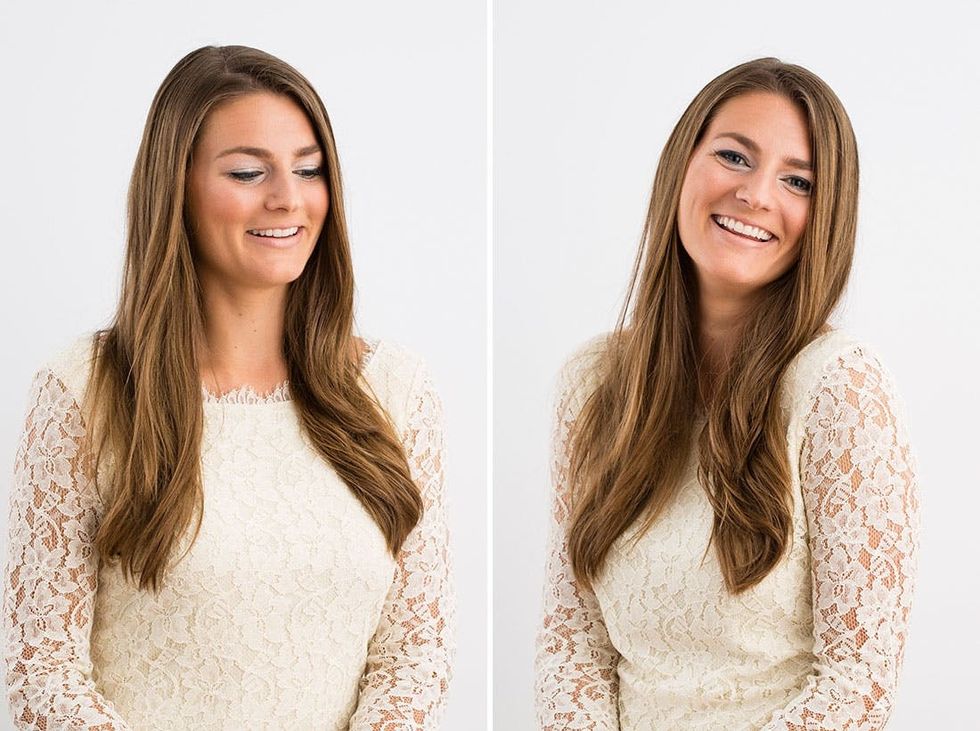
2. Next apply your foundation. On Sarah, we used Laura Mercier Illuminating Tinted Moisturizer in Light ($43).
3. Bronze your temples, along your hairline, hollows of your cheeks, and along your jawline with Wet N Wild Bronzer in Ticket to Brazil ($7).
4. Apply concealer like YSL Touche Eclat Mascara Radiant Touch No 1 ($35) under your eyes, on the bridge of your nose, in the center of your eyes into the center of your forehead, under your nose outside your nostrils, and right in the center of your lower lip.
5. Set your makeup with a powder like Laura Mercier Translucent Powder ($35).
6. Use MAC Pro Mixing Medium in Matte ($35) as a primer on your eyelids, then add a shimmery white eyeshadow like MAC Frost Pigment ($7) to your entire lid and inside the corners of your eyes.
8. Line your eyes with a black pencil like Palladio Retractable Eye Pencil in Black ($5).
9. Mascara it up with a few coats to help contrast the white eyeshadow.
10. Back to our favorite eyebrow pencil by Billion Dollar Brow Universal Brow Pencil ($8) — use it to fill in and bulk up those brows.
11. Finish the look with a neutral matte lip that won’t compete with your eyes like Myth by MAC ($18).
This luminescent look will give you a subtle glow while you’re on the alter, and wow even more up close. Plus rocking a nude lip means no chance of smudging when it’s your partner’s turn to kiss the bride.


