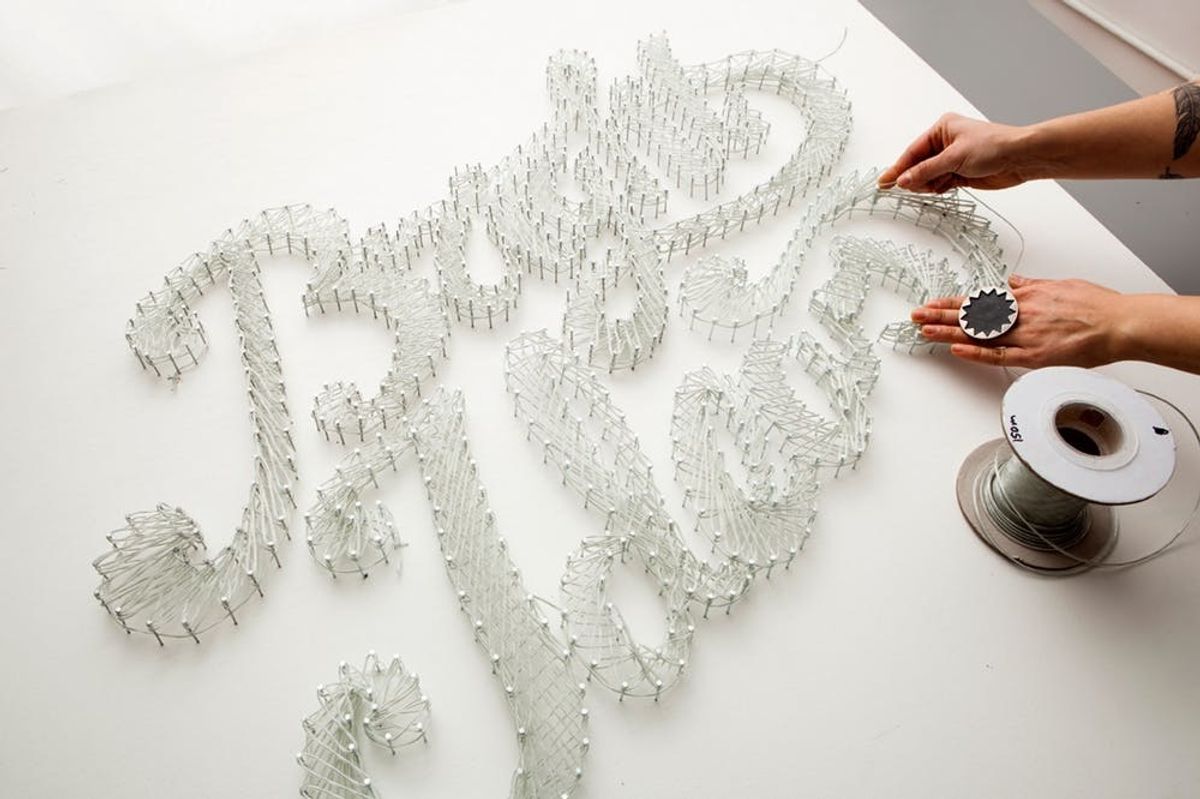
Perhaps you read this title and thought to yourself, what on earth do nails have to do with a neon sign? Well, get ready for your mind to explode. What happens when nail string art meets electric wire? NEON TYPOGRAPHY, that’s what!
Nailed It! How to Make a Neon Typographic Sign

Perhaps you read this title and thought to yourself, what on earth do nails have to do with a neon sign? Well, get ready for your mind to explode. What happens when nail string art meets electric wire? NEON TYPOGRAPHY, that’s what!
We created this Bright Ideas sign for the section of Brit + Co SF devoted to up-and-coming innovators and inventors, found on places like Kickstarter, IndieGogo, and Quirky. This neon sign should definitely be filed under Weekend Projects — read on to see how we made it happen!
Materials:
– nails
– word template (download our Bright Ideas one here)
– white interior paint
– plywood (or you can nail right into the wall!)
– Raw EL Wire (we used about 400 feet)
-2 EL Inverter – 12v
Tools:
– hammer
– sandpaper
– paint roller
– painter’s tape
– staple gun
Wiring Tools:
– heat shrink
– copper tape
– solder
– soldering kit
– black wire wrap wire
– red wire wrap wire
– wire stripper
First off, we followed this extremely handy video tutorial on how to wire something using EL Wire. We recommend watching this video and following it step by step to light up your own sign.
Now, time to show you how we made this sign using a combo of nail string art, awesome typography, and electricity.
If you’re going to nail right into the wall, make sure to smooth out any imperfections. We used a piece of plywood as the base for our sign. Sand it, then paint with white paint.
Depending on what size sign you’re creating, you’ll probably have to head to print shop (aka FedEx Kinko’s) to print large copies of our Bright Ideas template You can also outline it on the wall in pencil, or just freestyle… though that might get tough to read.
We taped our template right onto the plywood.
Then, use nails to create an outline around each letter.
The hammering will definitely get loud — warn your neighbors or just crank up the tunes ;)
Peel and rip off the template gently — making sure that the nails stay firmly in place. #nailedit
Voila, nail art words! Now, it’s time to wrap that EL wire around each letter, just like we wrapped string to create these pieces of wall art.
Wrap back and forth around each letter, creating a sort of criss cross design.
As you can see from the close-up, the more layers you create, the better. Be sure that you wrap tightly enough that none of the pieces droop when you hang up your sign.
Now, it’s time for the electronics part of the whole she-bang. As we mentioned, we followed this video tutorial to learn how to wire our sign. Watch it, learn it, do it!
Plug it in, and….
Bright Ideas! By day…
and by night! How awesome is that?
To check it out in person, be sure to visit us at Brit + Co SF. And if you make a neon sign of your own, be sure to share a photo of it with us via Twitter or Facebook.
Have you ever used EL wire? What did you make? Talk to us in the comments below.


