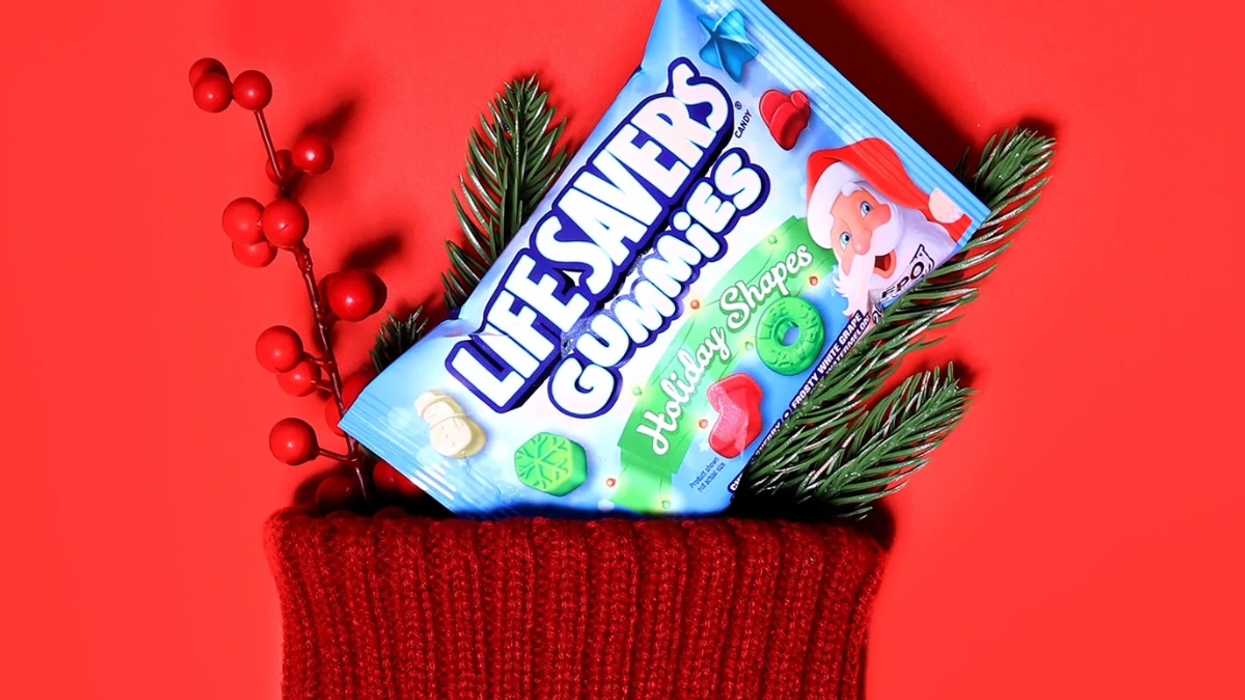
 Recommended for you
Lazy-girl styling hacks are sought after in all facets of life these days, and when it comes to your hair, this is definitely a train you will want to jump on. With summer in full force — and by that we mean providing plenty of natural heat — it’s time to ditch your hot tools and achieve your tousled beach waves using just the warm air around you. Here are three no-heat techniques that will get you those bouncy locks in a matter of minutes without further damaging your hair.
No-Heat Barely-There Waves

The hack? Using duck bill clips + pin curls!
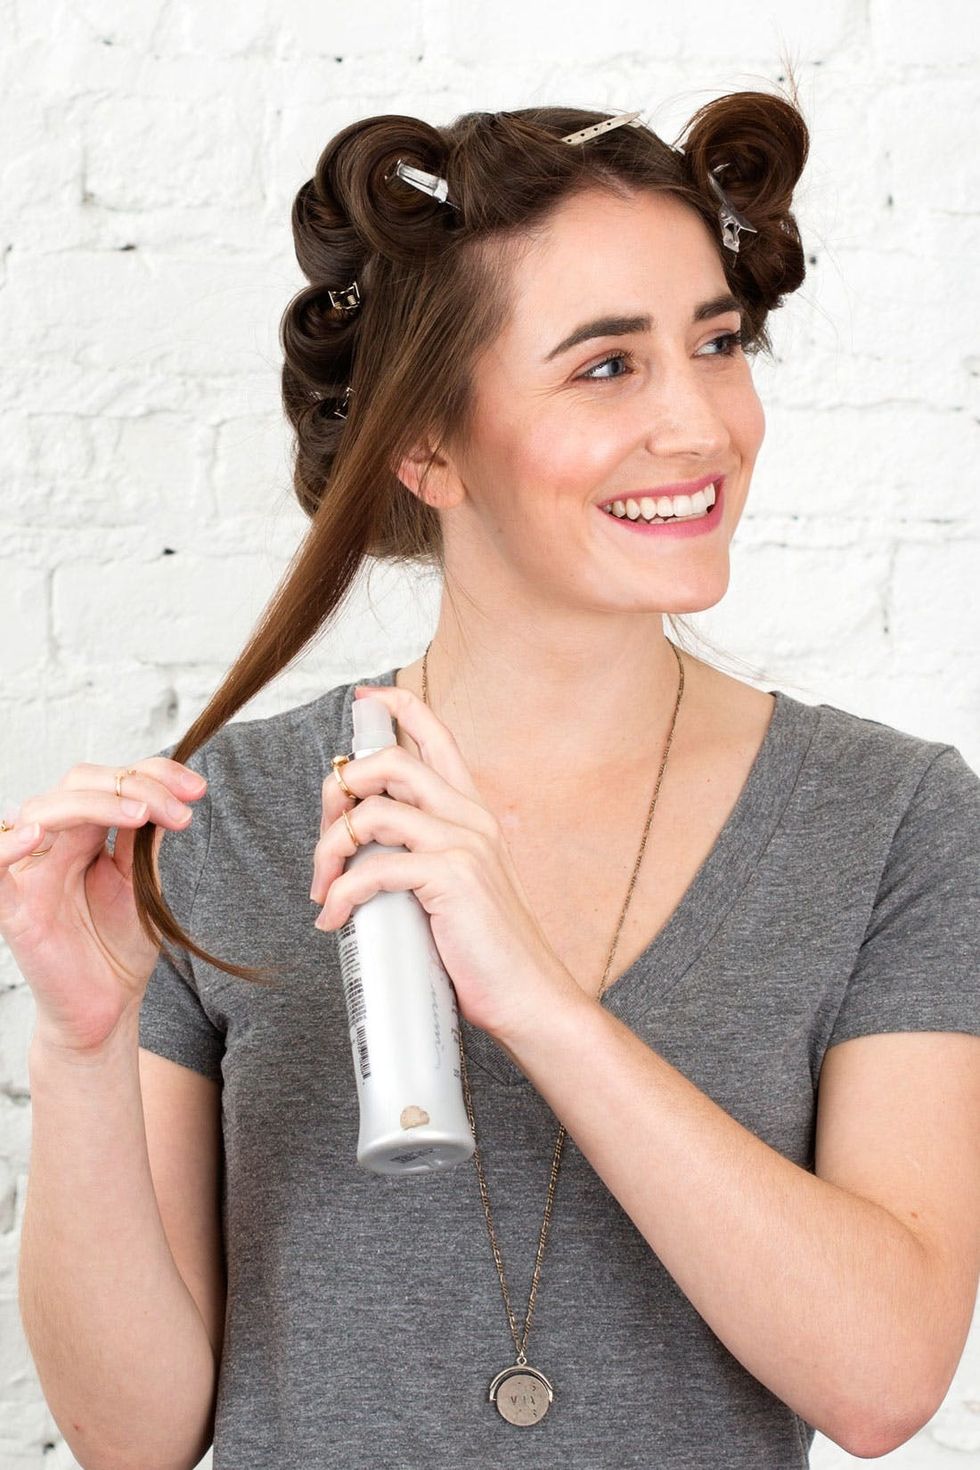
Since your hair is dry, be sure to use a thermal heat setting spray like Kenra Platinum Hot Spray ($16) to dampen and prep your strands prior to placing them in pin curls.
Step 1: Prep Hair
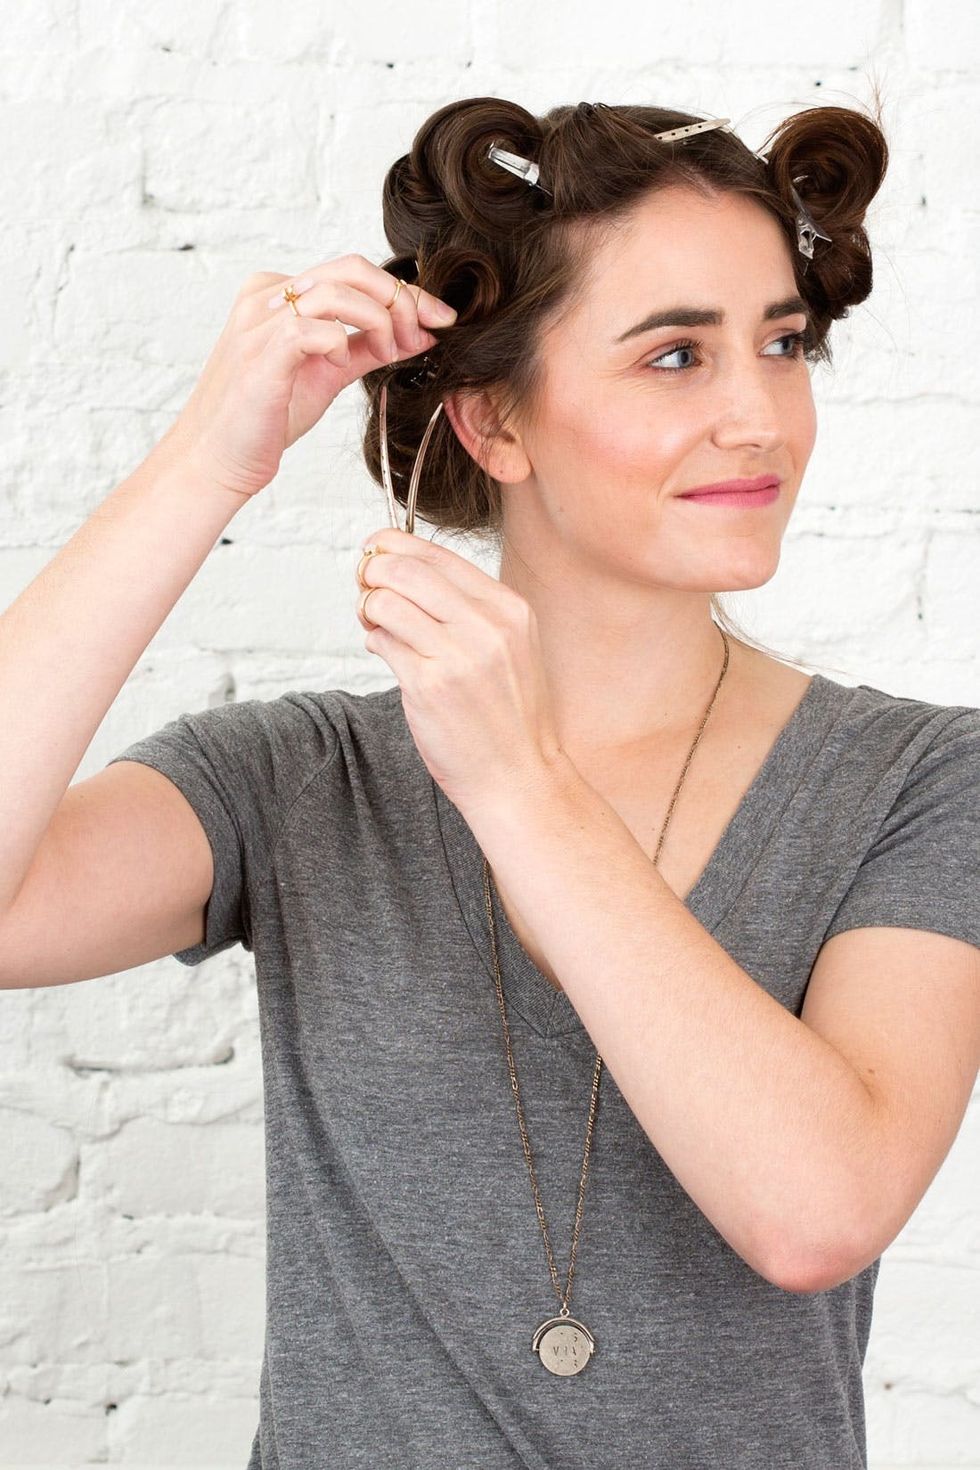
Roll hair upward so that your hair is curling away from your face. When the pin curl reaches the top of your head, use a duck bill clip to hold it in place at the root of the curl.
Step 2: Roll Hair + Pin

This is what you should end up with once all of your hair has been sectioned off, prepped and rolled into place. Let your hair sit in these curls for around 10 minutes — get lost on Facebook, dudes!
Step 3: Curl It All
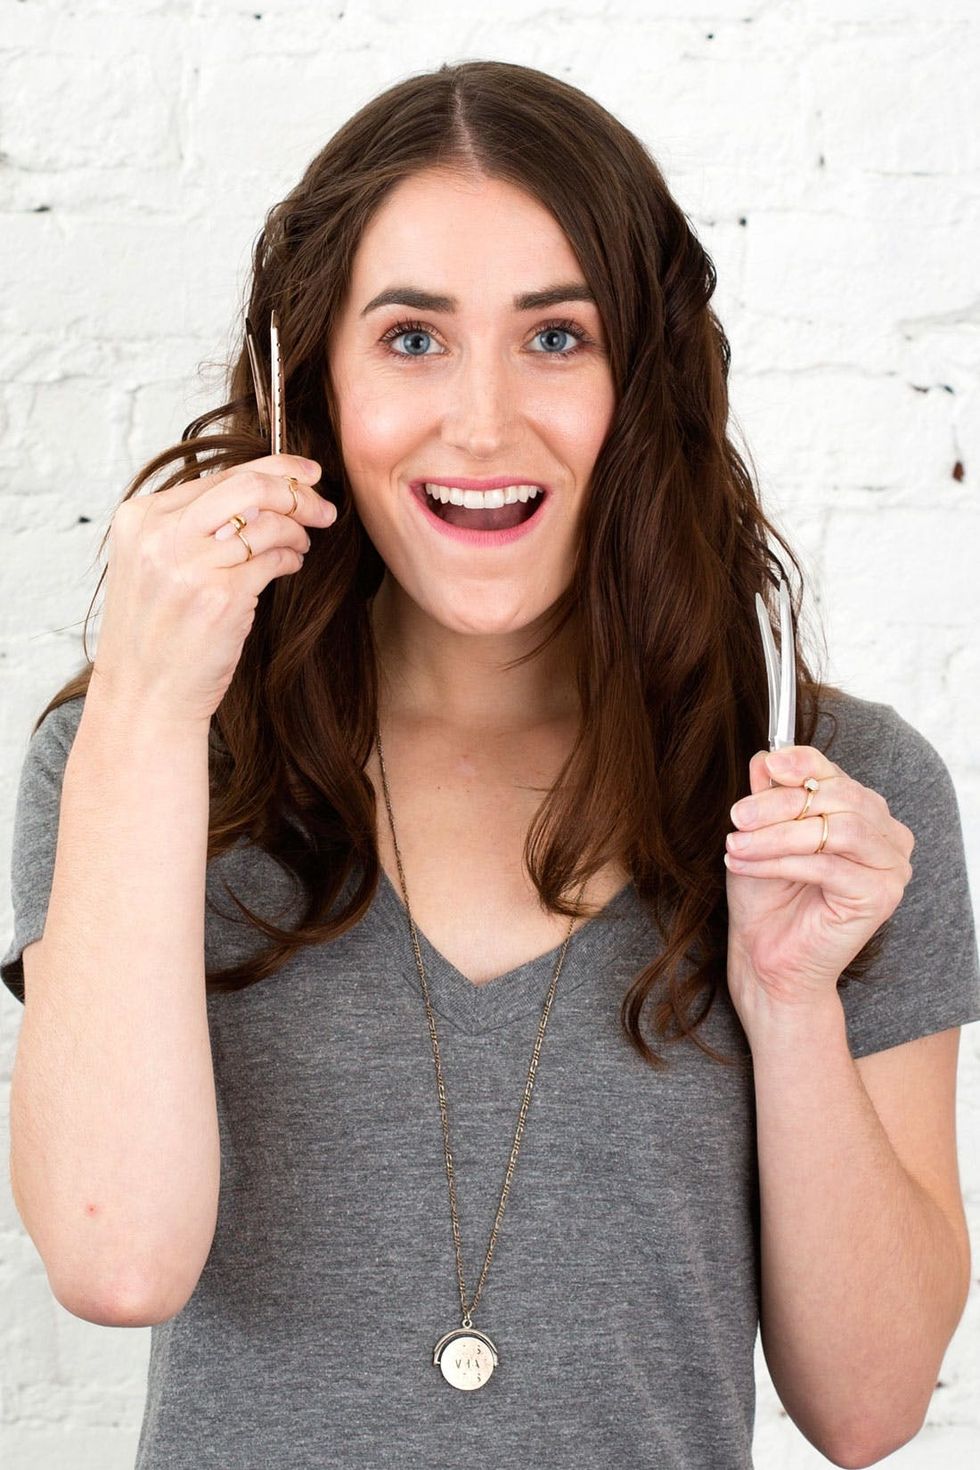
Once you’ve let your curls set for at least 10 minutes, you can remove all of the clips. Use your fingers to shake out the curls so that you end up with a more relaxed wave that looks natural.
Step 4: Pull Out Pins + Shake Out

The perfect I-barely-tried look — and you *actually* barely tried!

For these voluminous, tousled waves, use old-school rollers.
No-Heat Goddess Beach Waves
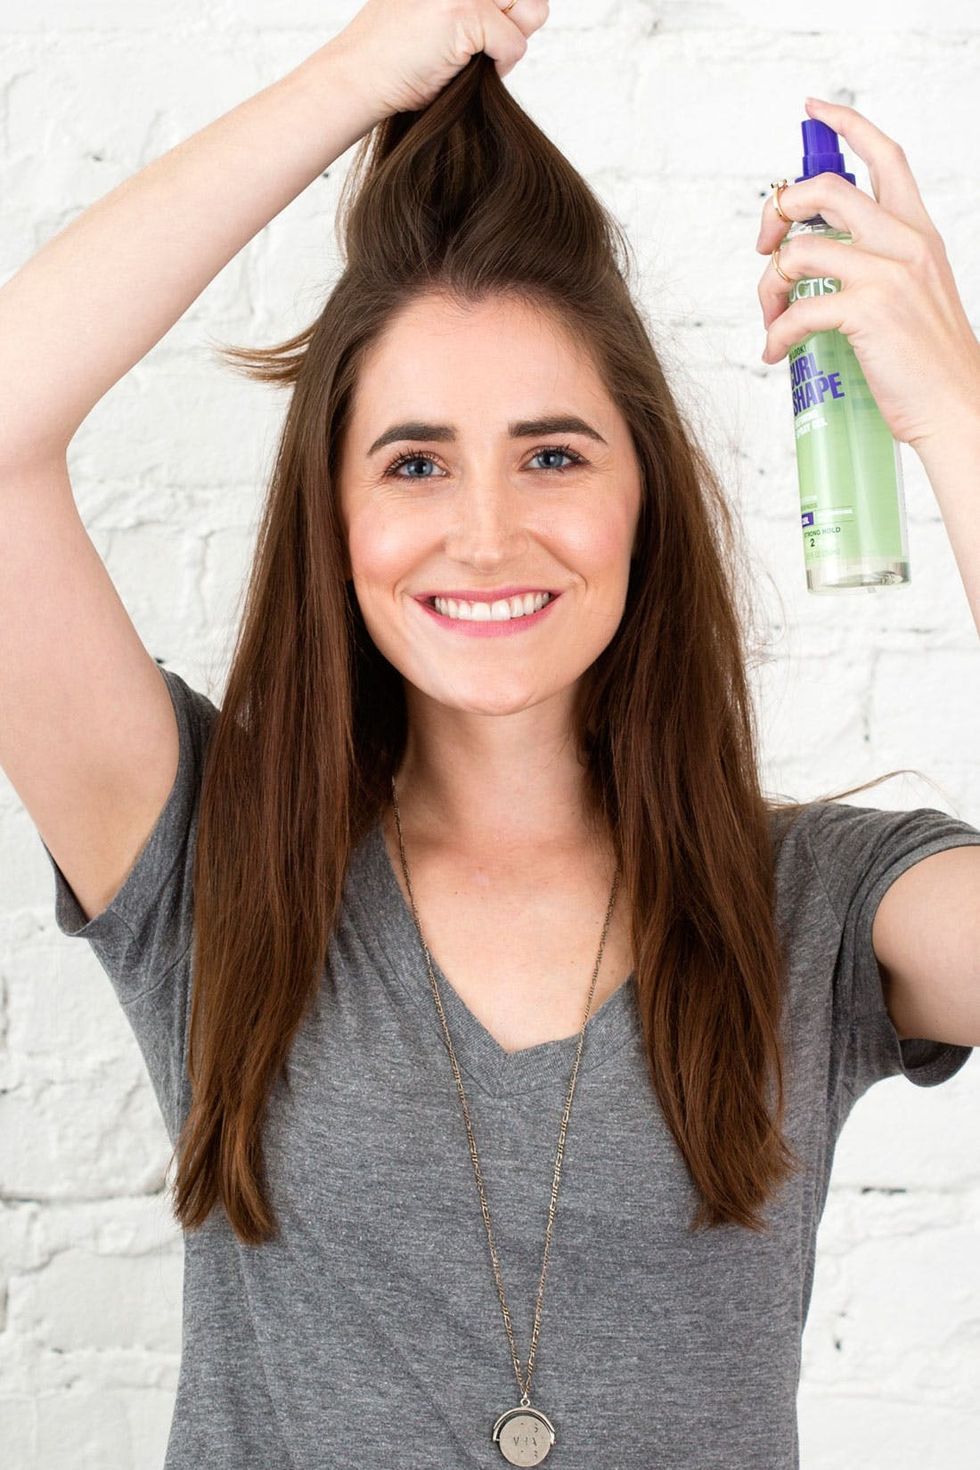
Before you grab a handful of old-school rollers, make sure you prep your hair with a spray gel like Garnier Fructis Curl Shaping Spray Gel ($5) to help your soon-to-be curls take shape and set.
Step 1: Prep With Spray Gel
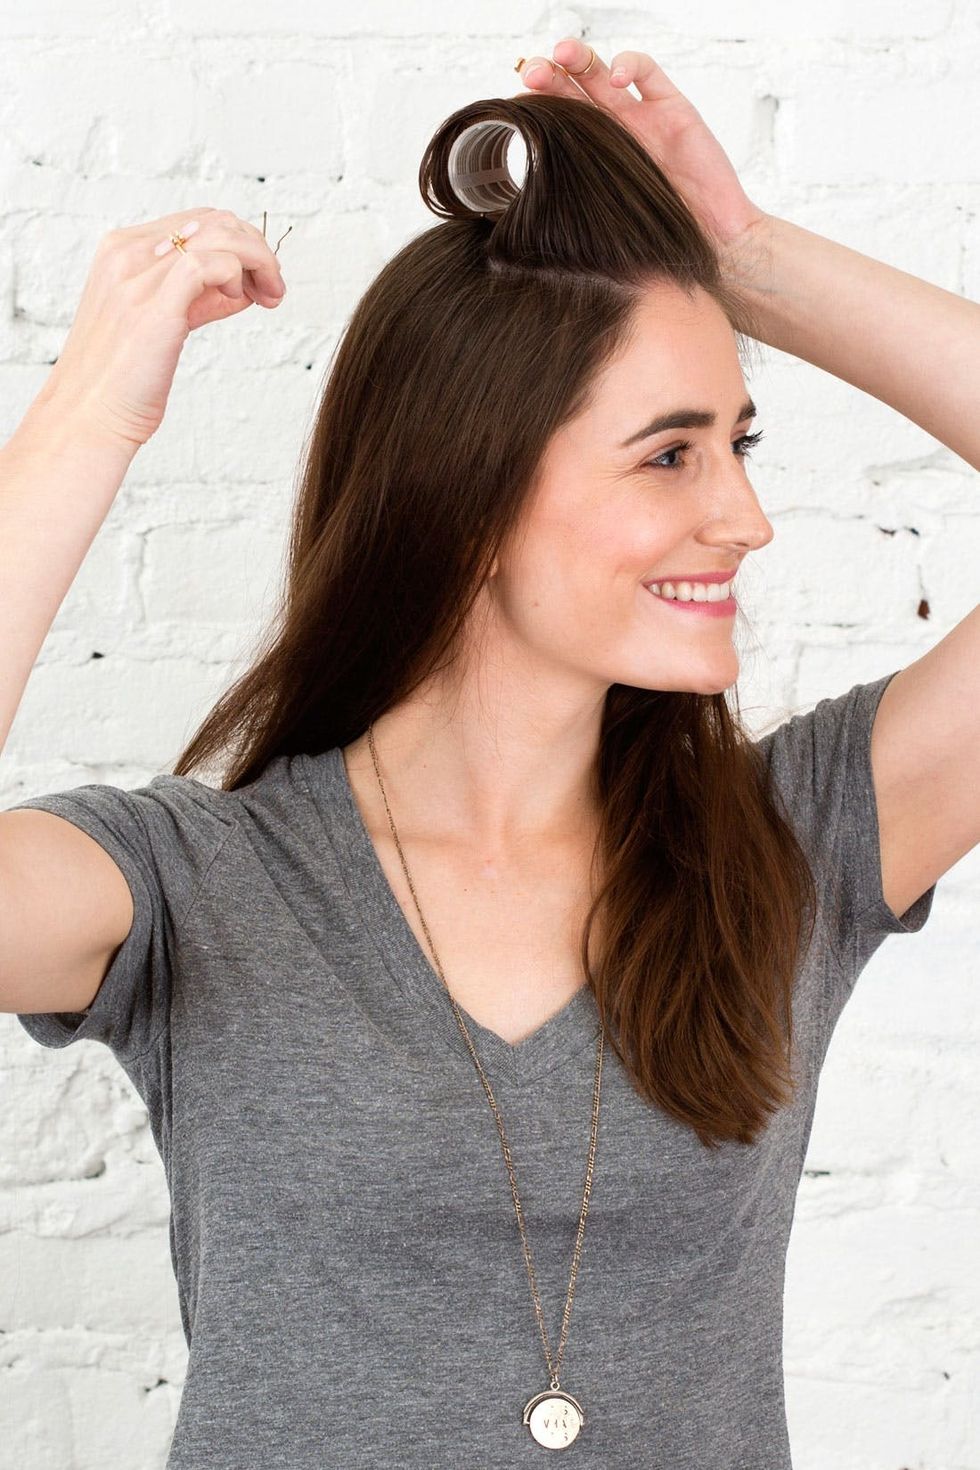
You want to use very large sections of hair with these barrels. Grab the entire top section of your hair curl it around a large roller, which should land at the top-center of your head. Pin it in place with bobby pins.
Step 2: Begin Rolling
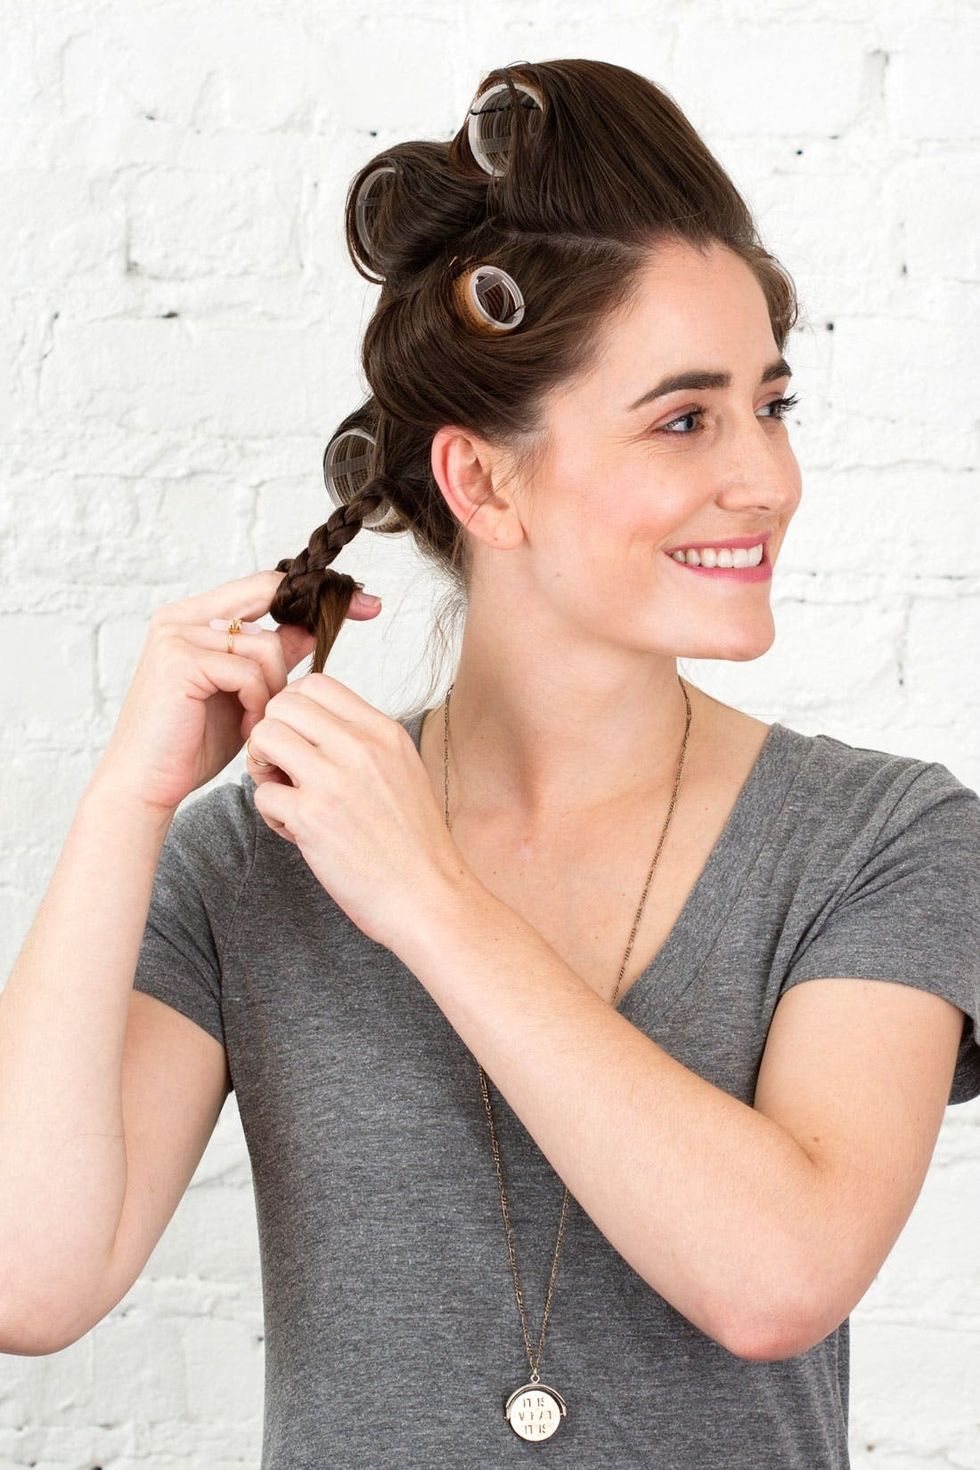
Finish the top section of your head with two additional large rollers (three total) so that it looks like a mohawk of rollers on you head. Use two medium- or large-sized rollers on each side of your head to curl up the rest of your hair, though even after that, you’ll probably have two more small sections of hair loose on either side of your head. Use the spray gel on those sections and then braid the remaining hair to add more texture and dimension. Then roll it up onto itself and pin it in place. Let your hair sit for about 15 minutes in these bad boys.
Step 3: Finish Rolling + Braid
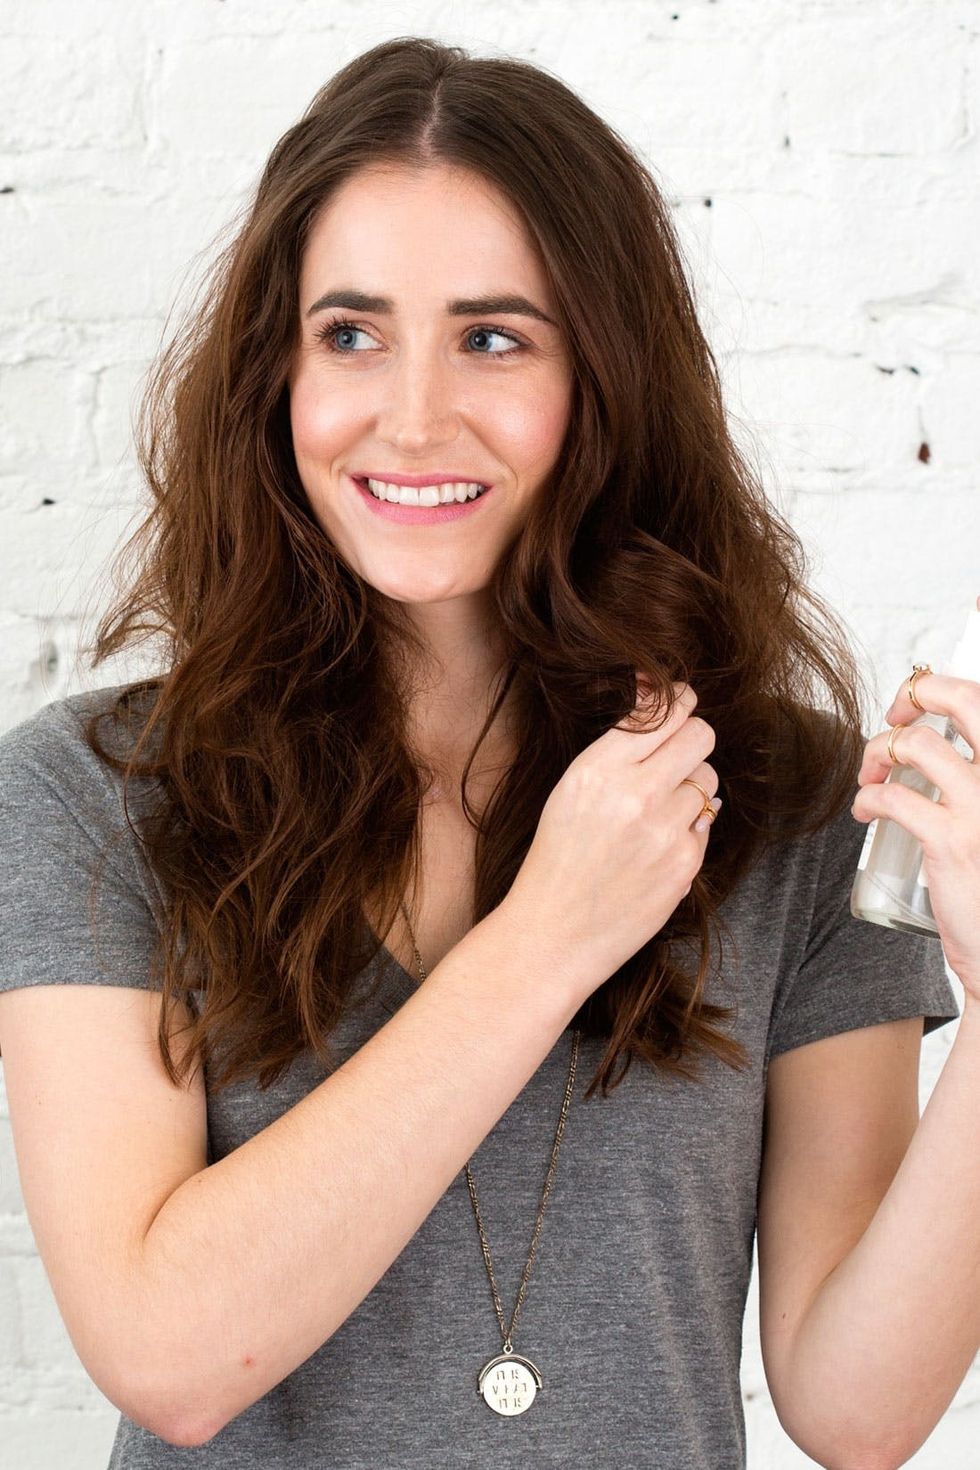
After letting your hair set for 10-15 minutes, remove the rollers and braids, then spray with a texturizing product like Change Soap Pink Sea Salt Hair Texture + Volume Spray ($14) all over while you scrunch your hair with your hands to create a little bit of a disheveled finish.
Step 4: Remove Rollers + Braids + Texturize

Big bold waves just like that!
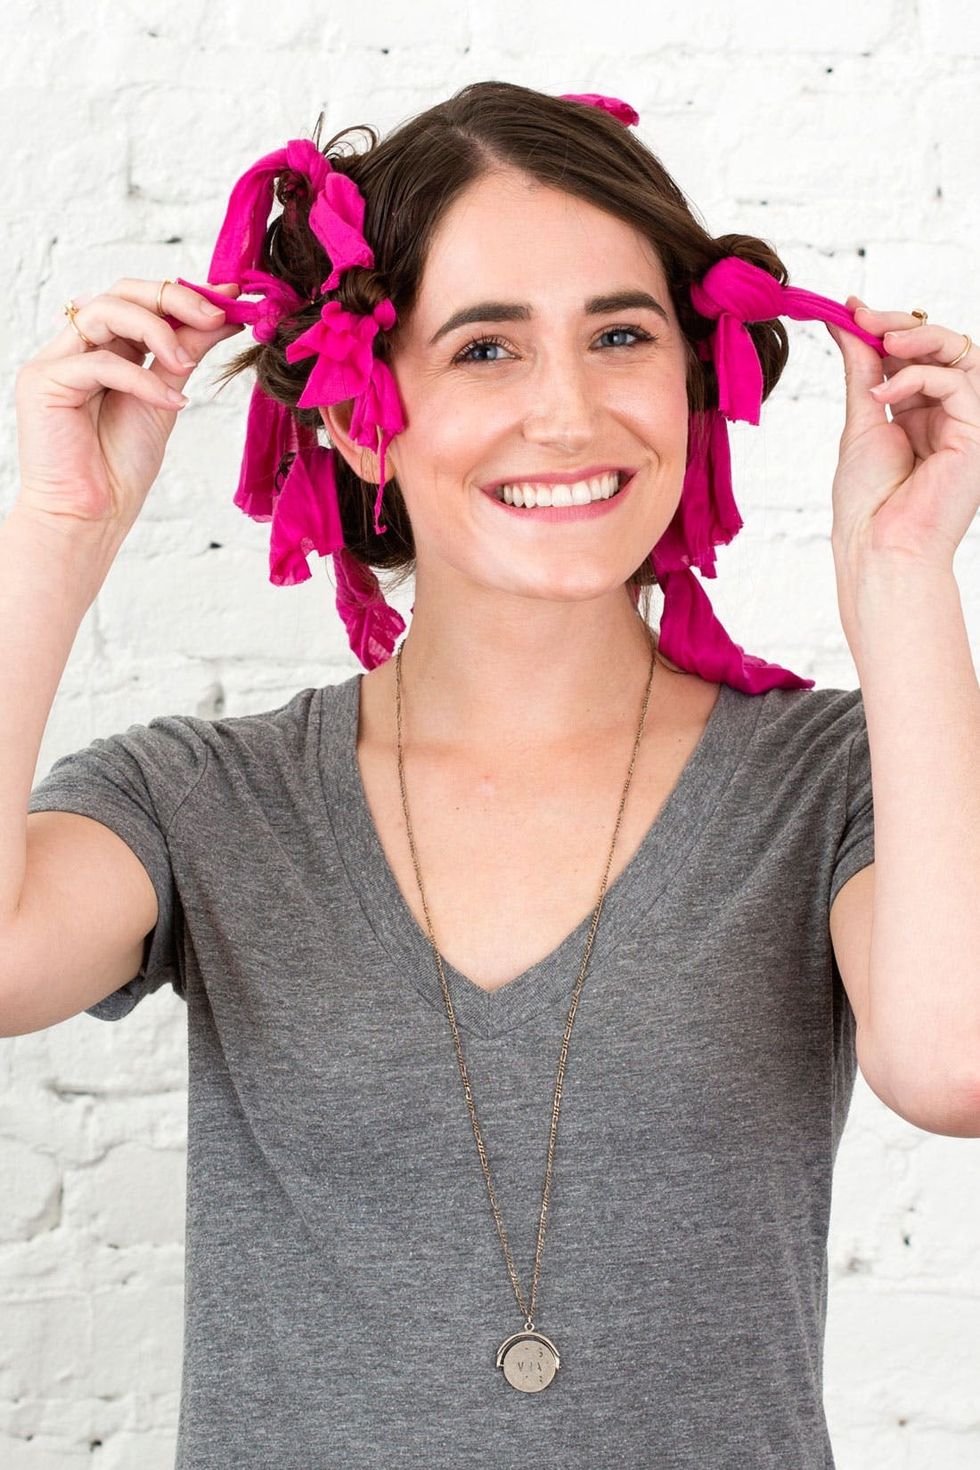
For these natural-looking waves, we’re using rags. Grab a t-shirt and start ripping up your strips! To learn how to tie ’em up (it’s a LOT easier than it may look!) check out our full tutorial here.
No-Heat Everyday Waves

With these techniques, you can totally play with different placement and sizes of your sections to get a completely different finish. Remember to just have fun with it all.