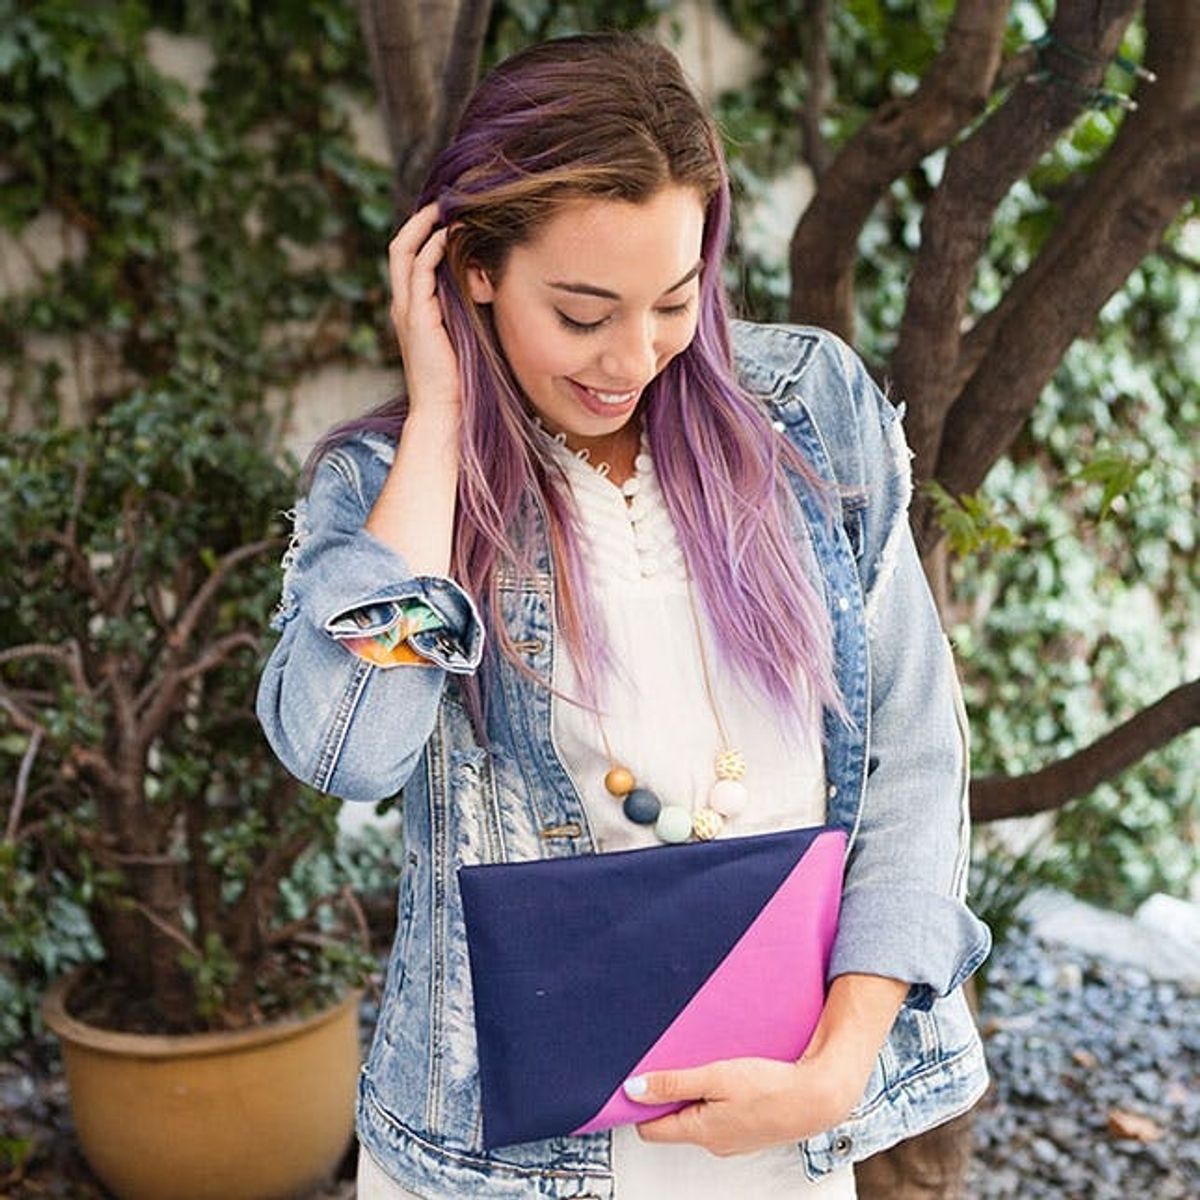
You need to make this clutch for yourself and all your besties.
Creating a Cotton Clutch Has Never Been Easier

How many times have you looked at your closet and realized you have nothing to wear? Probably too many times, amrite? Well, this weekend I ran into a whole other “staring at my closet” situation. I was headed to go see my girl Taylor Swift on her 1989 Tour, and the venue wouldn’t allow bags larger than 4.5 x 6.5 inches. What the heck!?
My DIY mind kicked into high gear immediately. I grabbed some cotton fabric and whipped up a no-sew clutch to hold all of my concert necessities (ticket, cell phone, credit card). It was the perfect size and dried while I threw on outfit after outfit trying to decide what I wanted Tay to see me wearing (from the second level of Levi’s Stadium).
I chose cotton because I know it’s the most durable fabric and often comes in bright vibrant colors. It’s also easy to work with, there is minimal fraying and it works well with fabric glue and Heat N Bond. For this tutorial we are working with our friends at Cotton to show you how to make a clutch. This one is a little larger than 4.5 x 6.5 inches, because honestly, who really wants a bag that small? Follow along to see how you, too, can make a no-sew cotton clutch of your own!

Materials:

– cotton fabric – solid and patterned
– Heat N Bond
– fabric paint
– no-sew glue
– screw-back stud
Tools:
– ruler
– iron
– fabric scissors
– scissors
– pen
– awl
– paint brush
– painter’s tape
Instructions:

1. Create a 7 x 10-inch rectangle on the paper side of the Heat N Bond.
2. Find the center of each side and draw a five-inch line perpendicular to the lines of the rectangle, moving away from the rectangle. Starting at the corner of the rectangle, create an arch that reaches the top of the five-inch line. Do this to all sides so you now have flaps above each edge of the rectangle. It will look like a flower with a rectangle in the center :)
3. Use regular scissors to cut out your pattern from the Heat N Bond, and then iron it onto your first fabric.
4. Cut out the shape of your pattern from your fabric using fabric scissors and then peel off the paper.
5. Lay your Heat N Bond + cotton fabric onto your second fabric with the Heat N Bond facing the second fabric and iron. Once cool, cut the pattern out of the fabric.
6. Fold and iron the flaps inward to create your rectangle shape.
7. Glue the bottom three flaps together using no-sew fabric glue.
8. Once dry, use the awl to create a hole for your screw-on stud, then attach.
9. Fold over the top flap to find where the stud will pierce the fabric. Use the fabric scissors to cut a button-size hole at this location.
10. Use painter’s tape to create a diagonal line on the front of the clutch, and then apply paint to one side. Once dry, remove the tape.
Measure out a 7 x 10-inch rectangle in the center of the Heat N Bond on the paper side.

Draw five-inch lines from the center of each edge of the rectangle. Then, starting from the corner of the rectangle, create a curve that reaches the height of the five-inch line. When you are finished, you will have a rectangle with flaps on all four sides.

Cut out the pattern from the Heat N Bond, and then trim your curves so they are symmetrical. To make sure they are symmetrical, match up the corners of the rectangle and trim the curves together to make sure they are even.

Iron your pattern onto your first piece of cotton fabric. Make sure the paper side faces up or your iron will be covered in sticky glue.

Cut out the pattern from your cotton fabric and then peel off the paper. Place glossy side down on the second piece of cotton fabric.

Our second fabric had a beautiful watercolor design on the front. Make sure you iron with the back sides of the fabric facing each other and the front sides facing outward. Once ironed, cut out the pattern from the cotton fabric.

Fold and iron the flaps toward each other like an envelope.

Apply glue to the bottom folds and wait 30 minutes for it to dry.

Use an awl to create a hole for your stud attachment, then screw into place.

Fold the top flap over and mark where you need to create your button hole. Use scissors to cut the hole, making it slightly smaller than the stud so it holds the stud snugly.

Use painter’s tape to create a diagonal line on the front of the clutch. Paint one side with fabric paint (we needed two coats on ours).

Once dry, peel the tape to reveal your perfect color blocked cotton clutch.

Dipped clutches are the perfect way to add a pop of color to your #OOTD.

Hold up! Of course we need to blast some tunes. Taylor Swift, anyone?

A small clutch is perfect for a quick brunch trip or a night out on the town. For a quick trip to the park, we stocked ours with our planner, cell phone, headphones and credit card — ’cause who actually carries cash when there is Venmo?


