You know those moments when you score a freebie that no one else sees any potential in but you? (Jean scraps! You shouldn’t have!) Well, here we go again. This time, the coveted material we’re going gaga for is a log. That’s right, as soon as we laid our eyes on it we thought this would make an amazing coaster set. Yes, we really do think like that—remember, it’s our job at Brit + Co. to bring out the creative potential in everything (and everyone!).
Branch Out: Turn a Log into Cute Ombre Coasters

You know those moments when you score a freebie that no one else sees any potential in but you? (Jean scraps! You shouldn’t have!) Well, here we go again. This time, the coveted material we’re going gaga for is a log. That’s right, as soon as we laid our eyes on this chunk of wood we thought this would make an amazing coaster set. Yes, we really do think like that—remember, it’s our job at Brit + Co. to bring out the creative potential in everything (and everyone!).
As far as DIY coasters go, this project is only difficult in that you’ll have to source a bandsaw in order to cleanly cut the wood (unless you feel like you can channel Paul Bunyan’s lumberjacking skills—then use a hand saw). See if you can sweet talk your local hardware store into using theirs, or check with your dad. Dads seem like they should have a bandsaw. After that, the rest is way easy!
Materials:
– paint brushes
– acrylic paints
– water based polyurethane in satin finished
– wood log (approximately 6 inches in diameter)
Tools:
– bandsaw or hand saw
Instructions:
1. Cut your wood log into four to six coasters, each approximately 1/2 inch thick.
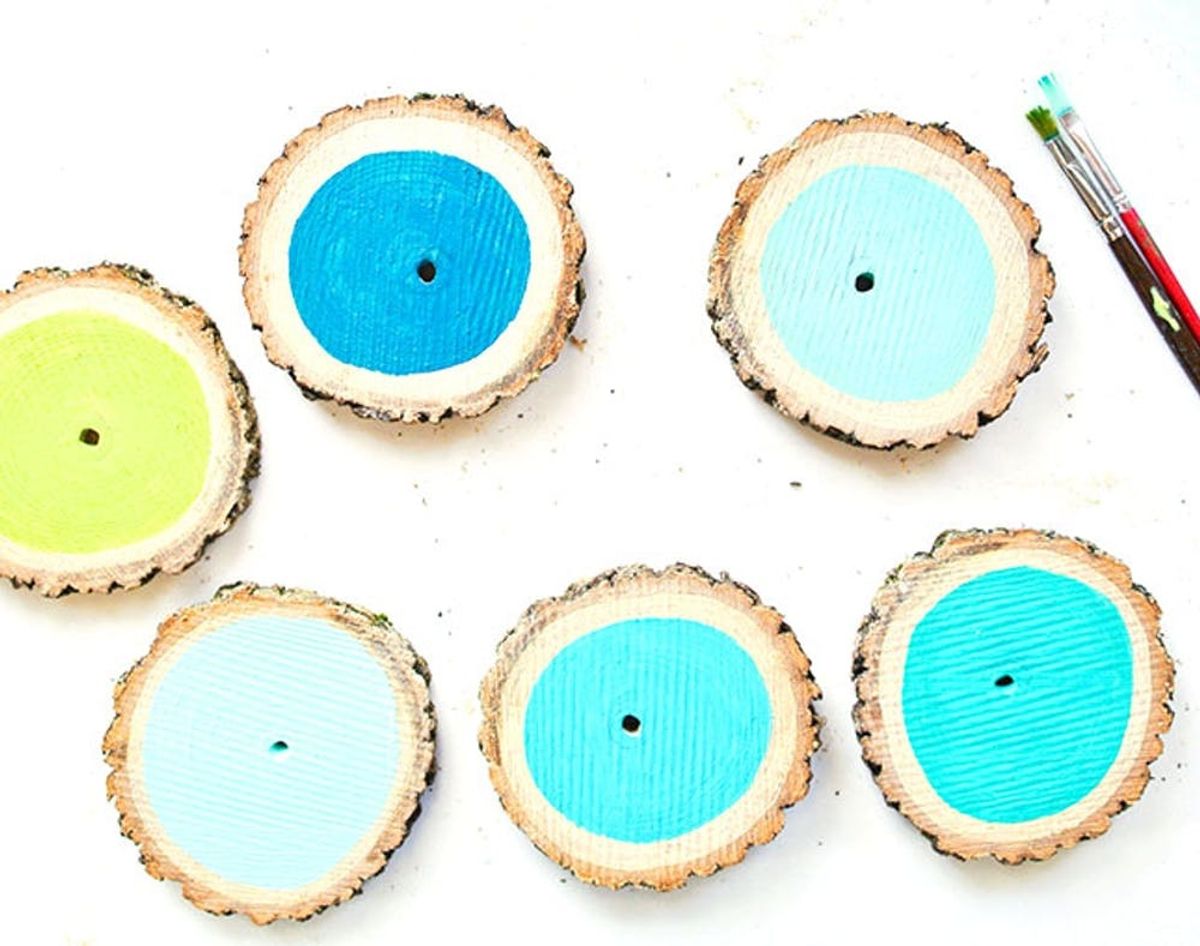
2. Paint the top of each coaster and let dry (we went for simple circular shapes in an ombre color scheme).
3. Cover the entire coaster (sides and all) in polyurethane and let dry.
4. Mix up a drink and give your new coasters a try!
Once you’ve successfully located a bandsaw, carefully cut four to six circular pieces of wood, each about 1/2 inch thick. These will serve as your coasters. While they’re pretty gorgeous au natural, we’re gonna add a few coats of paint to them to make ’em pop. Be sure to use a dry cloth to wipe off any excess wood chips before you begin.
Now paint away—anything from geometric shapes to bold color blocks, or the simple circular pattern that we went for. To get this look, start from the center of the coaster and work your way outwards, leaving some of the light wood unpainted so you can still tell it’s the real deal. We went with a different shade of blue or green for each coaster to give the set an ombre-like effect.
Then once the paint is dry, cover every surface of the coaster with a thin layer of polyurethane—sealing them protects the wood from water damage, which makes the coasters super durable and perfect for everyday use. Make sure your coat is even and try to brush down any excess milky white spots you see.
Let the polyurethane dry. You can prop the coasters up at an angle on a piece of wood so that they are not fully laying on a surface that the polyurethane might stick to. If needed, add an extra coat of polyurethane or touch up spots you may have missed once the first coat dries.
Then pick them up off the floor and set them proudly on your table. You did it! See, it was pretty easy to take a log and turn it into something that look like it came straight from the home goods section of Anthropologie. Seriously, we wood do it again ;)
Now it’s time for you to sit pretty while the coasters do all the work—cheers to that!
What materials have you upcycled lately? Tell us about your DIY projects in the comments below.


