The ’80s were calling my name, so I went for it.
I Took the Curly Hair Plunge and Got an Organic Perm
You know the saying “you always want what you can’t have?” Well, that is exactly me when it comes to curly hair. At age 11, I was putting my hair in those awkward plastic curlers overnight to wake up with tight ringlet curls. I would braid, twist, curl and crimp my hair until it was anything but straight. For my 12th birthday I asked my mom for a perm as my birthday present. I was THAT serious.
hair purple
 perm trend back, I got an itch to have curls back in my life. I reached out to a bunch of salons, but pretty much heard the same thing every time — bleach + perm solution = your hair breaking and falling out. NO THANK YOU. I was pretty disappointed, but then I came across Danica at Plum Organic Beauty, a salon in NOPA that specializes in organic hair care.
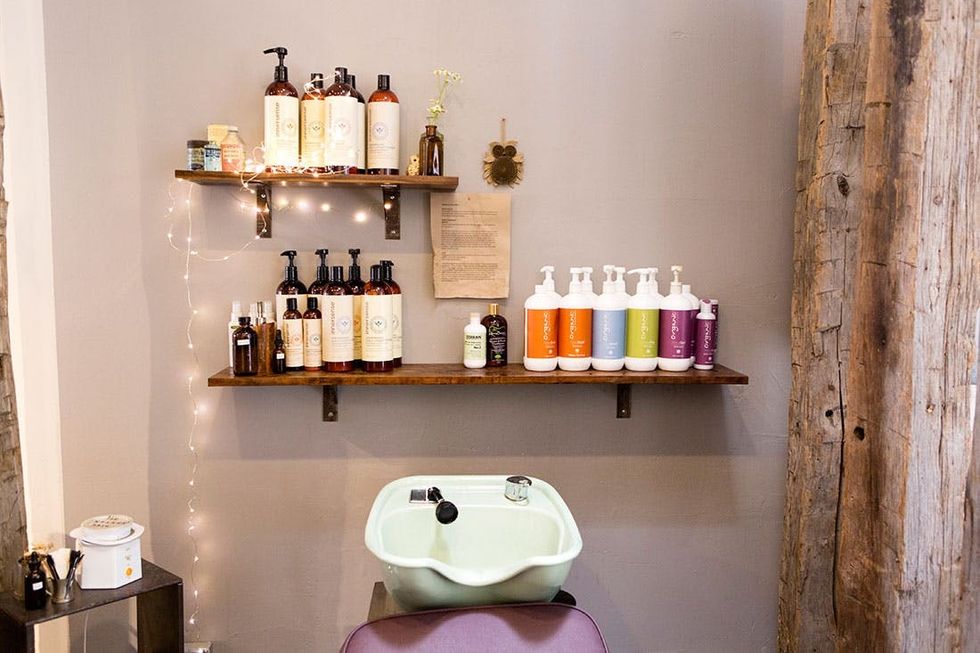
Danica opened Plum Organic Beauty seven years ago, after she moved to San Francisco from Atlanta. She uses only ammonia-free products to give clients color treatments and perms. Read along to see how my hair went from straight to kinky with this organic curling treatment.
Step 1: Consultation
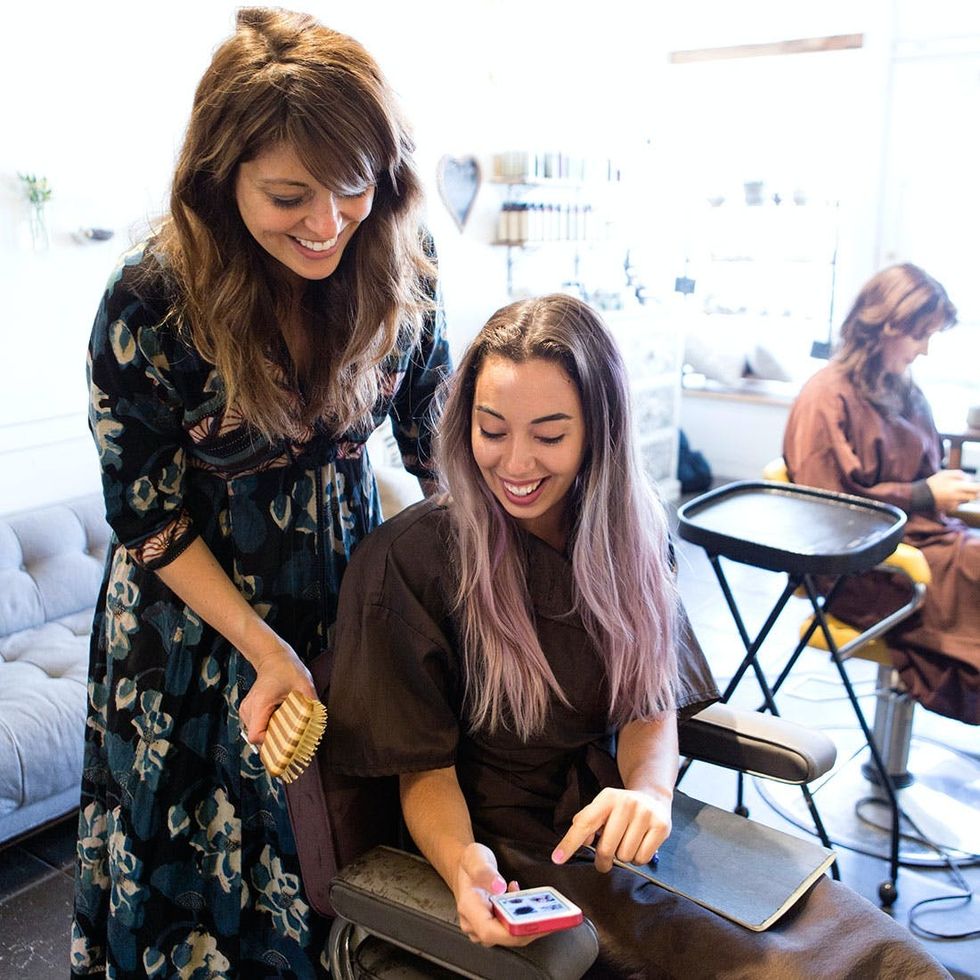
Like a true DIYer, I approached this project with a pin board =). I showed Danica the types of curls I desired (I was looking for beachy relaxed curls rather than ringlets). Since I’ve had perms before, I knew that it’s better to start off with a tighter curl than you originally envisioned because they will loosen and fall flatter on longer hair.
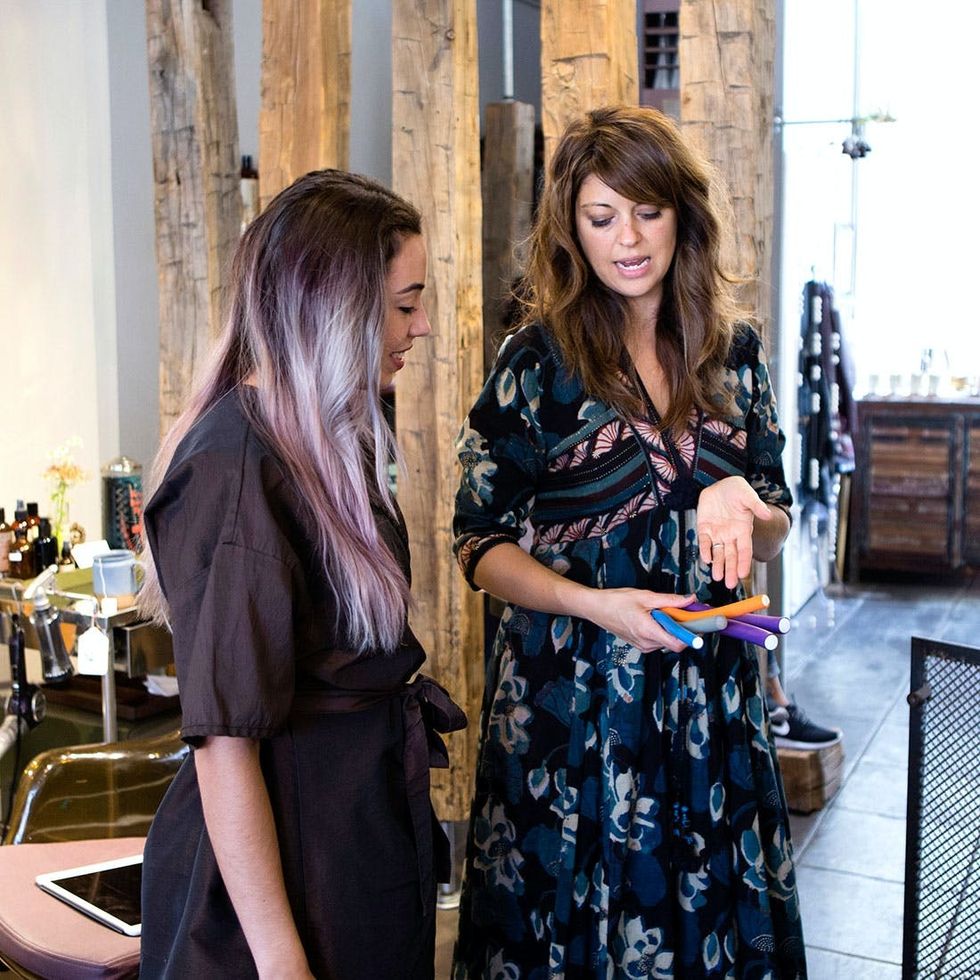
Ladies and Gents, it’s 2016, so say goodbye to those pink plastic rollers your grandma used. Danica showed me the foam rods she uses for her perms, which come in three different sizes. The varying bendy rods let Danica control the direction and width of each curl to create a natural look.
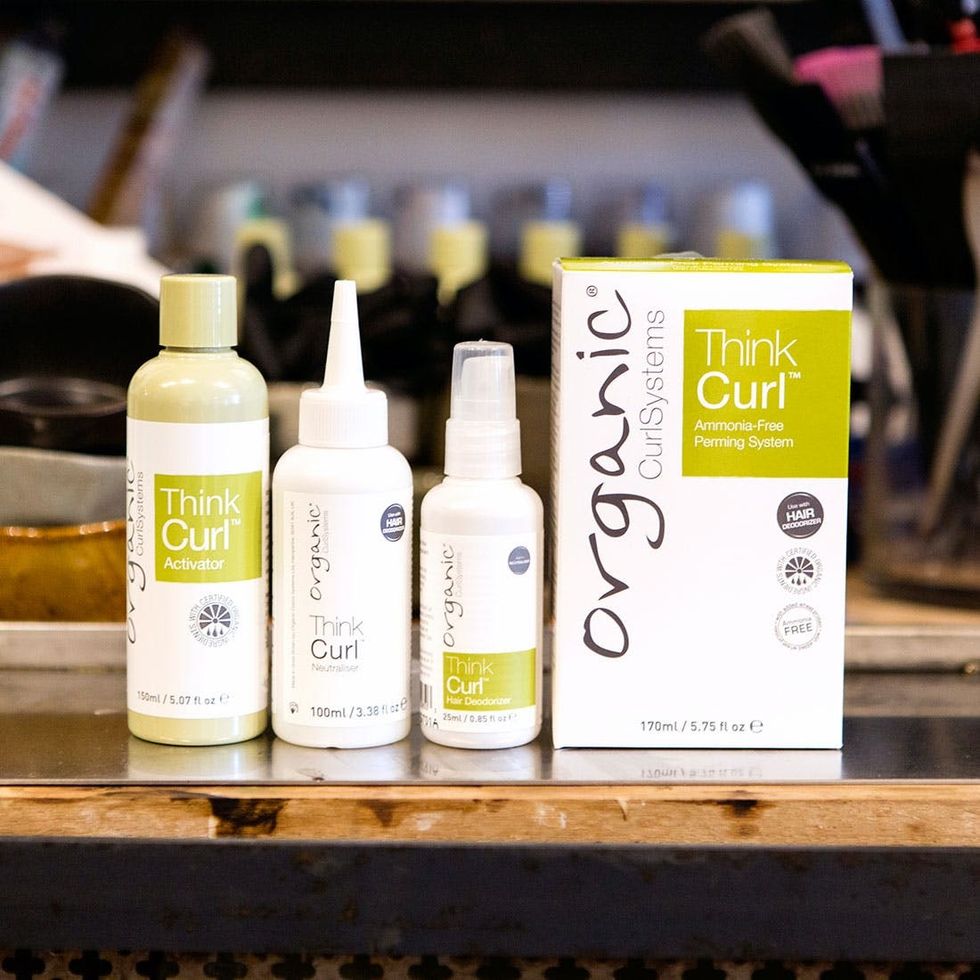
The solution Danica used on my hair is ammonia free and has a low PPD (Paraphenylenediamine). Some organic salons use products that are PPD-free, but Danica finds that the .3-.6% of PPD in her products are better than the chemicals that other hair lines are using as a replacement.
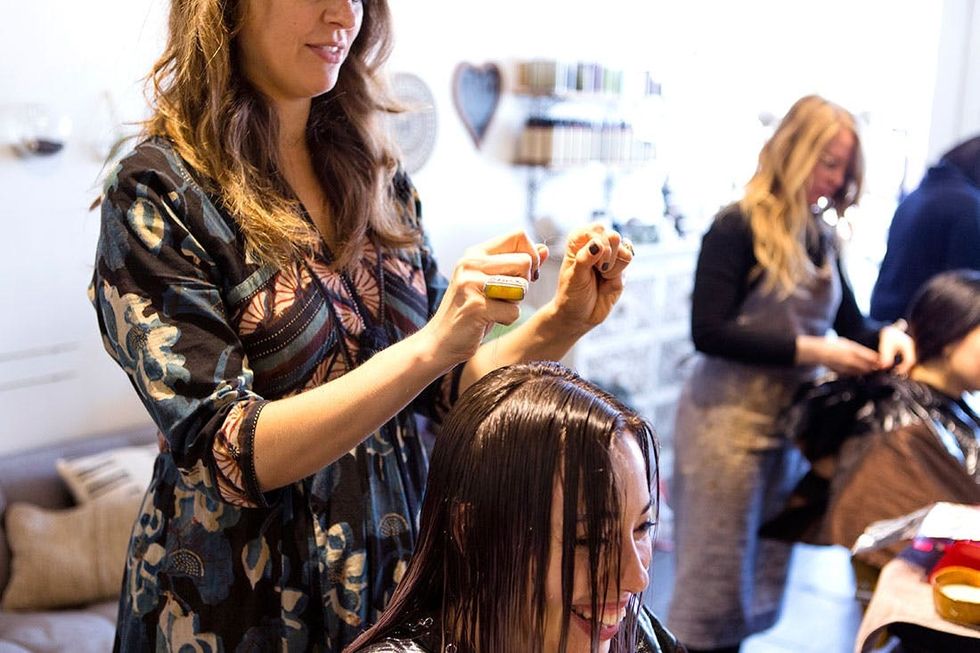
Contrary to what I thought, you’ll want to start off with clean wet hair for your perm. It’s better to take all the excess residue out of the hair for the perm solution to really set into the follicles.
After Danica washed my hair with clarifying shampoo and a protein-based conditioner, she did the wet stretch test. She took a piece of my hair and pulled at it slightly to see if it would act like a rubber band and not break. My hair passed the test, so we were able to move forward with the perm :) Saying I was nervous would be an understatement — the nerves were a mix of excitement for the results and fear of becoming bald.
Step 2: Wash
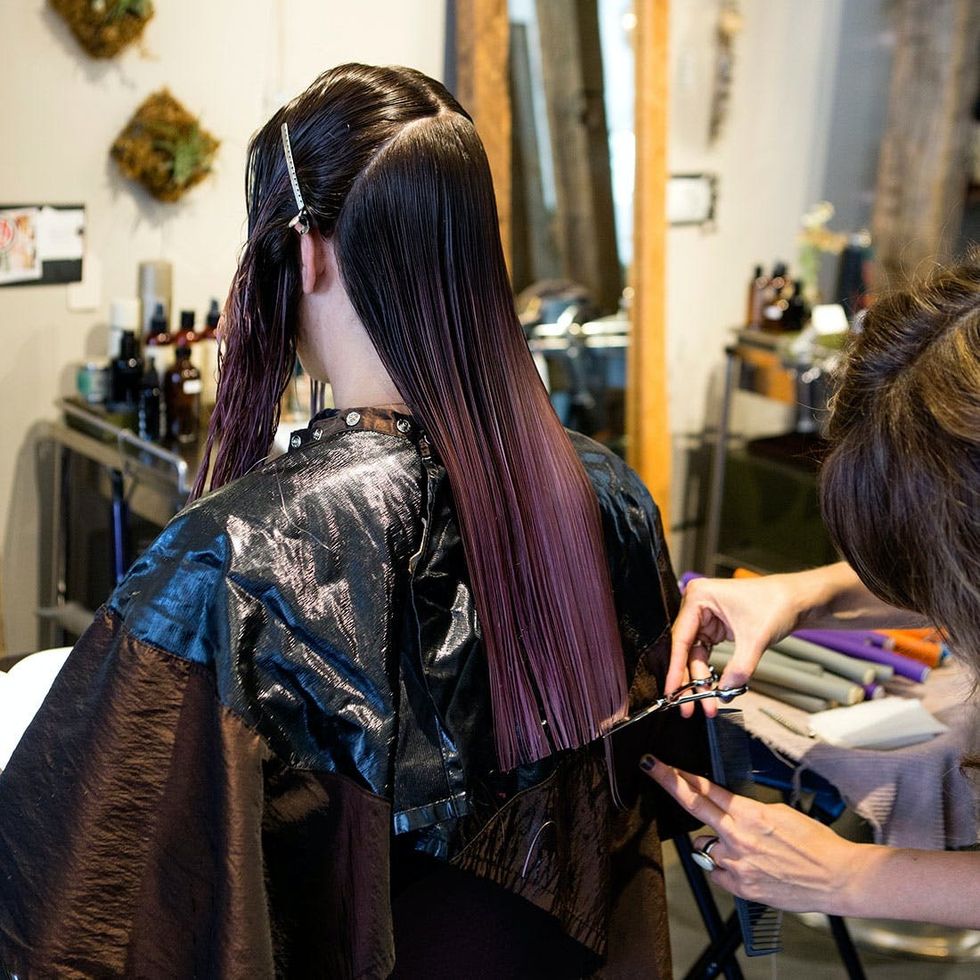
Danica was very reassuring that my hair wouldn’t fall out, which was nice. She quickly trimmed off my dead ends and then began her favorite part of the perm process — sectioning.
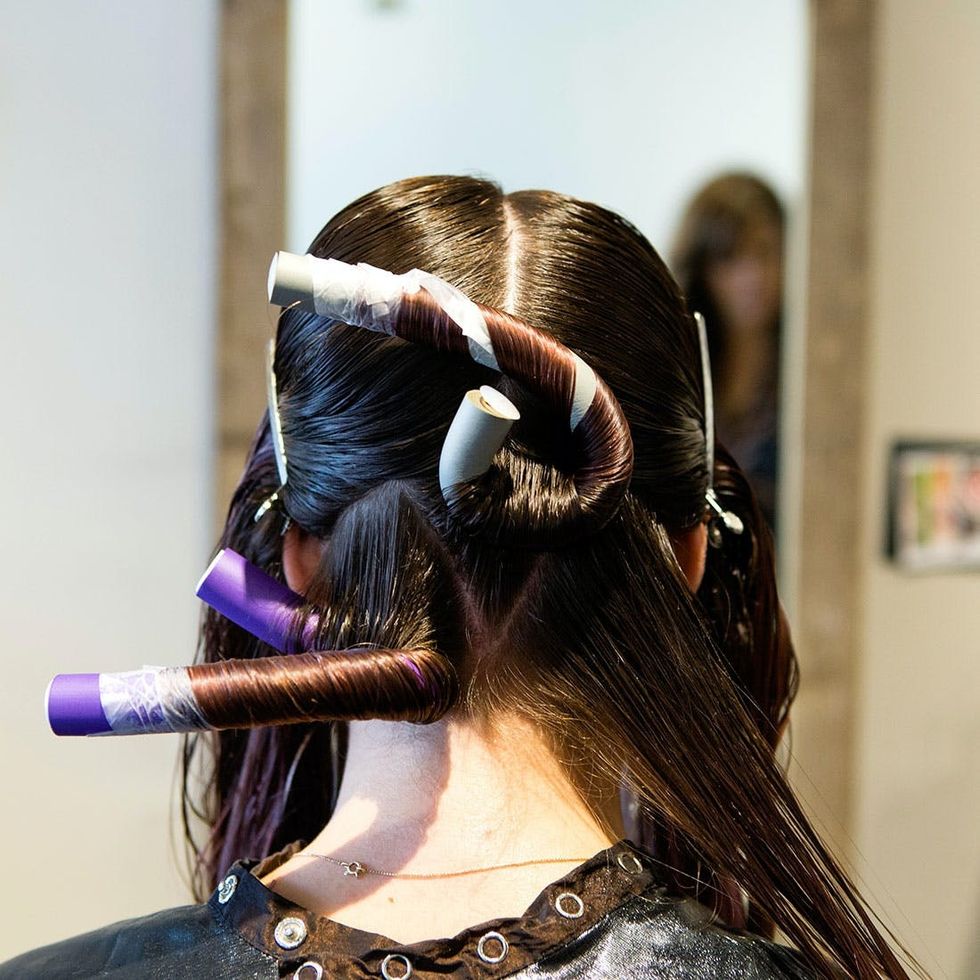
Sectioning is the key to having control over a perm. Danica used a brick-laying pattern to give the curls variation and a more organic feel. By rolling and twisting the rod, you give the curl both a spiral and a wave.
Step 3: Sectioning and Rolling
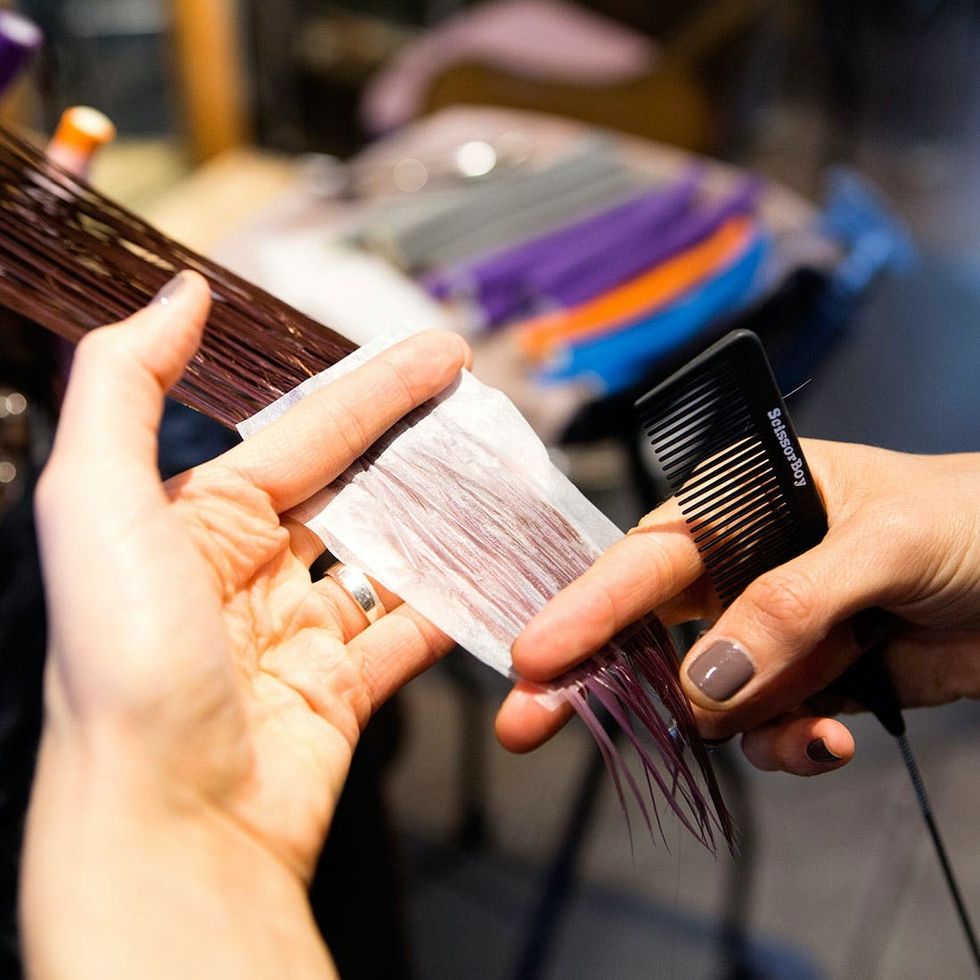
Maintaining the ends of your hair can be a bit of a nightmare when you get a perm. To help keep those ends in place, Danica used thin wrapping papers to hold the hair while rolling it up the rod.
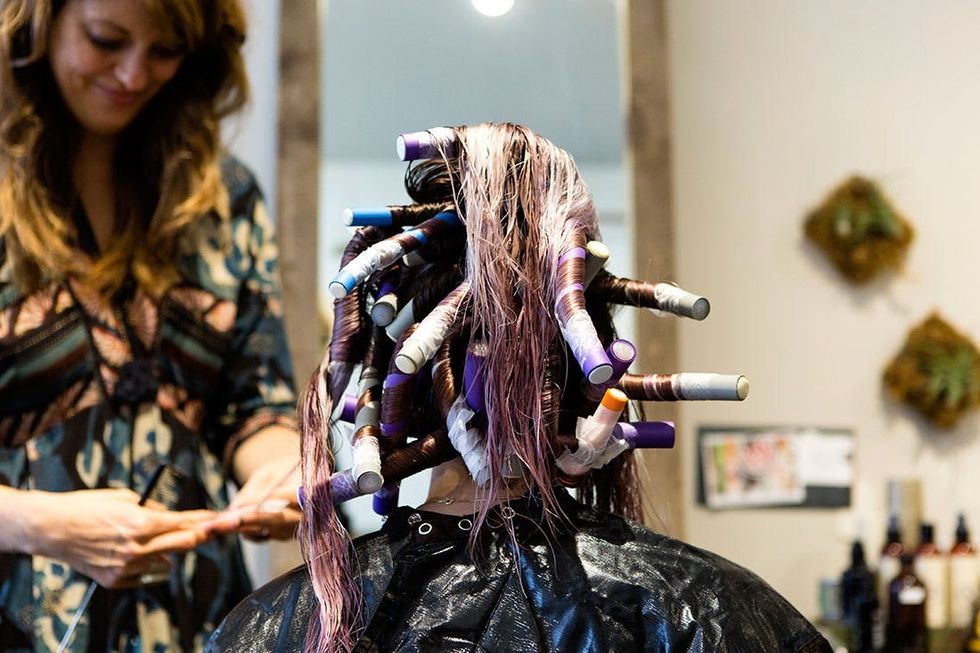
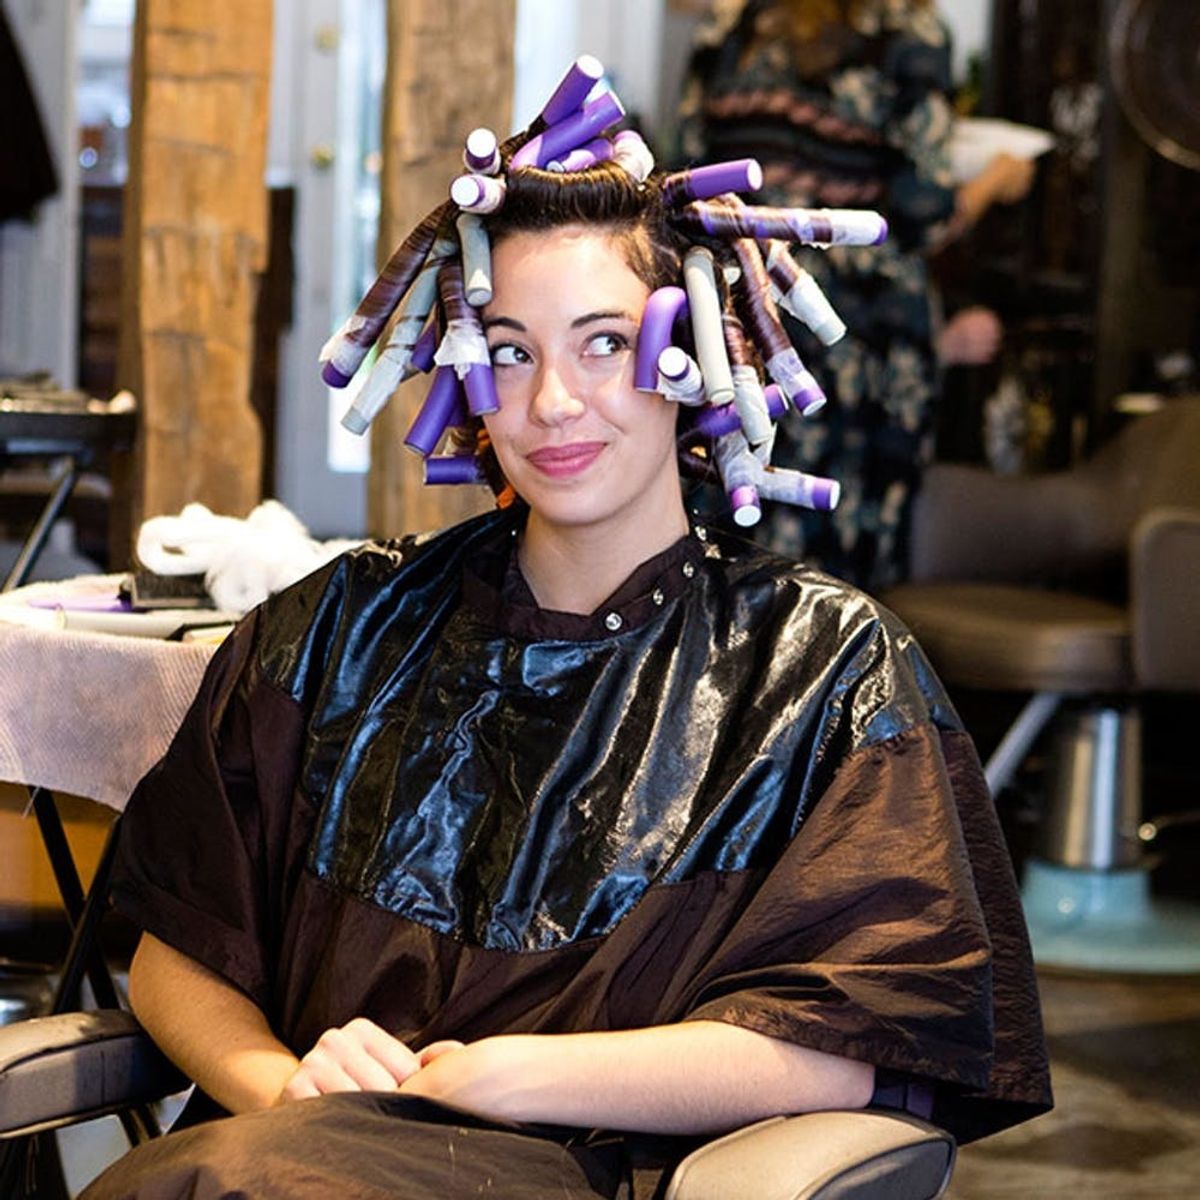
The key to getting different types of curls is this brick-laying technique: changing direction and using different sized-rods. My hair may look like crazy Medusa, but Danica assured me that she knew what she was doing ;)
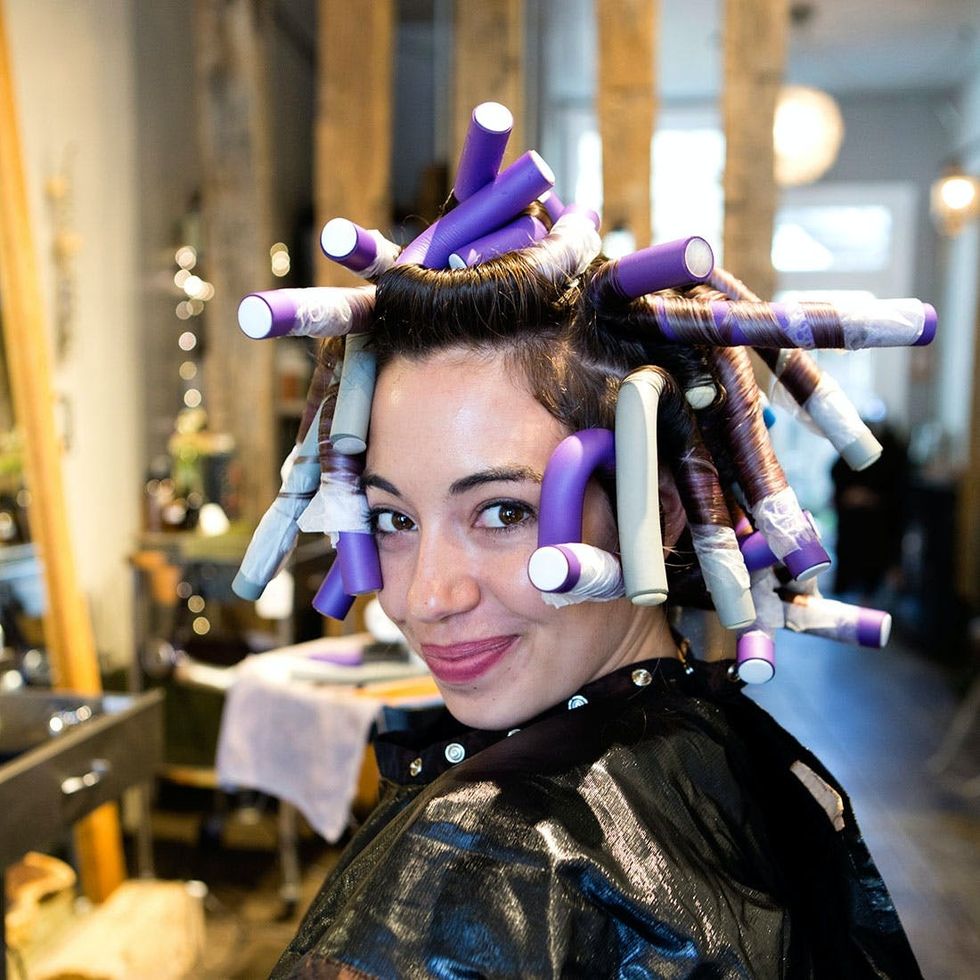
Keeping your part in mind is very important for a perm. You’ll want to gather your hair around your part and create a runway of rods. If you were to roll your hair on either side of your part, you would create a flat valley instead of volume.
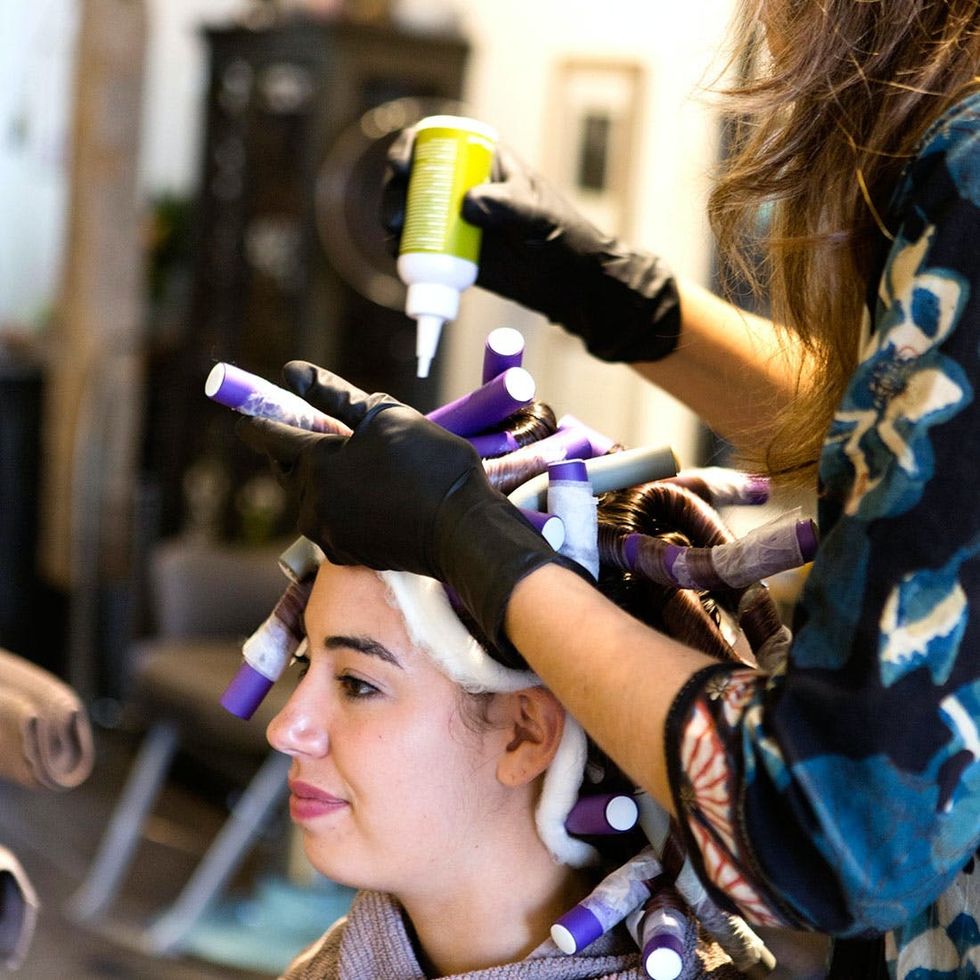
Real talk: Organic perms smell just as bad as normal perms. Danica wrapped my head in cotton and quickly poured the solution all over my head. You want to pour it on quickly so all the hair processes at the same time.
Step 4: Pour the Solution
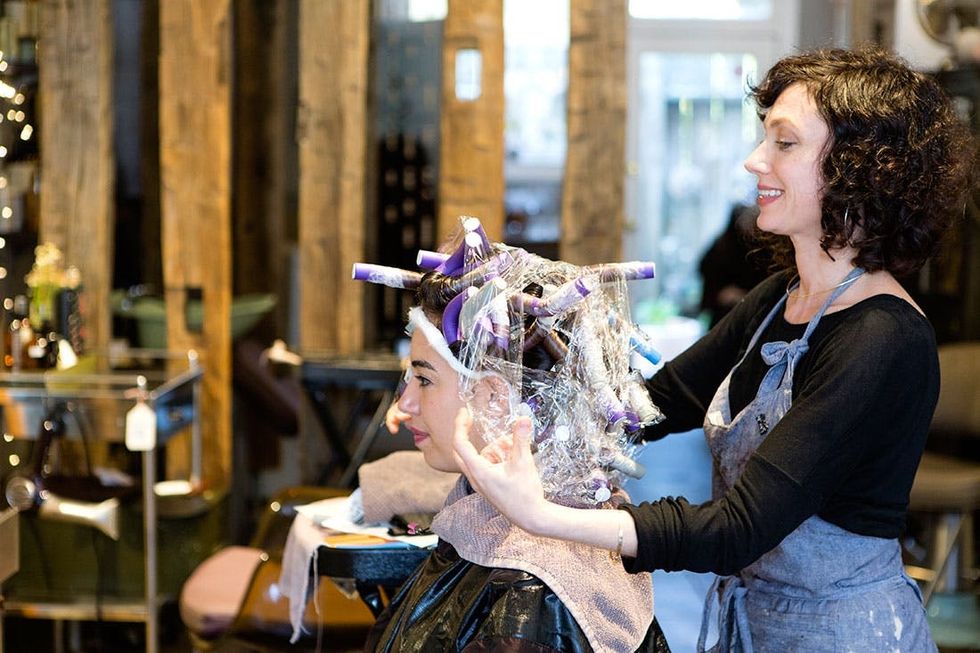
After the solution was on, Danica switched the cotton wrapped around my forehead and her assistant covered my head in plastic wrap — it might seem crazy, but it helps trap in the heat. This was necessary because I had too much bleach in my hair for me to sit under the hairdresser’s heater.
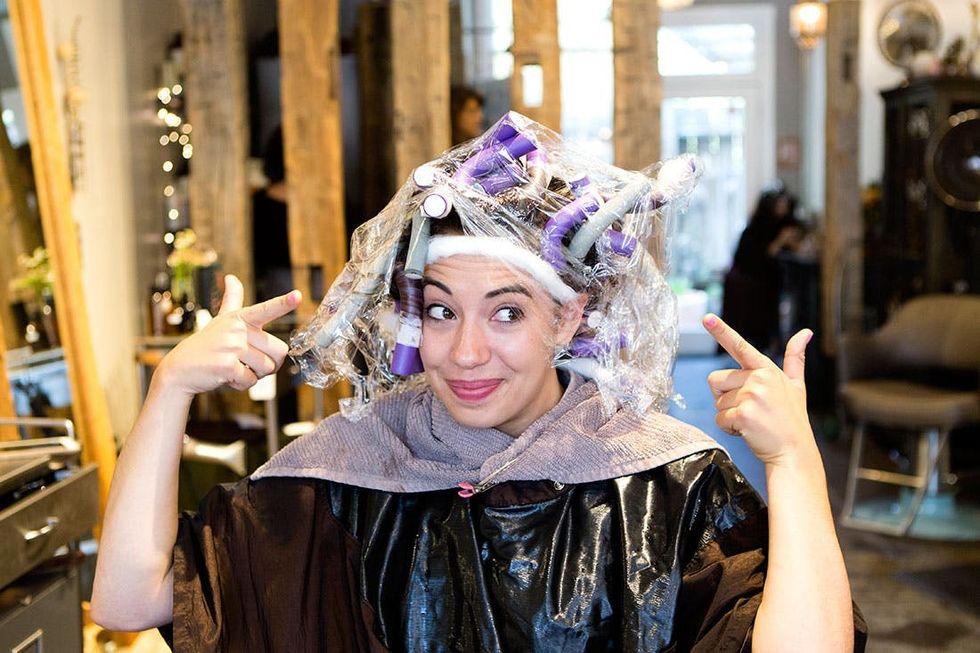
You’ll want to sit like this for 5-30 minutes, depending on the type of hair you have. Danica let my hair marinate for sixteen minutes and then did the “S-shape” test.
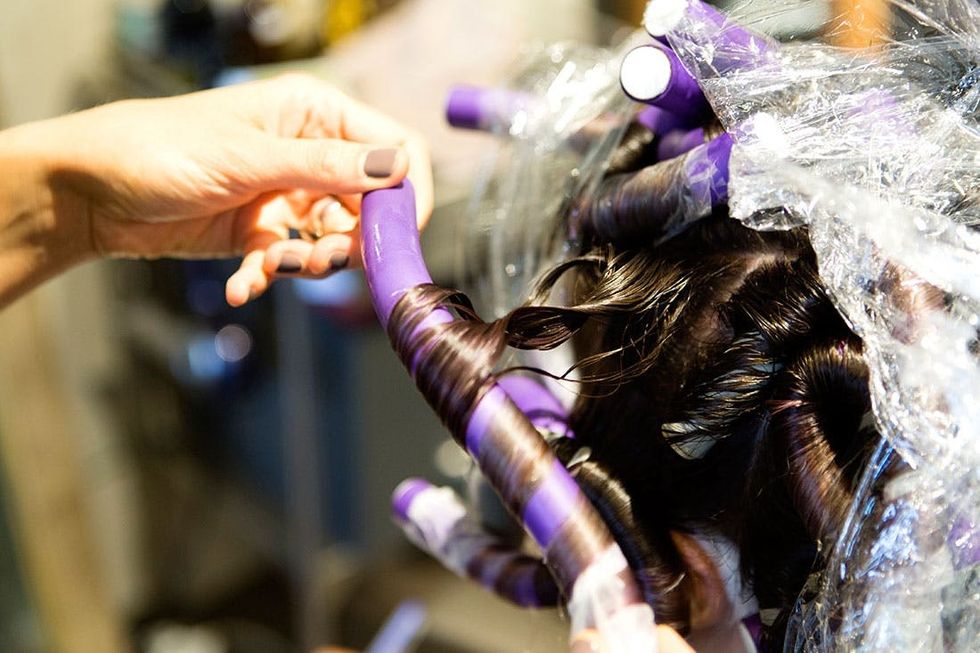
The S-shape test is exactly what it sounds like. Danica unrolled one rod to see if my hair had taken on that desired S-shaped pattern. It had! So it was time to head to the sink.
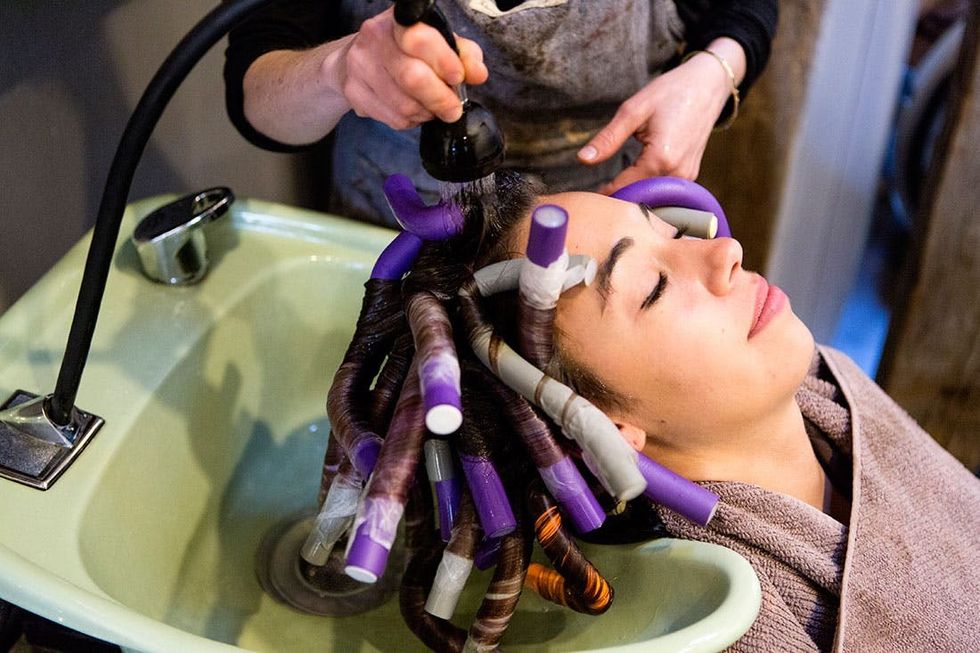
This part was one of my favorites because I got to sit with my eyes closed with a warm, lavender-scented towel on my chest while they rinsed out the perm solution for 10 straight minutes.
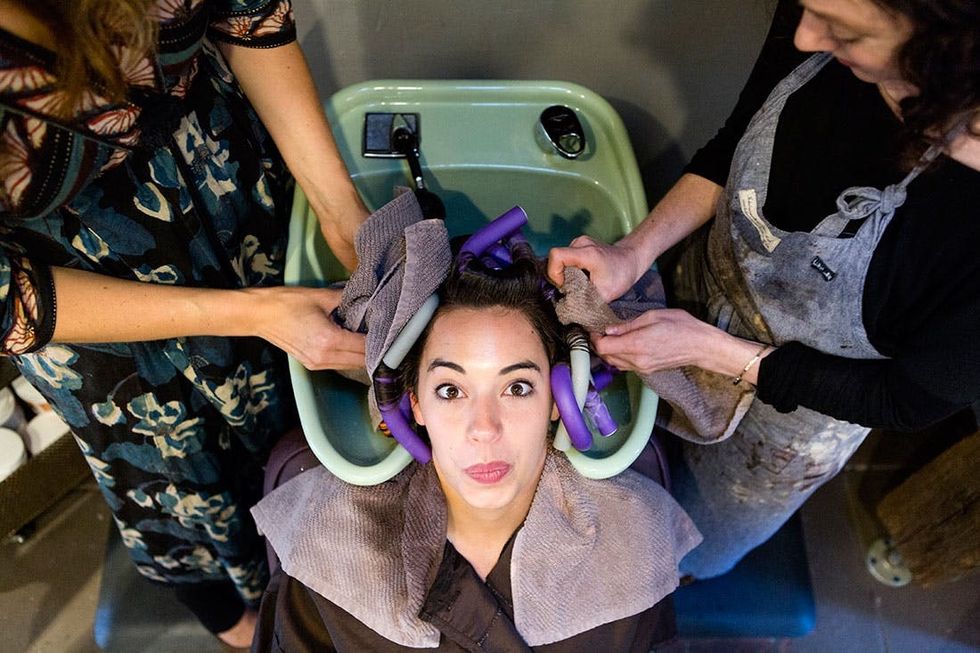
Once I was rinsed, they patted my hair dry and poured on the neutralizer.
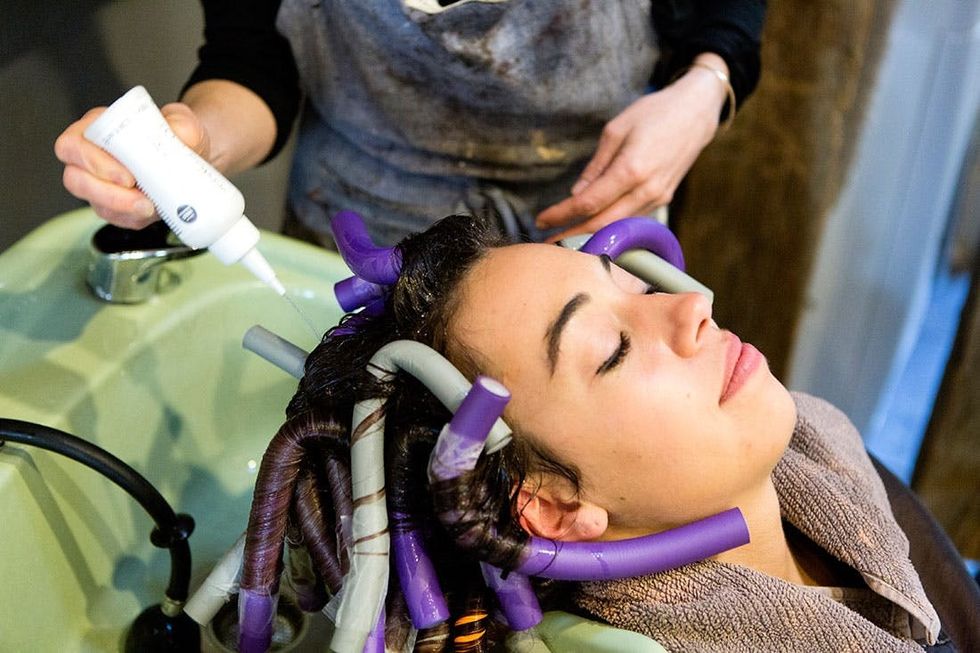
The neutralizer sat on my hair for eight minutes — unlike the perm solution, this one actually smelled good!
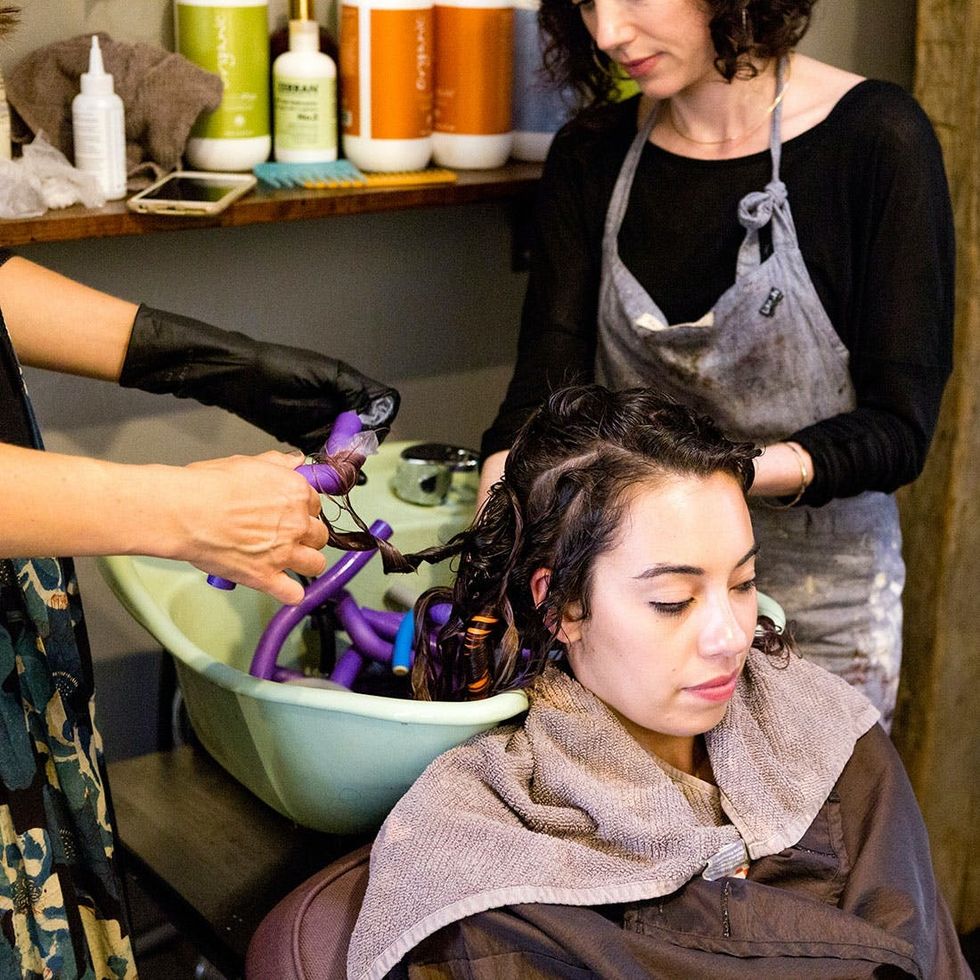
Time to unwind all those rods and wash my hair again with sulfate-free shampoo.
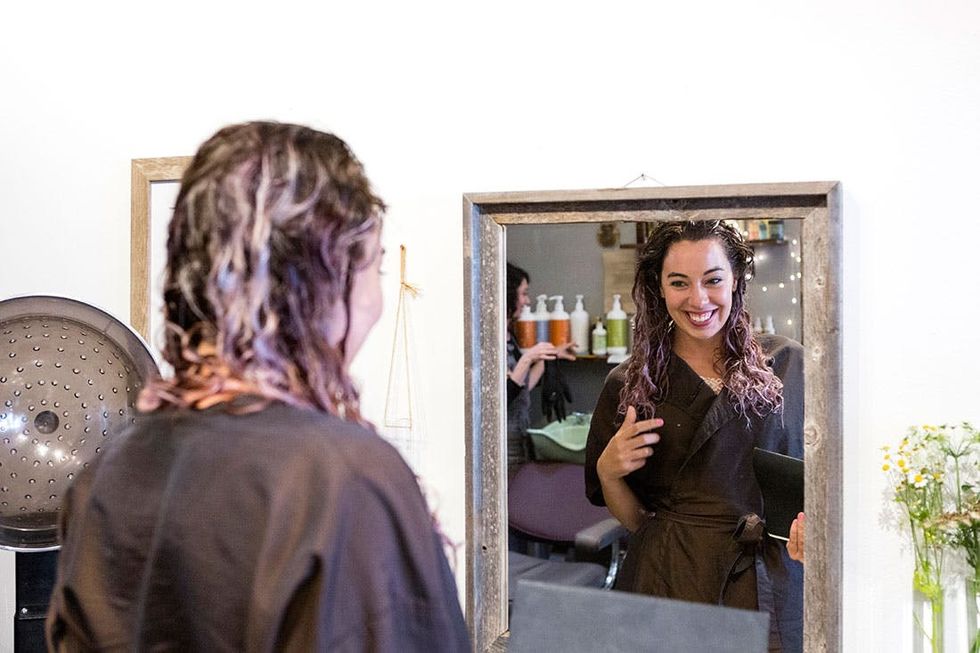
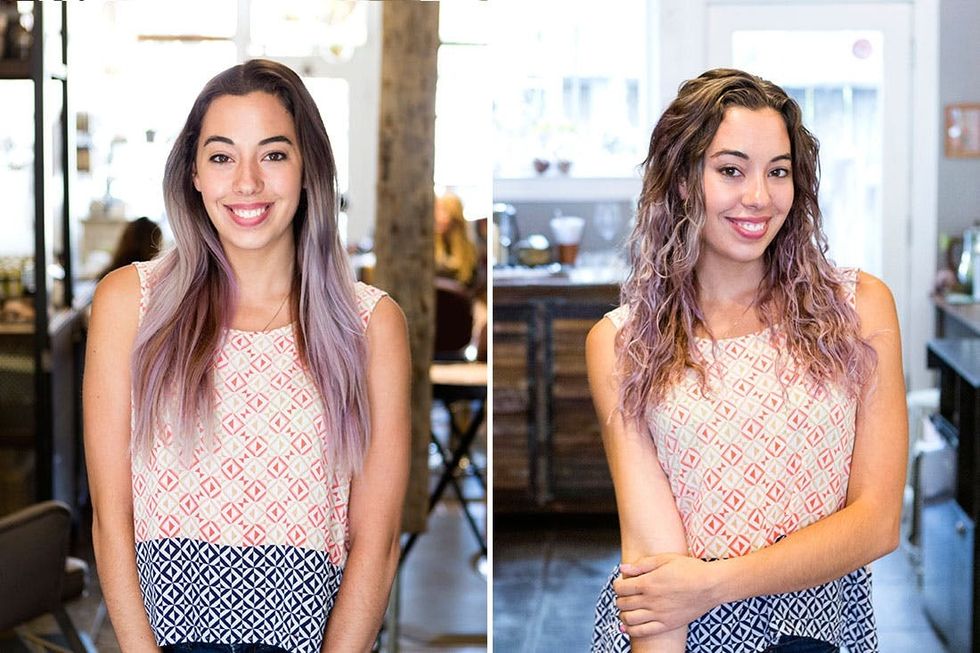
Gah!!! Check out those curls :) Purple curly hair is my dream come true! After this, I let my hair air dry without combing it. Danica told me that my poor bleached hair had been through a lot, and it was best to let it rest and not tug at it.
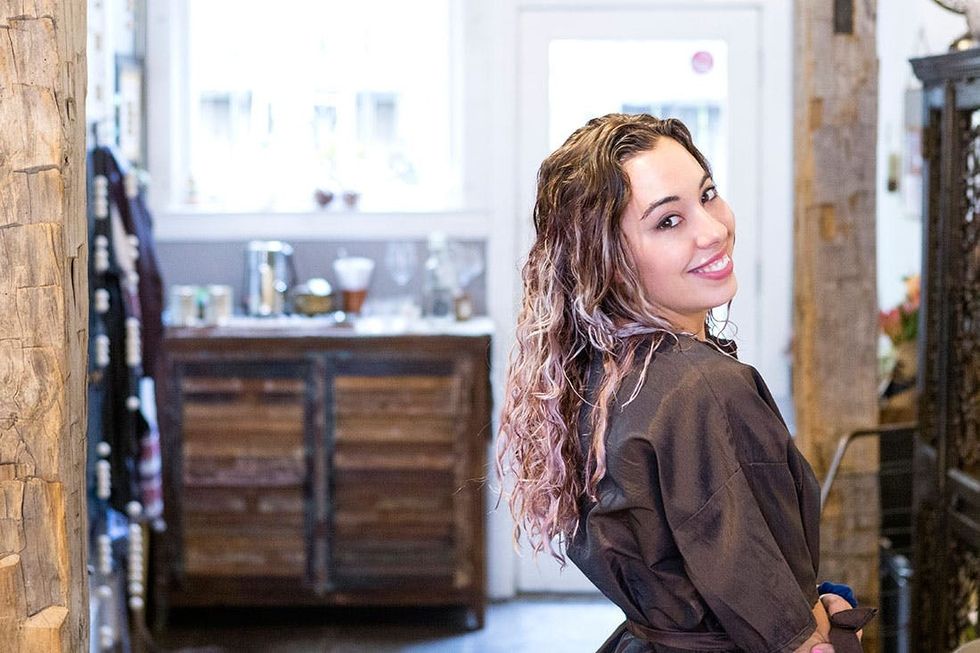
Here I am with (slightly damp) curls! It’s been a month since my perm, and my hair has sadly fallen back to its original, slightly wavy tendencies. I’ve learned that it is really hard to have both bleached purple hair and crazy ringlet curls :( I went back to Danica and she gave me a few pointers on how to style your hair to really get the most out of your curls. Grab a small section of hair, wrap it around your finger to create a loop and use a bobby pin to tack it to the top of your head. Let your hair dry in this pattern and then take down the pins and spray with hairspray. Sigh.
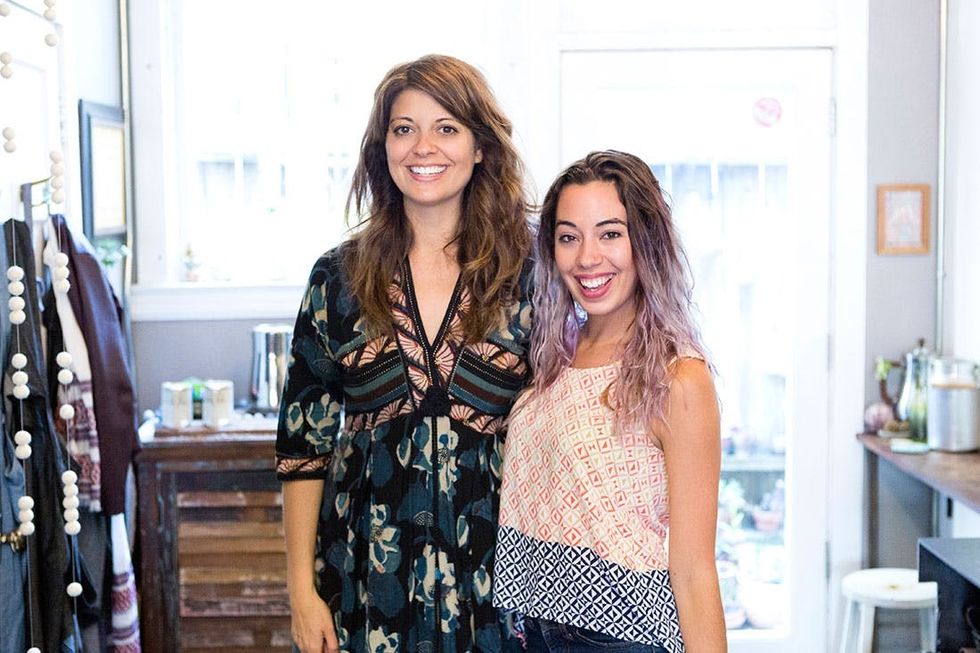
Thank you, Danica and everyone at Plum Organic Beauty for helping me achieve my purple curly hair dream — if only for a little while!


