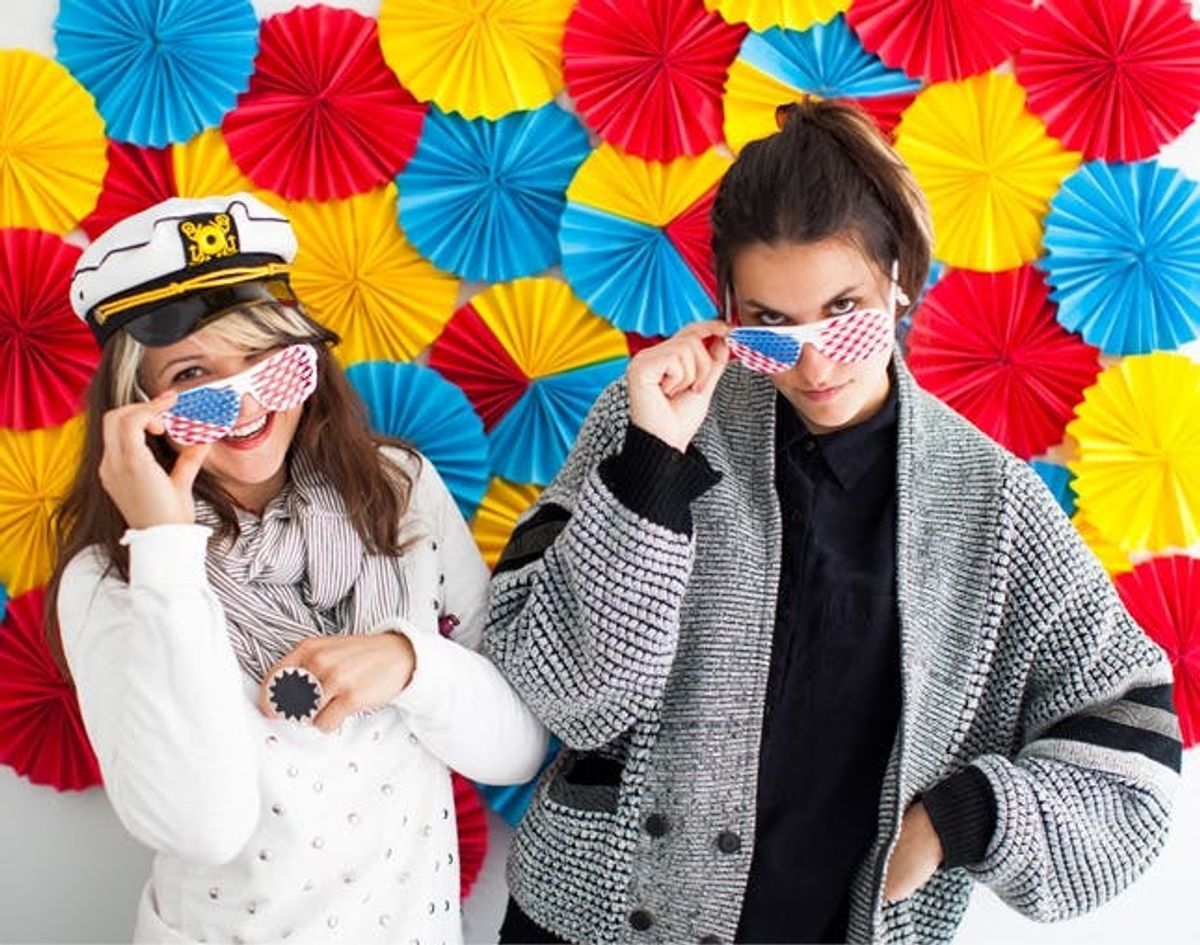
We’re always gawking at all the creative backdrops we see at weddings, birthday parties, and other festive events that involve photo booths. One thing we’ve seen over and over again is the paper rosette backdrop. It’s basically like making a whole bunch of paper fans, stapling them together, and attaching them to the wall. It’s one DIY basic we’re more than happy to teach you how to do! Read on to see just how simple it is.
The Easiest Way to Make a Quick and Creative Photo Backdrop


We’re always gawking at all the creative backdrops we see at weddings, birthday parties, and other festive events that involve photo booths. One thing we’ve seen over and over again is the paper rosette backdrop. It’s basically like making a whole bunch of paper fans, stapling them together, and attaching them to the wall. It’s one DIY Basic we’re more than happy to teach you how to do! Read on to see just how simple it is.
<br/>
 – colorful paper (we used copy paper)

Tools:
– stapler
– staples
– tape
That’s right. This is a ONE-MATERIAL project. How easy is that?

Take a piece of paper and accordion fold it all the way. We used a standard 8 1/2 x 11 inch piece of paper and folded it about 1 inch for each fold.

Fold your accordion-folded piece of paper in half.

Use a stapler to attach the inside edges to each other. We recommend two staples.

Once you have three, staple them to each other! Make sure to keep the staple ends on one side – this will be the back of your rosette.

If you’re feeling like being a perfectionist, use a piece of tape or glue in the center to bring the center points in tightly.

Repeat with as many colors as you like. Your workspace probably looks something like this. Just keep folding and stapling…

And you’ll end up with a pile of rosettes that looks like this!

As you can see, we went with bright primary colors for our backdrop.

We used tape to attach our rosettes to the wall, but you could also use thumbtacks, push pins, or little nails if you don’t mind perforating your wall a little bit.

And there it is! Now, if only you had a few kooky characters to liven things up… ;)

What cool photo backdrops have you made or seen? Share ideas with us in the comments below.


