Because customized denim is the best denim.
Here’s the Ultimate Guide to Adding Patches to Your Back to School Denim
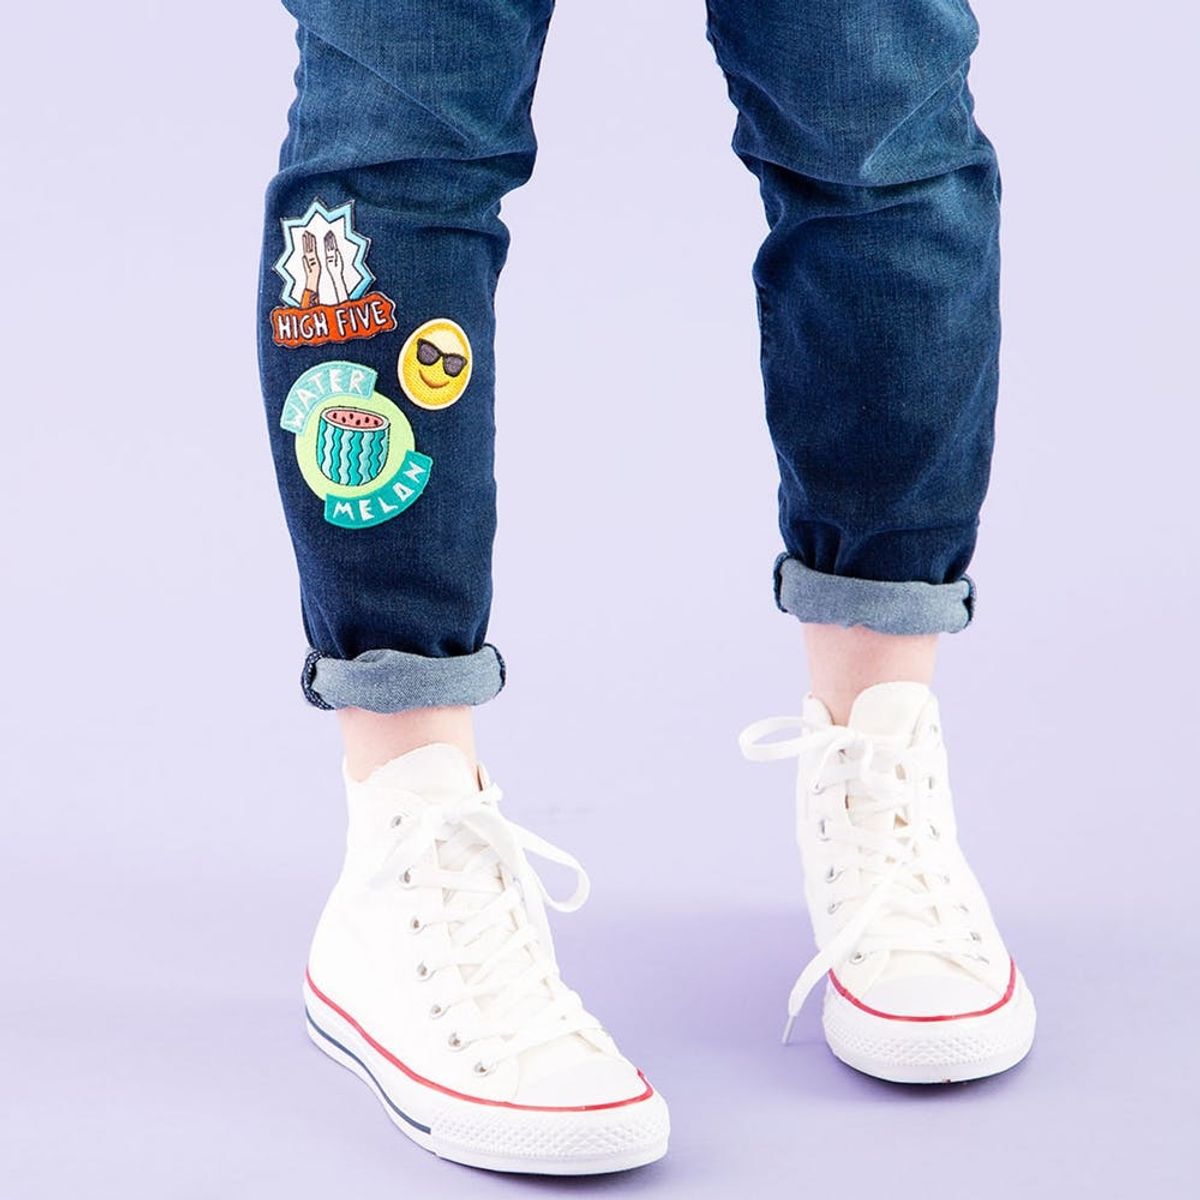
Personalization is definitely king this year, with flair pin and patch-party trends coming in with a BANG, but usually leaving a few questions unanswered. First off, where can you find awesome patches that speak specifically to you or your kid? How do you choose the right variety of shapes, colors and designs? And lastly, where are the best spots to apply them? To answer all of these questions, we teamed up with JCPenney to show you how to make some darn cute denim with their basic jeans and jackets for back to school.

Scroll down for the rundown on where to source and how to apply these trendy patches to your basic denim.
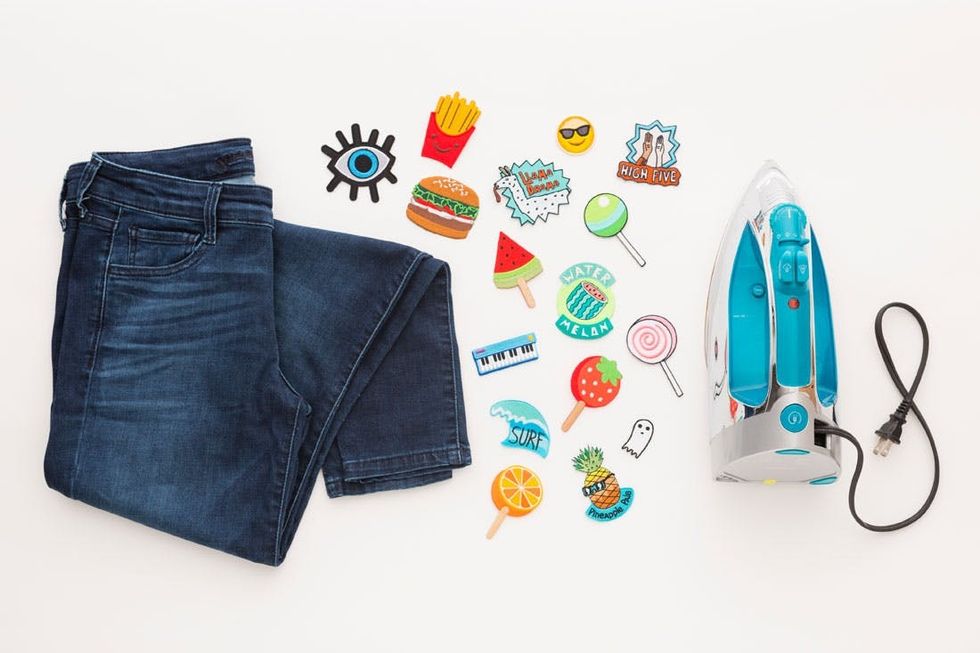
Materials:
— Arizona Jeggings
— Arizona Denim Jacket
— iron-on patches (we found these at a craft store, but thrift stores are a great resource too!)
— iron
— dish towel
Instructions:
1. Arrange your patches on top of your denim, creating little clusters here and there.
2. Cover your patches with a dish towel and iron on the cotton setting for 10 minutes or until they are completely stuck onto the denim and don’t peel up.
3. Repeat for other clusters and let your patches cool down completely before wearing.
Grab a pair of jeans, an iron and a whole mess of patches. When looking for patches, you’ll obviously want to find designs that speak to YOU personally, but also aim for a variety of colors (see how we had some patches that are primarily red, some green, blue and yellow), sizes and shapes. We found these at a local craft store, but why not look to thrift shops for your patches? Chances are you’ll find a ton of adorable, one-of-a-kind flair!
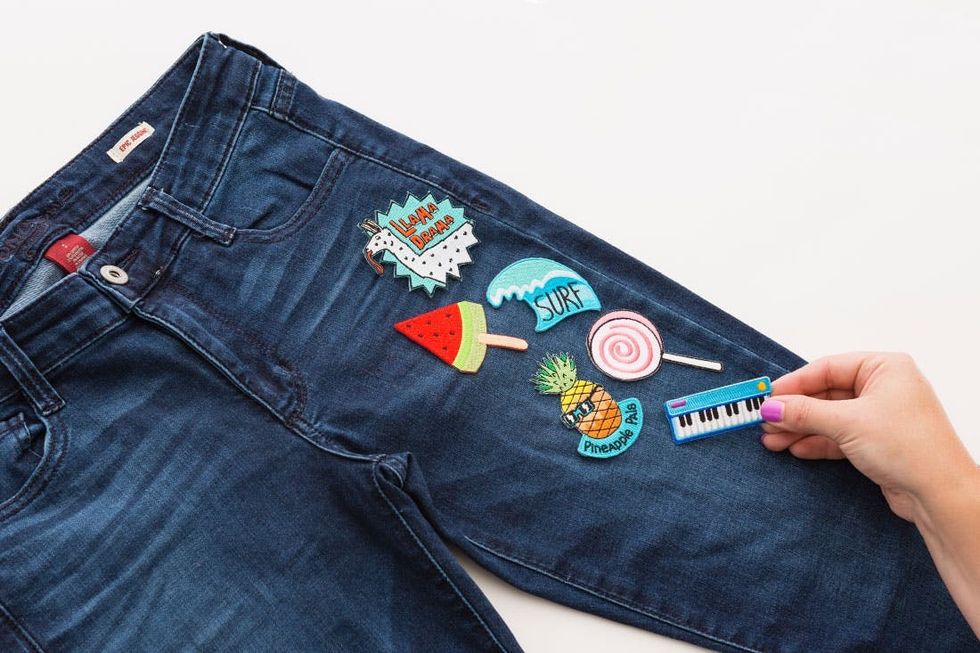
Next up is placement! Generally the best place for patches to sit is an area that will sit fairly flat and won’t bend often when worn (hint: Avoid the knees!). You also don’t want a patch awkwardly close to the crotch (for obvious reasons), so this upper thigh spot off to the side is ideal. Next, arrange a few of your fave statement patches, then place in some smaller and/or quieter patches in amongst the others. Note that we balanced all the blue colors out with a pop of red, pink and yellow to keep it interesting!
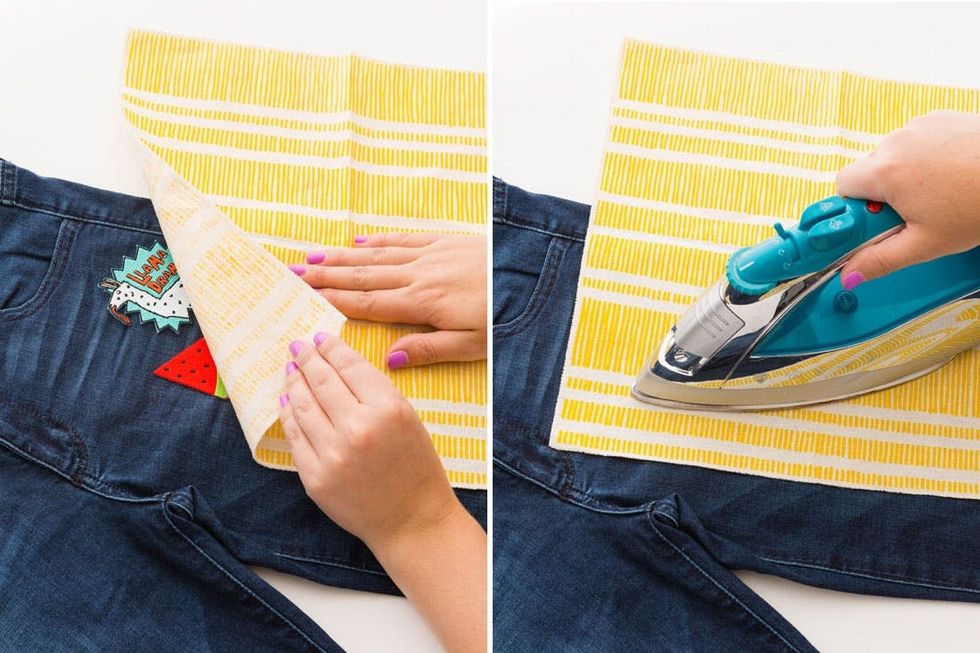
Once you’re happy with your layout, carefully lay a clean dish towel over the top of your patches and iron on the cotton setting for 10 minutes or so, or until the patches can’t be lifted up at the edges. Let cool completely before wearing.
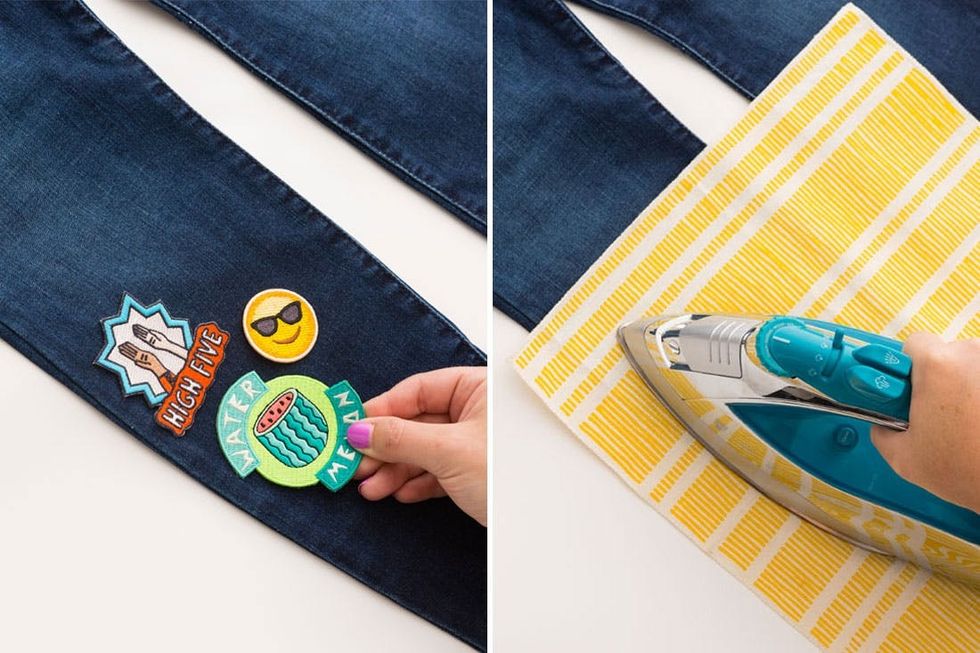
Psst — if the patches you found at local thrift stores lack back adhesive, use a bit of iron-on adhesive to attach your denim.
To balance out the patch party on the top of these jeans, we wanted to add a few more patches below the knee on the opposite leg. We also had them hug the outer seam. Again, combine a couple statement guys with a smaller secondary patch. Repeat the ironing process and you’re all done!
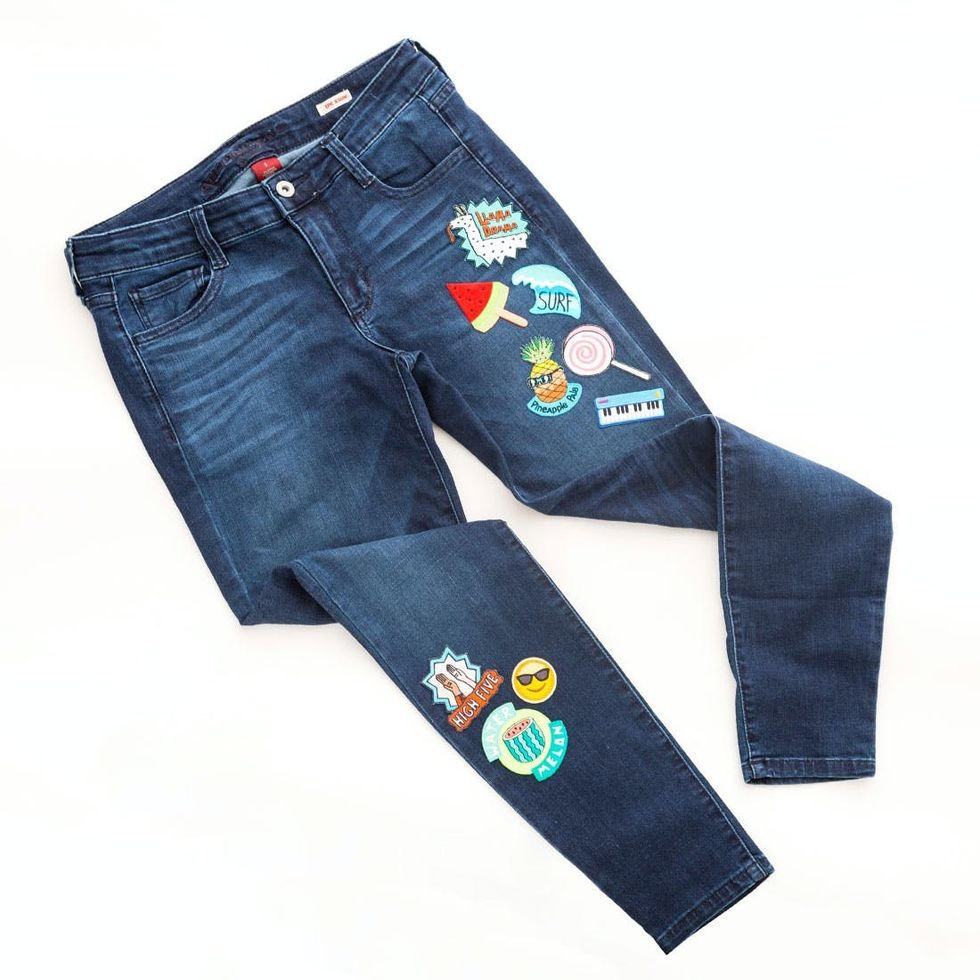
Congratulations on successfully taking your plain denim to the next level with some well-thought-out patch planning!
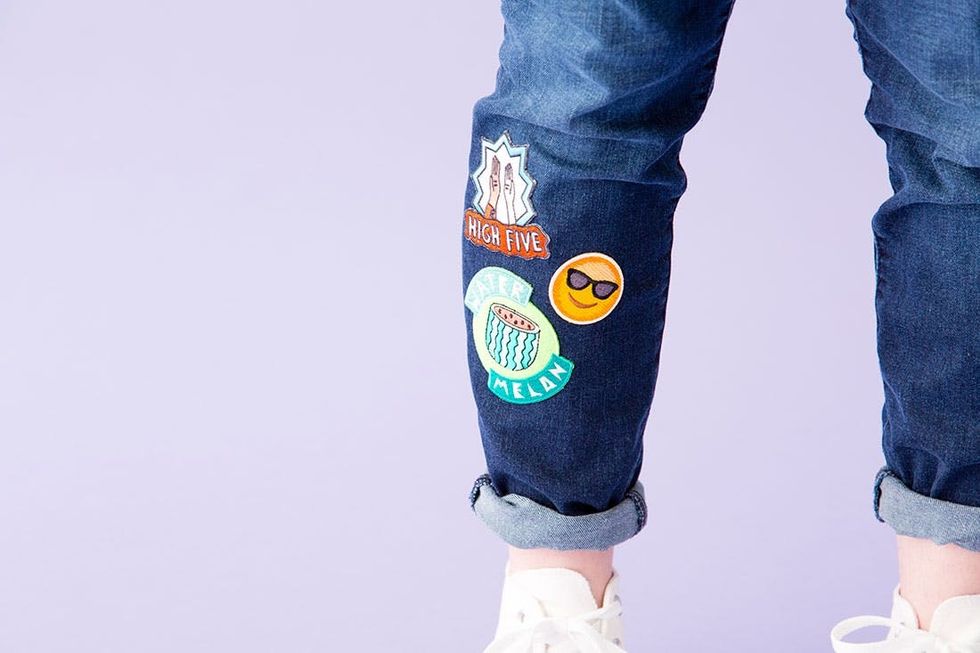
High five!
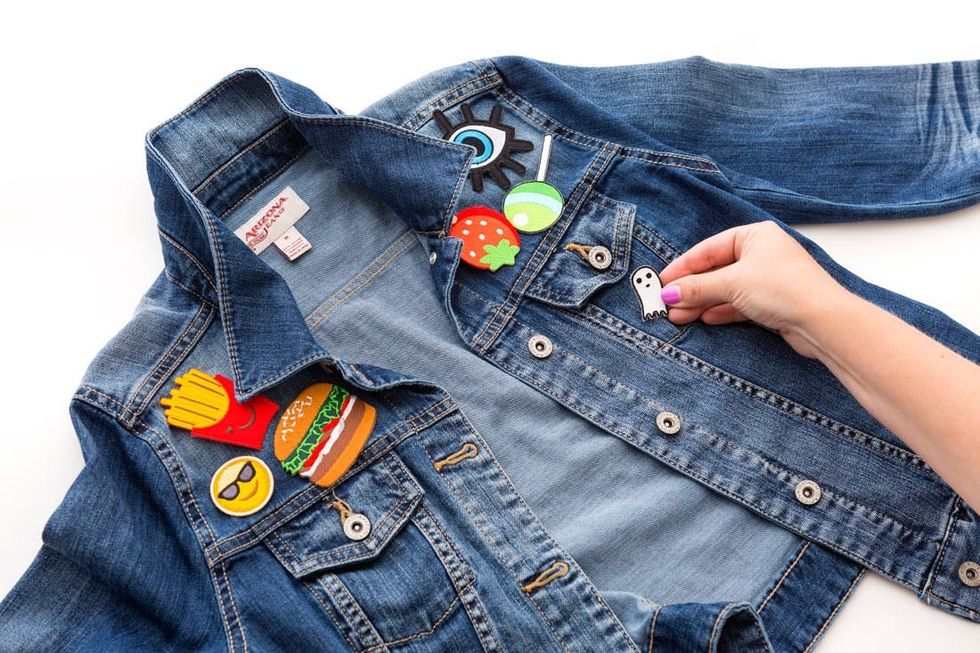
We couldn’t resist making a jacket with the rest of our patch haul. By now you know the drill, but for this jacket specifically, we scoped out these two flat panels on the shoulders (staying within the boundaries of the raised seams) and tucked underneath the collar. I kind of love how when the collar is down you’ll see some happy little fries peeking out, and then you can pop that collar for the full reveal as you wish! Next, we gave this little pocket-sized ghost the perfect home :)
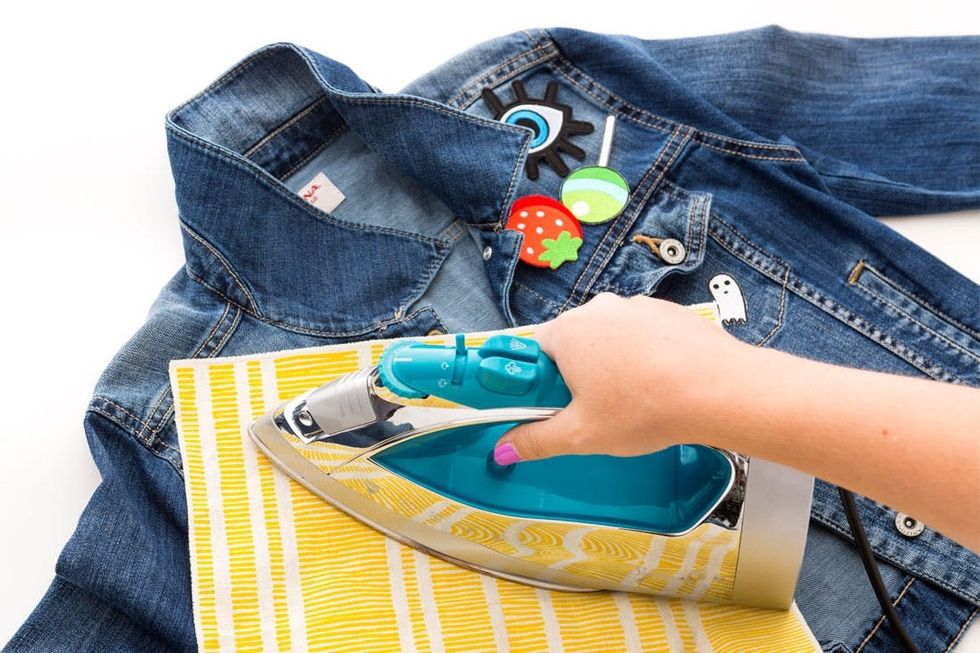
You know what to do! Give those patches a good ironing until they stick. Make sure to move the collar out of the way so you don’t iron it into a weird position, and try to avoid any metal rivets and buttons if you can.
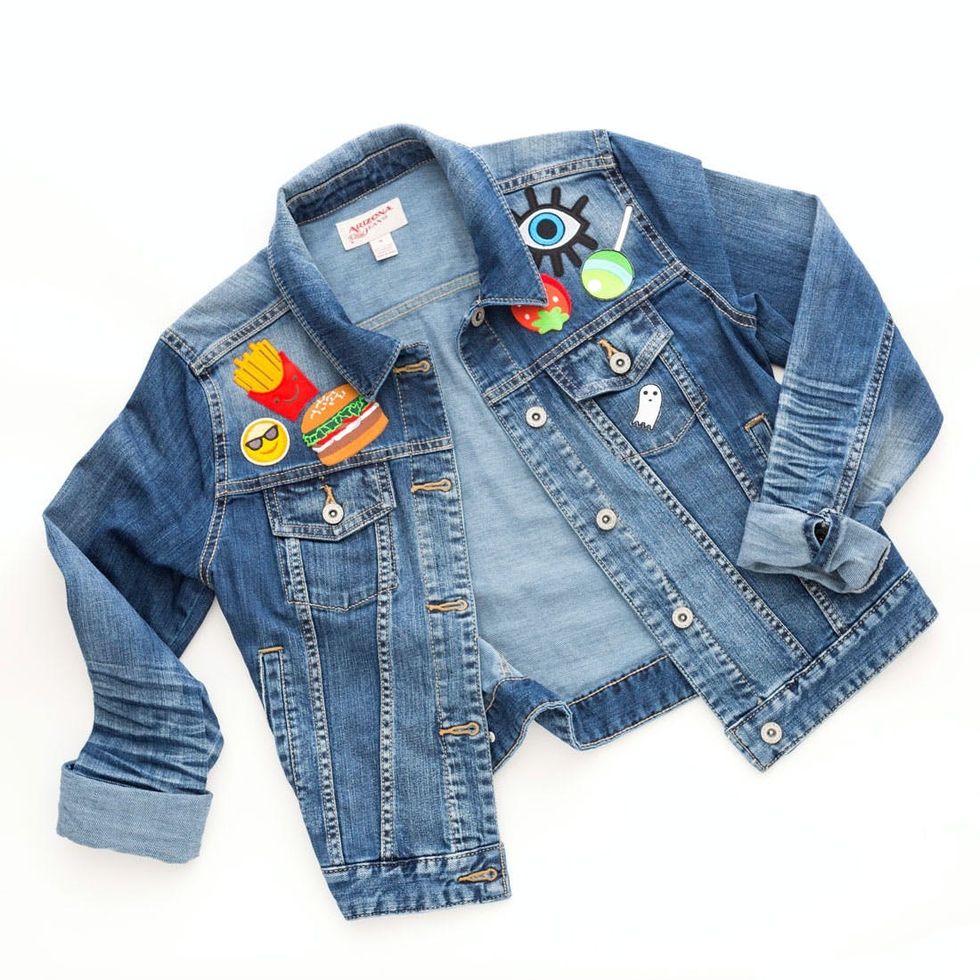
And here’s the end result! Pat yourself on the back for a magnificent patch layout.
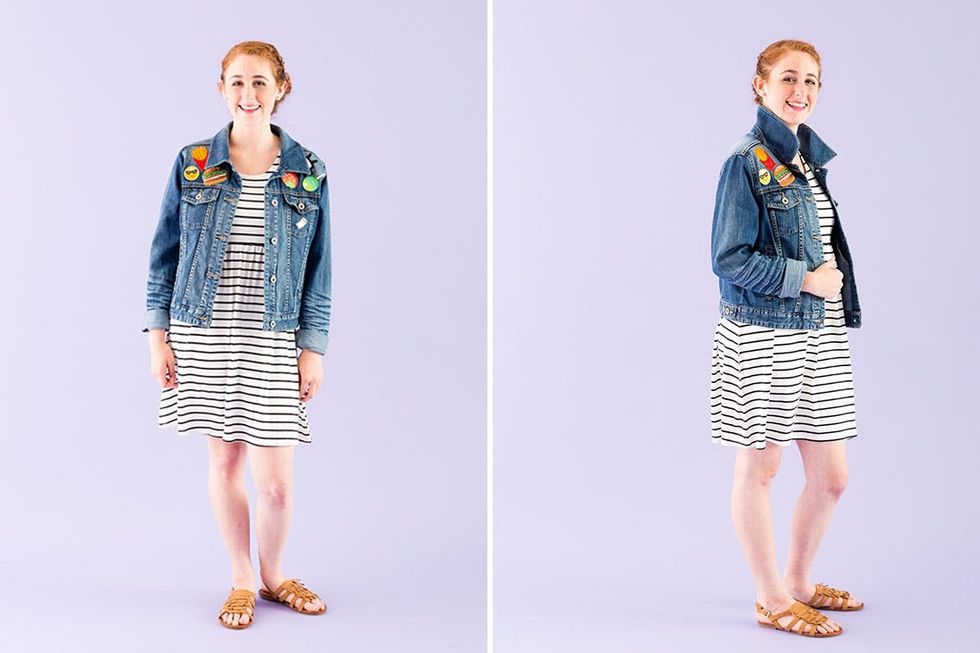
Lookin’ good.
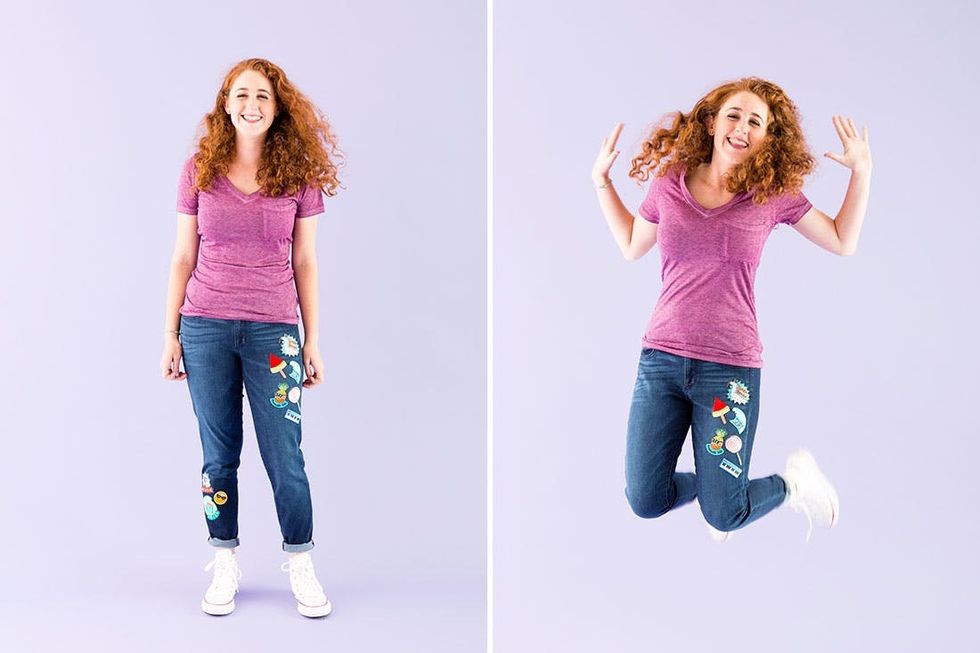
Whether buying or DIYing, patched denim is bound to elevate that jump shot ;)


