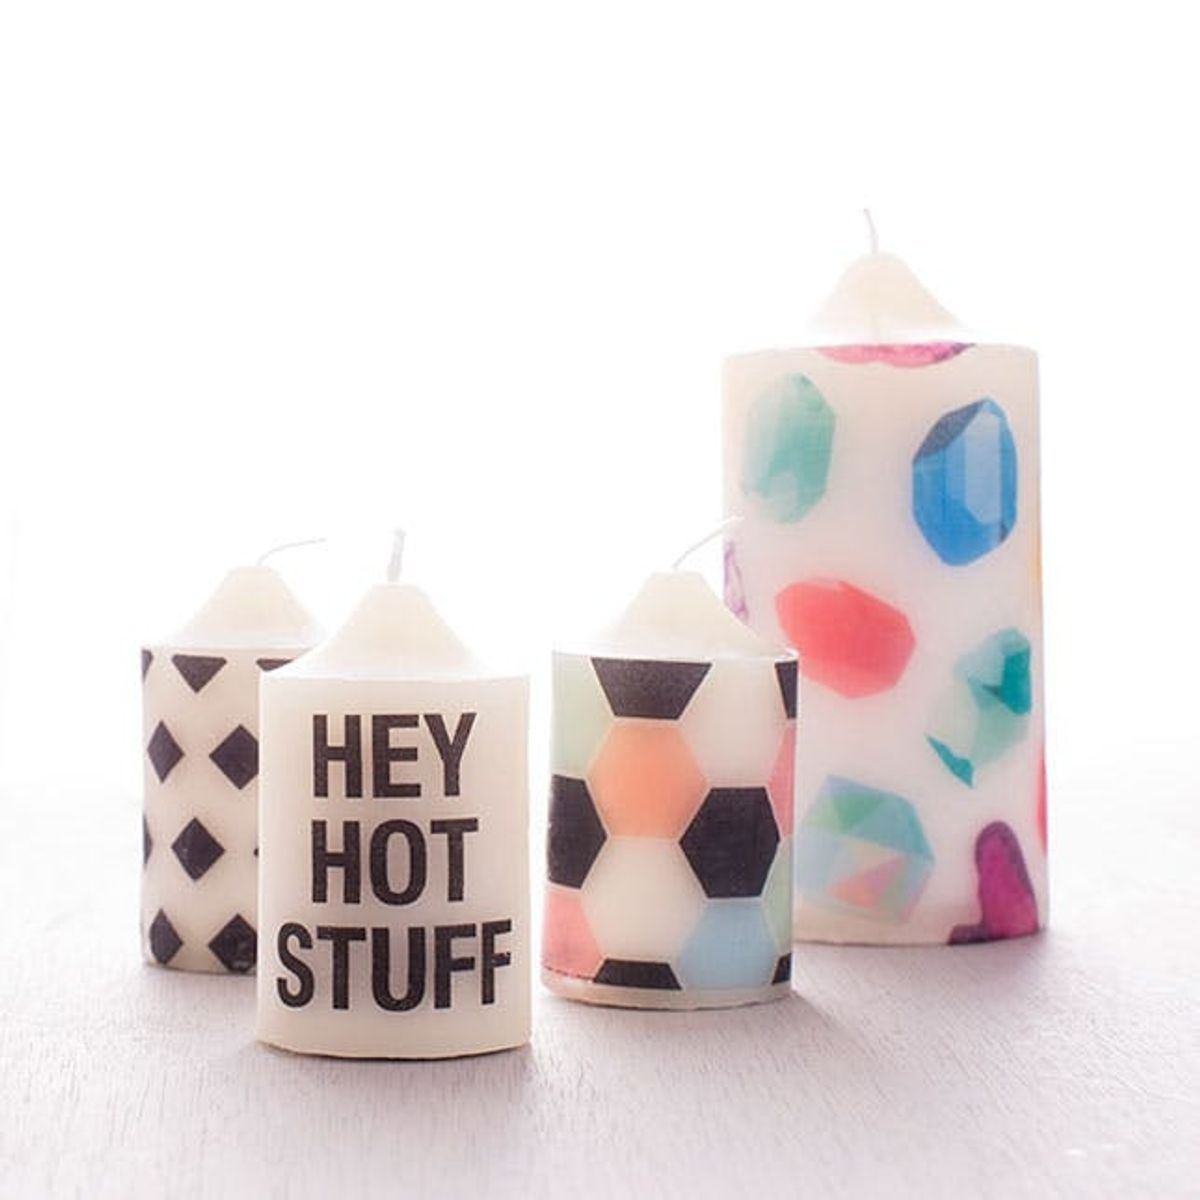
Hey, hot stuff.
How to Make Patterned Candles in Under 10 Minutes


Readers, listen up. By the time you finish reading this post you could have made three of these AMAZING patterned candles. Yes, this DIY is that quick and gives flawless results. Want to know the best part? We’ve provided you with five amazing patterns and bold typography sayings to create jaw-dropping pillar candles. Alright, let’s get making:

Materials:

– white or ivory candles
– white tissue paper
– printer paper
– parchment or wax paper
– Candle_Print_outs
Tools:
– tape
– scissors
– heat gun or hairdryer
Instructions:
1. Cut a piece of tissue paper a little larger than 8.5 x 11 and tape it to the printer paper.
2. Print out your desired pattern to the tissue paper.
3. Cut the tissue paper to fit the size of your candle.
4. Wrap in parchment paper and use the heat gun to melt the tissue paper onto the candle.
Cut out a piece of tissue paper that is a little larger than 8.5 x 11 inches and then tape to the printer paper. We suggest placing tape at all corners, since this is where the paper will first enter the printer. If you don’t tape it down well enough, the tissue paper will rip — this happened to us a couple times.

Cut your tissue paper to fit the size of your candle.

Make sure your tissue paper is facing ink side up and then wrap in parchment paper. Use the extra parchment as a way to grip the candle. Hold the heat gun in front of the candle and watch the tissue paper melt into the candle wax. You will notice it starting to look wet. If you don’t have a heat gun, your hairdryer will work just fine. It will just take longer for the tissue paper to melt into the candle.

You will have to rotate the candle and parchment paper a couple times to make sure all sides have been melted on.

If you didn’t trim the whole piece of tissue beforehand, don’t worry. It will snip right off.

If bold type is more your style, then this printable is for you. Just like a temporary tattoo, cut out the phrase you want to put onto your candle.

Lay in place and then wrap in parchment paper. Use the heat gun to melt it into place.

This one took probably two minutes total — not joking.

We are still in shock over the quick process and amazing results. We can’t wait to turn all of our candles into fun patterns!

Gems FTW! We love how the white tissue paper melts right into the candle for a seamless look, but try playing around with different colors. A nice teal tissue could give great color blocking candle results!

No joke, everyone in the Brit + Co office is going ga-ga over these candles. You need to make a set for yourself ASAP.


