It’s literally as easy as pie.
Master the Perfect Pie Crust Before the Holiday Season
Most pie crust recipes are virtually the same. Cut up some butter, toss it into your flour, and add a teeny bit of water to transform it into a shaggy mess. Bring it all together, and roll it out. Salt, sugar, vanilla beans, and citrus zest are all well and good, but they’re just the window trimmings. With such a simple formula, why is homemade crust such a scary beast? To help you up your pastry game in time for the holidays, we’re diving into baking 101 and sharing all our secrets for the flakiest, most buttery pie crust. Grab your rolling pins!
1. Start with the right ingredients. This is the time to splurge on the fancy butter. It’s the primary ingredient here, so make sure you choose something with a flavor that will shine. If possible, opt for a European style, which has a higher fat content (AKA higher level of deliciousness). Flour can go stale or even rancid, so check that yours is fresh. All-purpose or pastry flour are the best options for a tender crumb.
2. A tool kit is important. You don’t need a lot of fancy equipment, but a few basic tools will make your life easier. You’ll need to start with a rolling pin, of course. Opt for the classic straight variety, which allows for the best control and is the most versatile. Many recipes call for mixing the dough in a bowl and then turning it out onto a floured surface to bring it together. A metal bench scraper is helpful for gathering up sticky bits of dough, and later for cleanup. A wide, metal bowl is also essential for easy mixing. When it comes to pie dishes, avoid fancy, decorative stuff and look for the basic metal or glass types. They are best for even heat distribution and a crisp bottom.
3. Keep it cool. For the flakiest, crispiest crust, keep all of your ingredients as cold as possible. Butter that gets too warm during the mixing will yield a greasy crust, so avoid letting it sit at room temperature for any extended amount of time and return to the fridge as needed to keep it chilled. You can also chill your flour, mixing bowl, and rolling pin if you think your kitchen is on the warmer side.
4. It’s all in the mix. When you add your butter into your flour, take care not to over mix. You want to end up with pea to almond sized shards of butter, coated in flour. These larger shards result in a flakier crust. When you add the water, use just enough so that you can bring the dough together by pressing down on it with the palm of your hand. Too much water will develop the gluten in the flour, yielding a tough crust.
5. Give it a rest. Handling your dough also develops gluten, and we’ve already talked about what that does to pie crust. After you’re done making your dough, give it at least 30 minutes to rest in the fridge before rolling it out. You can also give it a rest at any point in the process if you feel like it’s getting too warm or crumbly.
6. Get rolling. When you get ready to roll, lightly flour a large, clean, surface. Your dough should be cool yet malleable, so you may want to give it a minute or two outside of the fridge. You can also dust a very tiny amount of flour across the surface of your dough to prevent your pin from sticking. Start at the middle and push outwards, applying even pressure the entire time. Carefully slide your hand between the dough and your surface, making sure nothing sticks, give the whole piece of dough a quarter turn, and roll again. Repeat this middle-out and turn system until you have your desired size and shape.
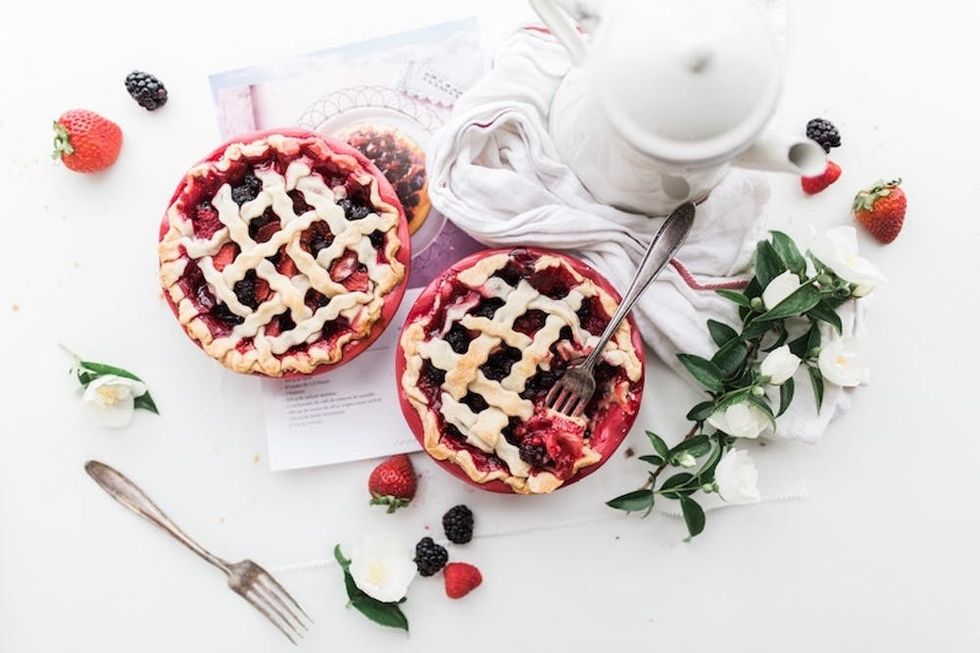
7. Don’t stress about your decorating. YouTube is your friend for baking how-to videos. There are tons of instructions for everything from crimping to lattices to braids. You can also look for pie stamps, which are basically cookie cutters for pie dough. Use them to decorate (ahem, cover mistakes) on your top crust. If that still feels overwhelming, just look for a pie recipe with a crumb topping and skip the top crust altogether.
8. Chill out. Freezing your pie for a few minutes before baking helps it hold its shape as it bakes. You can stick the entire assembled pie in the freezer for 20-30 minutes.
9. High heat is your friend. Start with a super hot oven to seal your dough’s shape (an oven that isn’t hot enough will simply melt the butter before baking it, and all that careful work will collapse in the tin). When the crust looks dry and set, lower the temp to continue baking the pie filling. You can also cover the pie loosely with tin foil at this point, if your crust begins to get too brown.
10. Practice makes perfect. At the end of the day, nothing helps like practice. Go easy on yourself and know that mistakes will happen. You can save money and time by making half batches of dough and using them for homemade pop tarts or hand pies. Whatever you do, chances are that you’ll find plenty of people willing to taste your accidents.
Ready for more baking projects? Follow us on Pinterest!
(Images via Jennifer Pallian/Unsplash, Jennifer Pallian/Unsplash, Brooke Lark/Unsplash)


