Show-stopping eyebrows in minutes.
The Top 5 Best Practices for Perfectly Bold Brows

Ladies, we live in the golden era of natural beauty. From full eyebrows to the no-makeup makeup look, it has never been more popular to embrace what your mama gave you and flaunt your flawless self. What’s even more exciting about this fuss-free trend is that it works for everyone, because it’s all about little enhancements to your everyday look. Second up in our beauty breakdown series, we present to you the top five brow practices you should add to your beauty bank so you can achieve those bold and beautiful arches that say “I woke up like this” instead of “I penciled these in.”
Step 1 – Don’t Be Intimidated by the Tools: There are so many different products to choose from between pencils, gels, wands, powders and fibers. Start off with something user friendly like a dual-sided pencil/gel wand. This baby goes on like a cream and finishes like a powder for a simple yet stunning look. My current obsession is the TrèStiQue Brow Pencil in Americano ($25).
Step 2 – Get the Right Hue: Most people assume that bold brows call for products that are a shade darker than normal, which is certainly an option. But if it is a natural bold brow you’re after, it’s best to keep the hue pretty true to the color of your roots.
Step 3 – Know Your Angles: You can determine the outline of your eyebrows by establishing a few guidelines using the end of your makeup brush with three angles.
Starting Point – From the outside of your nose straight up to your forehead — anything beyond that line you can tweeze, wax or just not accentuate.
Highest Point – From the outside of your nose through the center of your iris — this is where the arch of your eye should be accentuated.
Outer Edge – From the outside of your nose to the corner of your eye — anything on the outside of this could be tweezed or waxed, or have that be where your brow comes to the point.
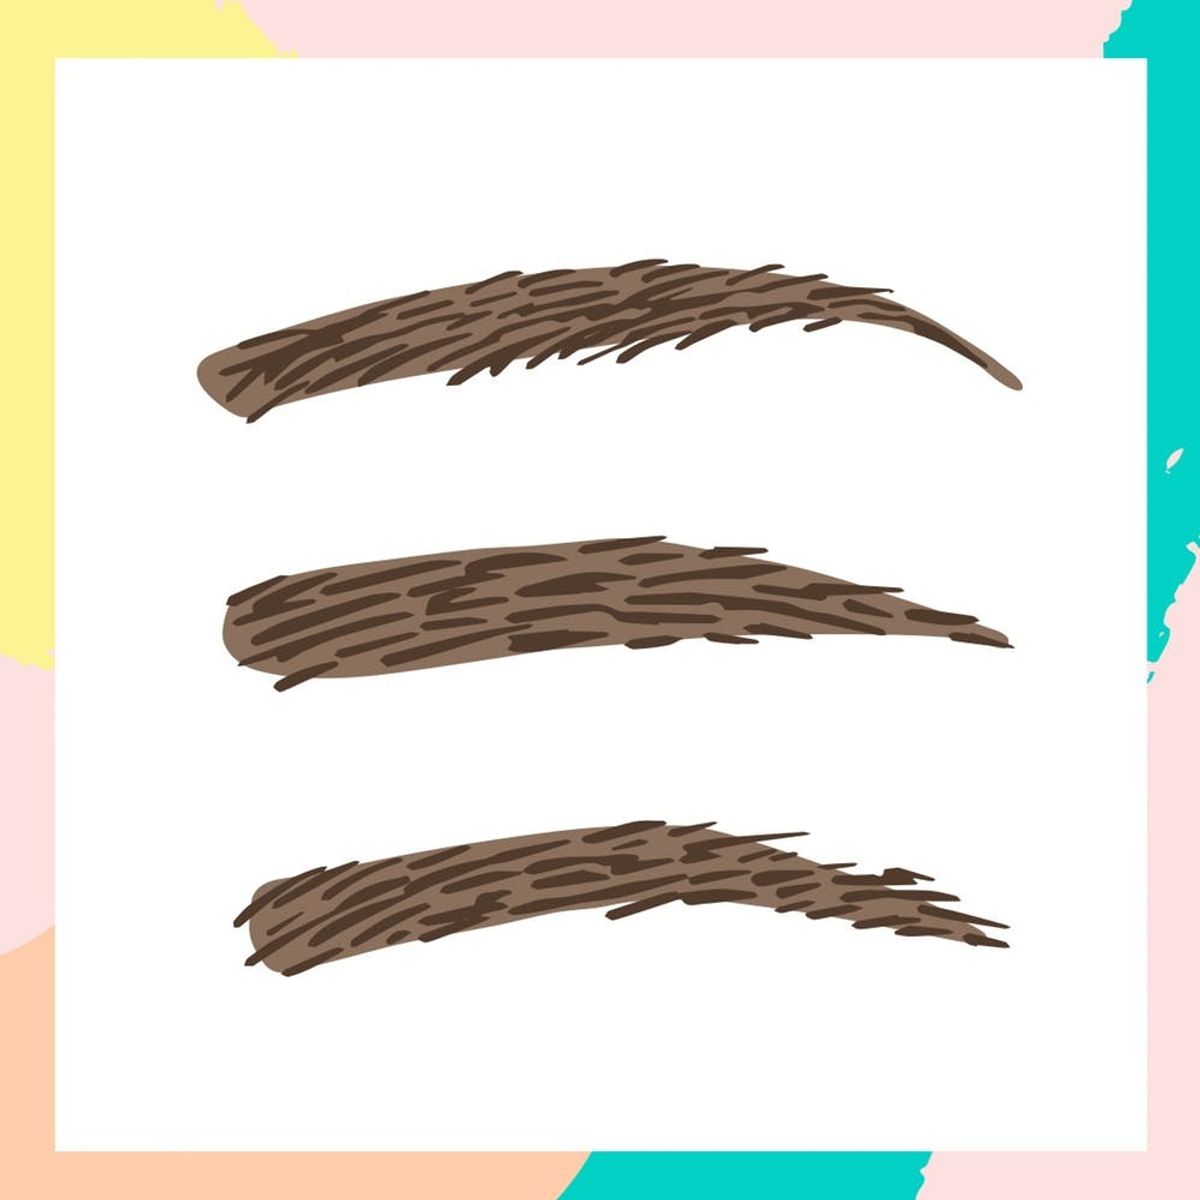
Step 4 – Small Strokes, Not Hard Lines: The idea here is to make small strokes in the direction of your natural hair growth, rather than making harder, longer lines that tend to look more painted on.
Step 5 – Blend, Blend, Blend: It’s best to apply a gel with a mascara-like wand to set and blend the pencil strokes. The wand allows pigment to coat any hairs that may have been missed with the pencil.
Game-Changing Finishing Touch: Gently go over your brows once they’ve dried with a product-free mascara wand. This will soften the entire look, making your brow application look flawless.

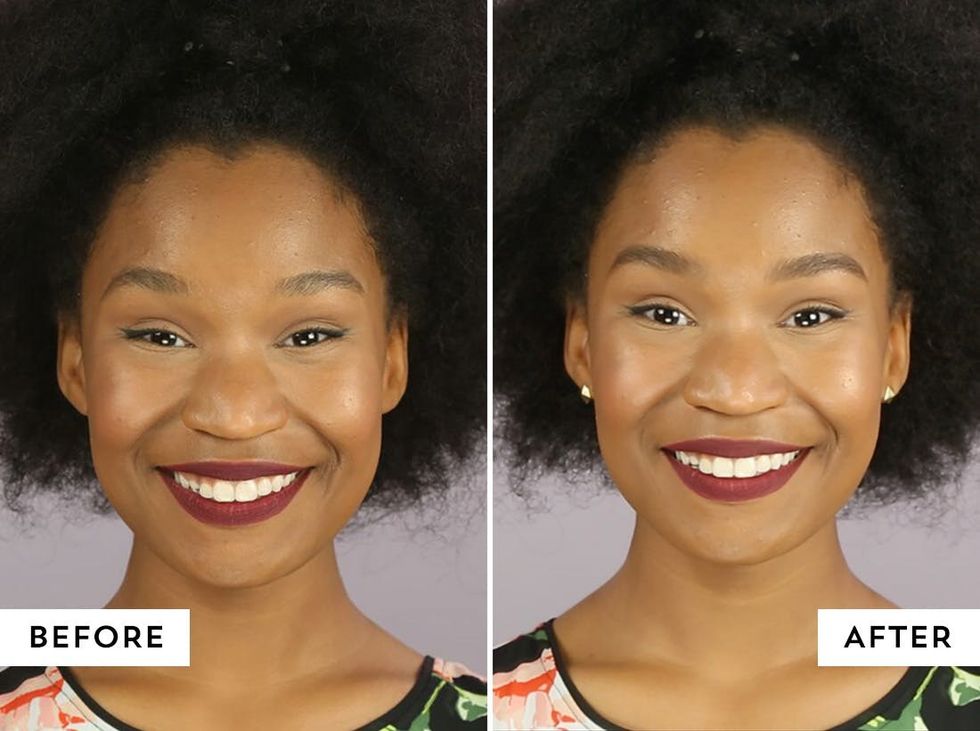
You can see how subtle yet effective these techniques are once completed.


