Embarking on a road trip in the near future? Or just got back from an epic weekend driving from San Francisco to Los Angeles and back? Last week our friends the Pistol Annies shared a few of their favorite ways to trick out travel photos, and now we’re here with our own homespun hack. Armed with a clever Polaroid-izing app, iron-on transfer paper, and a trio of bags, read on to see how to create your own snappy photo totes.
How to Make Snappy Photo Totes


Embarking on a road trip in the near future? Or just got back from an epic weekend driving from San Francisco to Los Angeles and back? Last week our friends the Pistol Annies shared a few of their favorite ways to trick out travel photos, and now we’re here with our own homespun hack.

Armed with a clever Polaroid-izing app, iron-on transfer paper, and a trio of bags, read on to see how to create your own snappy photo totes.

Materials:
– tote bags
– printable iron-on transfer for dark fabric
Tools:
– iron
– scissors
– inkjet printer
– Shake It Photo app
We used a few totes in our bag of totes and iron-on transfer paper made specifically for dark fabric. This ensures that the color of your fabric doesn’t show through the image.

Print out your pics! All of the photos for this project were from a cross-country road trip. Use scissors or an exacto knife to cut down to size.

Iron your tote bag so that the surface is as smooth as possible. Peel the backing off of your transfers and lay them onto your tote bag. Iron-on transfers tend to vary so be sure to follow the directions on your specific package. Place tissue paper over the transfers and iron for about a minute. Let cool and then peel off tissue paper!

Voila! It’s totes a Polaroid tote.

The photos on this tote are from Colorado, New Mexico, and Lake Tahoe. Go west!

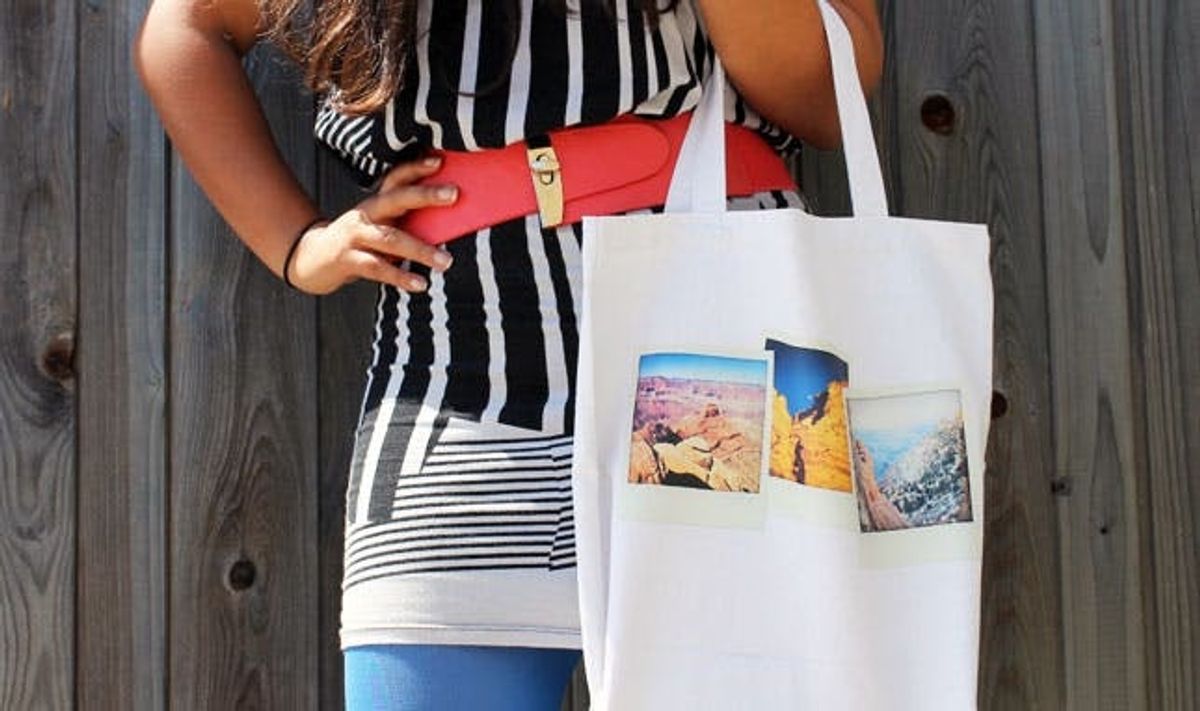
We did the same thing with a white tote and collection of photos from the Grand Canyon.

The colors look surprisingly rich. Make sure to check your print cartridges before embarking on this project.

We love the blue sky paired with blue tights :)

And last, a leopard print bag covered with pics from two iconic American cities: Graceland and Las Vegas.

This bag definitely says “Party rock!”

And wouldn’t you know it? Blue tights go perfectly with this blue tote as well.

Which of these totes is your favorite?

We’re digging the black one – love how it’s almost a wearable photo album.


