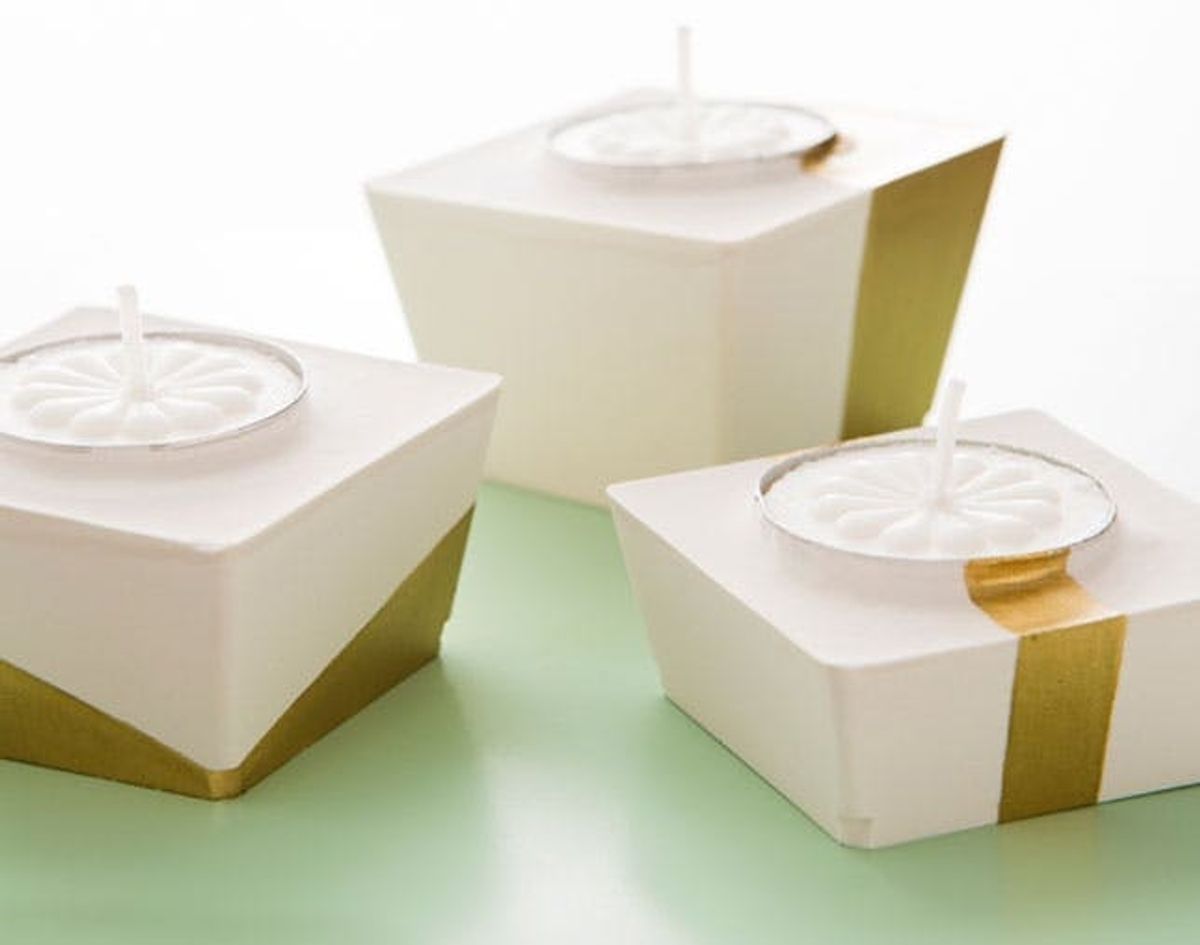
Looking for a DIY that’s part sophisticated decor and part middle school science experiment? Then we’ve got a plaster project with your name on it! Mix up your DIY Color Block Candle Holders Kit, available for $24.95 in the Brit + Co HSN Shop.
How to Make Color Blocked Candle Holders


Looking for a DIY that’s part sophisticated decor and part middle school science experiment? Then we’ve got a plaster project with your name on it! Mix up your own DIY Color Block Candle Holders Kit, available for $24.95 in the Brit + Co HSN Shop, in five bold colors.
Materials (get the kit!):
– dry plaster
– plastic molds
– tea light candles
– acrylic paint
– paintbrush
Tools:
– disposable bowl or container
– disposable spoon
– tablespoon measure
Instructions:
1. In a disposable container, measure out 12 tablespoons of water, and then quickly mix in the whole carton of dry plaster.
2. Once thoroughly mixed, tap the container on the table to bring all the air bubbles to the surface.
3. Pour your wet plaster into the three plastic molds at varying heights, and tap each mold to release any additional air bubbles.
4. Carefully press your tea lights down into the wet plaster.
5. Let your plaster dry for an hour or so, or until no longer warm to the touch, and then release the plaster by breaking the plastic molds at the corners.
6. Add a modern color block to the white plaster by painting on one or two coats of acrylic paint.
7. When your candles have burnt down, crush the metal holder inwards to remove it from the plaster and replace.

Let’s get mixing!

Measure out 12 tablespoons of water into a large disposable container, and then mix in the whole carton of dry plaster, using a disposable spoon. Your mix should be about the consistency of pancake batter.

Once your plaster is fully mixed, tap the container on the table to bring the air bubbles to the surface, and then pour the plaster into your three molds.
You can decide to make three holders of the same size or varying sizes, by pouring more or less plaster into each mold. Once filled, tap each mold onto the table to bring up any new air bubbles.

Carefully press a tea light candle into each cup of plaster. While the plaster is still wet, the candles may rise back up to the top a bit, but as the plaster begins to dry you can press them back down into place.

Once the plaster is fully dry and no longer warm to the touch, release the hardened plaster by breaking the plastic molds at the corners.

Now for a little color-blocking action! Get out your acrylic paint and paintbrush and add some fun, modern designs to your white candle holders. This may take one or two coats depending on the paint color.

Let the paint dry and take a look at your new modern candle holders! Hard lines and sleek colors give this a very architectural vibe.

Pop them on a cute side table or as a small, modern centerpiece on your table.
a kit with everything you need
 Brit + Co HSN Shop! Available in Blue, Purple, Turquoise, Magenta and Orange.


