A nail art trend that truly pops!
Pretty Polished: How to DIY the Pop Art Nails Trend

There’s nothing like a fresh mani to top off any #OOTD. But, with so many nail colors and designs to choose from, how’s a girl to know which polish to pick? Don’t let endless options stress you out. In this series, we’re diving deep into top nail trends to teach you how to DIY and provide color and inspiration along the way.
We’re constantly scrolling social media for nail art inspiration, and lately it’s hard to ignore the museum-worthy pop art manicures taking our feeds by storm. From simplistic polka dots to thought bubbles and other eye-catching designs, nail polish lovers are going hard in the paint (pun intended) to bring classic pop art techniques to their fingers and toes. If you identify with the colorful artwork of the ’50s and ’60s, achieving a Roy Lichtenstein or Andy Warhol vibe is a lot easier than you think — even if you don’t have DIY nail art experience.
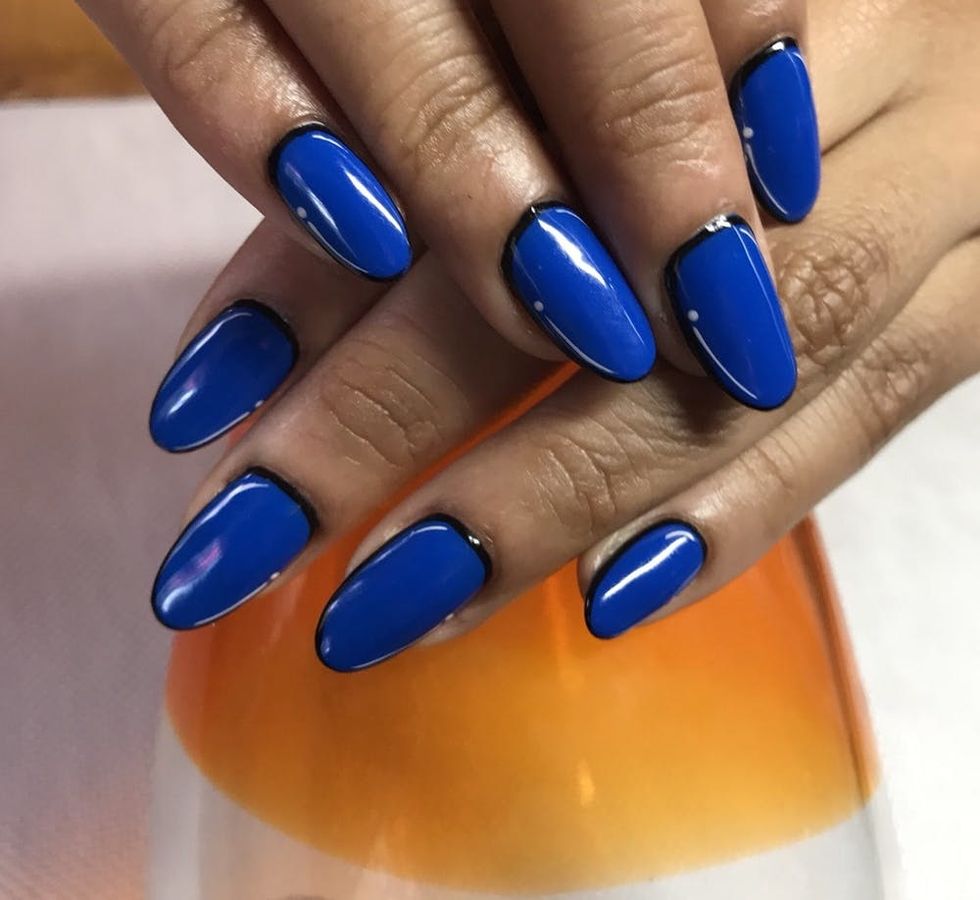
Thinking of trying your hand at the trend? It’s as simple as painting your nails a bold shade and using a lighter hue to illustrate an exaggerated cartoon-like shine. “The highlights should go where the natural light hits the nail — it is meant to resemble an animated highlight,” says Damisa Ramdin, a nail artist at Wild Oleander Beauty Bar in Brooklyn, New York.
Create the look with a toothpick and a thin brush. Paint your nails a bright color (you can also go big and apply a different shade on each finger), then dip the paintbrush into black polish and outline your fingernail. Next, coat the tip of a toothpick in white polish and trace a long, thin line on the same side of each nail and then a short, rounded line on the opposite bottom corner. For a finishing touch, add a small dot of white polish at the end of the long line and top with a glossy topcoat. (Photo via Wild Oleander)
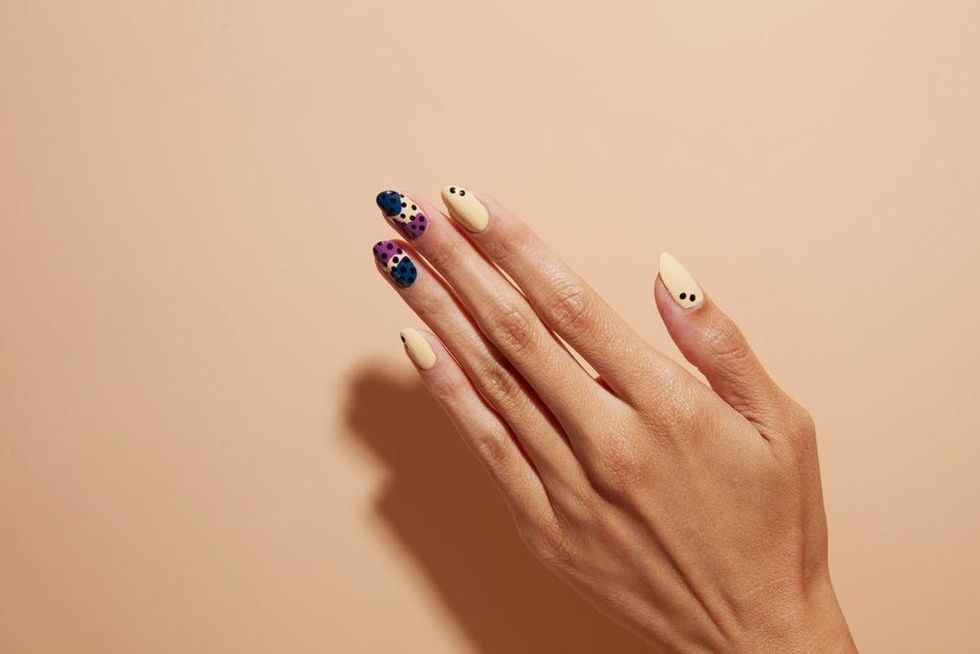
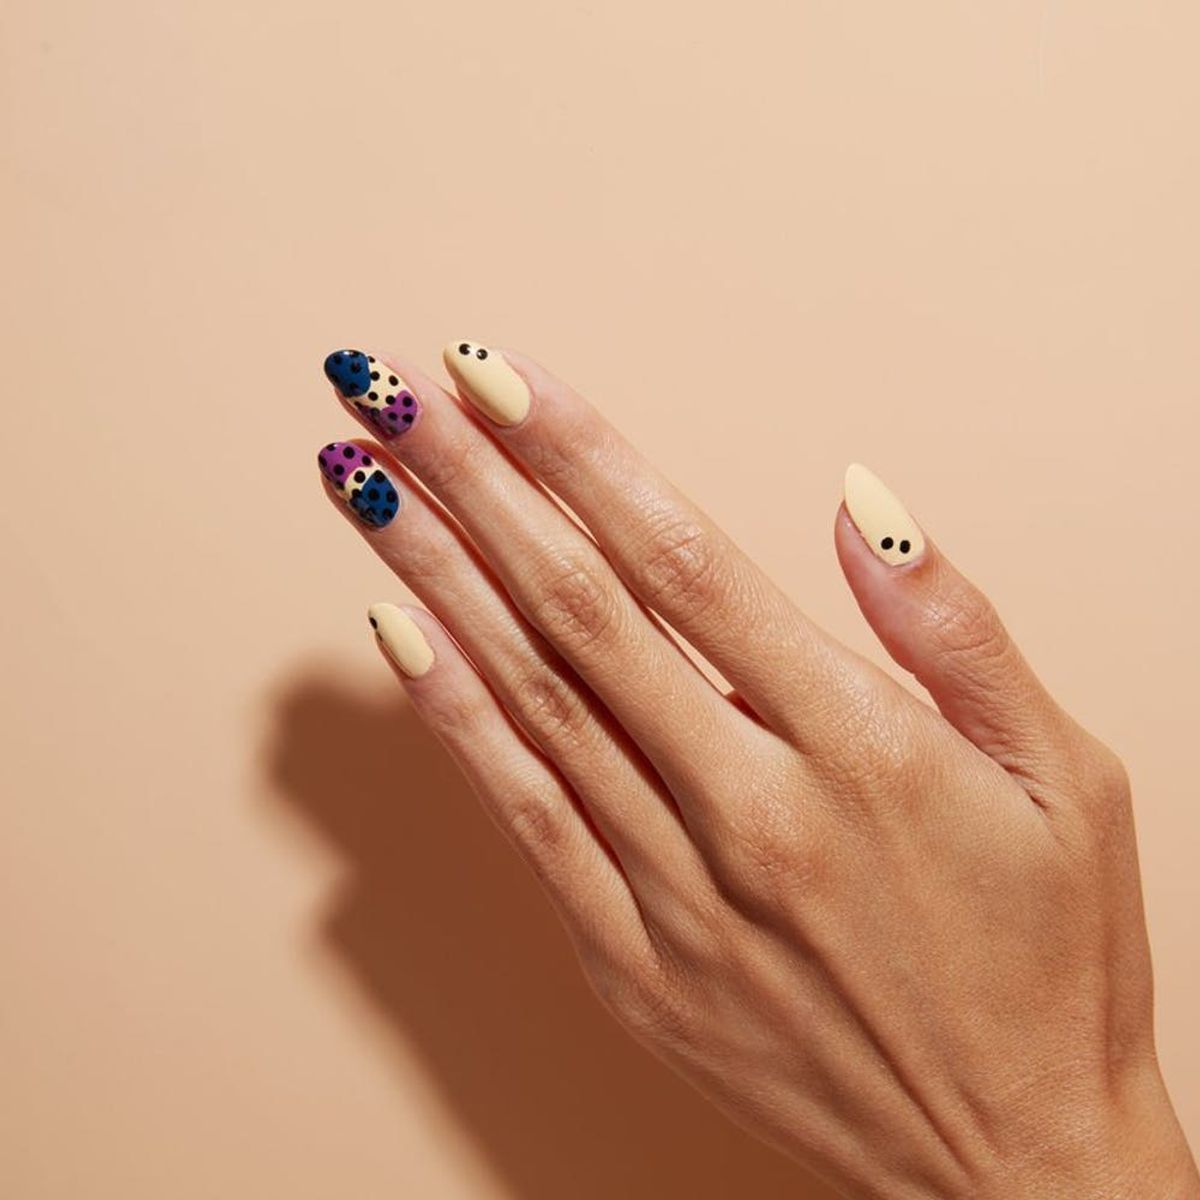
If you want to up the ante on your mani, adding Lichtenstein-style dots is another simple way to achieve the pop art nail trend. “For this particular look, first start with the base coat and then apply light yellow on all the nails,” says Kesang Gurung, a nail artist at Chillhouse and the designer behind the salon’s signature Lichtenstein nail art idea. Add pops of color on your middle and ring fingers with blue and violet. “Brush the violet on the top part of the nail in an uneven wavy brush look and do the same on the bottom with blue,” Gurung explains. “Make sure you leave some space in between so that the first color is still seen. You can also reverse with colors on the [second] finger.” Wait for the polish to dry, then use a toothpick to cover the nail art with black polka dots, using a toothpick. Finish by creating accent nails with dots in a diagonal arrangement on the corners of each solid yellow nail. Seal in the design with a high-shine top coat. (Photo via Chillhouse)
If you’re feeling inspired, peep more of our favorites from the ‘gram, ahead.
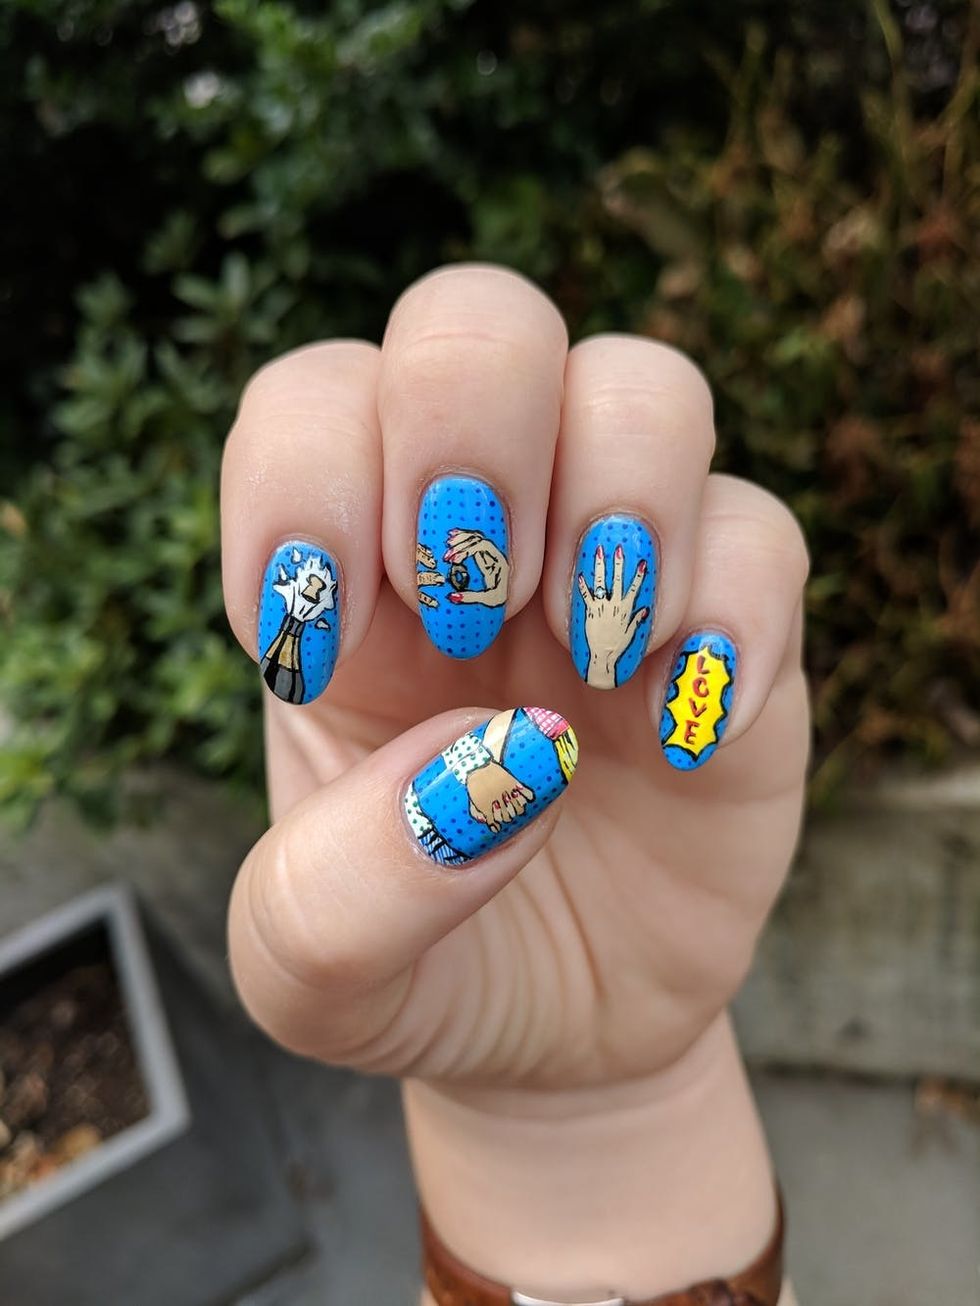
1. Pop the Bubbly (via @thepolishedbean)
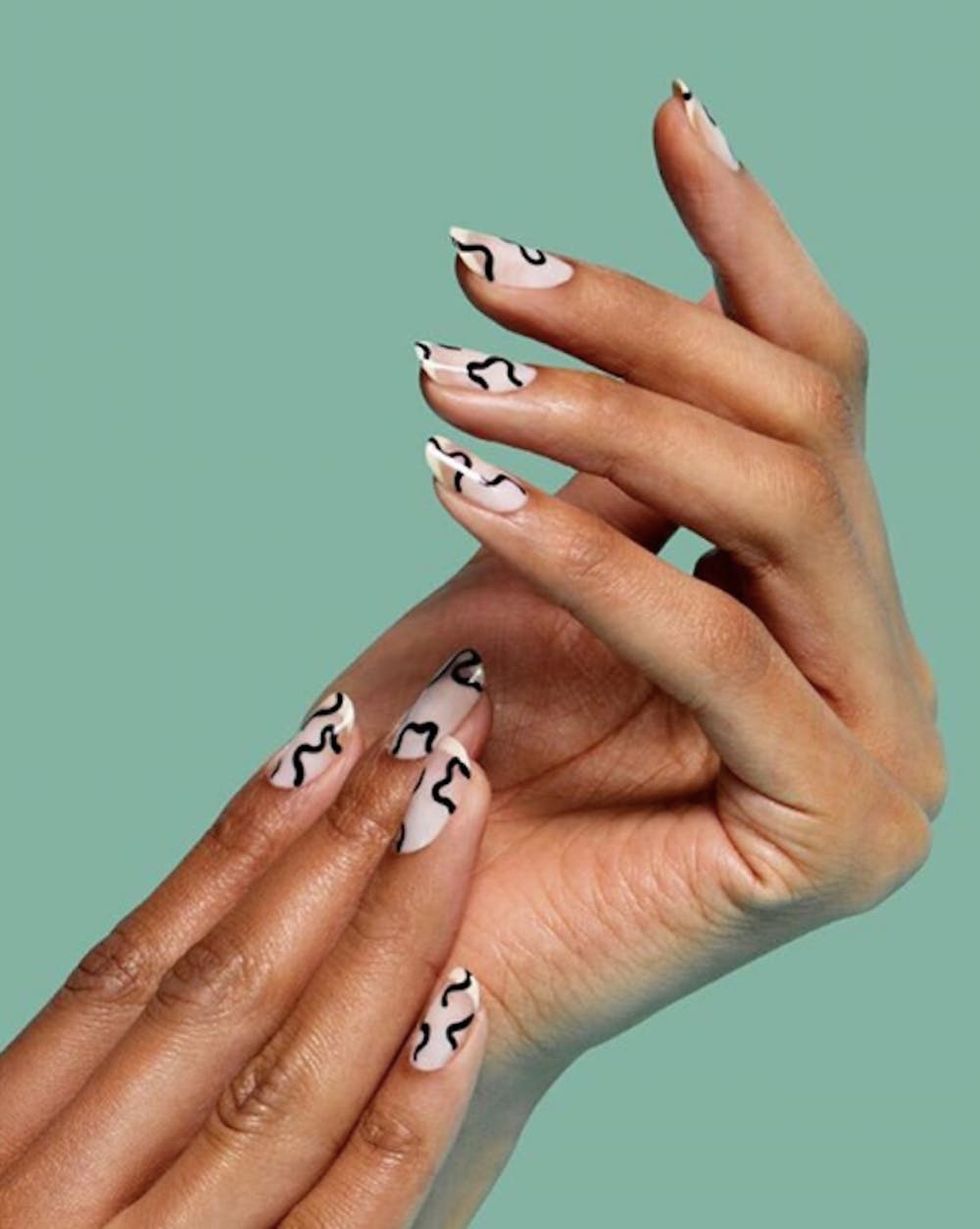
2. Keith Haring (via @chillhouse)
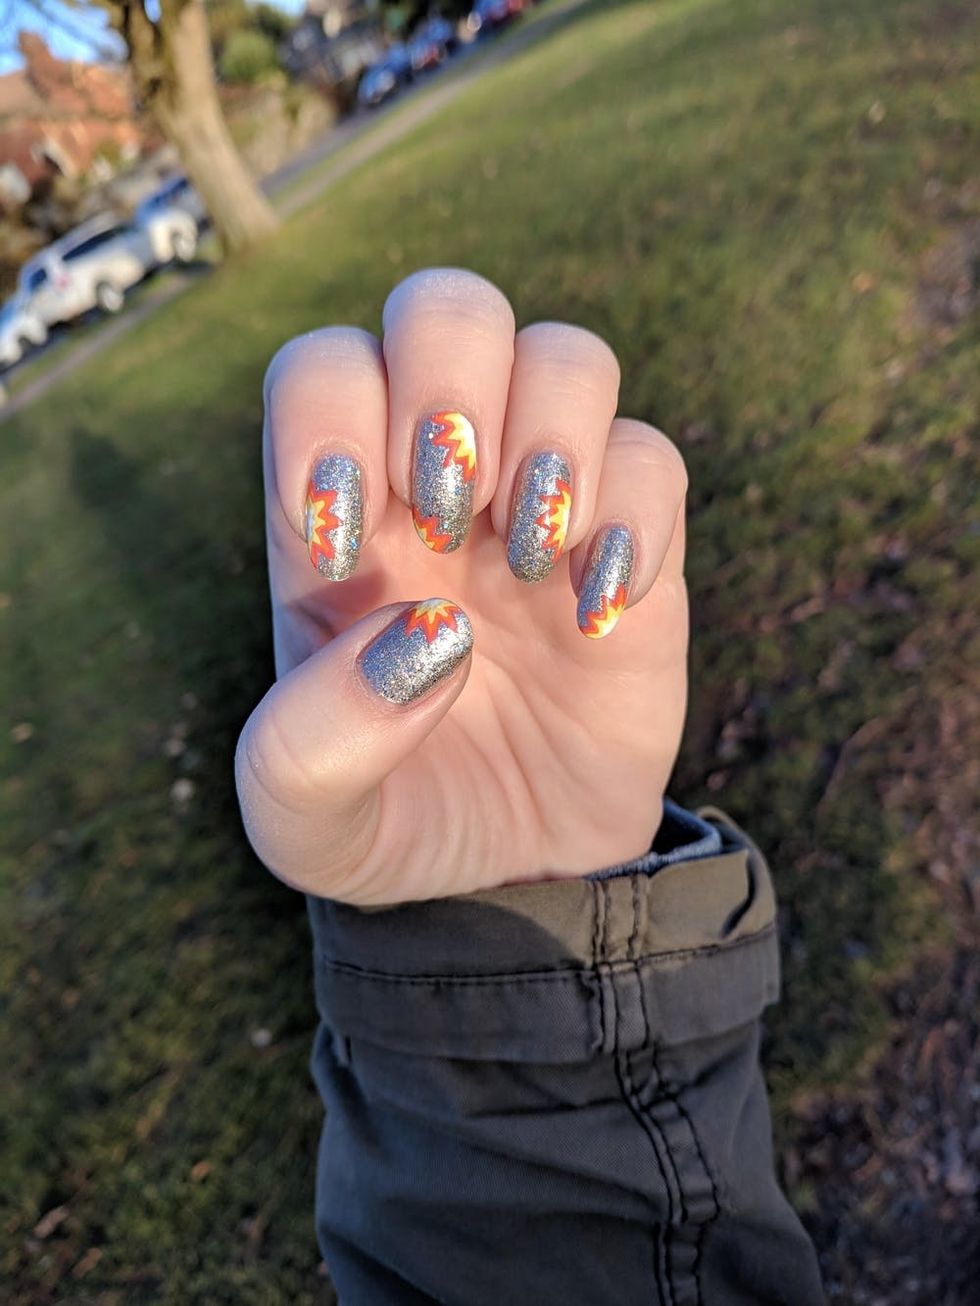
3. Glitter Boom (via @thepolishedbean)

4. Seeing Stripes (via @lauren_beautyby)
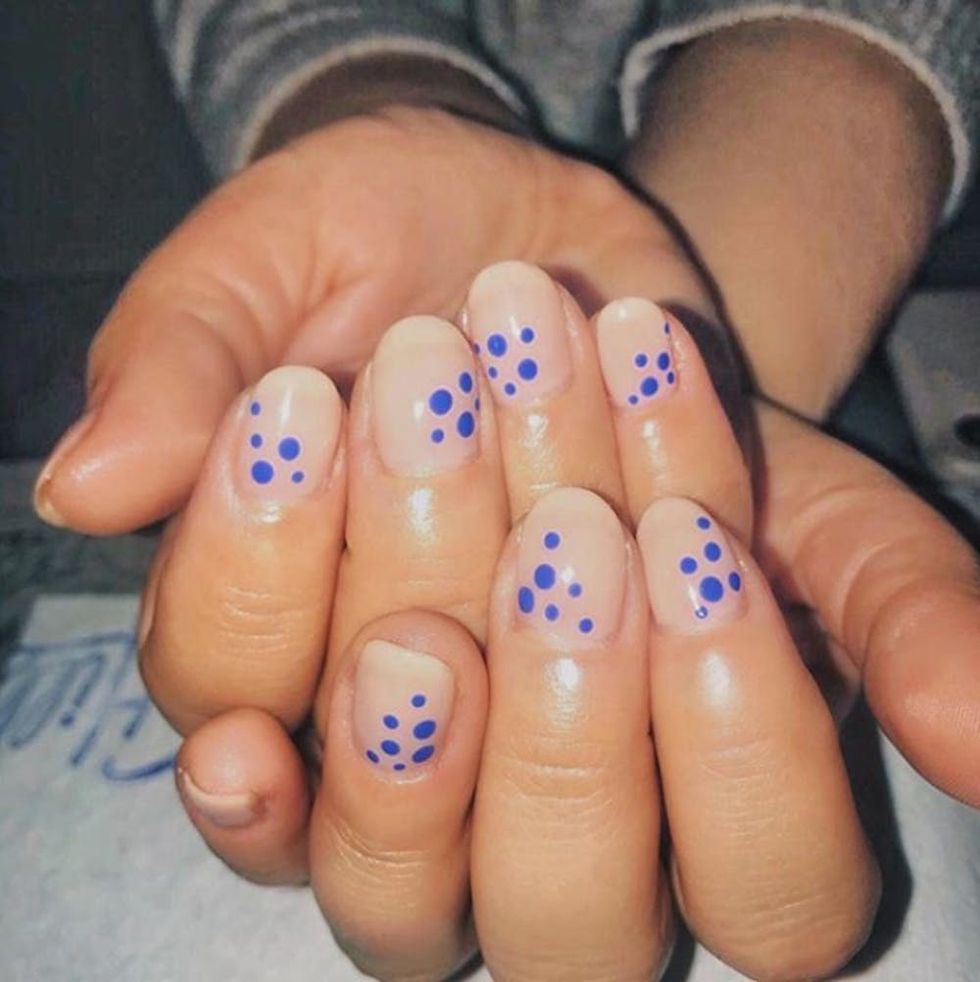
5. Negative Space Polka (via @chillhouse)
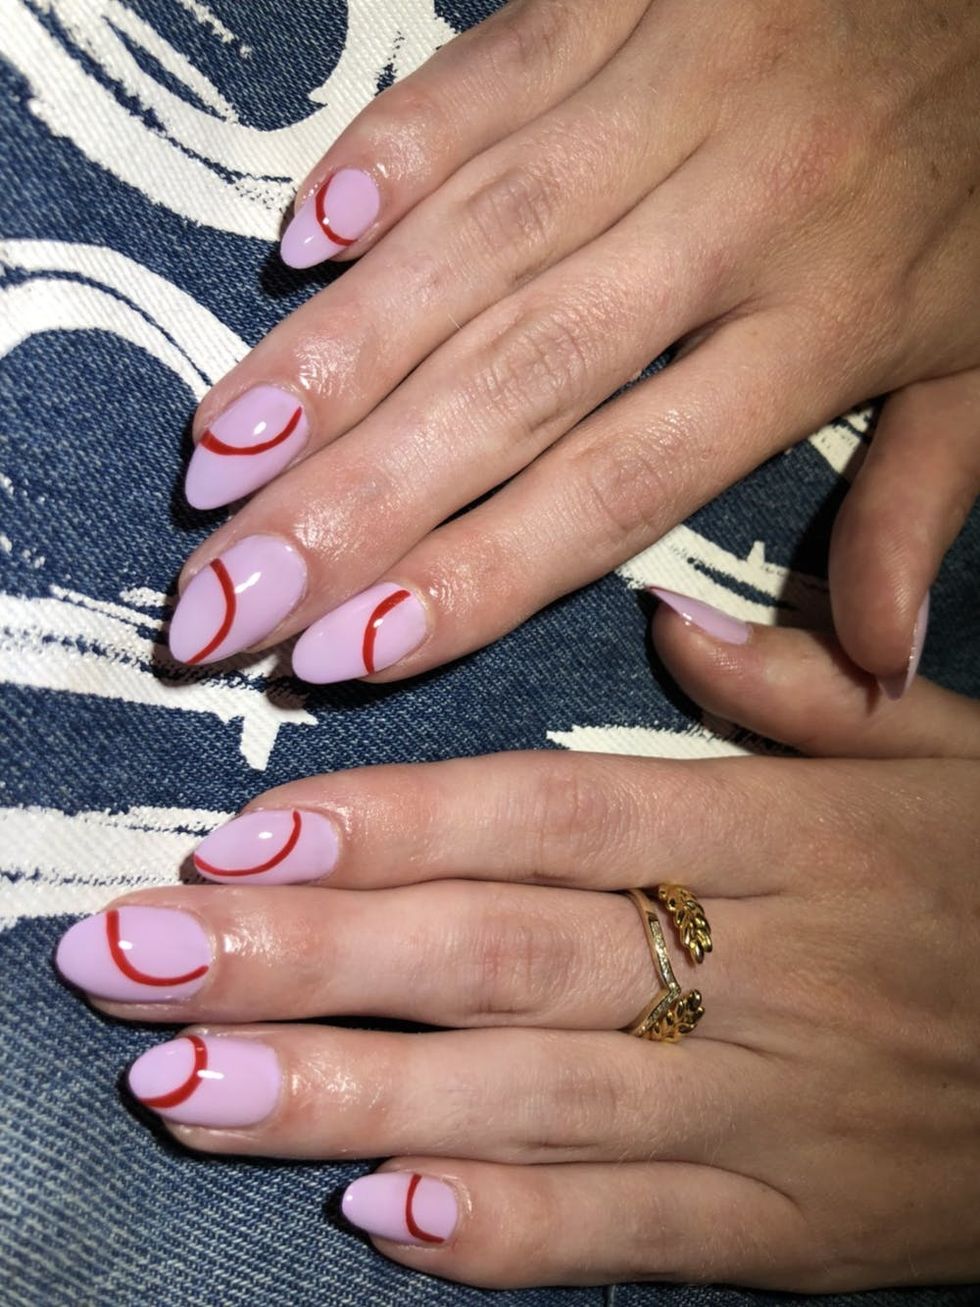
6. Minimal Pop (via @wild_oleander)
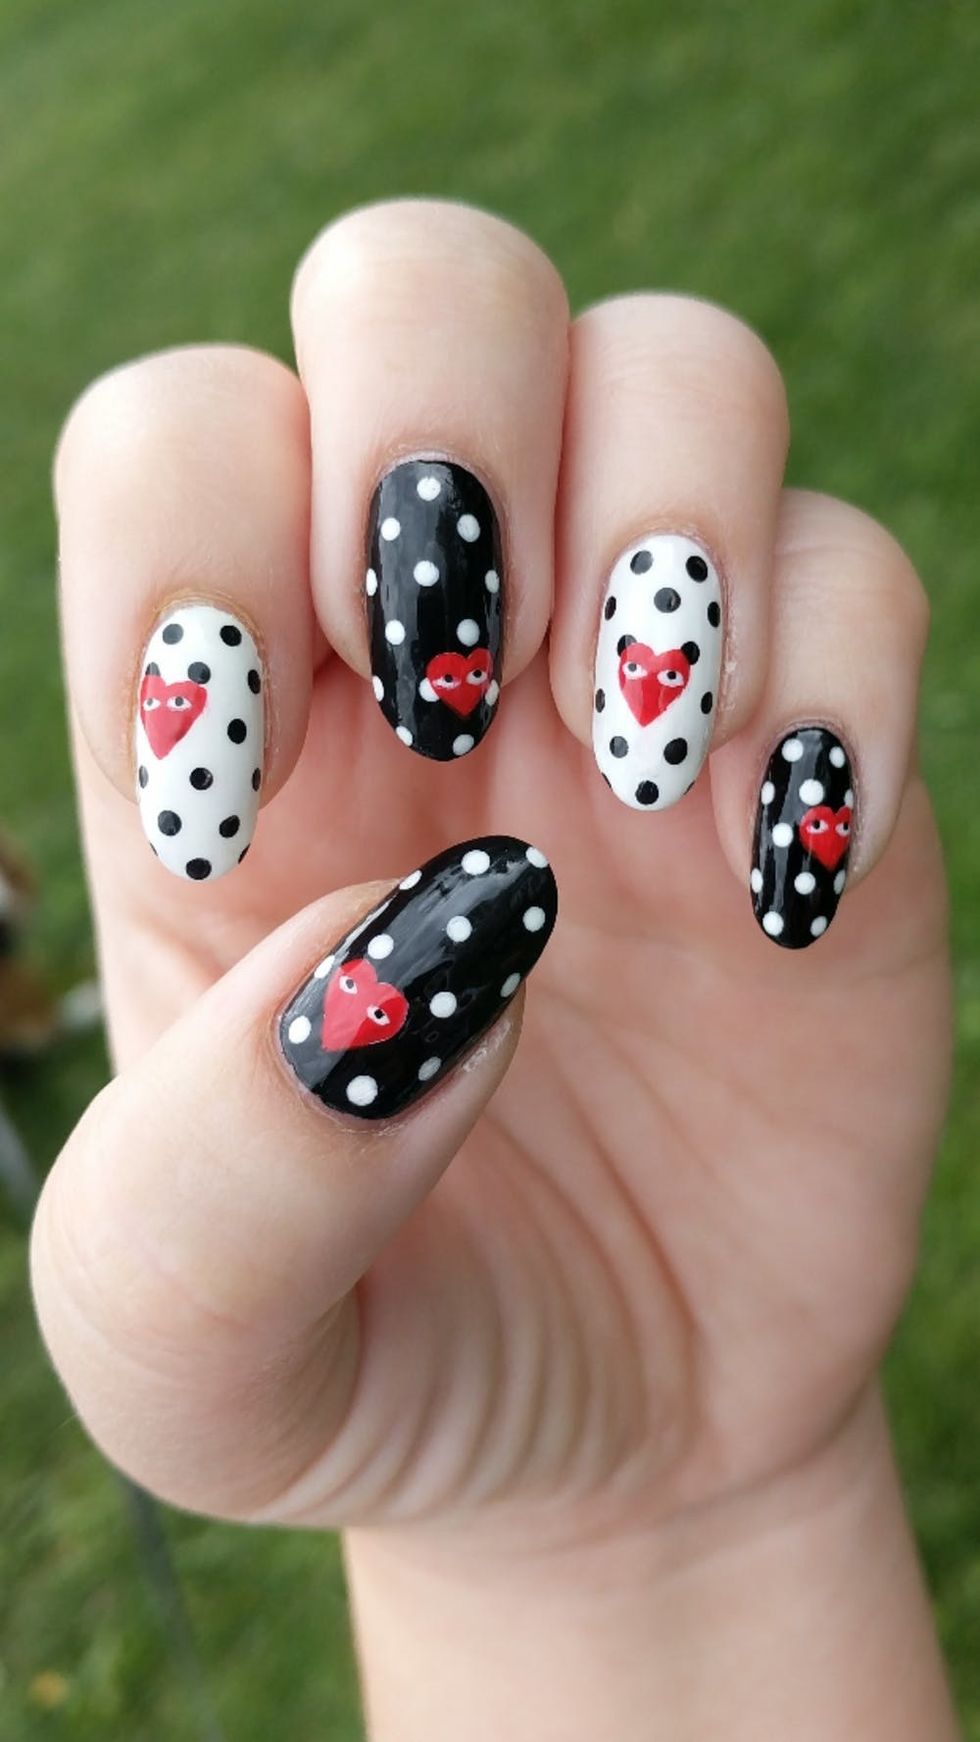
7. Comme des Garçons (via @thepolishedbean)
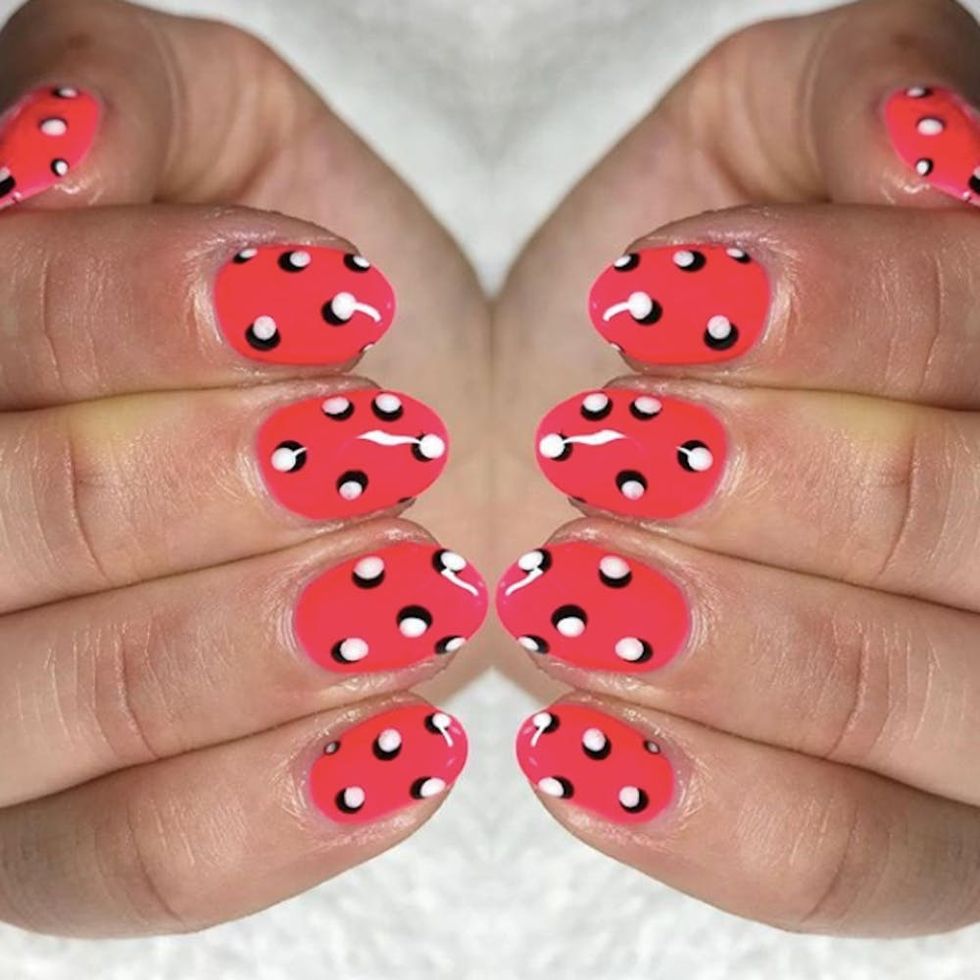
8. Double Dots (via @beautyworksbyamy)
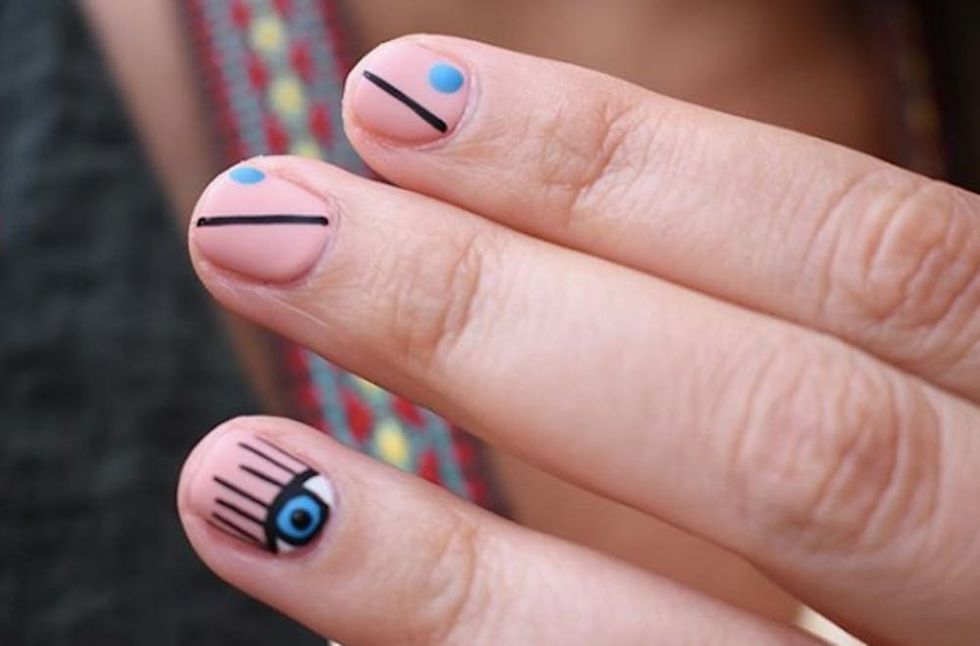
9. Eye Spy (via @floralstems)
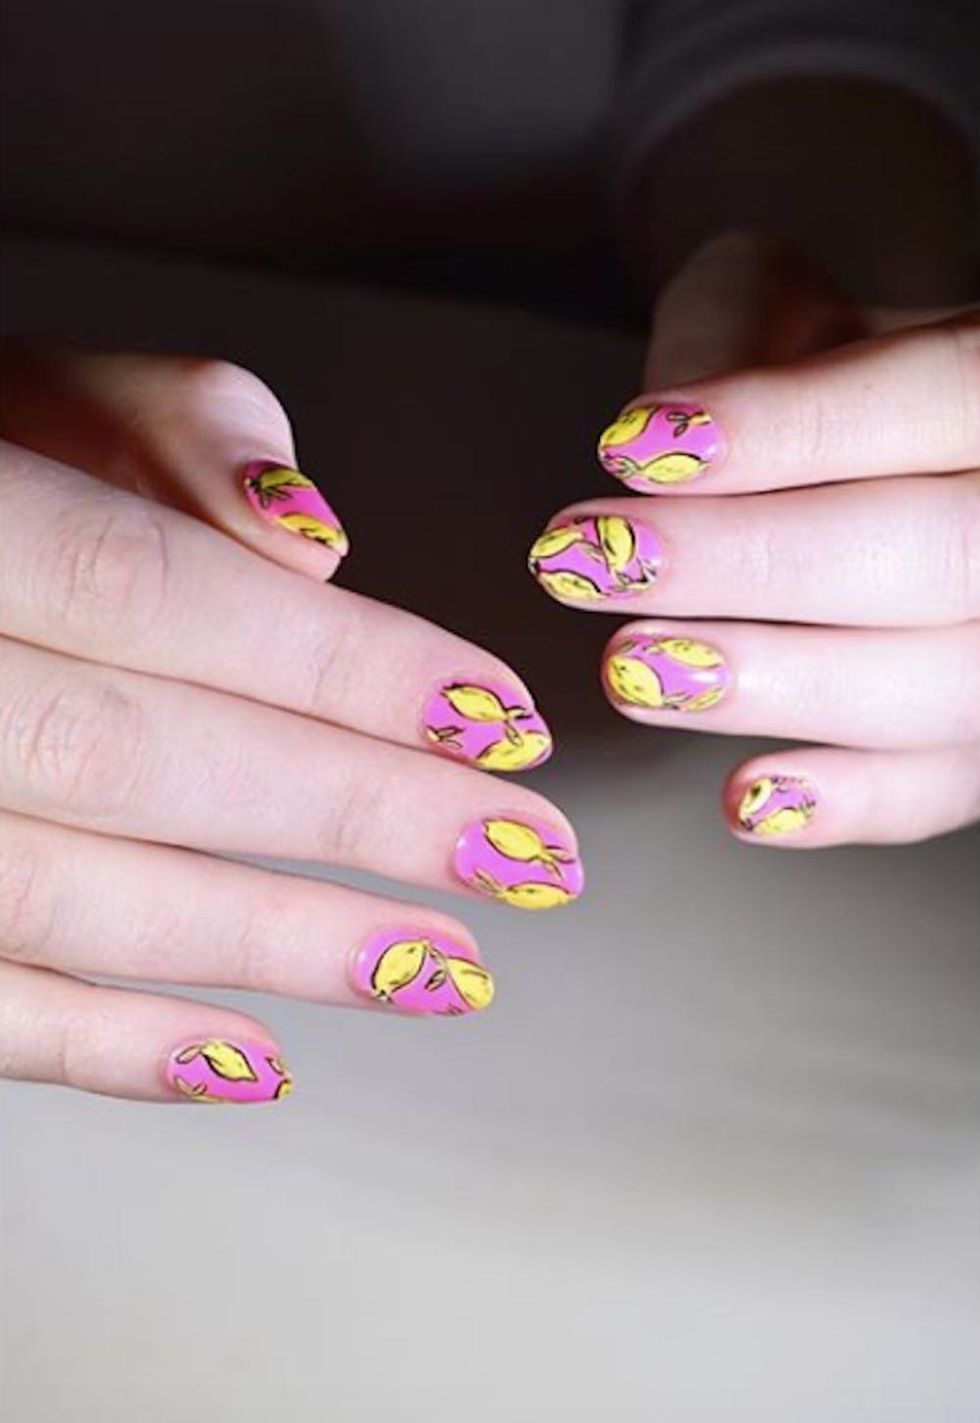
10. When Life Gives You Lemons (via @floralstems)
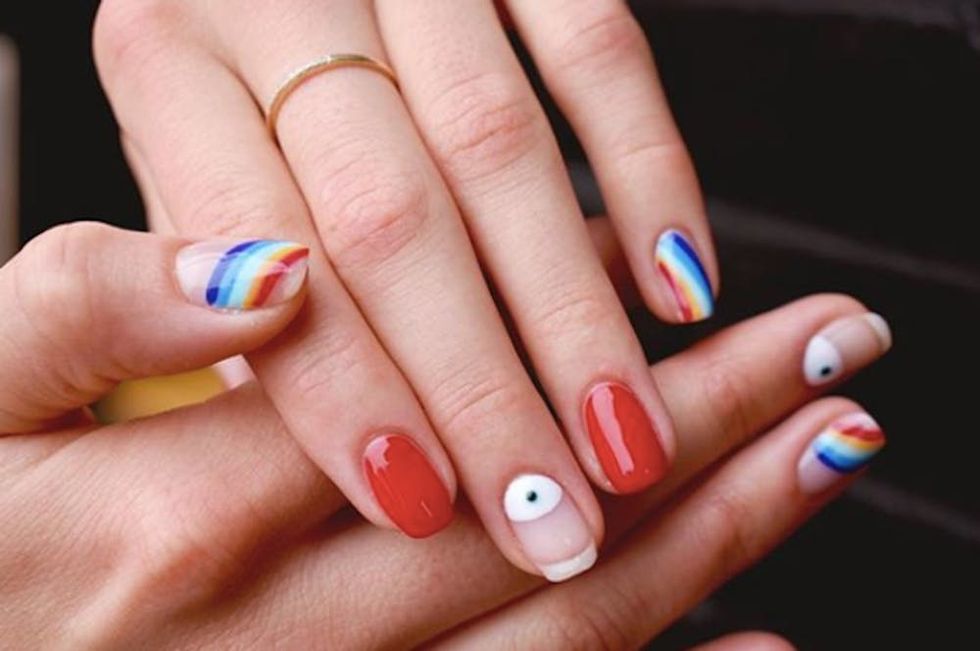
11. Over the Rainbow (via @floralstems)
Do you love pop art nails? Tell us @BritandCo!
Illustration by San Trieu


