Save the Summer Green All Year Long with DIY Pressed Leaf Wall Art
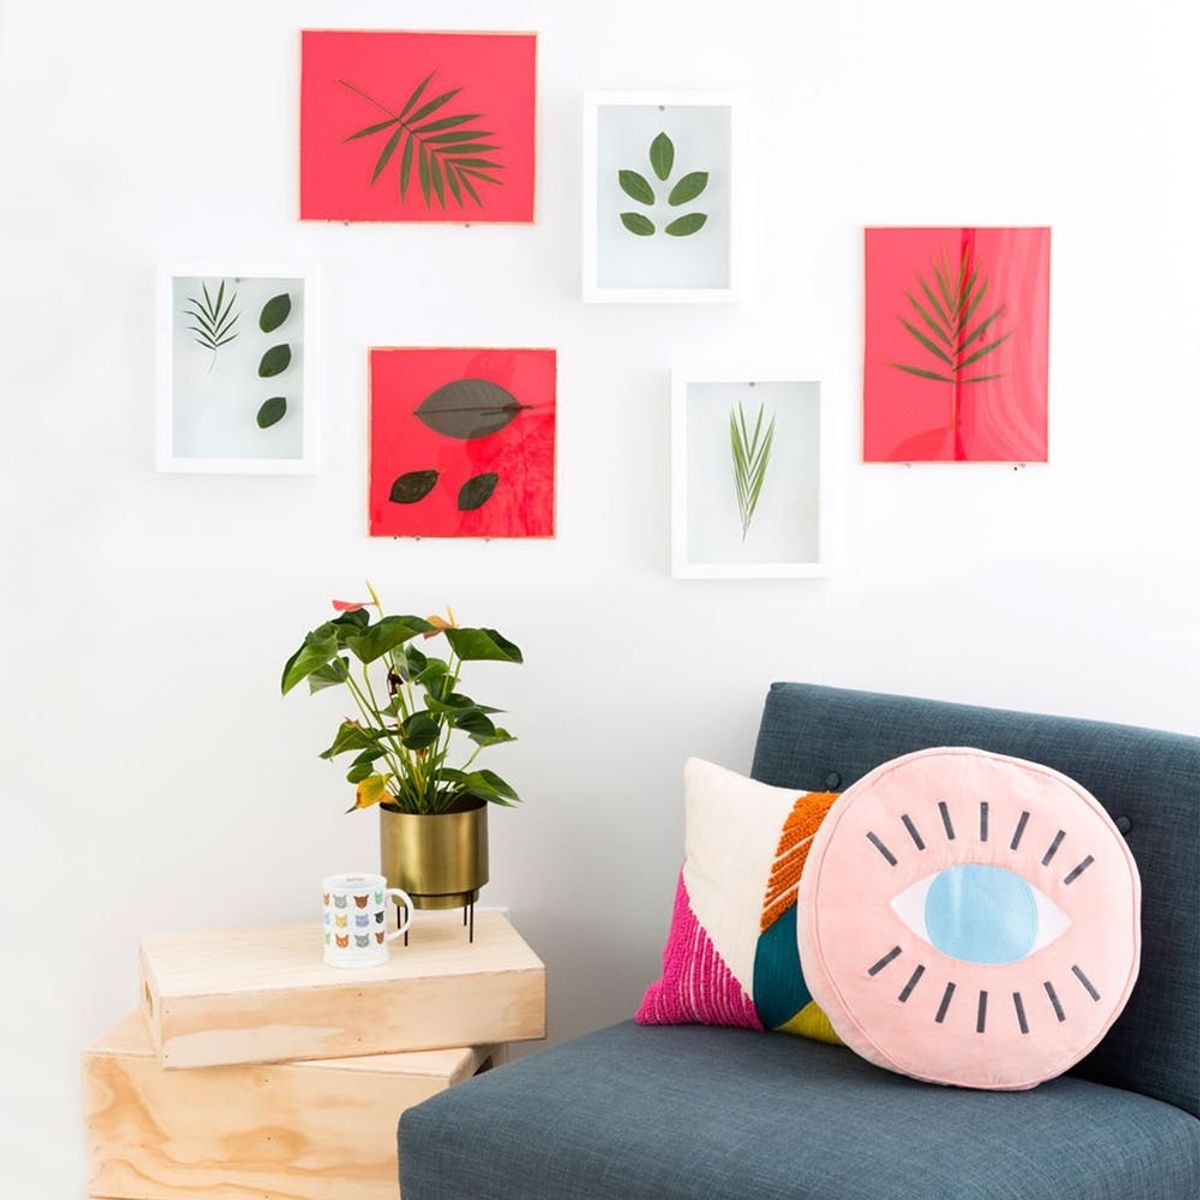
It’s no surprise to anyone who knows me that I LOVE plants. Like, a lot. Like when I walk into a plant store I am overwhelmed with feelings of bliss and feel my eyes well up with tears. That being said, I’ll find any way to incorporate my chlorophyll-rich friends into my home. I was inspired by our Pressed Flower Coasters Kit in this wall decor DIY. Our DIY Producer on the video team, Alonna Morrison, was also feeling the green vibes, so we decided to do a collaboration. Check out her how-to video and then scroll down for my tutorial.
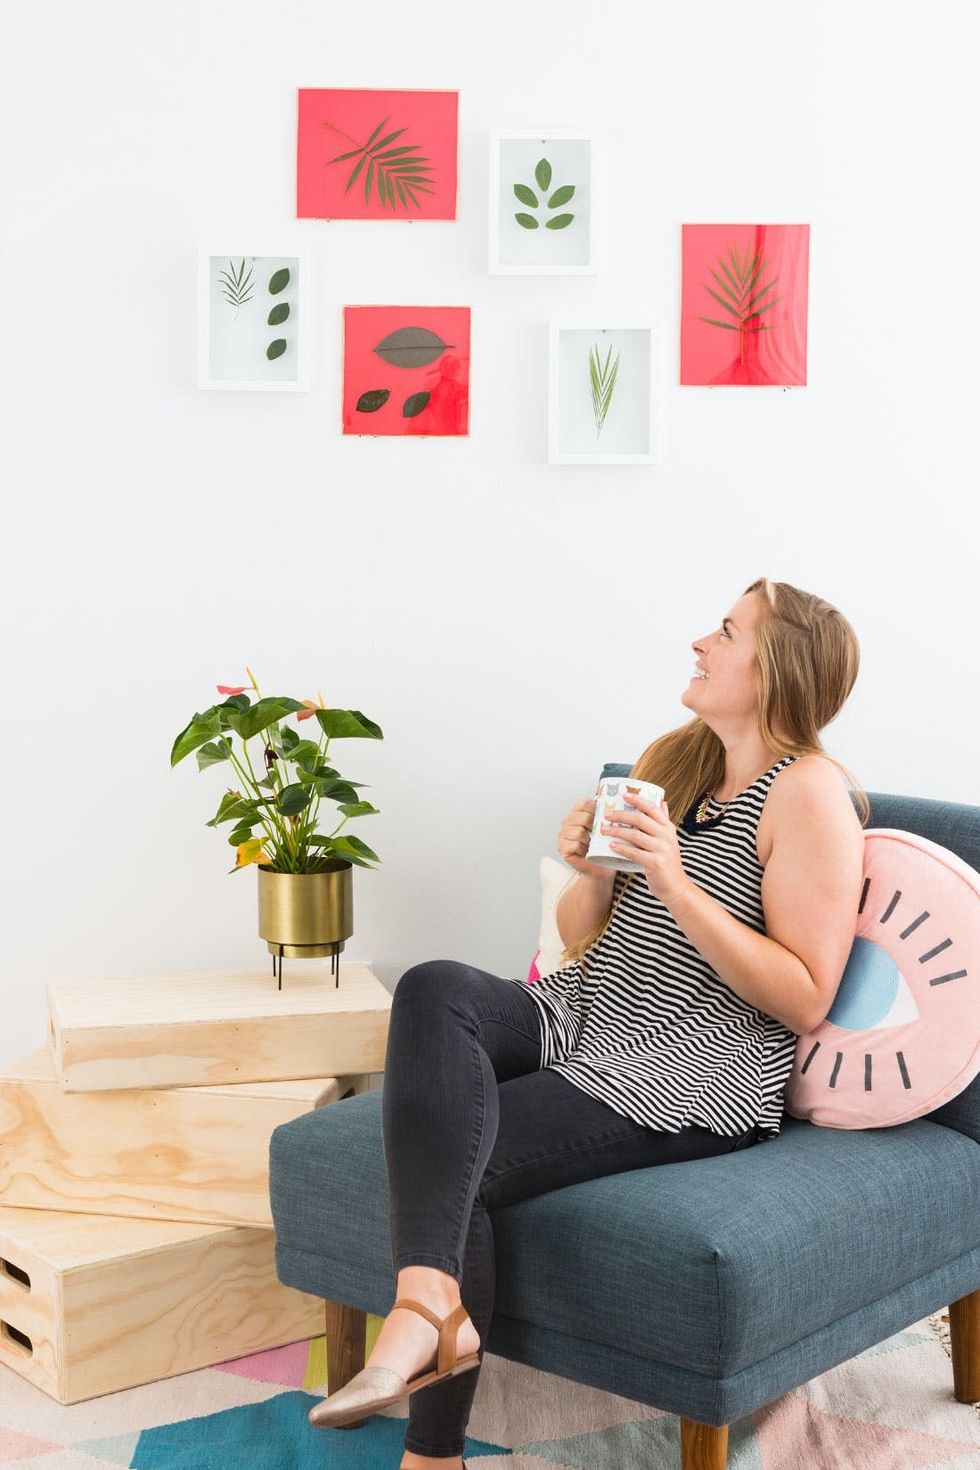
My favorite part of visiting a new place is checking out the local foliage. Below I’ll show you how to preserve any clippings you happen to snip in your moment of admiration ;)
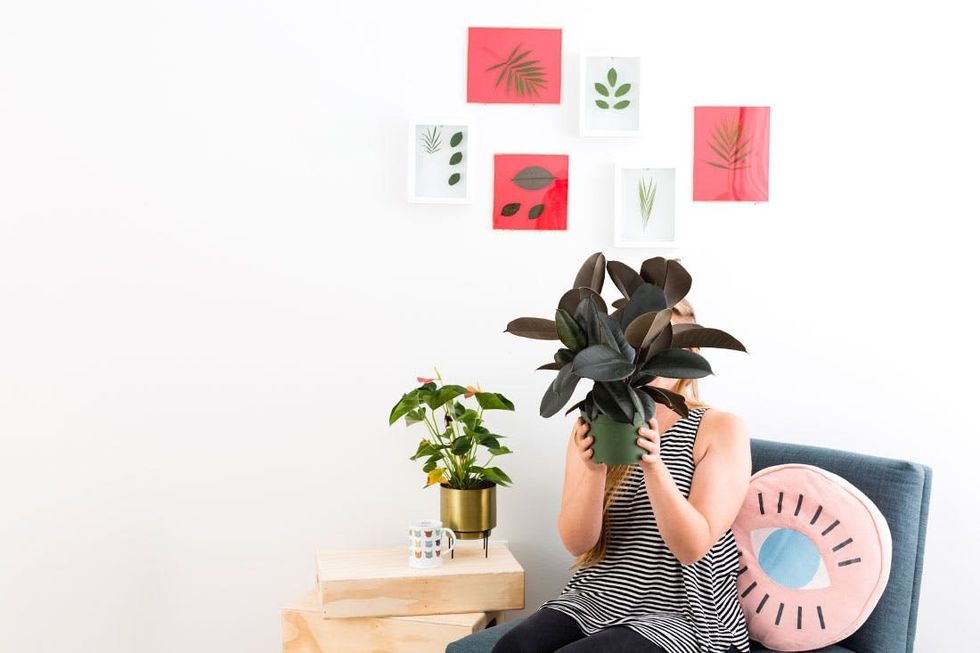
Curate your own wall of vacation memories. We’re taking scrapbooking to another level.
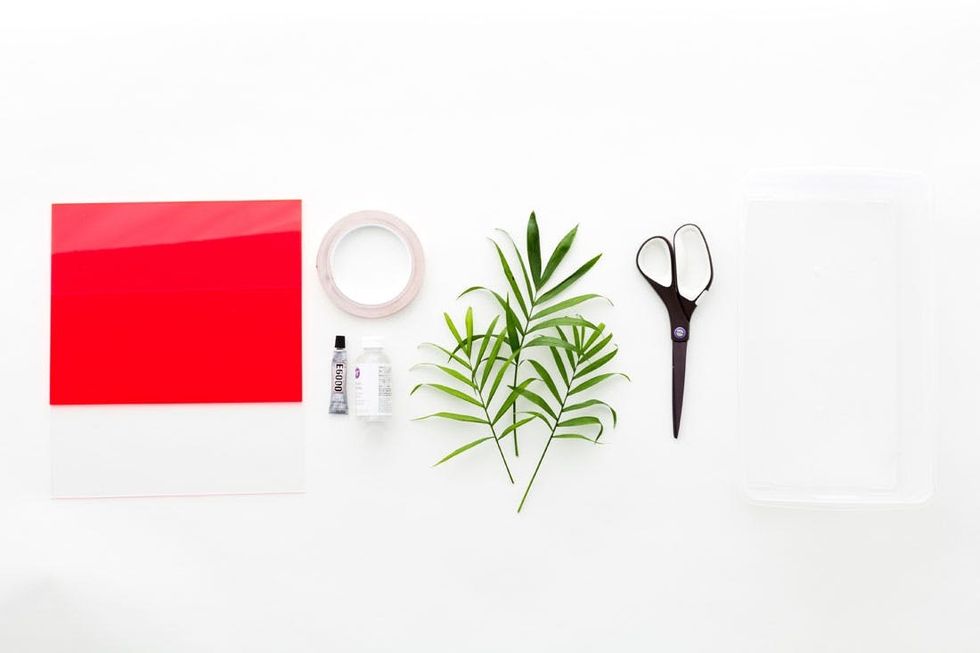
Materials and Tools:
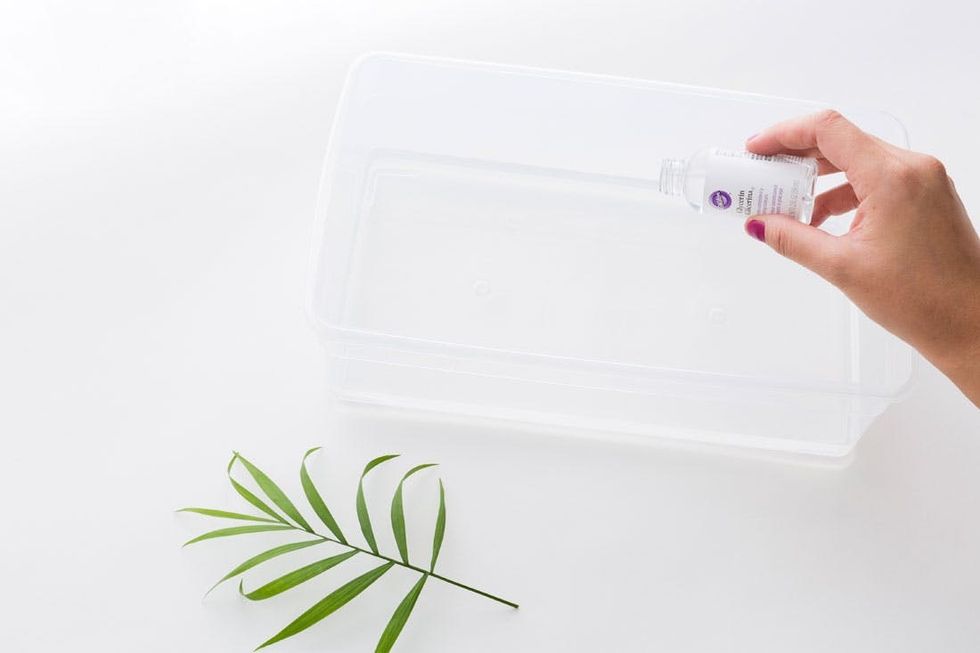
Round up your materials and let’s get started!
You’ll need to plan a little bit in advance in order to preserve your plants. Make a mixture of 1:3 parts water to glycerine in a plastic tub.
- 2 acrylic sheets (we chose to go with 8 x 10-inch sheets, one bright pink, one clear)
- 1/2 inch copper tape
- E6000 glue
- glycerine
- plants
- scissors
- plastic tub

Dip your plant clippings in this mixture and let them soak for at least two days. Place a small rock on top of the leaves if you have a hard time keeping them submerged.

Take your plant clippings out of the glycerine solution, and pat them dry. Apply a small amount of E6000 on a few points on the leaves. Position the clippings onto the first piece of acrylic.
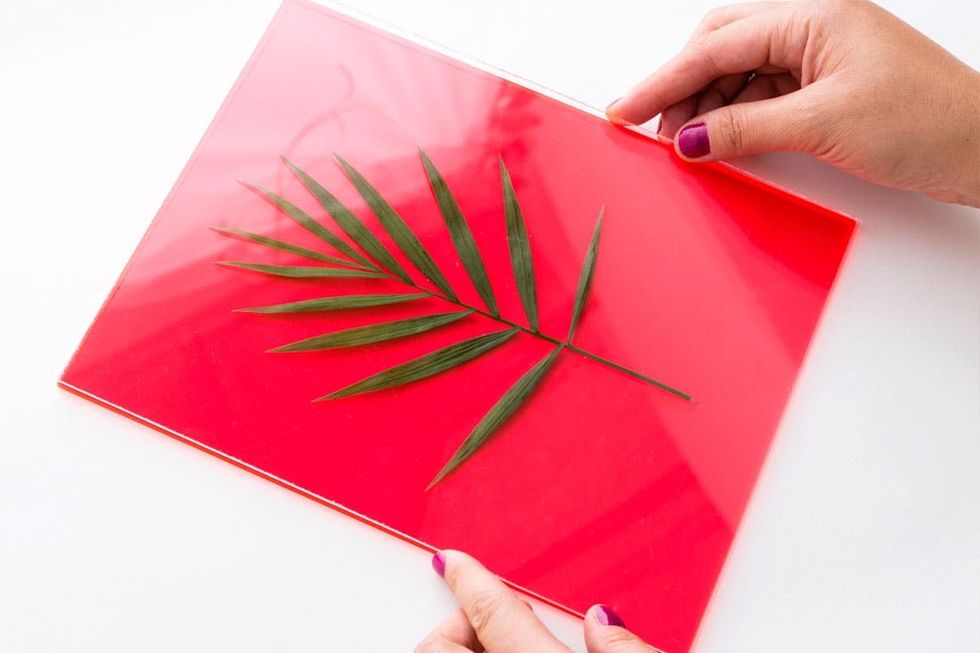
Sandwich the clipping with the second panel of acrylic.
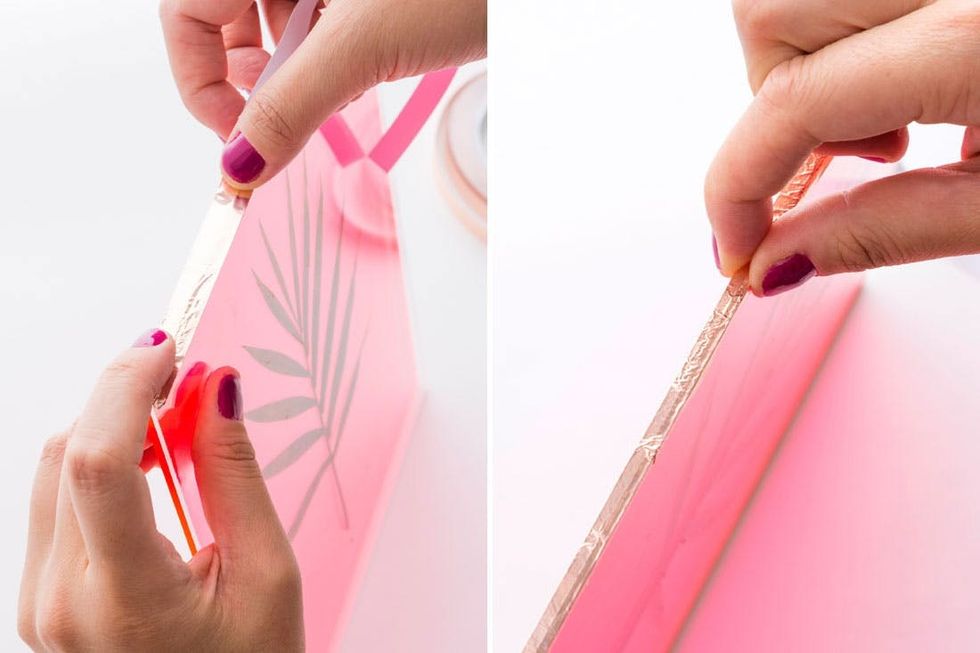
Apply the copper tape along the center seam of the two acrylic panels. Press down firmly, and then fold the edges over to create the copper border. If there are wrinkles on the copper tape, carefully run a smooth object over them to flatten them.
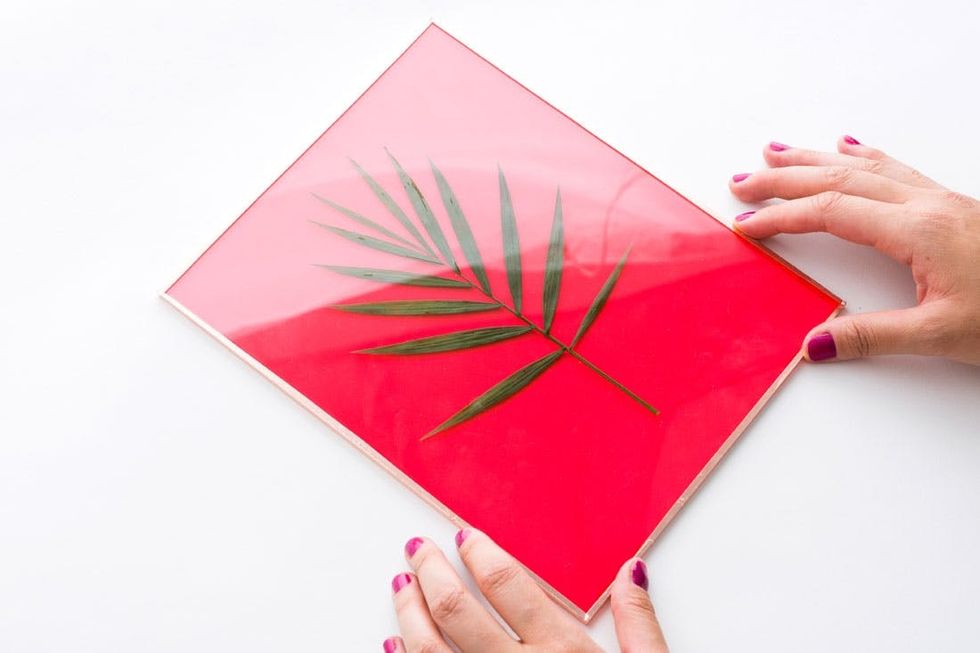
Continue until you’ve taped off the entire acrylic panel.

Prop them up on a bedside table, or hang them on the wall using a few nails. You can also slide preserved clippings into photo frames to add new colors and materials to your gallery wall.
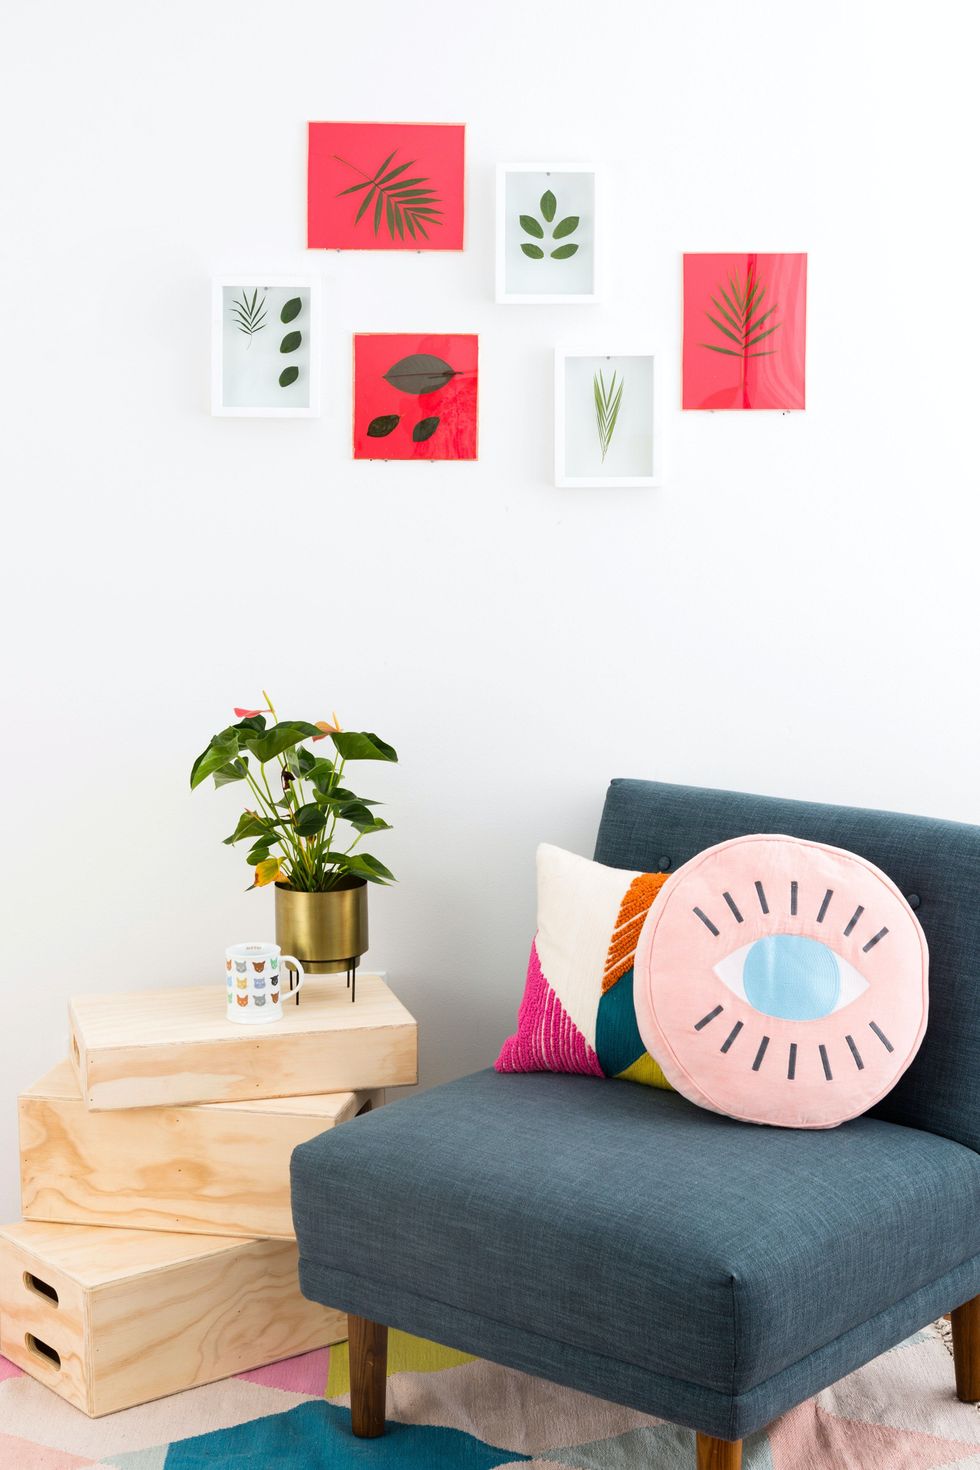
We like the idea of a wall moment that’s constantly growing :)


