Meet the Traditional Advent Calendar’s Hip, Trendy Cousin
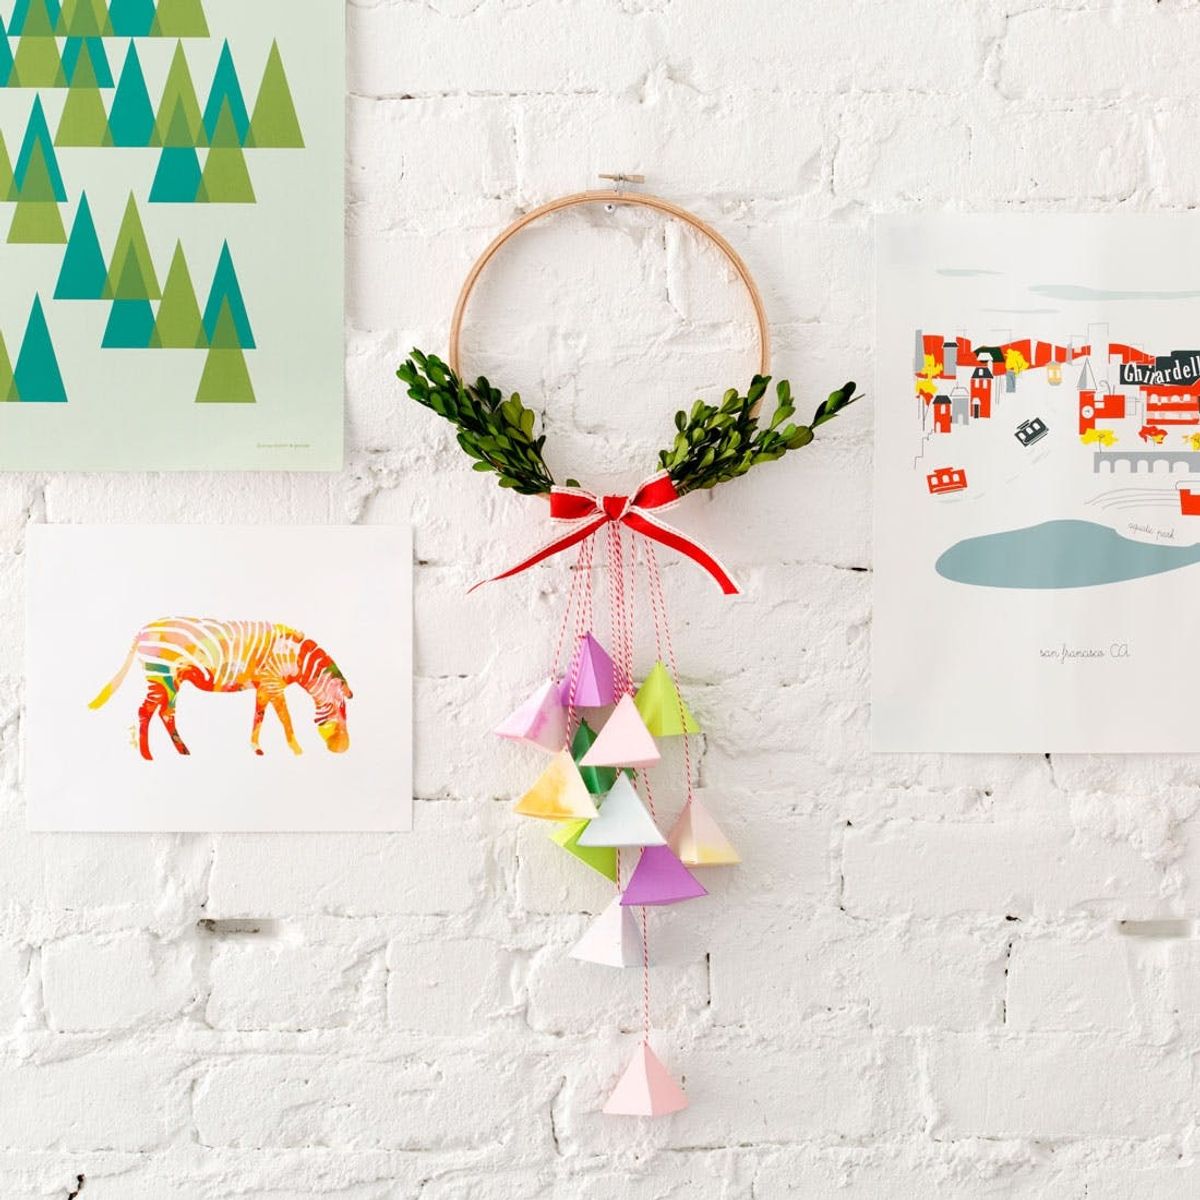
‘Tis the season, y’all. It may not snow in San Francisco where Brit + Co headquarters is located, but the temperature is steadily dropping and holiday energy is pumping through our office. While we dream of a white Christmas, we’re focusing on ways to make our homes festive with holiday decor. Nothing helps to count down those anticipatory days until Christmas quite like an advent calendar, so we’ve created one with a colorful twist! Fill this 12-day advent calendar with little goodies and treats to help make each day a small celebration.
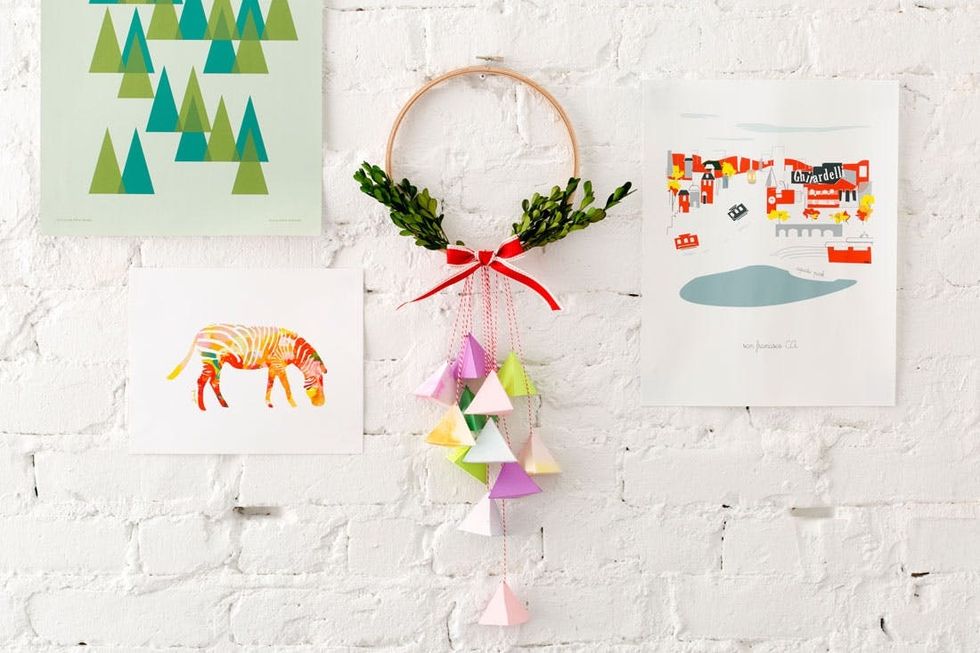
This wreath is super festive and SO easy to make. And it’s a great project to make with kids too! Keep reading for detailed instructions on how to make this colorful advent wreath.
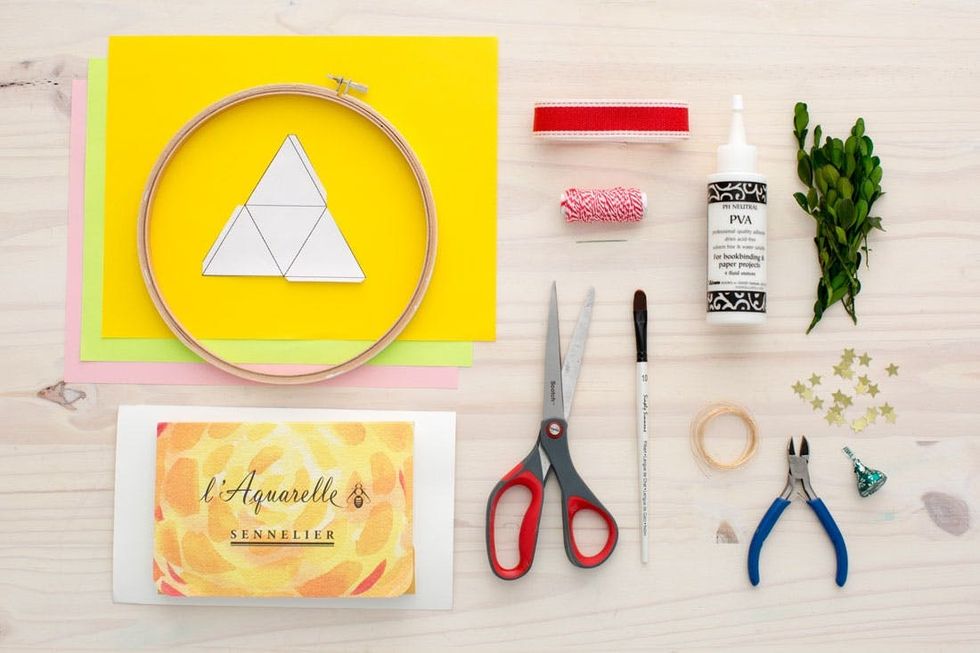
Materials:
– 8-inch embroidery hoop
– colorful paper
– pyramid pattern (download printable HERE)
– water colors and brush (check out our class + kit!)
– water color paper
– ribbon
– twine
– boxwood branches (or other foliage)
– confetti
– candy
Tools:
– scissors
– needle
– glue
– thin wire
– wire cutters
Get your materials together and let’s get making!
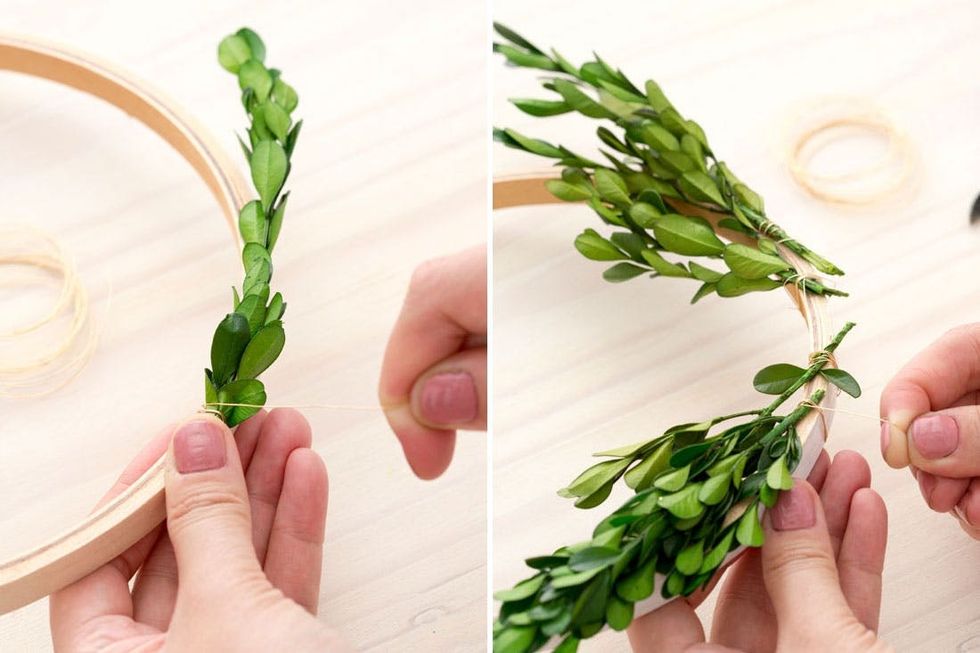
We’ll start by laying down the foundation of the wreath by arranging the branches around the embroidery hoop. Once you’ve decided on a good composition, take your thin wire and secure the branches to the hoop.

Now it’s time to water color! If you’re new to watercolor painting, take our class and pick up a kit HERE. Let the colors bleed together as you paint them on the paper. Then allow the paper to dry for about 30 minutes before handling.
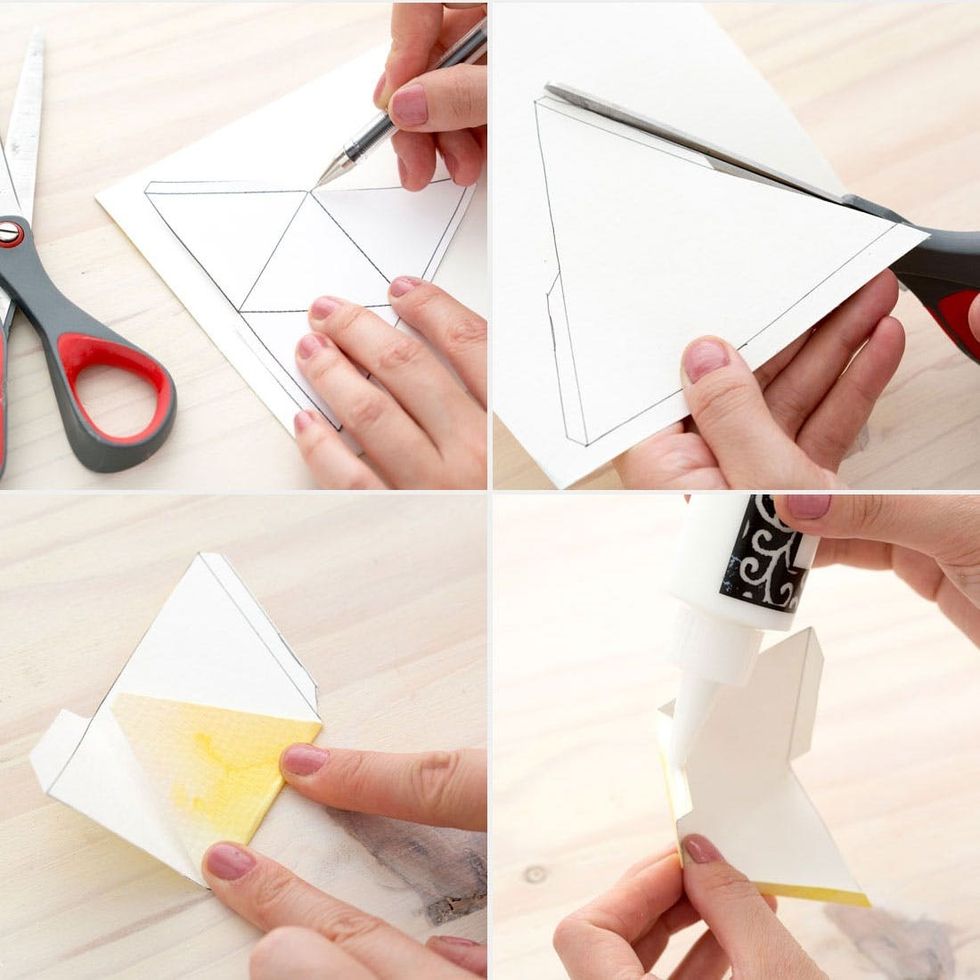
Cut out your pyramid template (download HERE) and trace it on the back side of your watercolor paper. Trim, crease and glue along the tabs to create your prism. Be sure to leave the top open so you can fill your prism with treats! Repeat this step on solid colored paper as well. We just love the way the drippy watercolors pair with the pop of solid colored paper :)

Pro tip: Use painter’s tape to hold the edges of the prism together while the glue dries so you don’t have to. Don’t worry — with painter’s tape, you’ll be able to peel it off without damaging the paper.
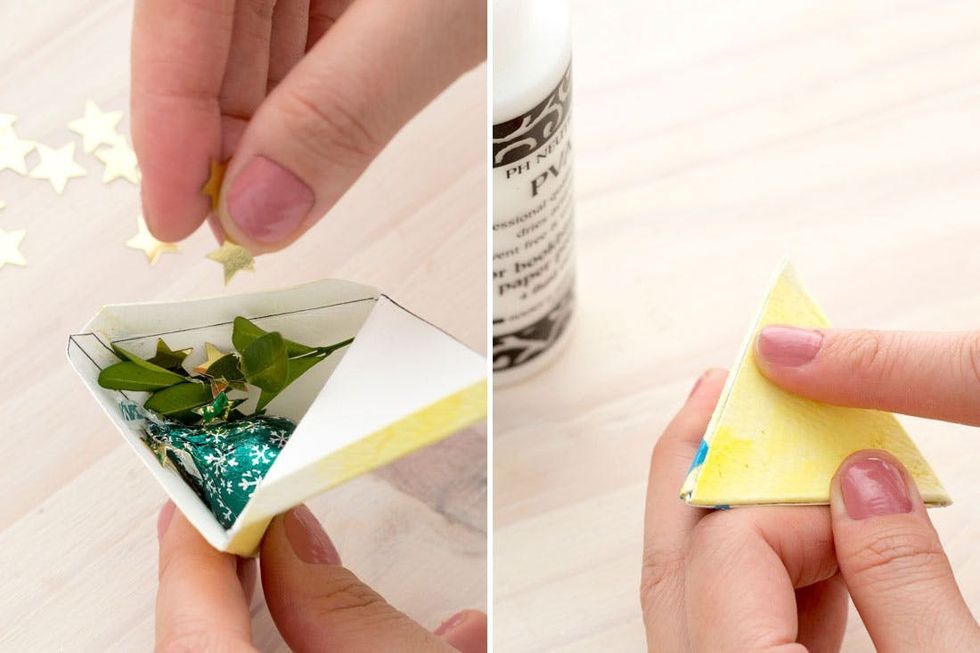
Before gluing your prism shut, fill it with goodies. We chose to fill ours with gold star confetti, chocolate kisses and bits of boxwood. Keep making prisms until you have 12, alternating between solid colored paper and watercolor paper to create a nice mix of textures and colors.
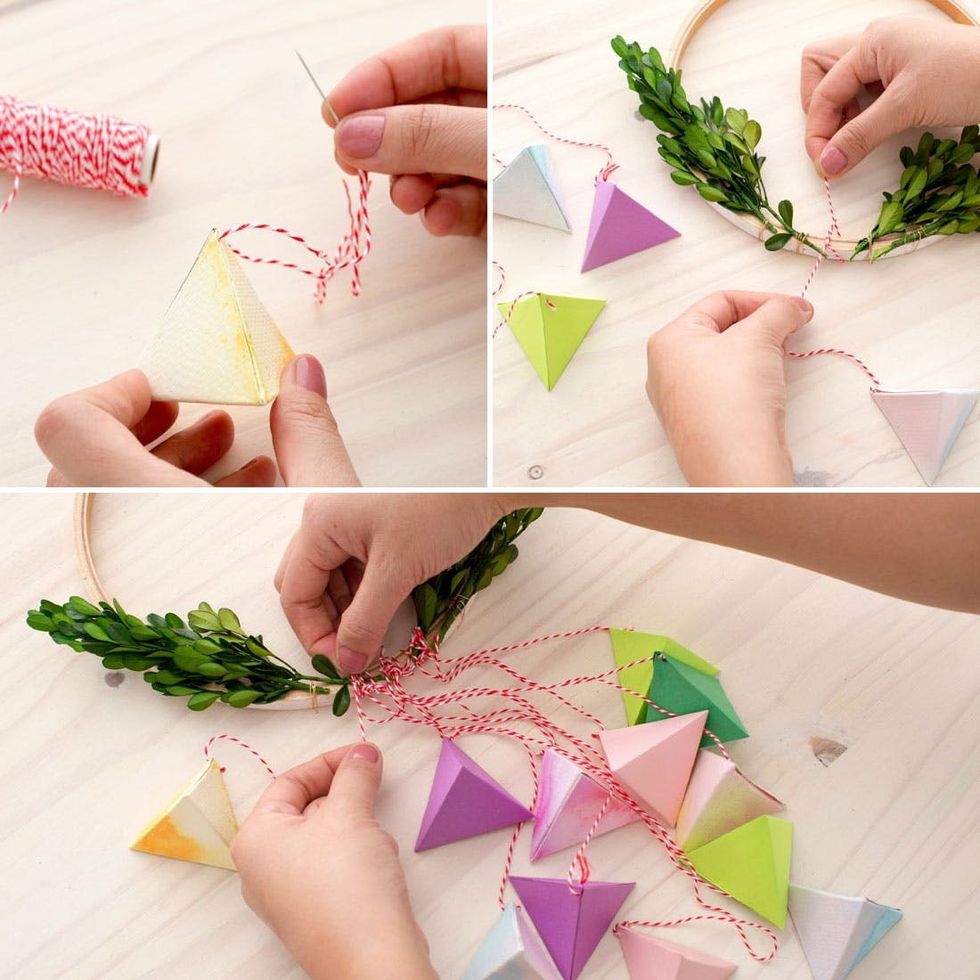
Once again, allow the glue on your prisms to dry for about 30 minutes before tackling the next step. When the prisms are dry, thread your needle and string your prisms with twine. We tied our prisms at varying lengths to create a nice waterfall effect.
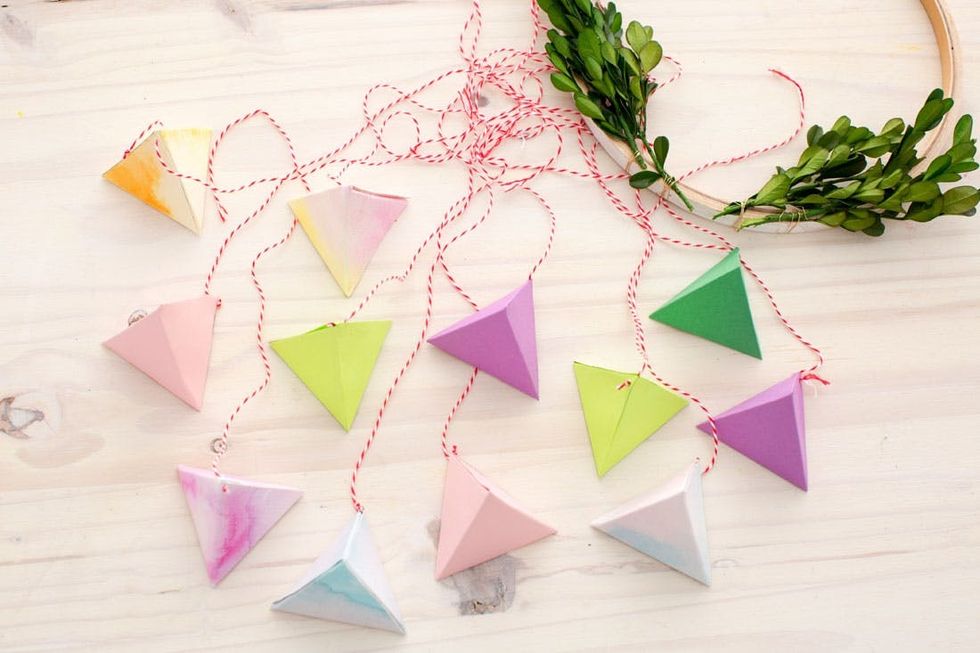
Who wouldn’t be stoked to open these bad boys?!
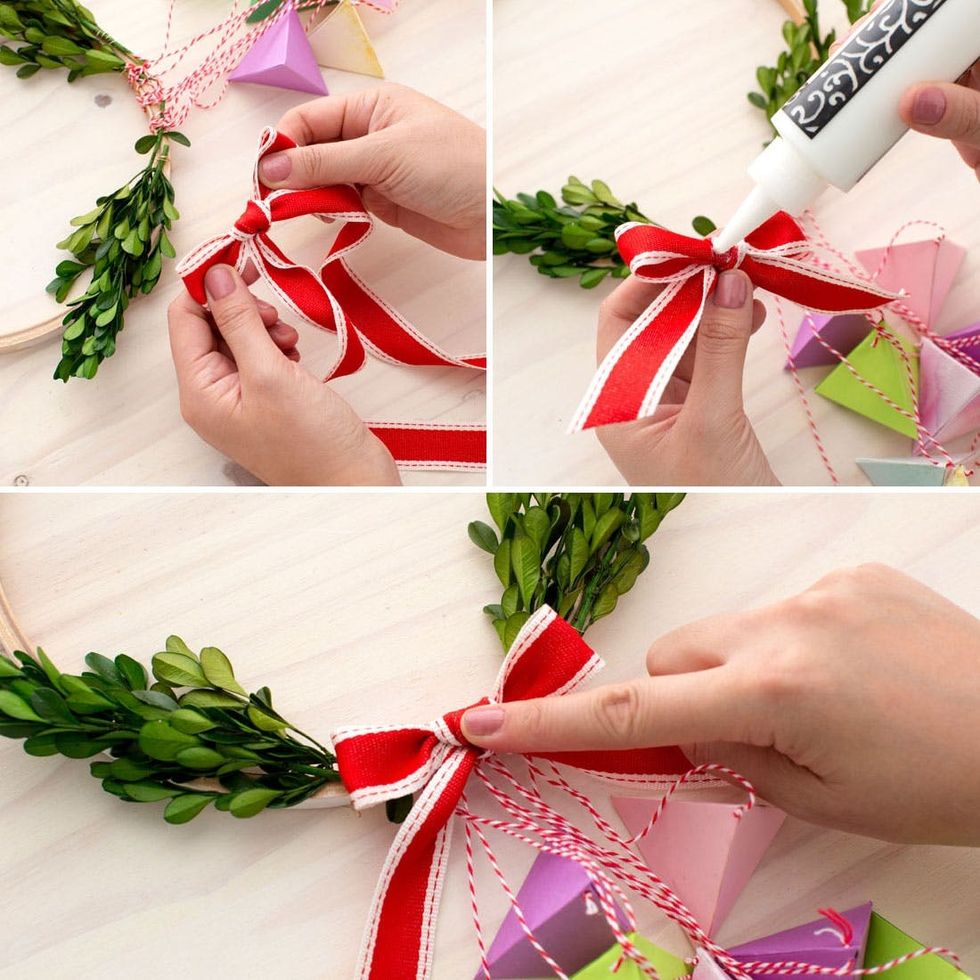
Now let’s hide all of that twine. Tie your ribbon into a bow and glue it right on top of the twine bundle.
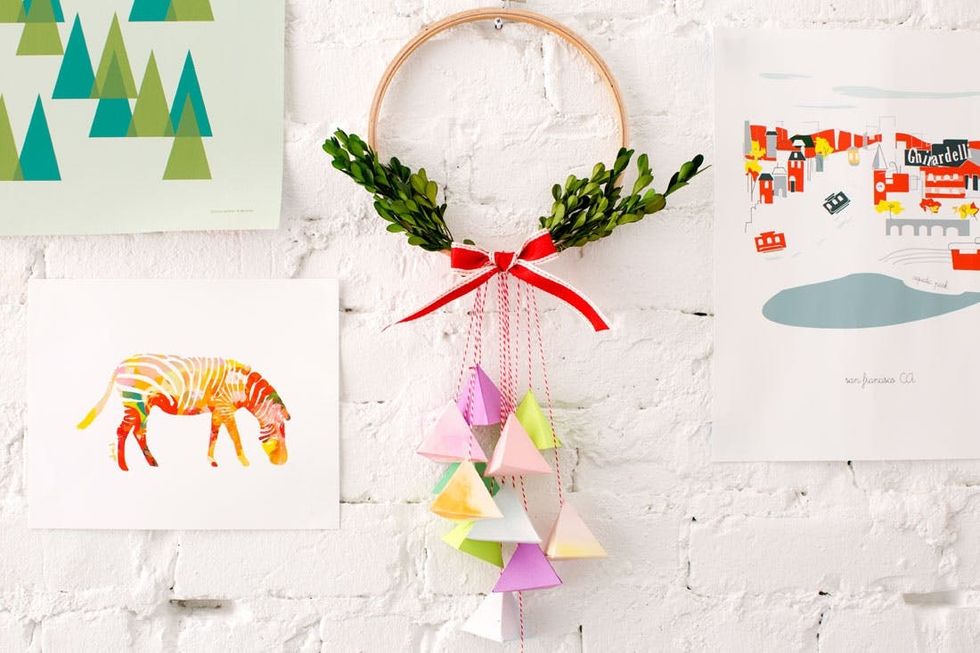
Let the bow dry for one hour before hanging your project. And there you have it! This advent wreath will bring instant holiday cheer to any home.
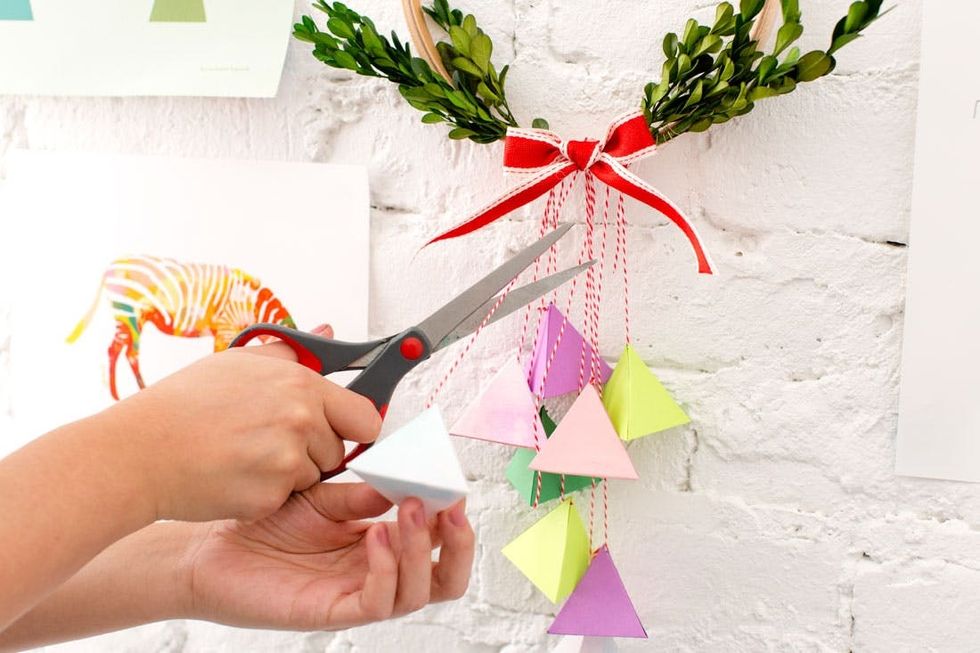
Cut off one prism for each day of Christmas…

…and get the party started!


