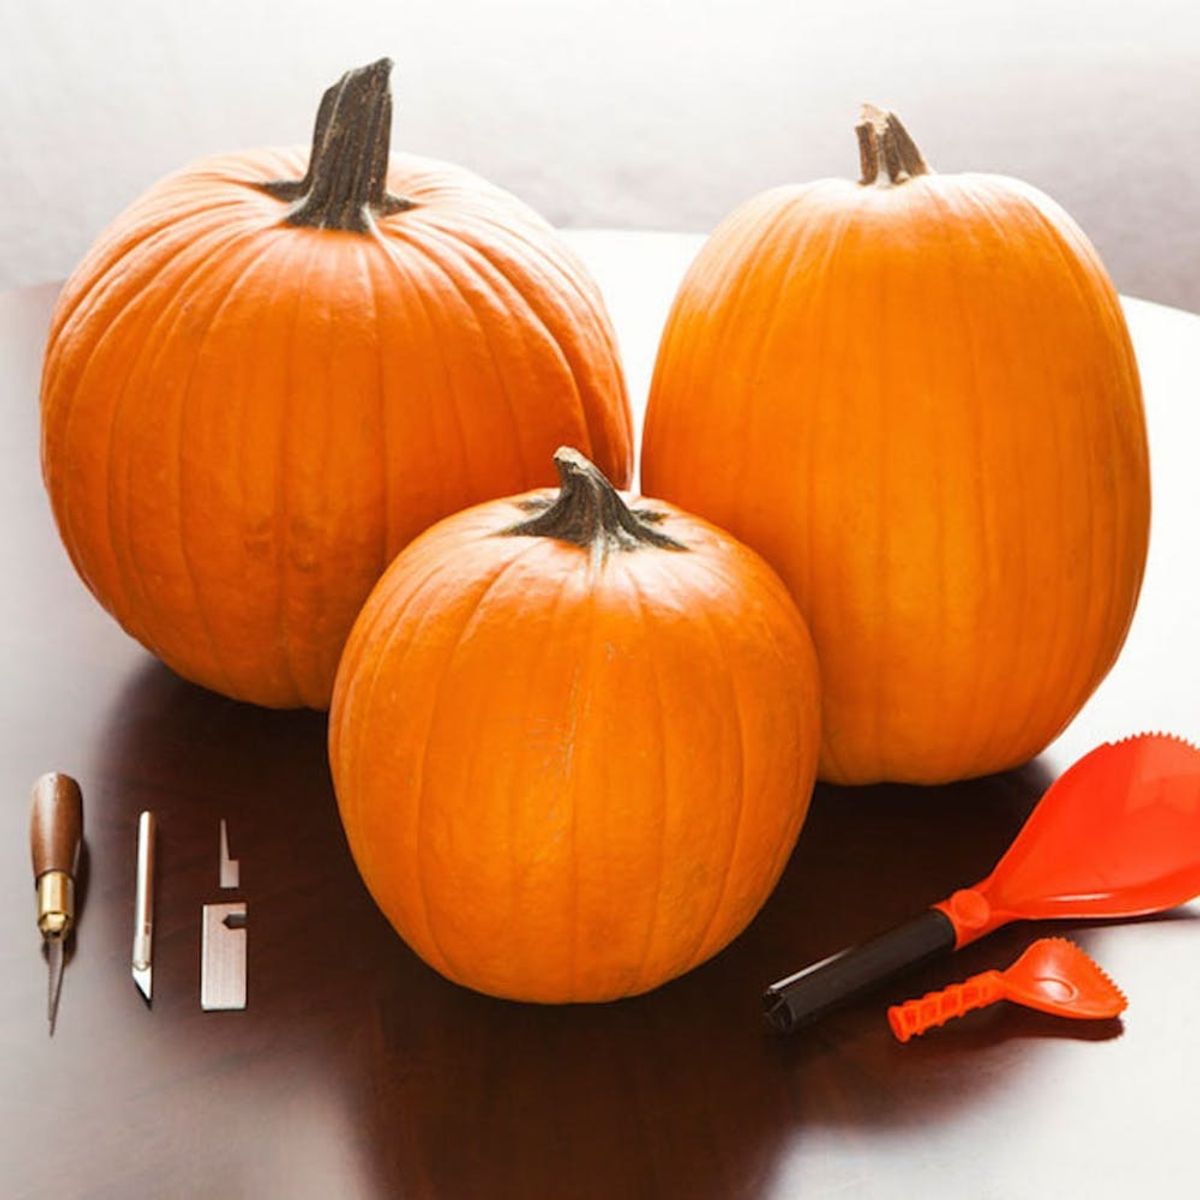
Take that, pumpkin carving.
14 #Genius Last-Minute Pumpkin Carving Hacks

If you haven’t already noticed, all things jack-o’-lanterns are totally trending right now. Whether it’s pretty painted ones or paper-covered beauties, we are all about finding the easiest pumpkin decor ideas out there. If you are still determined to carve that pumpkin before fright night, we’ve got some #genius hacks from all over the interwebs. From power tools to spices to stencil tricks, here are 14 pumpkin carving hacks to save you hassle and double your fun. Carve on, friends!
1. Break out the ice cream scooper. Use an ice cream scooper instead of a regular spoon for scooping out pumpkin guts. No more bent spoon handles, hooray! (via HGTV)
2. Spray them with bleach. Spray your carved pumpkins with a diluted bleach solution to preserve them so your decorations last past the trick-or-treating. (via The Chic Site)
3. Place silica gel packs in them. You know those little silica gel packs that you find in shoeboxes? Putting them in the bottom of jack-o’-lanterns extends their life! The packets trap moisture and help prevent mold. (via Stockpiling Mom)
4. Use string lights instead of candles. Wrap a strand of lights around a glass mason jar and secure wires with tape. Cut a hole in your hollowed-out pumpkin for the cord, then place the jar inside. The bright lights will actually show off your designs better than a traditional candle. Shine bright like… a pumpkin?? (via Martha Stewart)
5. Spread the jelly. Petroleum jelly, that is. After carving your pumpkin, brush a film of petroleum jelly over all carved surfaces (including the inside of your pumpkin). The jelly acts like a barrier to seal in moisture and slow down the dehydration process of the pumpkin. (via Pumpkin Carving 101)
6. Trace with dry erase markers (not Sharpies). Use dry erase markers to draw designs directly onto your pumpkins before carving. Wipe off the pumpkin with a wet paper towel after carving and no one will be the wiser. (via Parent Hacks)
7. Give your pumpkin a chimney. Make sure to carve a small hole in the top of your pumpkin lid to allow oxygen and smoke in and out and keep your jack-o’-lantern glowing bright. Of course, this hack only applies if you’re using a real candle. (via Serious Eats)
8. Harness your power drill skills. Use an electric drill and different-sized drill bits to quickly create symmetrical holes and make a pretty pumpkin. (via HGTV)
9. Use baking tools. Break out of the mold! Cookie cutters can be used for more than just cutting cookies. Use a cookie cutter and a rubber mallet to carve pumpkins to perfection. You’ll get an even, symmetrical design every time. (via Lowes)
10. Sprinkle a bit of cinnamon. Sprinkle cinnamon on the underside of your pumpkin’s lid. When your jack-o’-lantern is lit, your porch will smell like pumpkin pie. PUMPKIN PIE! (via M Live)
11. Start from the bottom up. Save yourself the hassle of cutting out a pumpkin top. Just carve a hole in the bottom of your pumpkin big enough for your candle. You can do this all will-nilly and throw away your pumpkin bottom because no one will ever see it. (via BHG)
12. Pick up a carving stencil. Print out a carving template, tape it to your pumpkin and use a paperclip to poke holes through the template, outlining the design onto your pumpkin. Then get to carving. We have some free downloads here and here but there are literally thousands of free templates online.
13. Cut the lid at an angle. Remember to cut the top of your pumpkin at an angle so when you go to place the top back on it won’t fall through. Admit it… we’ve all made this mistake. (via The Kitchn)
14. Use a wax-free paper transfer stencil for easier carving. Poking a design onto a pumpkin through a template can be tedious. Try using Saral Wax-Free Transfer Paper instead. You’ll cut carving time in half! (via This Old House)
Are there any carving hacks that we missed? Let us know below!


