So fun, they’ll forget they’re learning.
3 Rainbow Kid Activities That Are Totally Worth the Mess

PSA: Sometimes, letting your kids get their hands (and shirts, and pants, and elbows, and feet) dirty is a good call. When kids fully immerse themselves in a project, mess and all, they are more engaged, therefore they learn more from the activity. In other words, getting messy can be SMART! Today, we’re teaming up with the stain-tackling NEW sulfate free all® fresh clean ESSENTIALS® to bring you three marvelously messy rainbow activities that are all about fun education.

DIY rainbow slime, DIY rainbow foam, and easy rainbow sponge art, comin’ right up! These projects are all super tactile and will help kiddos learn about color science in different ways. Each activity is made with totally kid-friendly ingredients, but a parent or guardian should always be present.

We know what you’re thinking — mess means stains, which means more work on your end at the end of the day. These kid-friendly projects help you embrace the mess with the help of sulfate free all® fresh clean ESSENTIALS®, because clean is essential, sulfates aren’t. The laundry detergent provides a powerful clean without harshness, and targets common kid stains like nobody’s business. We’re big believers that family health and happiness should always come first, so we’re all for choosing smart products that go in, on, and around our bodies, including laundry products. This detergent definitely gets our seal of approval :)
Now, time to roll up our sleeves and get messy!
DIY RAINBOW SLIME

It’s slime time, y’all. This rainbow goo is a breeze to make at home, and is a great demonstration of liquid-to-solid science, tactile learning, and color mixing. TBH, it’s pretty fun for grown ups to play with too! Here’s the tutorial.
Materials and Tools:
- 4 ounces school glue (clear or white glue will work)
- ½ Tablespoon baking soda
- 1 Tablespoon contact lens solution
- popsicle stick or plastic spoon for mixing
- food coloring
- medium bowls
Instructions:
- In a medium bowl, combine school glue and baking soda. Mix well.
- Add a few drops of food coloring and mix until fully combined.
- Now for the cool part! Add the contact lens solution to the mixture and stir. The concoction will begin to seize and stick to itself!
- Follow steps 1 through 3 to make 3 or more other colors.
- Layer each color of slime, then stretch, pull, and twist to your heart’s content. The more you manipulate it, the more the colors will combine. Fun, huh?
Pro Tip: If the slime is still a bit sticky after these steps, add 1 more teaspoon of contact lens solution and mix again.

Side note: DIY slime is *super* trendy right now, so much so that our local art stores were sold out of school glue! Crazy, huh?
DIY RAINBOW BUBBLE BATH FOAM

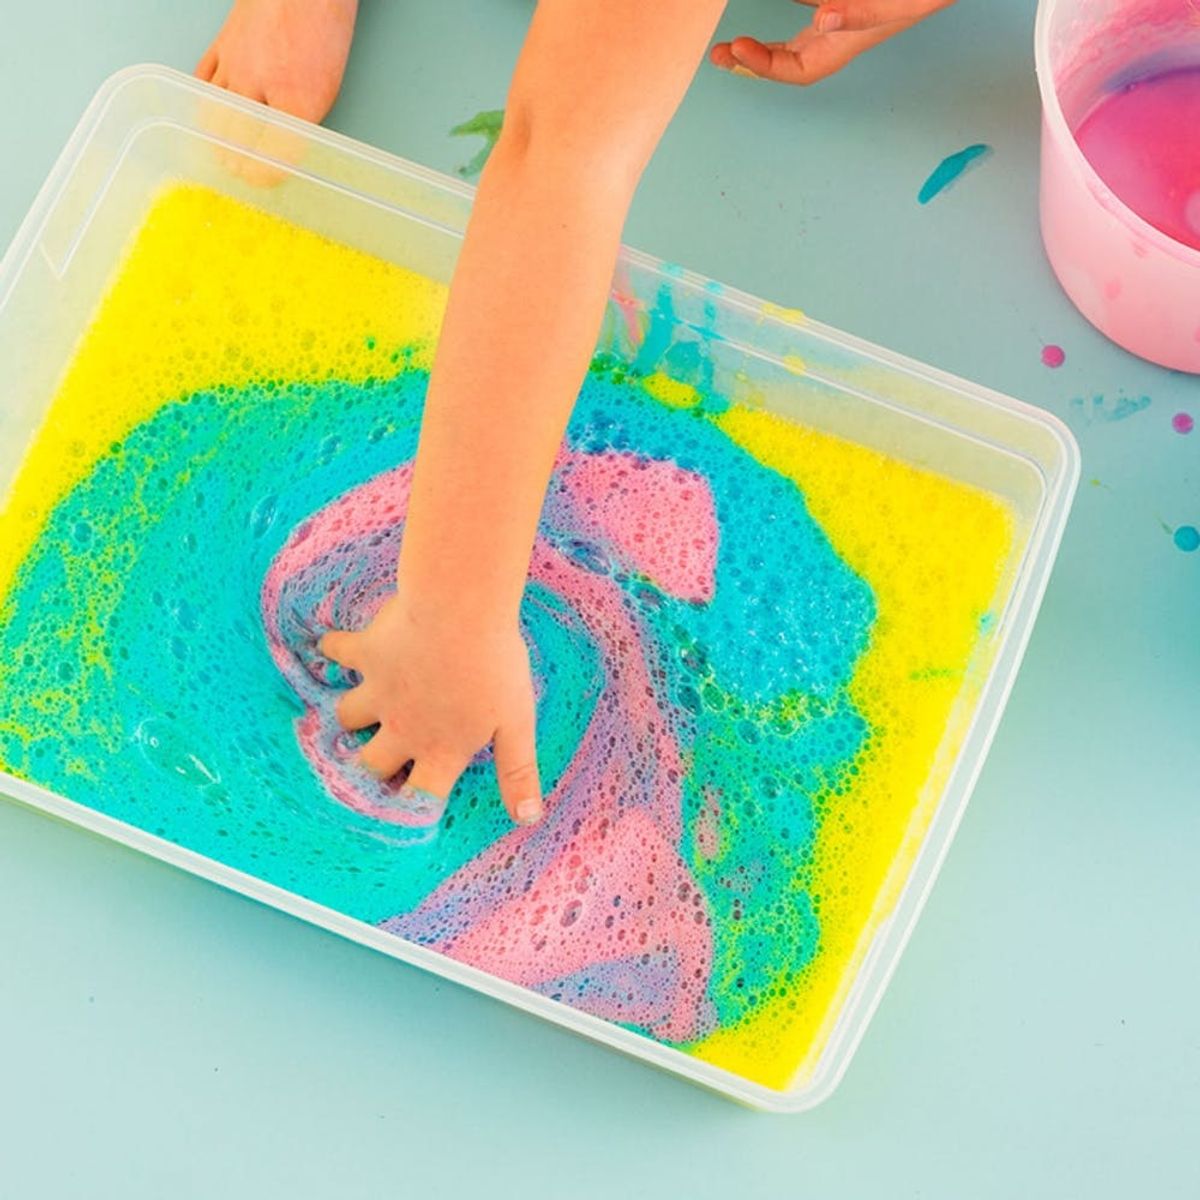
Bubble bath + hand mixer = MAGIC, guys. Again, this DIY will teach your little one all about color blending; plus it’s a fun foray into foam science. The more air is blended into the bubble bath, the foamier it gets! Here’s how to make it.
Materials and Tools:
- bubble bath (we used approx. ½ bottle for each color)
- water
- food coloring
- hand mixer
- medium containers
- large bin
Instructions:
- Combine bubble bath, a splash of water, and a few drops of food coloring to a medium container.
- Blend the bubble bath with a hand mixer until the mixture starts to foam.
- Repeat steps 1 and 2 with other colors in separate containers.
- Add all colors to a large bin, then mix and play!

Who knew foam could be so entertaining?!
RAINBOW SPONGE ART

Did you know you only need three colors to make every color in the rainbow? Teach your kiddos about primary color science with this simple sponge art project. This one is as easy as one, two, three.
Materials and Tools:
- sponge
- red, yellow, and blue washable paint
- condiment bottles
- paper
Instructions:
- Fill each condiment bottle with washable paint.
- Add each paint color to the sponge. If you want to make a rainbow, have the colors overlap a little.
- Flip the sponge over and drag along the white paper. That’s it!
Pro Tip: We found our rainbows were much more vivid when we pressed on the far side of the sponge while dragging it.

Look at that concentration!

There you have it! Three easy peasy DIY activities that are all about fun *and* learning. Happy mess-making!

Testing out these DIYs with your kiddo? We want to see the results! Share photos with us on Instagram and Facebook with the hashtag #britstagram so we can take a peek.
DIY Production: Maddie Bachelder
Photography: Chris Andre


