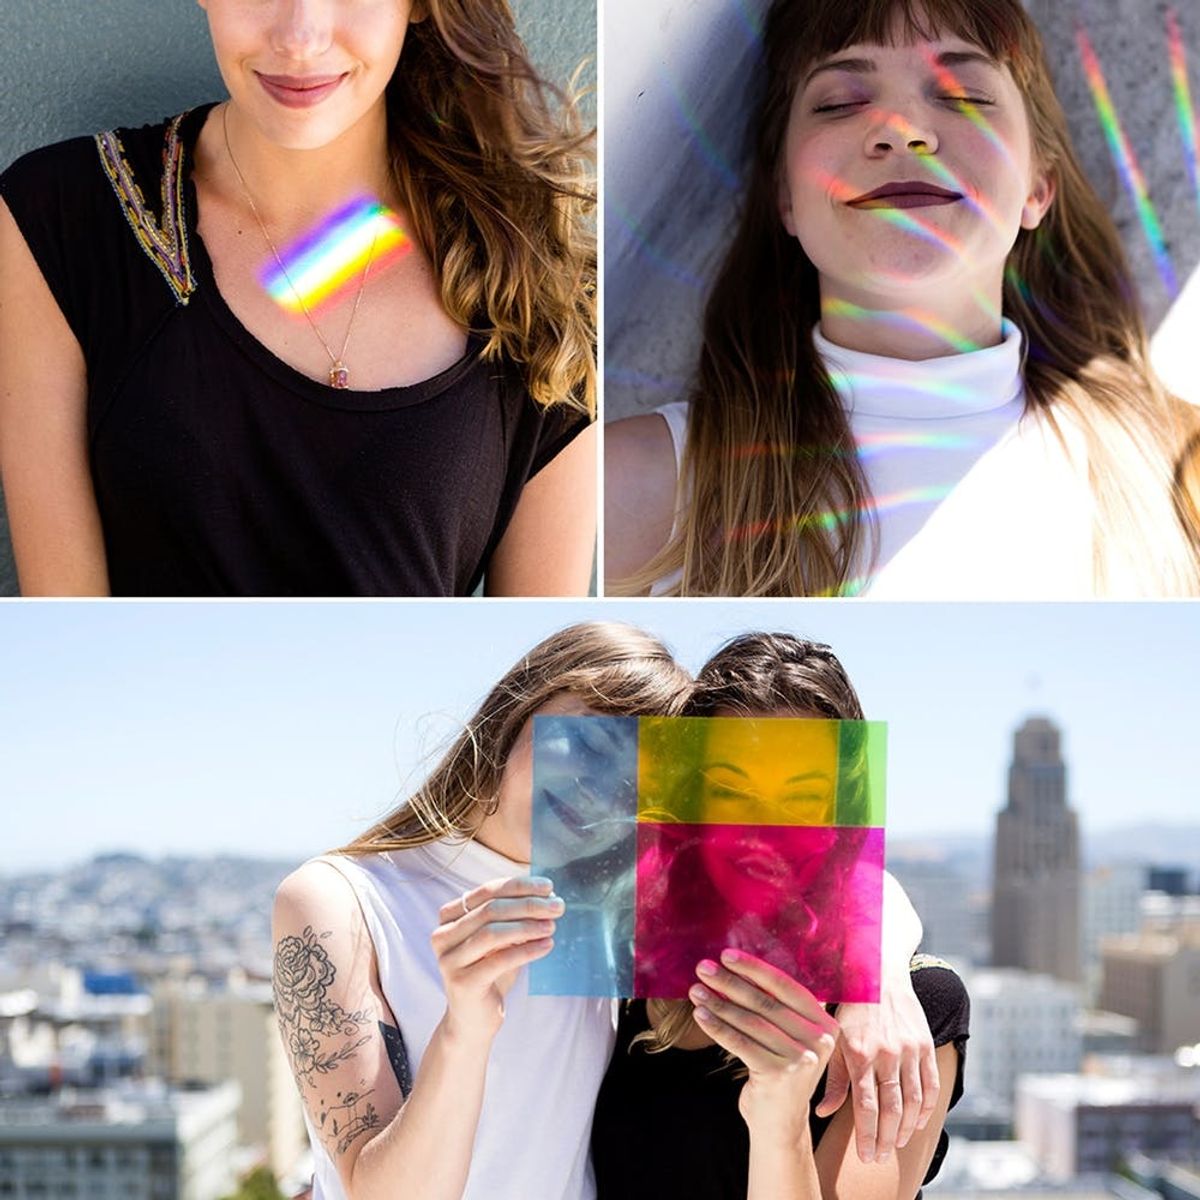
We got photos with vibrant rainbow locks, no hair dye needed!
Here’s What Happened When We Tried Rainbow Photography

A couple of weeks ago, the creative team at B+C took a field trip to the Exploratorium, a museum in San Francisco full of interactive exhibits that encourage visitors to explore their curiosity, ask questions, and have fun. One of their outdoor installations had windows covered in bright, bold primary colors that cast rainbow shadows. It was so inspiring, I couldn’t stop thinking about it. As the weeks passed, I started to notice rainbow prism photography popping up in my social feeds. So I did quite a bit of research and decided to try my hand at making rainbows! I purchased an Accessories Station Glass Prism Refractor (currently sold out) and a 3D Glasses Direct Rainbow Suncatcher ($25), both with promising reviews to make my rainbow dreams come true. I also DIY’ed rainbow glass inspired by the installation. Scroll on to see the magical shots we captured and get the “how to” of rainbow photography.

RAINBOW VINYL GLASS

Materials and Tools:
- 8.5 x 11-inch glass (I used an old frame insert)
- different color vinyl
- ruler
- X-ACTO knife
- cutting mat

Instructions:

Place your first piece of vinyl onto your glass. You can plan it out beforehand or just go for it! I loosely laid the colors where I thought they would look nice and went from there.

Next, transfer the glass piece over to the cutting mat. Place your next piece of vinyl. The best thing about this is that you don’t need to be super exact. I lined the ruler up with the cutting mat to make all of my edges straight.

Trim and peel the excess vinyl from the glass.

Keep layering and trimming until your glass is all covered.

I repeated this process two more times, to have more to experiment with.

I thought that the rainbow vinyl was super fun! When the sunlight passed directly through it, it cast brilliant, colorful shadows.

Check those vibrant rainbow locks, no hair dye needed!

One of my ideas to use it as a camera filter did not quite pan out. The vinyl was too opaque for the camera to properly focus on us behind it.

Beautiful shadows! Overall, I think this was a really fun project. Definitely a fun way to experiment with photography, natural light, and color.
rainbow suncatcher

I loved the way the suncatcher’s photos turned out, although it was pretty tricky to manipulate.

I found that it worked best if the person you were trying to cast a rainbow on was in the shadows, while the other person held the suncatcher above them, angled to allow direct sunlight through it.

When you cast the rainbow onto a subject that is in direct sunlight, the colors become much more vibrant but you deal with some pretty wonky shadows.

SO fun! I loved the halo-esque effect it created. The suncatcher created some super neat looks, and I’d recommend it to anyone looking for a fun photography project.
Glass prism refractor

How cool does our resident DIY queen Kelly look?

As with the suncatcher, the refractor worked best when directed at a shady place.

The refractor did not cast as big of a rainbow as I thought it would have, but it still worked really well! It just took some patience to figure it out. It only worked when the sun shined through a certain side of the prism, but it was not clear which side. So we spun the prism around a lot to find the sweet spot!
How will you try rainbow photography? Show us by tagging us on Instagram + using hashtag #iamcreative, and follow us on Pinterest for more inspiration!
Brit + Co may at times use affiliate links to promote products sold by others, but always offers genuine editorial recommendations.
DIY Production and Styling: Cassidy Miller
Photography: Kurt Andre


