Rock some DIY resin jewelry.
The Easiest Way to Make Resin Jewelry

We've all seen gorgeous resin jewelry at shops, boutiques, and on fashionistas everywhere. And while we know this is something you can do at home, we weren't totally down with what seemed like a really complicated process. Well, turns out it is easier than we thought… but still has more steps than most of our DIY articles.
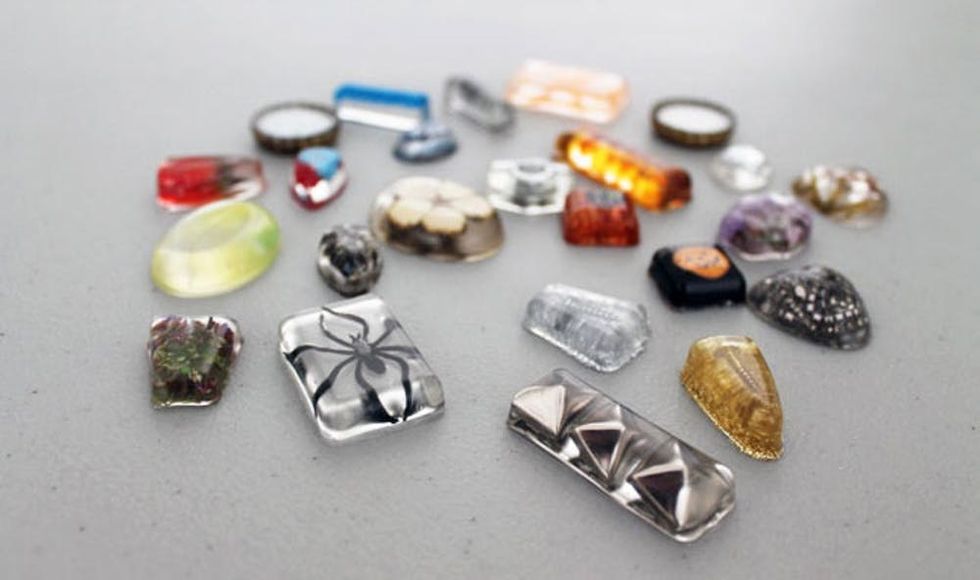
If you've always wondered if you could make resin jewelry in the comfort of your home, the answer is yes. You just need a few simple tools.
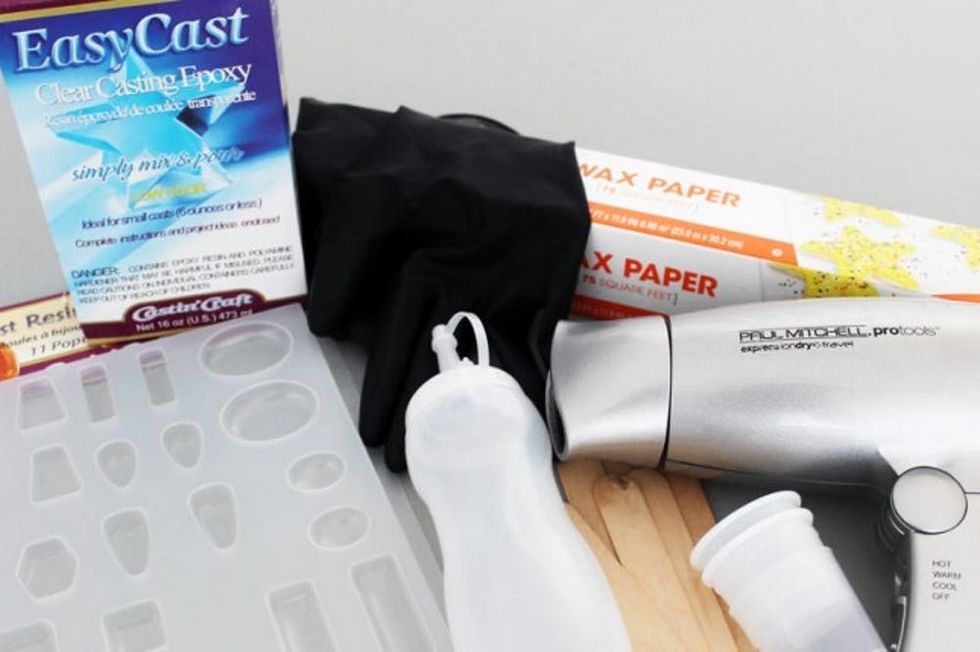
Materials:
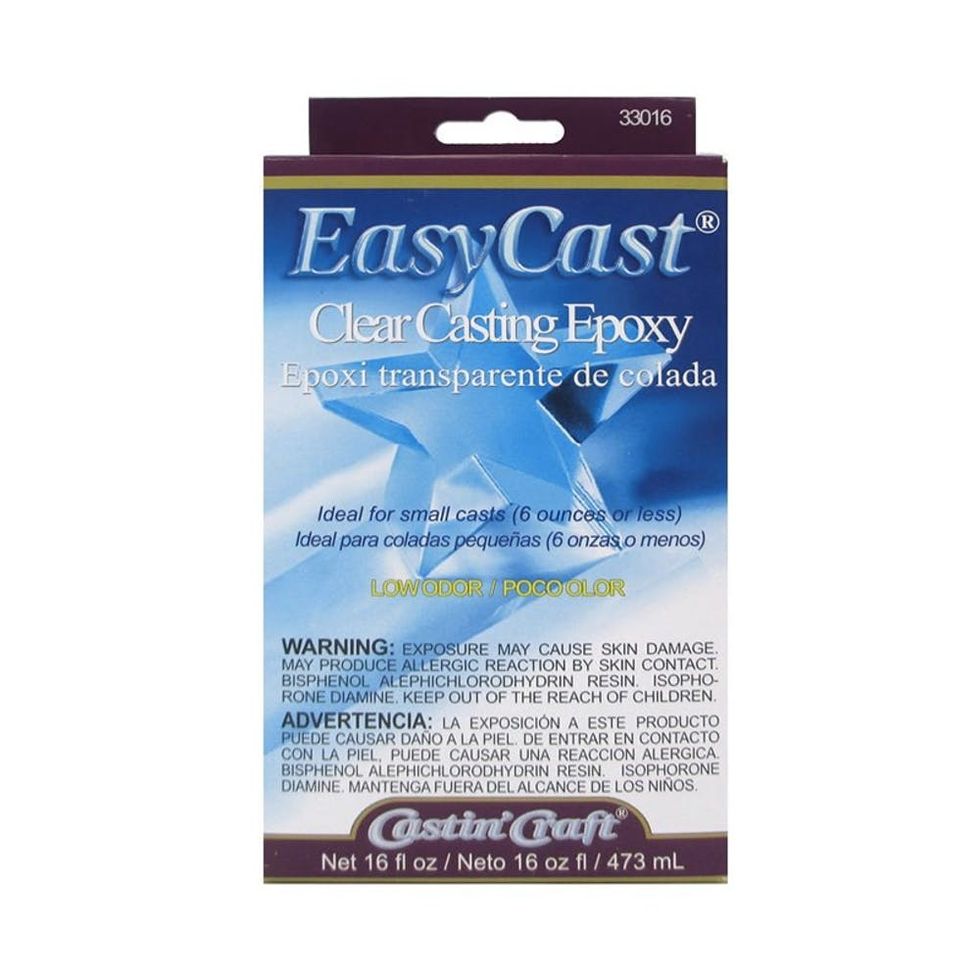
- EasyCast Crafting Epoxy, Clear
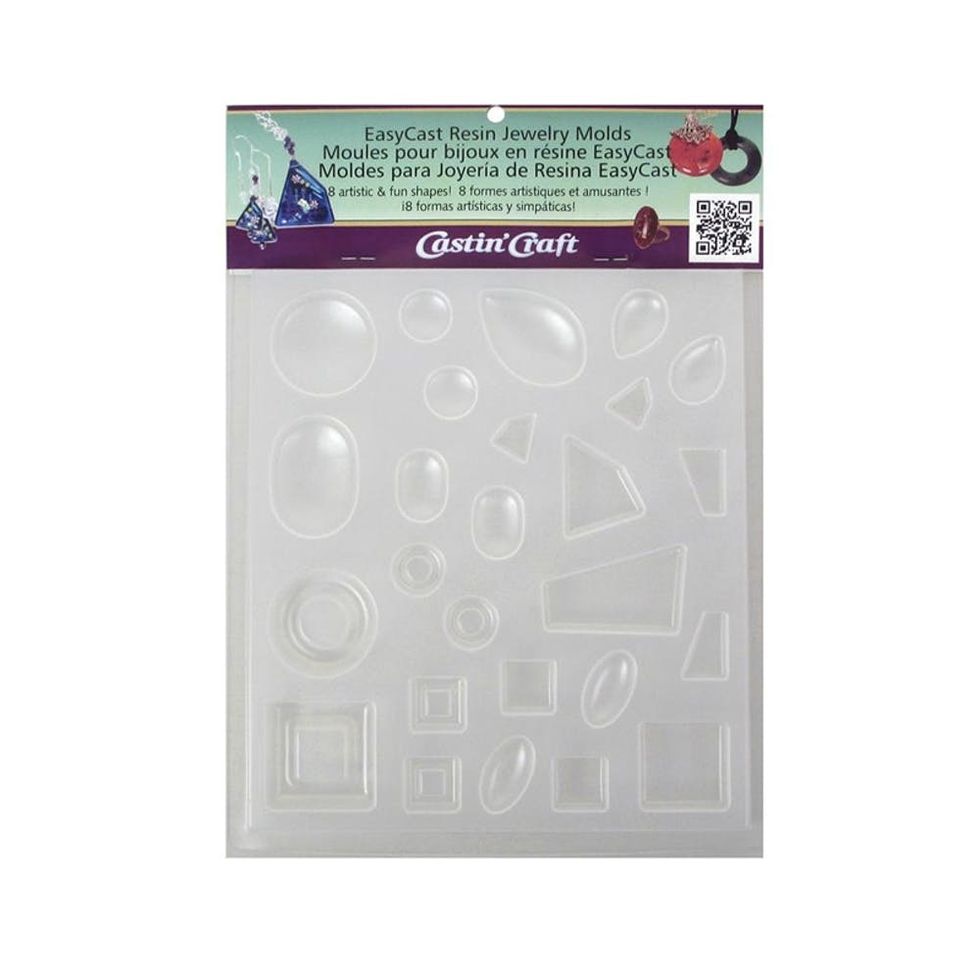
- EasyCast Resin Jewelry Mold
- wax paper
- latex gloves
- medicine cups
- condiment squeeze bottle
- blow dryer
- wooden popsicle sticks
- shoebox or plastic bin (to cover molds as they harden)
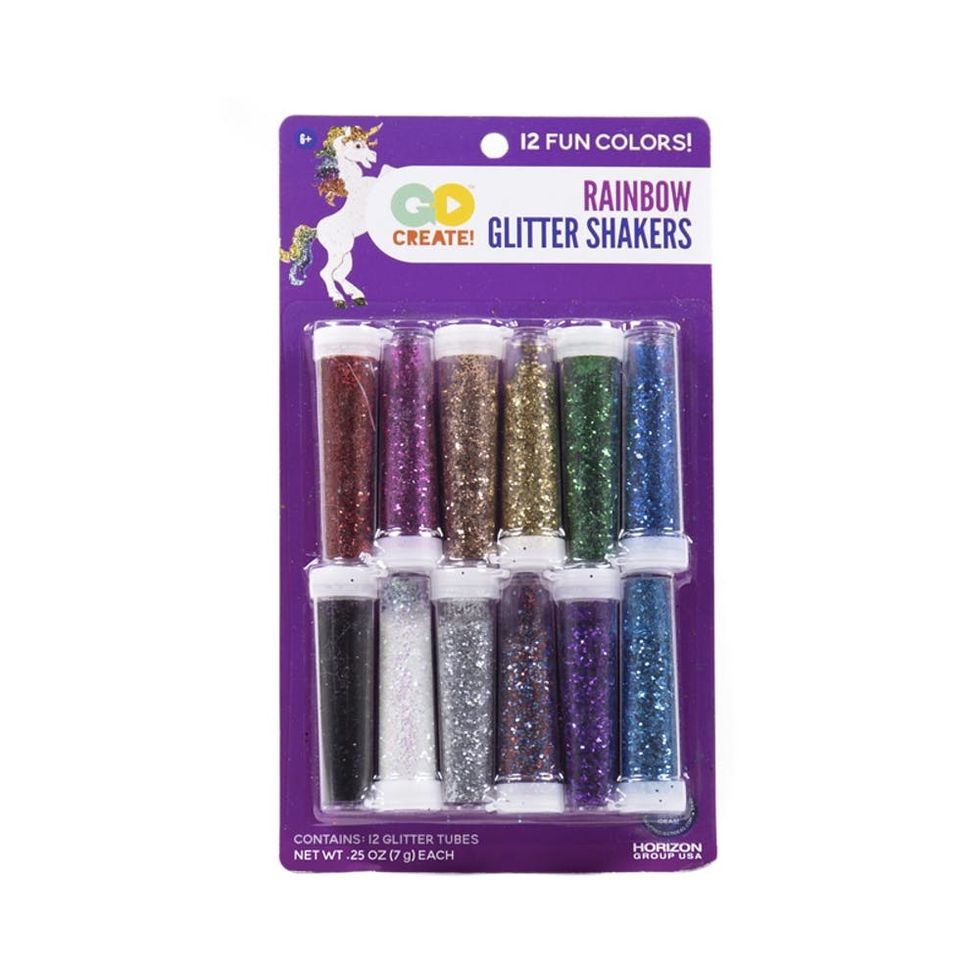
- resin fillers: studs, jewelry, dried flowers, feathers, glitter, etc.
- jewelry items: ring pads, clasps, flat safety pins
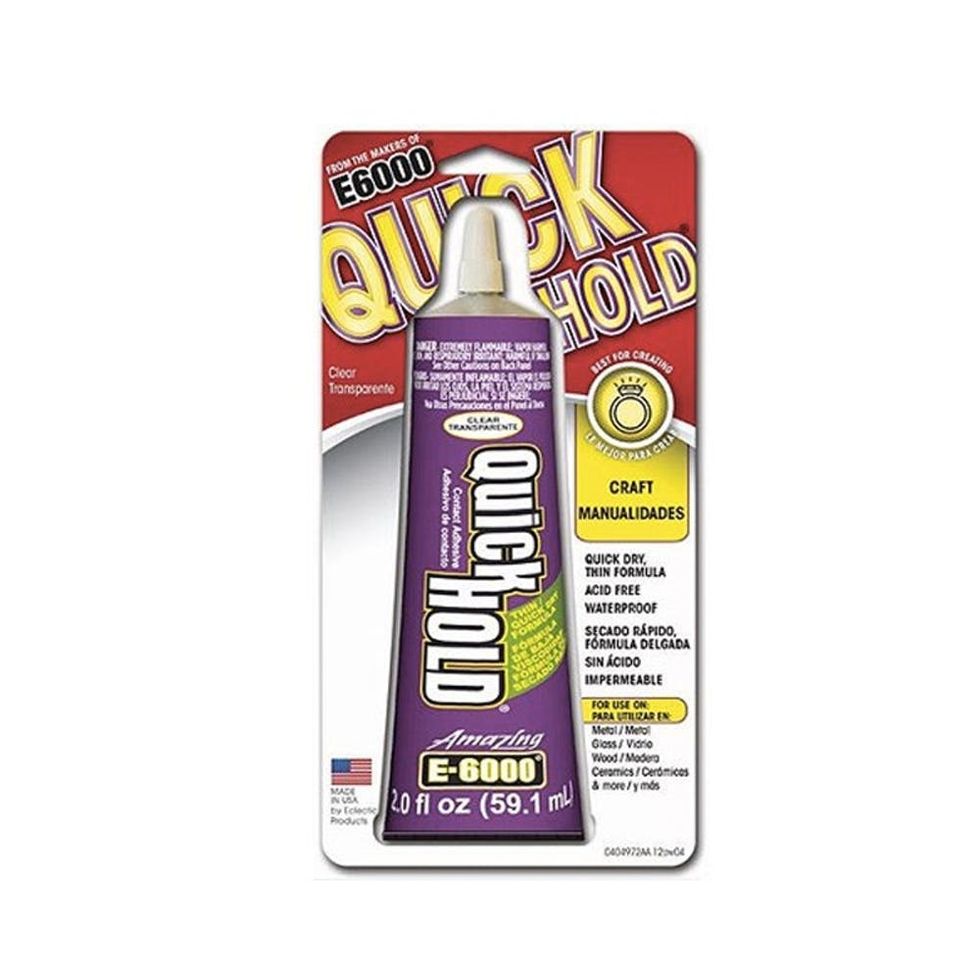
- E-6000 quick hold adhesive (if making rings or pins)
- Optional: plastic measuring cup (if doing a large batch)
While you get your “fillers" together, place the resin and hardener bottles in a bowl of hot water.
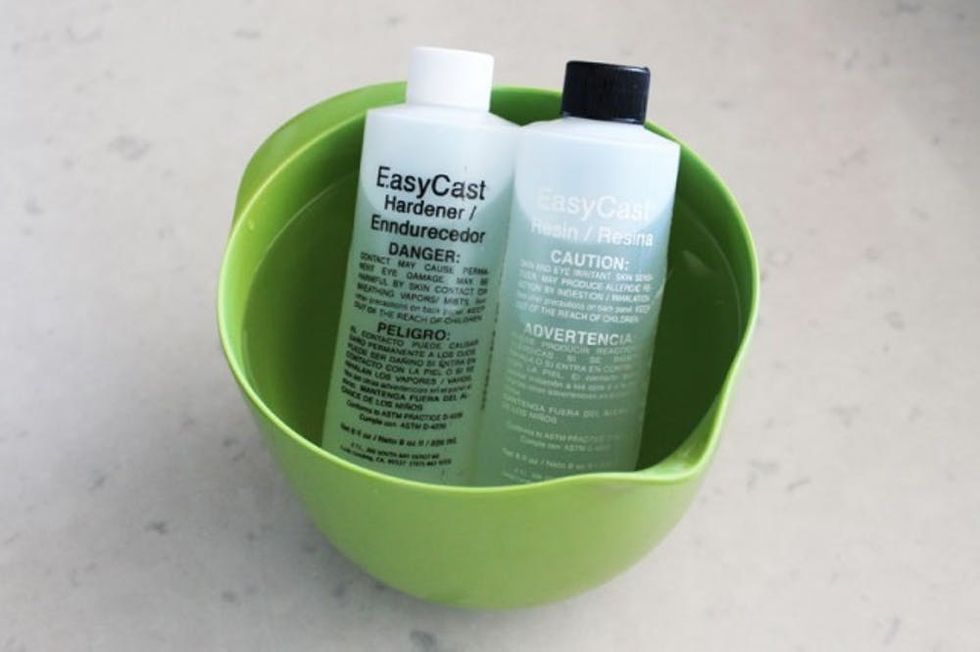
This helps the resin mix nicely, and helps avoid air bubbles. Be sure to cover your workspace with wax paper — resin does not wash off! Next, get your fillers ready. We came up with all sorts of good stuff to repurpose, source, print out, and sprinkle for our resin molds.
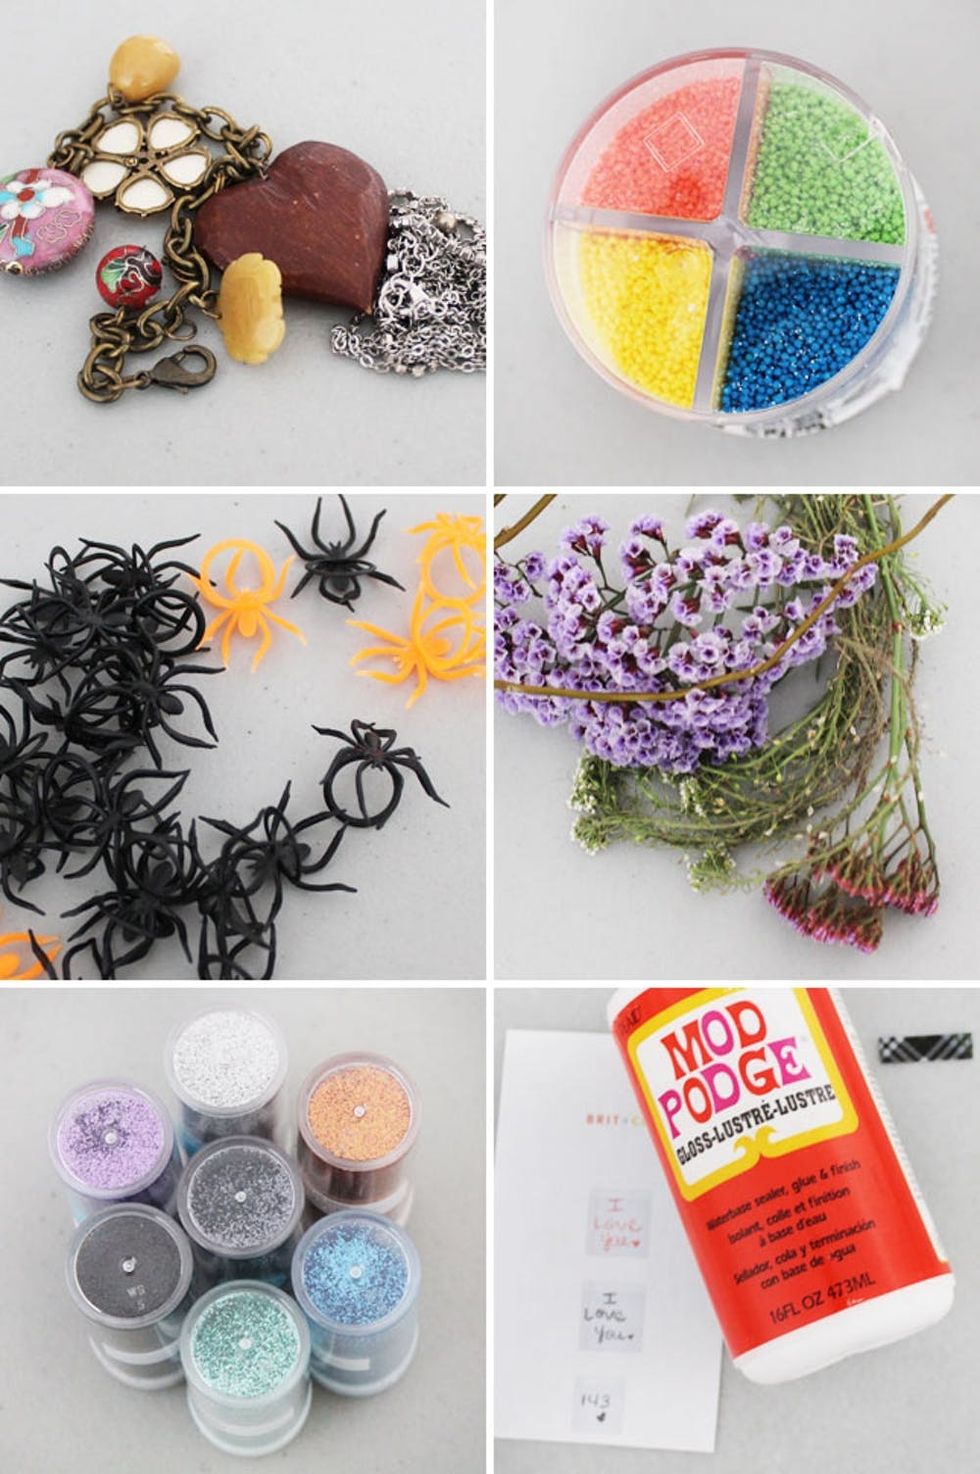
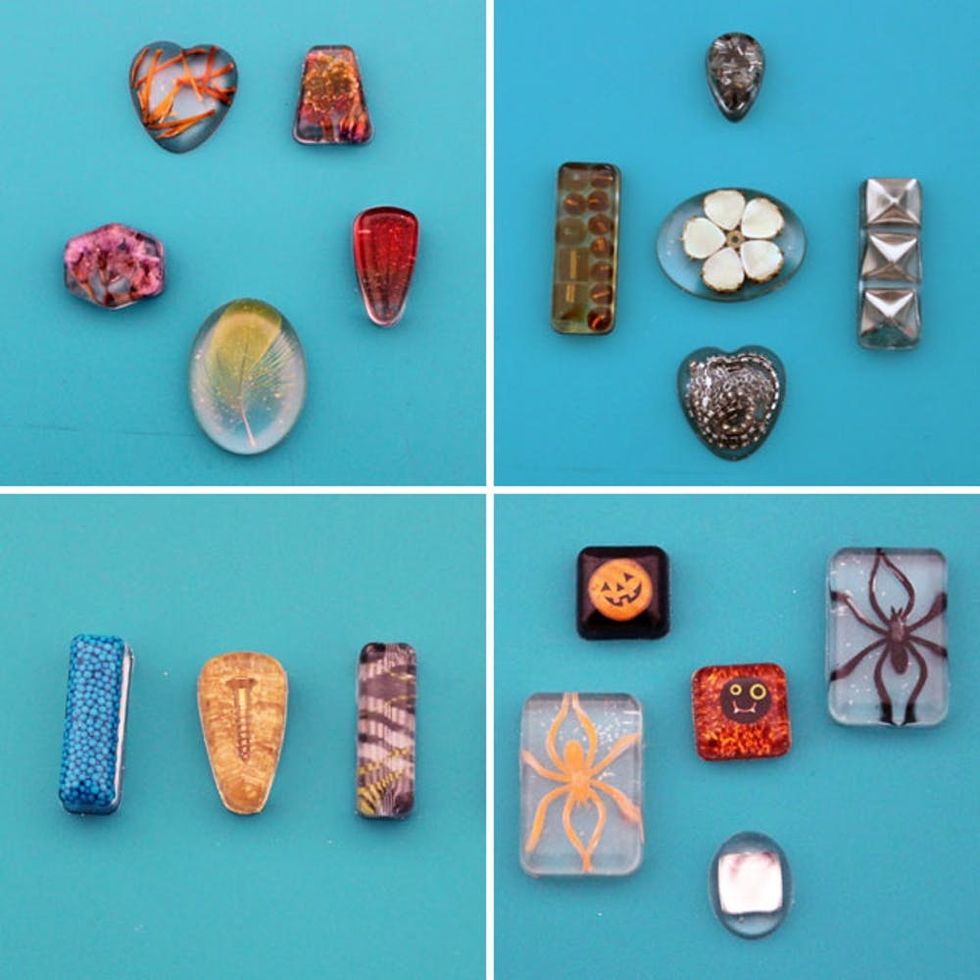
We've got repurposed jewelry, flowers and twigs found outside, sprinkles (yes, sprinkles!), plastic spiders for Halloween, and, of course, glitter! We also printed out a little Brit + Co. logo and wrote “143" ('90s pager-speak for I Love You) which we mod podged into a bottle cap.
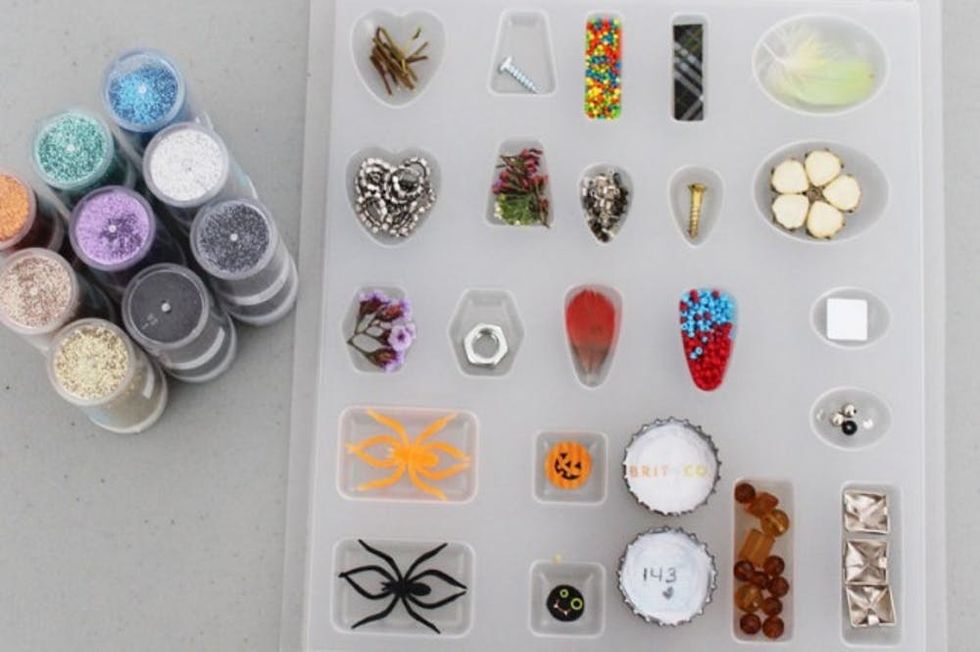
Use your resin mold to organize your fillers. Cut down what you need to so that you can quickly put everything together once you pour the resin.
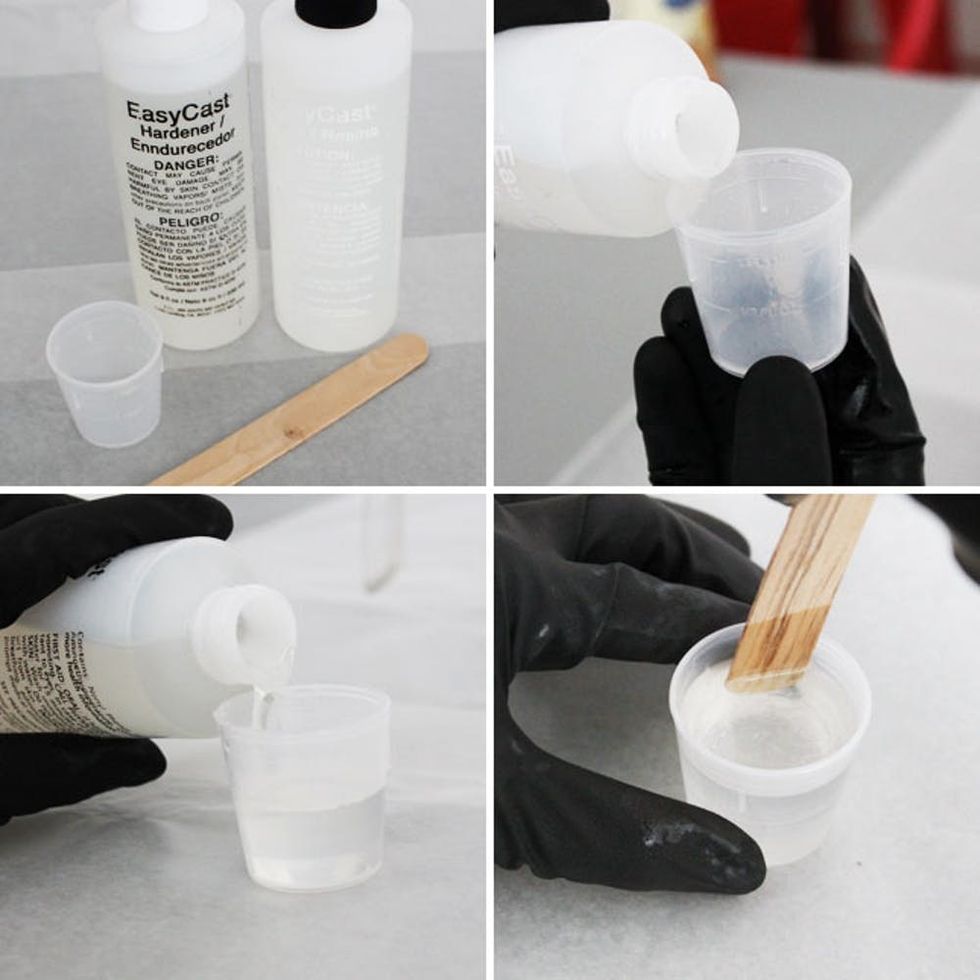
Now it's time to mix the resin! If you're just making one or two pieces, you can use an old cough syrup measuring up to mix one part resin with one part hardener. Mix for two minutes straight and be sure to scrap the sides of your cup often.
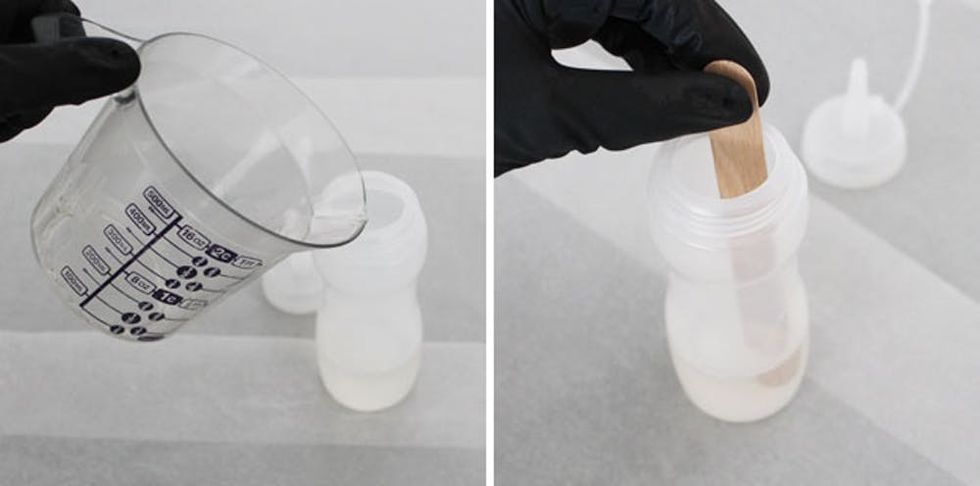
Or sacrifice a cheap plastic measuring cup, and pour the resin mix into a condiment bottle for easy pouring. You can still use these things for resin after, just nowhere near your medicine cabinet or kitchen. For the measuring cup. We used 1/4 cup resin and 1/4 cup hardener.
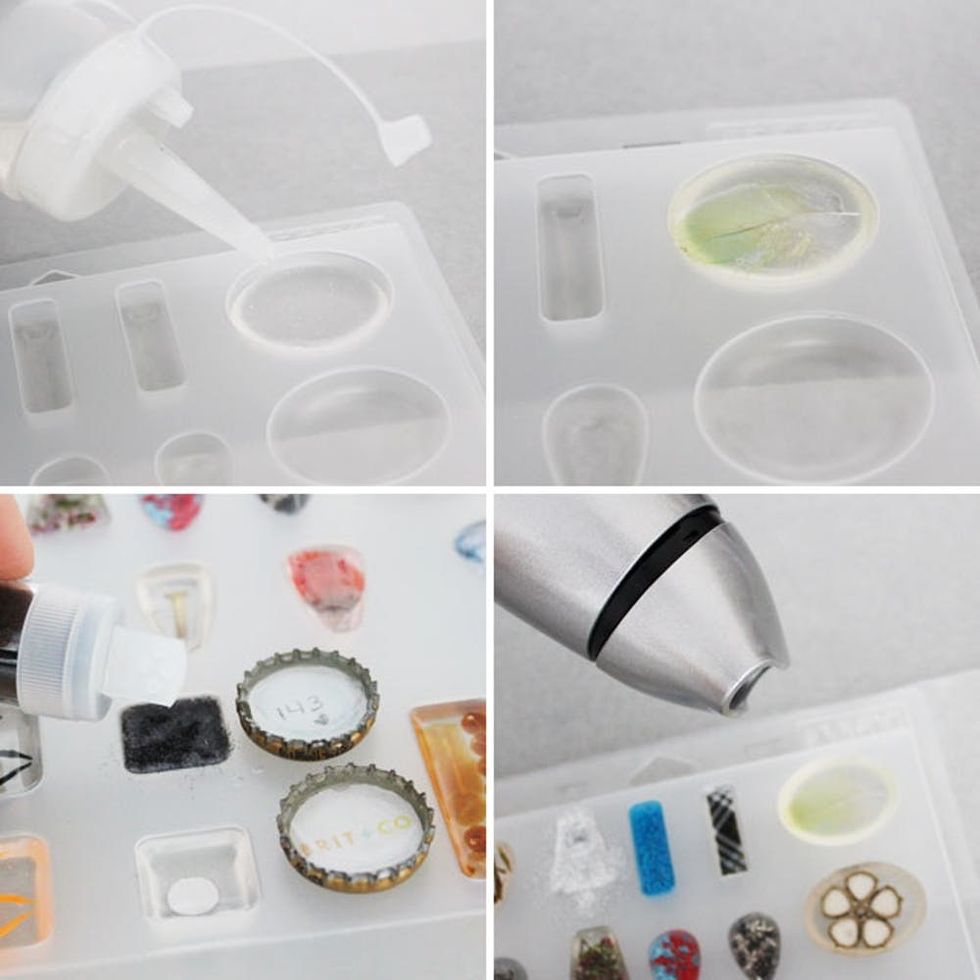
Pour a layer of resin, then place your items in the mold and pour another layer over the fillers if you need to. If you want a glittery background, pour glitter on top once you've filled your molds. Use a blowdryer to gently get rid of air bubbles. Let harden overnight. Be sure to cover with a shoebox or something so no dust gets into the molds.
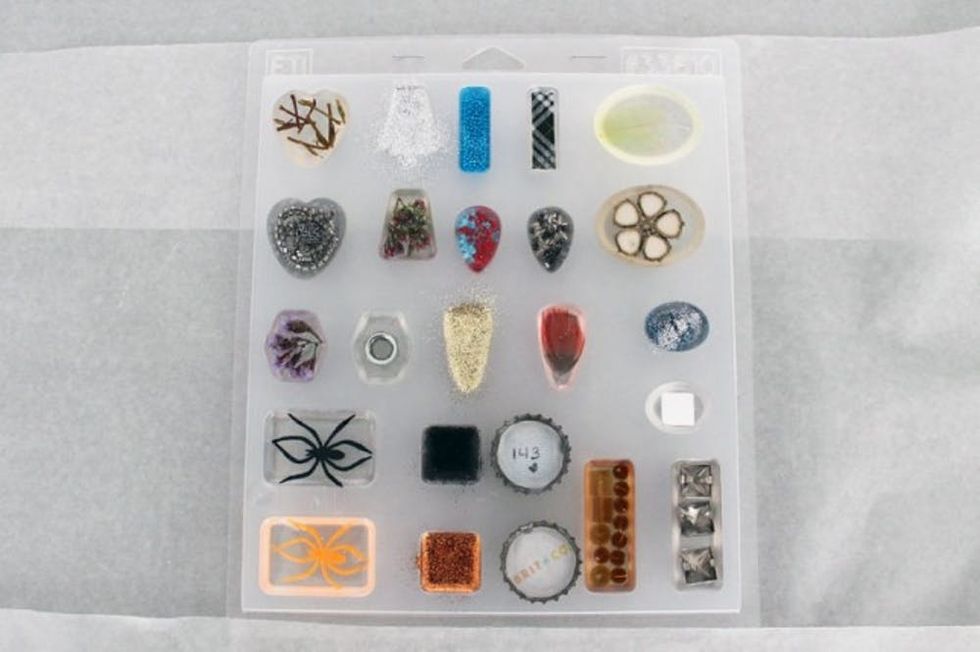
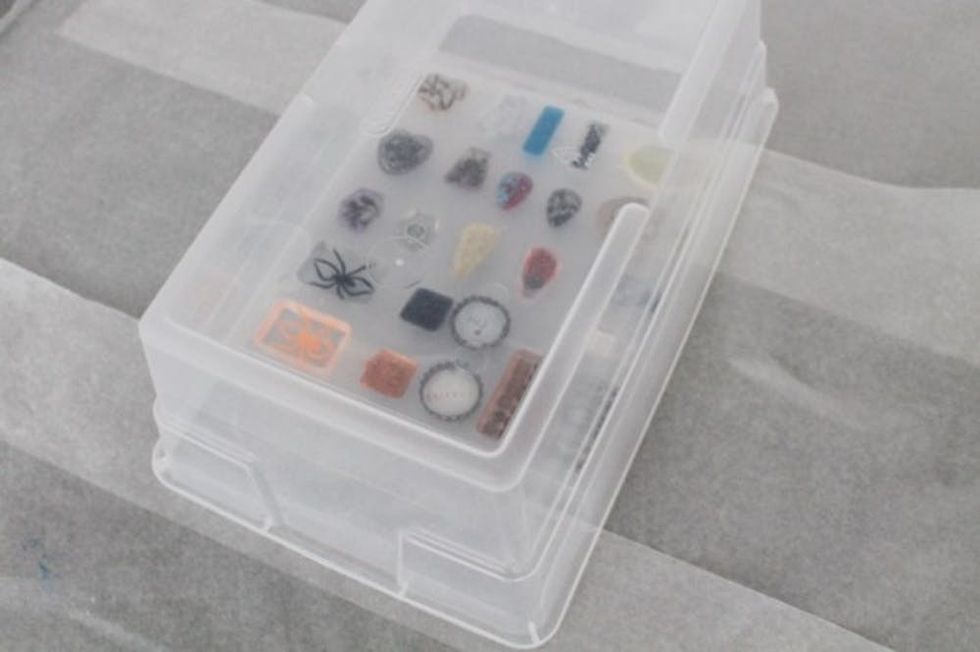
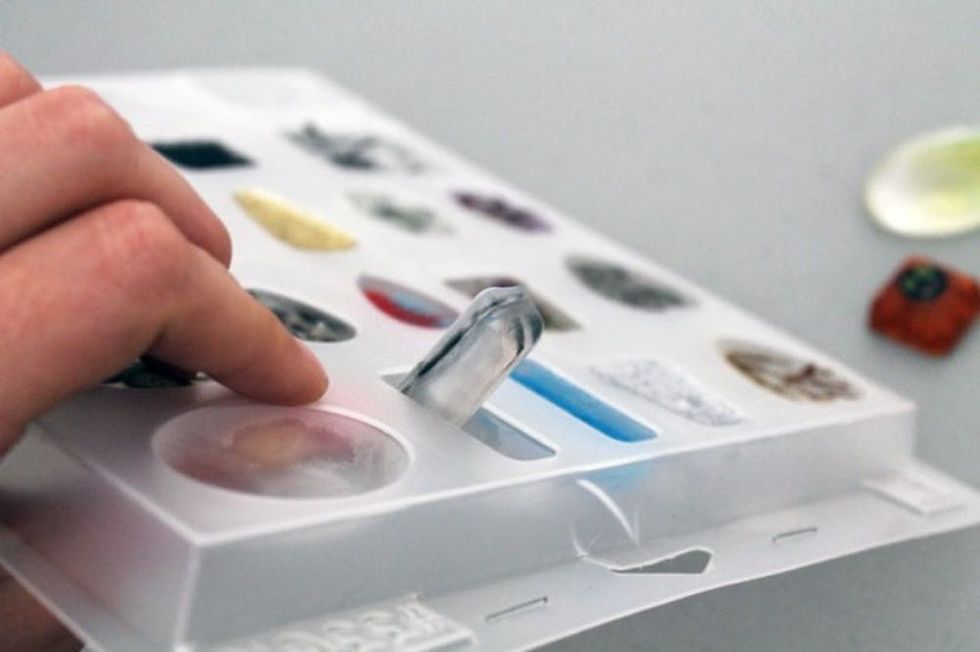
If your resin hasn't hardened quite enough, you can place it in the freezer for 10 minutes or so and they will pop right out.
Now, it's time to turn these resin objects into wearable jewelry!
For bracelets and necklaces, you'll want to add metal loops to each piece.
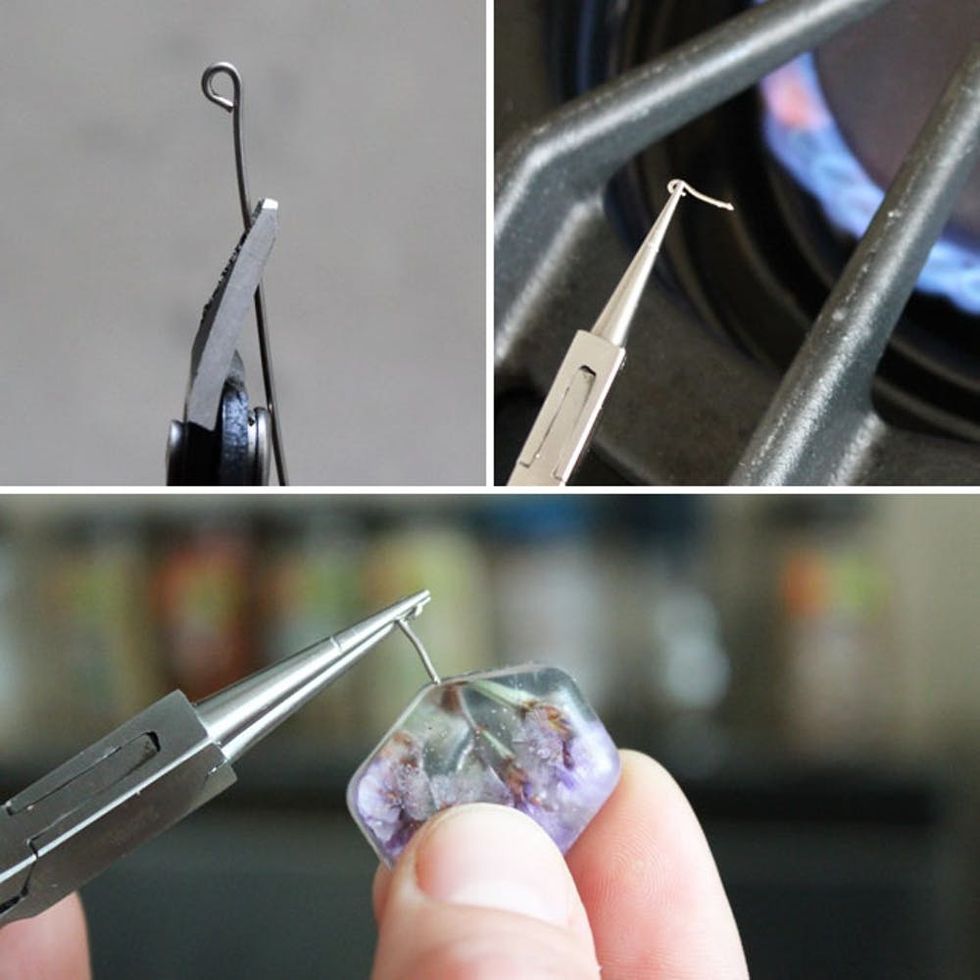
The way to do this is to create a loop with a pin, then hold with pliers and heat up over a gas stove (even a candle would work) for 5 seconds, and then poke into the resin. You will not be able to do this step if you let the resin cure for more than 1 day.
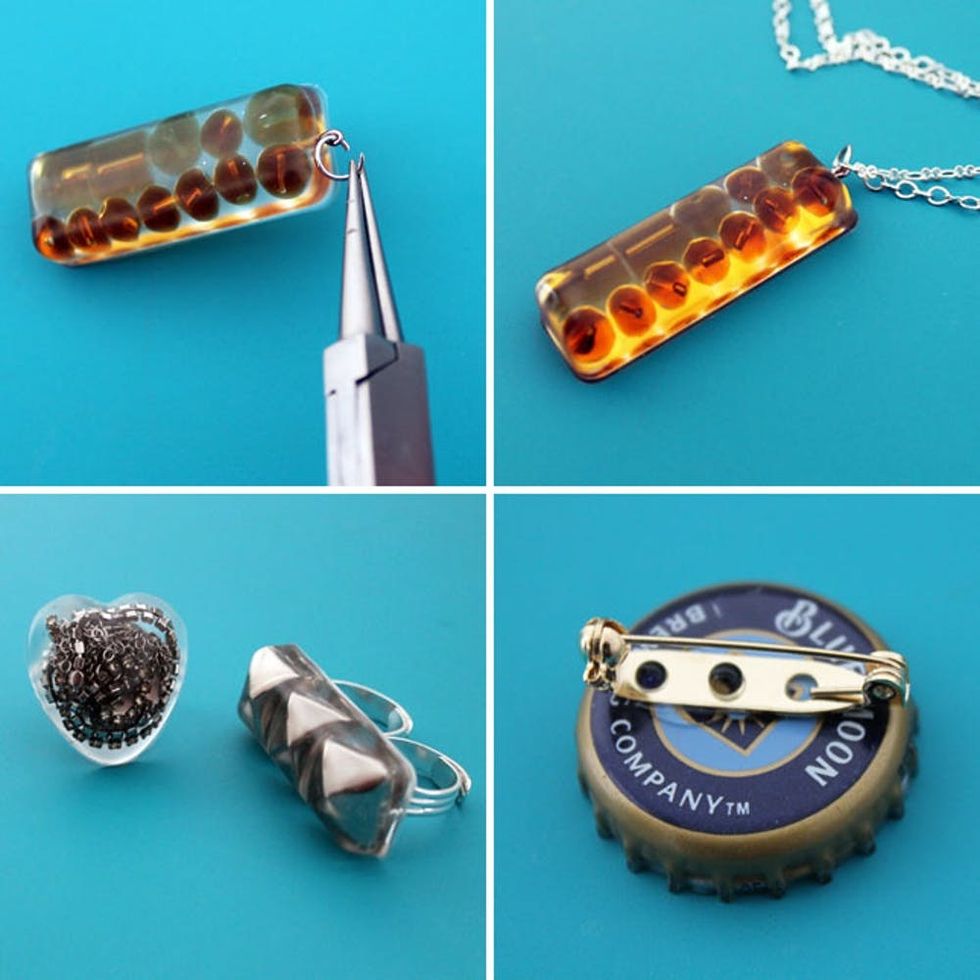
For rings and pins, simply glue on with a quick hold contact adhesive and you're done.
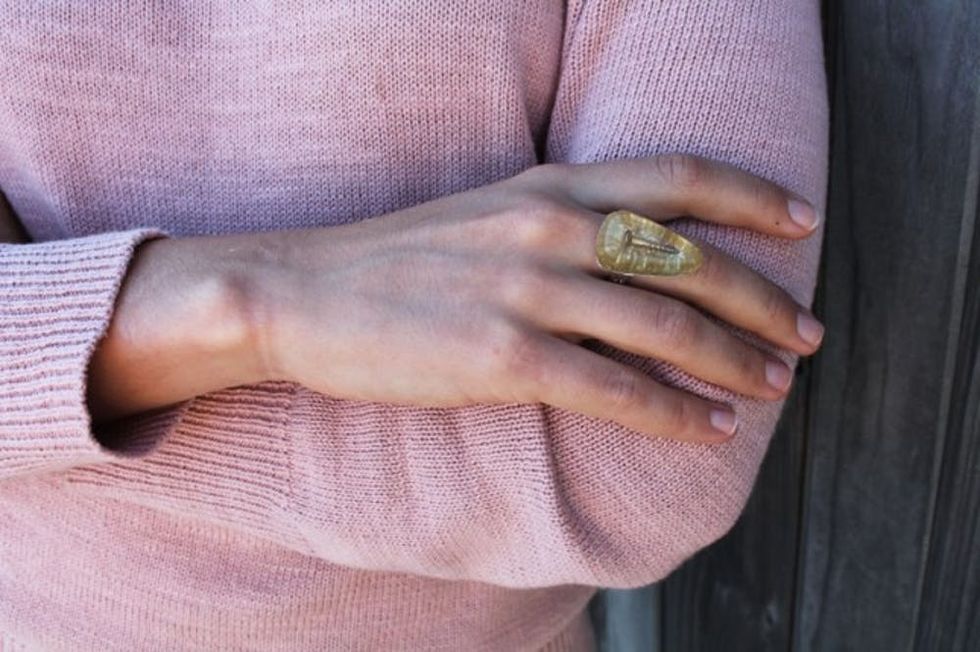
Who knew an old gold screw and a sprinkle of glitter could be such good friends?

For more trendy and DIY resin jewelry tips, follow us on Pinterest!
FEATURED PRODUCTS
Brit + Co may at times use affiliate links to promote products sold by others, but always offers genuine editorial recommendations.


