Divide and conquer your resolutions with this crafty wheel.
Manage Those New Year’s Resolutions With This Easy Ombre DIY
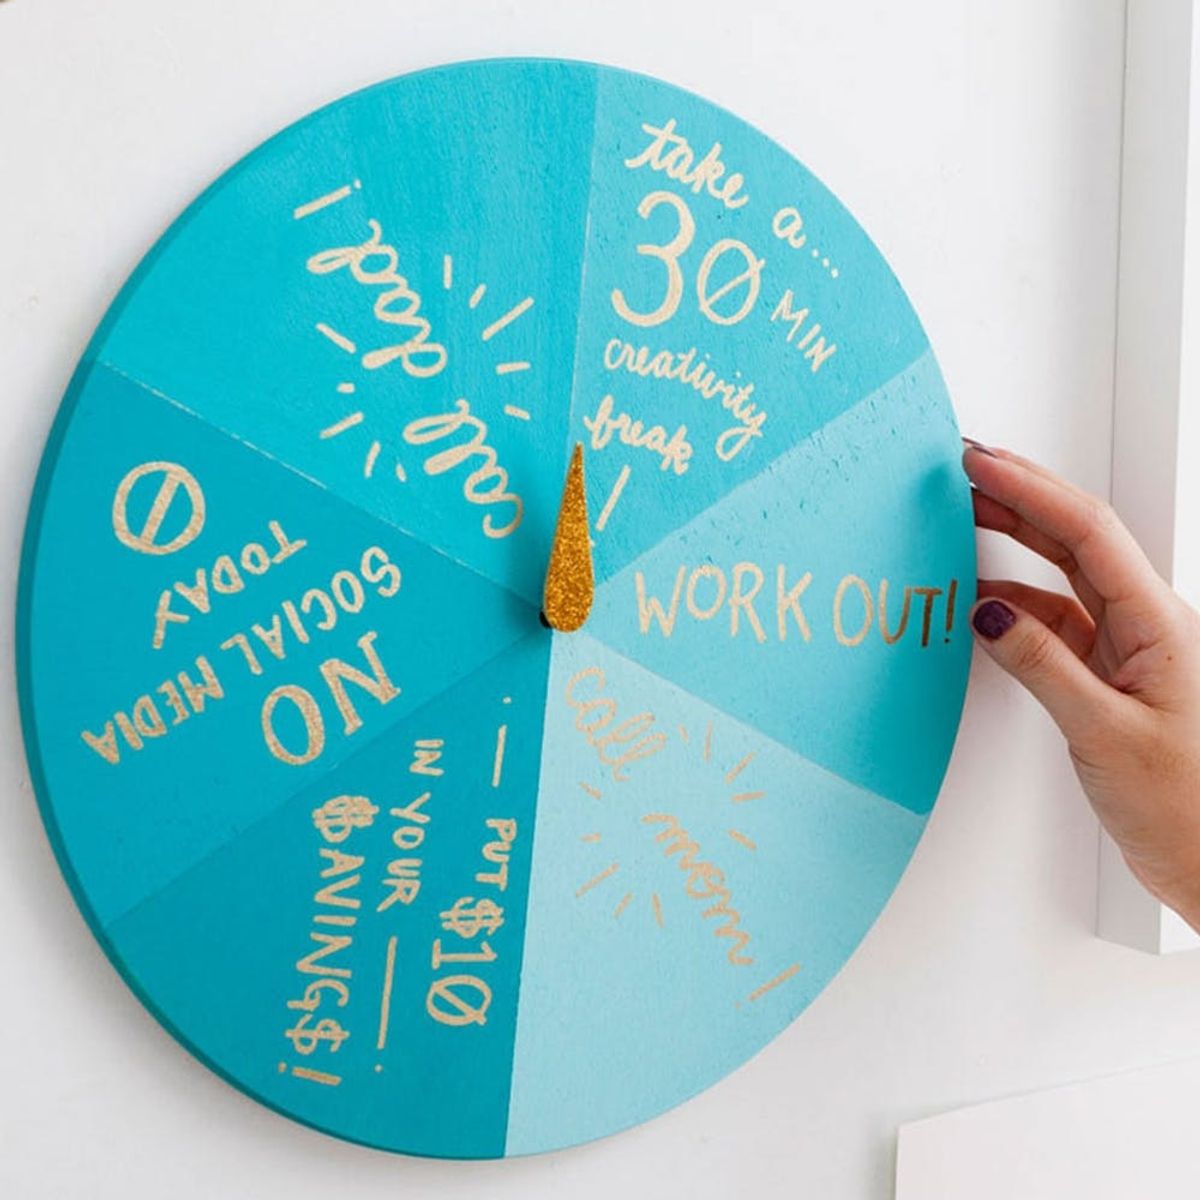
Alright folks, it’s the end of January. You know what that means: It’s resolution-ditching season. Remember when you went a little overboard around the end of December and felt like “becoming a brain surgeon” was an attainable goal for 2016? It’s okay, we all think that sometimes. But for the remaining resolutions, the ones that actually feel tangible (like upgrading your digs), we’ve got a DIY that will help you manage all of that self-growth: a resolution wheel!
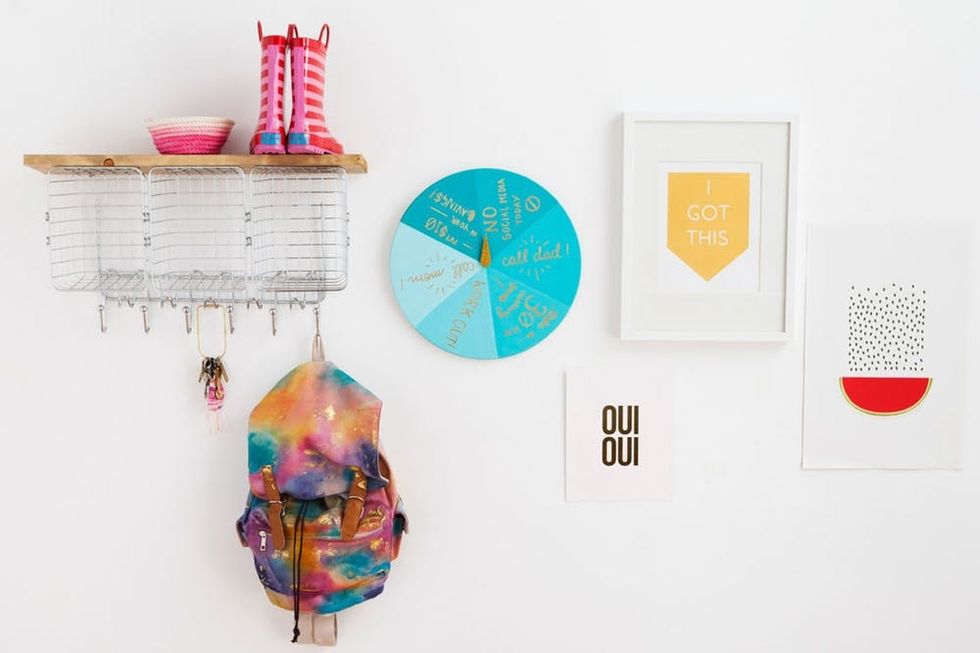
It’s just like a chore wheel minus the dish washing (unless that was a resolution of yours). We’re all about time management here at Brit + Co, and we like the idea of focusing on a single resolution each day instead of overwhelming yourself with all that ambition.
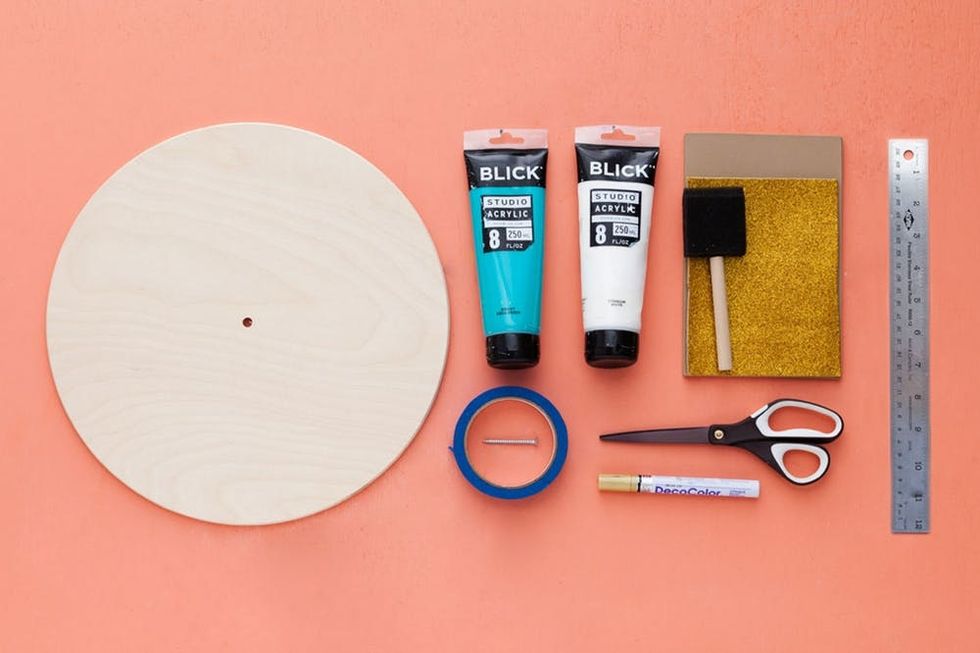
Materials:
— clock blank
— acrylic paint
— craft foam sheet
— paintbrush
— painter’s tape
— 2-inch screw
— gold paint pen
— scissors
— ruler
Instructions:
1. Evenly divide your wheel according to the number of resolutions.
2. Carefully tape off your first section and paint with a color of your choice.
3. Allow the paint to dry for at least 30 minutes, then carefully remove the masking tape.
4. Re-apply a new piece of masking tape along the edge of the first panel so the two colors will have a nice, clean edge.
5. Tape off the other side of the next panel.
6. Add a few drops of white to the original solid color and paint the panel with your newly mixed hue.
7. Repeat these steps until your wheel is completely painted.
8. Using the paint pen, write an individual resolution in each panel.
9. Draw and cut out an arrow shape of your choice from the foam sheet.
10. Trim a few pieces of foam sheet and glue them onto the back of the wheel. Allow the glue to dry for about 30 minutes.
11. Drill your wheel directly into your wall and leave about half of the screw out.
12. Glue your arrow onto the screw head.
Get your materials together and let’s get started!

Divide your wheel evenly using your pencil and ruler. We chose to divide our wheel into six equal panels for six resolutions.
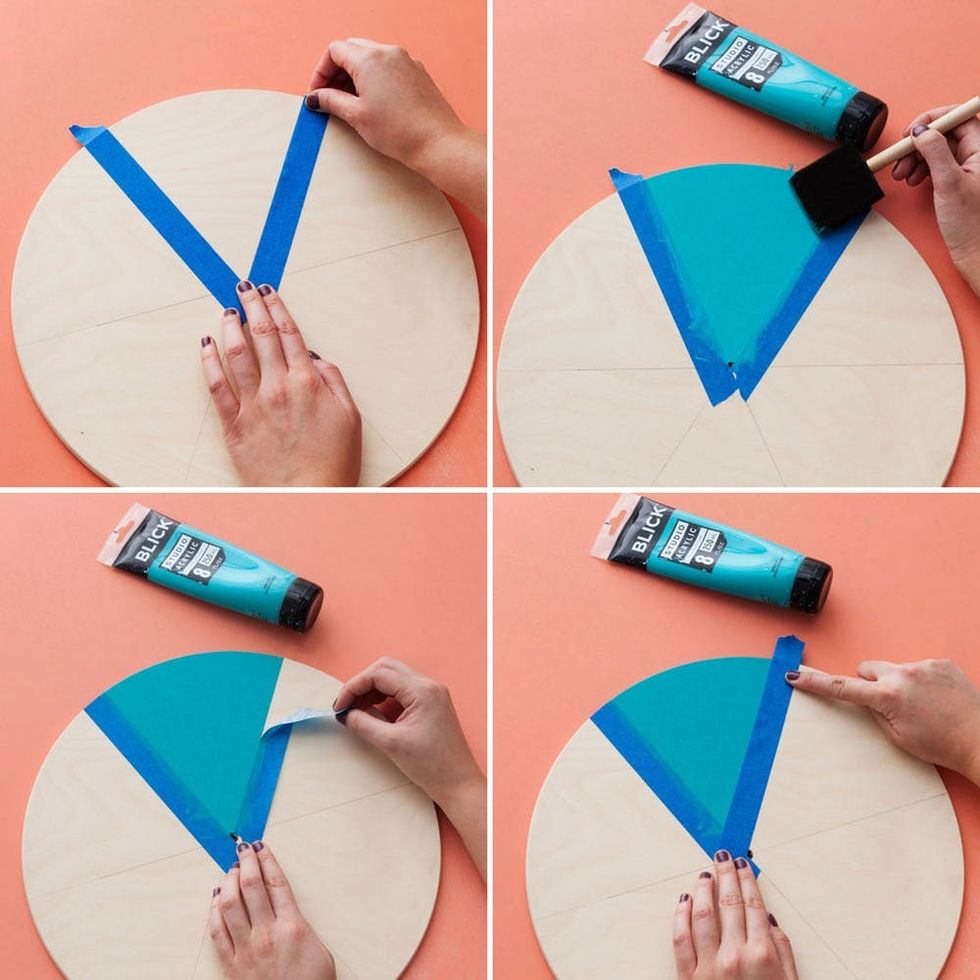
Carefully tape off your first section and paint with a color of your choice. In order to achieve an ombre effect, you till incrementally add drops of white to your original. Allow the paint to dry for at least 30 minutes, then carefully remove the masking tape. Reapply a new piece of masking tape along the edge of the first panel so the two colors will have a nice, clean edge.
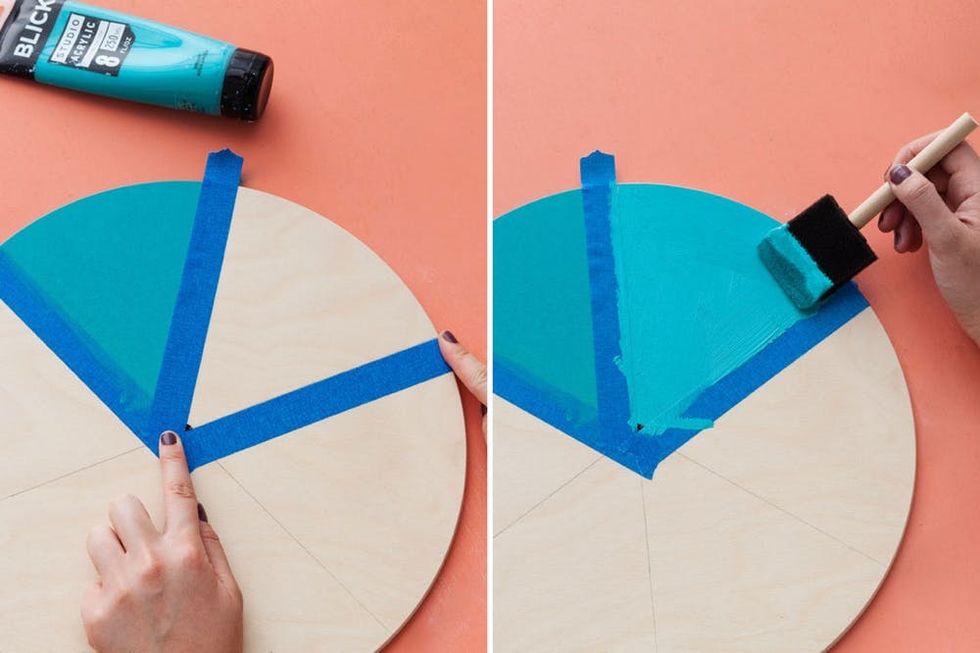
Tape off the other side of the next panel. Add a few drops of white to the original solid color and paint the panel with your newly mixed hue. Repeat these steps until your wheel is completely painted.

Your painted wheel should result in an ombre effect.
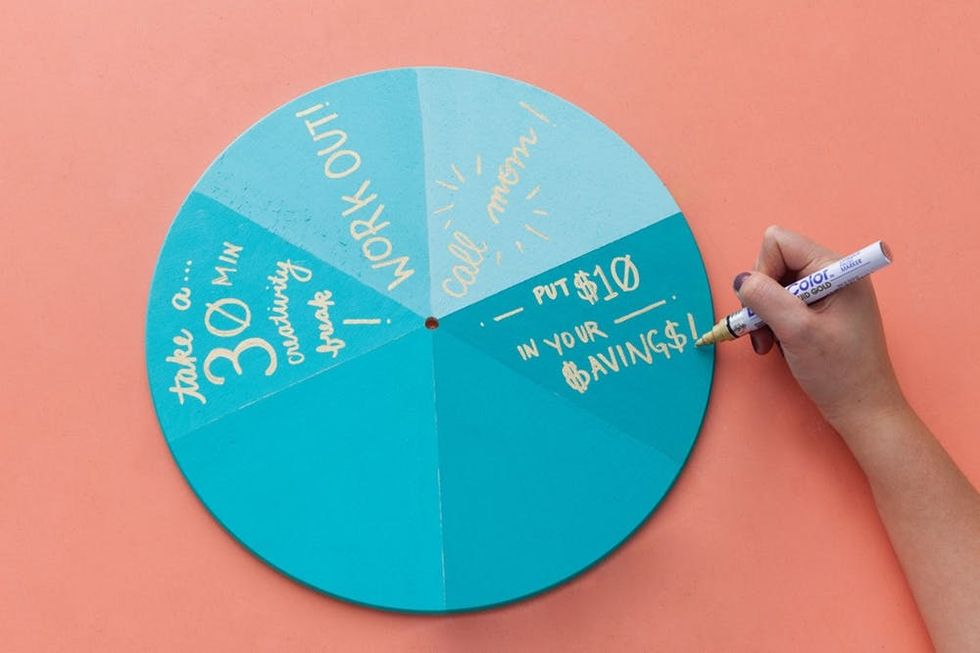
Using the paint pen, write an individual resolution in each panel. Have fun with hand lettering and graphic details!

We made sure to put down resolutions that felt achievable in one day.
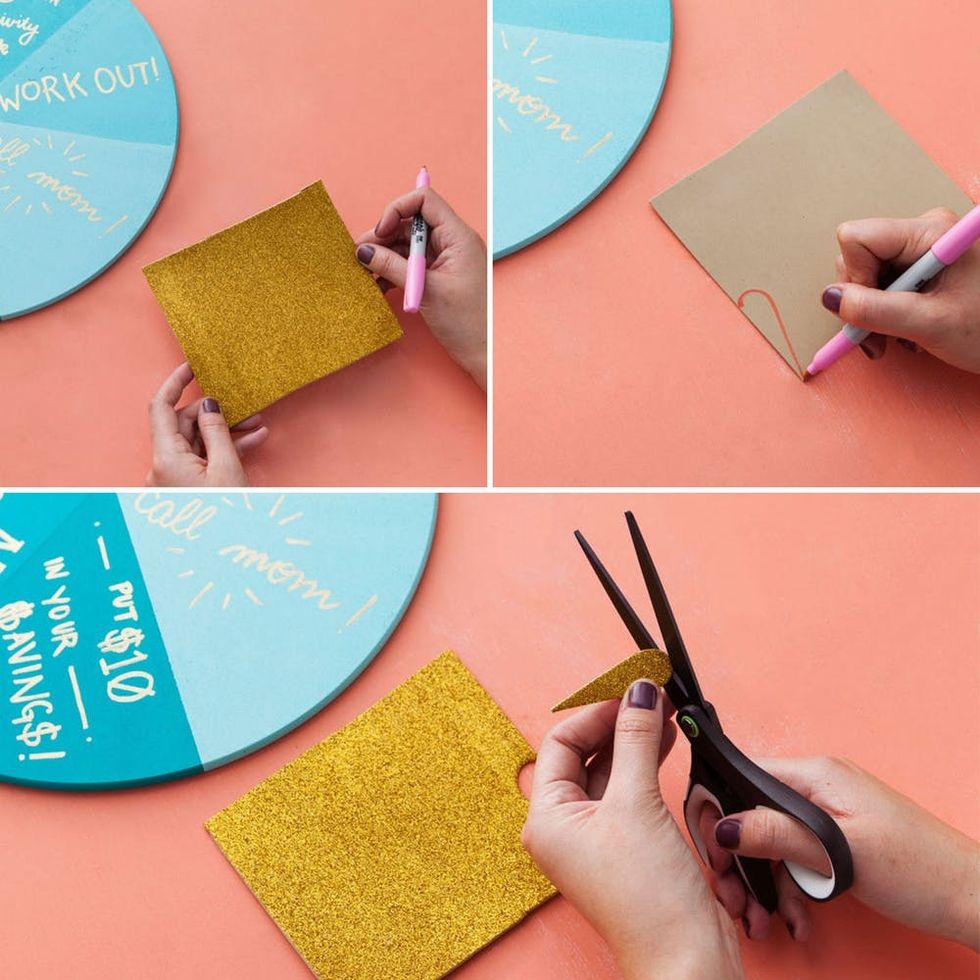
Next, draw and cut out an arrow shape from the foam sheet. Make sure it’s large enough to hide the screw you’re using.
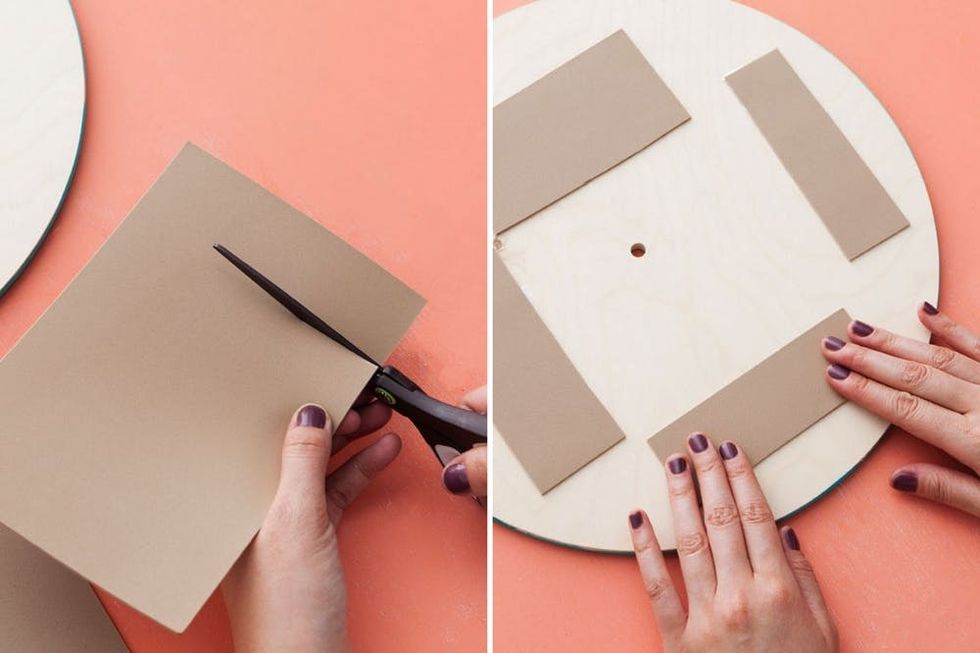
Trim a few pieces of foam sheet and glue them onto the back of the wheel. This will help keep the wheel from scuffing the wall. Allow the glue to dry for about 30 minutes.
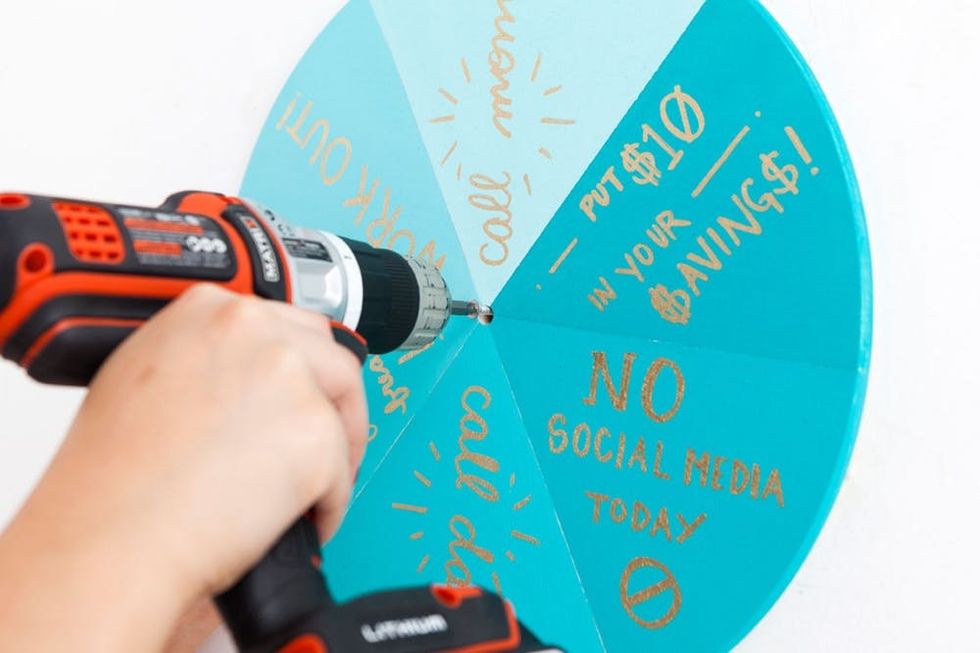
Drill your wheel directly into the wall, but don’t drive the screw all the way in. Leave about half of the screw out.
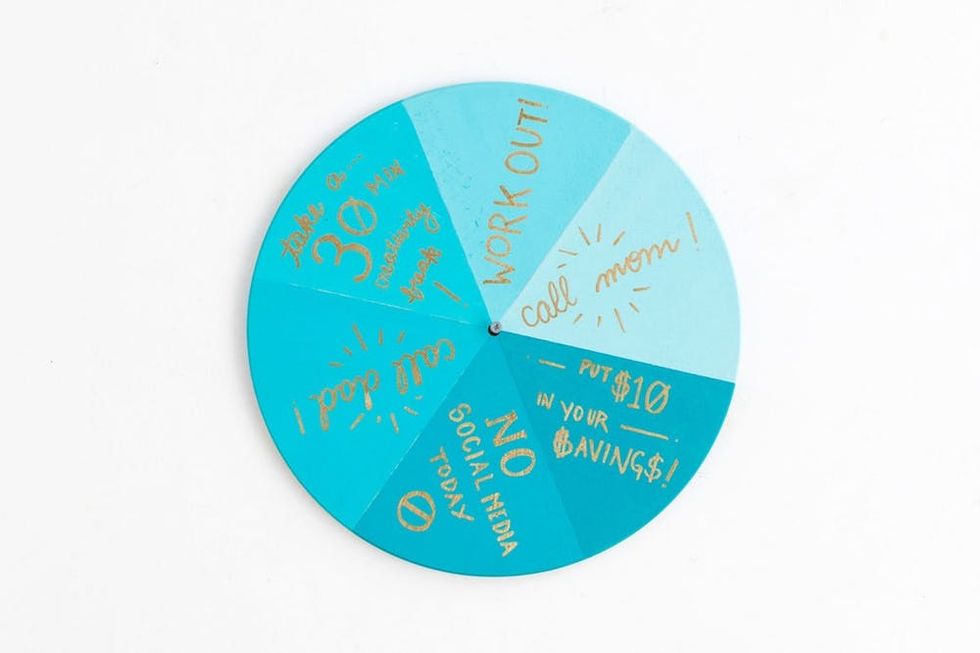
Give your wheel a few test spins to make sure you left enough of the screw out of the wall.
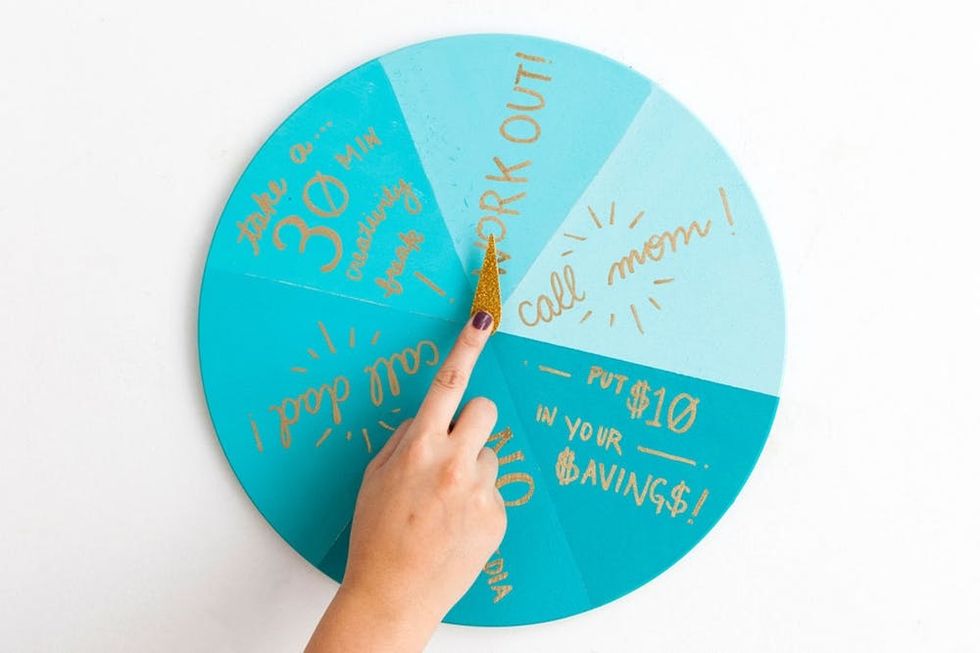
And the last detail, of course, is to glue your arrow onto the screw head!
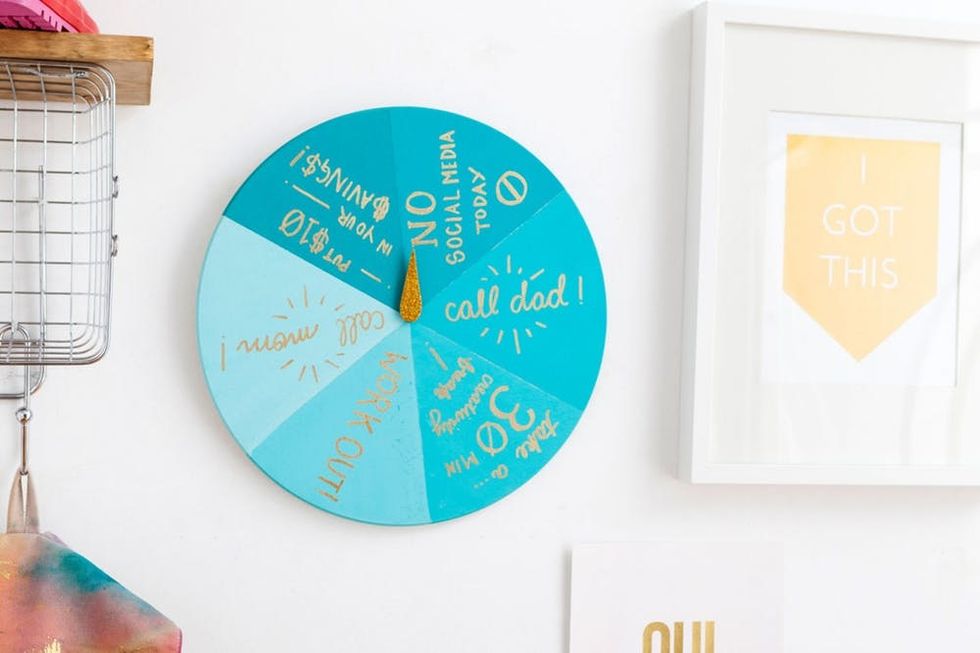
This is a great project to hang up by the entryway. Give it a spin and set your intention for the day before you head out the door!
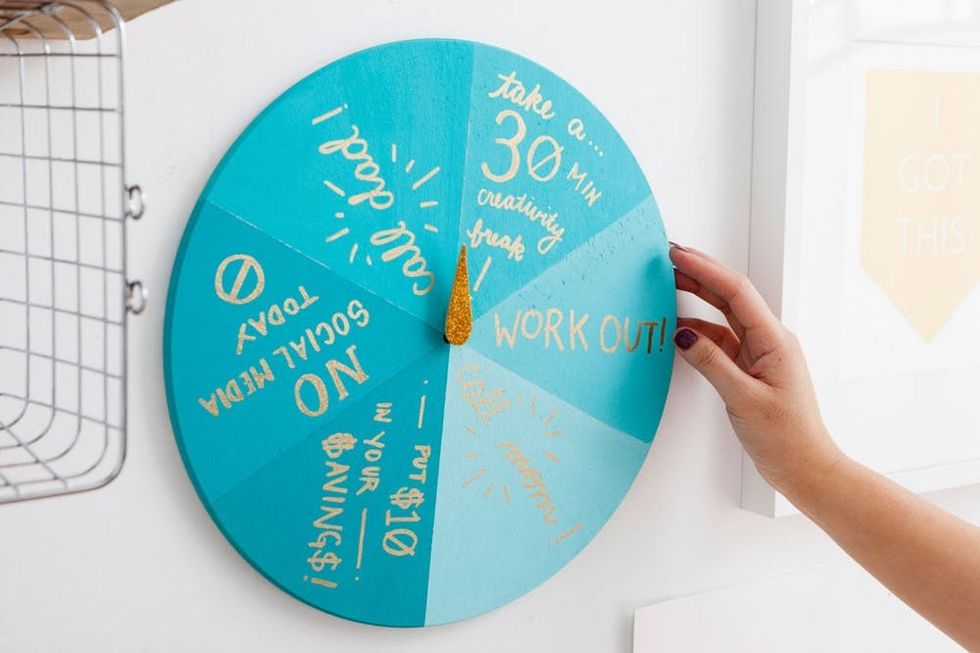
The most effective way to accomplish anything is to divide and conquer, right? ;) Cheers to an improved (and more balanced) you!
What are some creative ways you’re using to stick to your resolutions? Show us your project by tagging us on Instagram and using the hashtag #iamcreative!
DIY Production and Styling: Marianne Koo
Photography: Brittany Griffin


